Grapevine Pruned and Composted: Gardening Photos and Stories
A grape is pruned at the end of season. The compost is emptied into the bed around the grapevine. The grape cuttings form the base of a new compost. A slug makes an appearance.
Grape Pruning
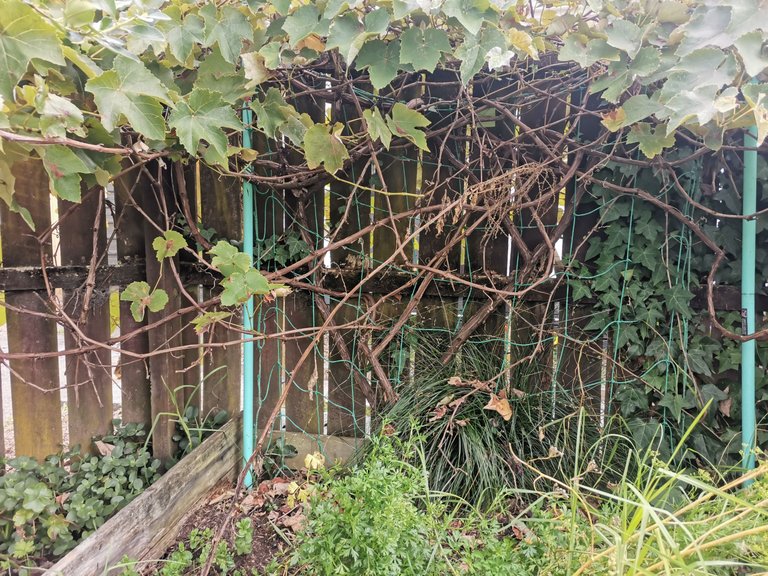
Along the top of the fenceline is the overgrown grape in question. It is an unknown heritage variety, red skinned, with a very sweet juice and very little slightly sour flesh. But every year it reaches further than it should.
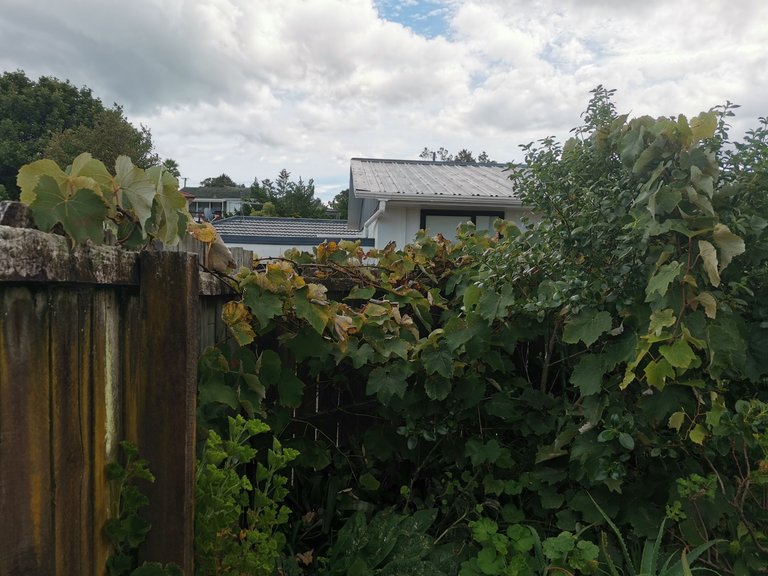
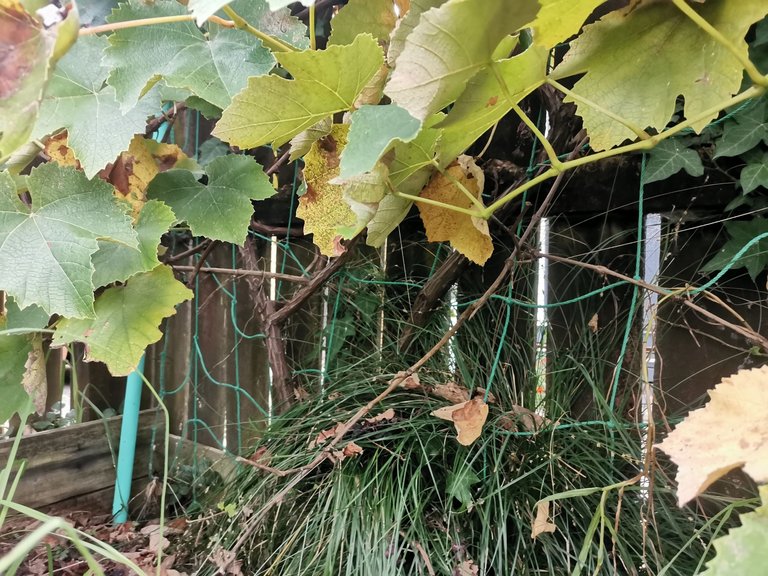
And so every year we remove most of the new growth. You can see in the background the thick stem of the actual plant, growing through the very old synthetic rope mesh frame that it first climbed.
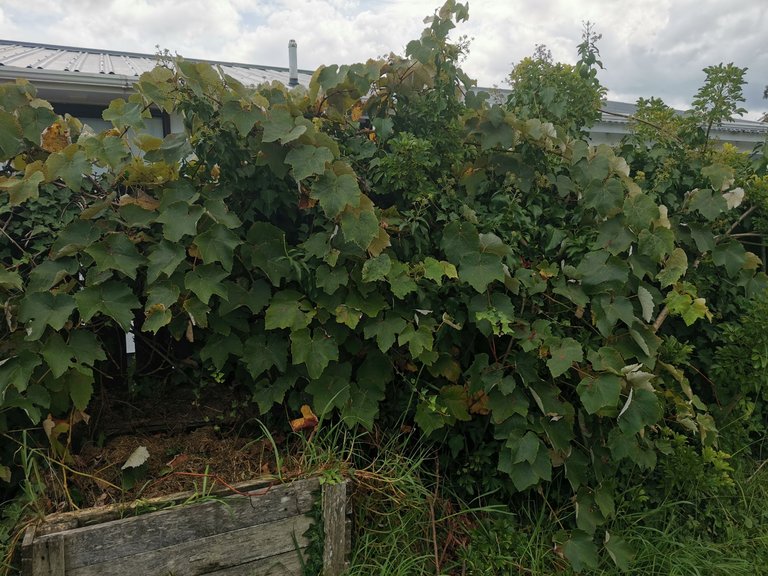
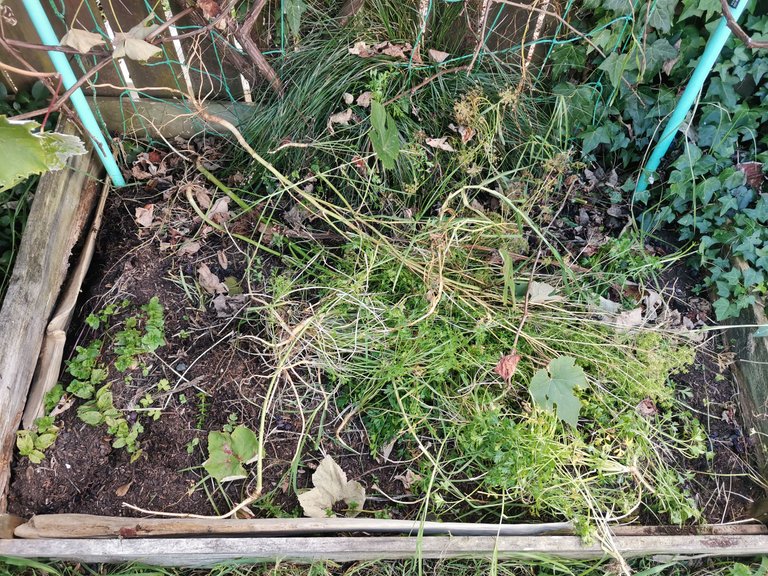
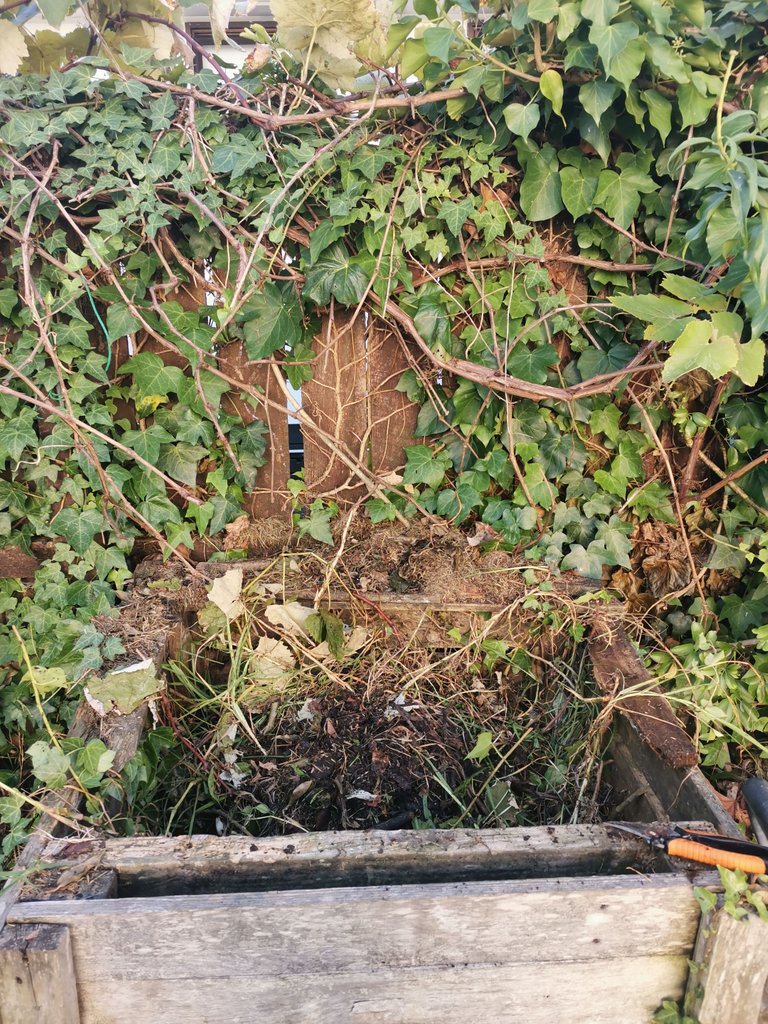
The overgrown grape continues in the other direction along the fence. Underneath is the compost where the waste cuttings will go. The compost is full. It needs digging into the raised bed around the grape.
The grape has also reached across into a tree, and although this might be nice or even convenient, we are also concerned for the tree. These vines will be removed.
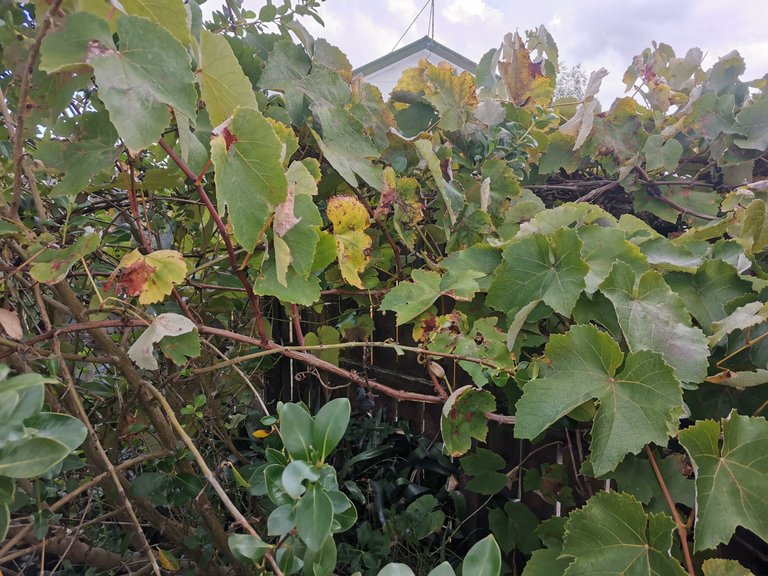
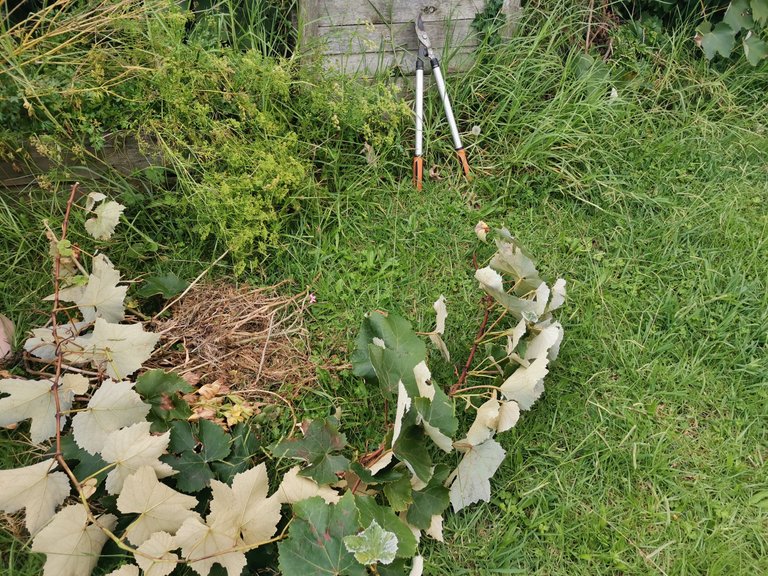
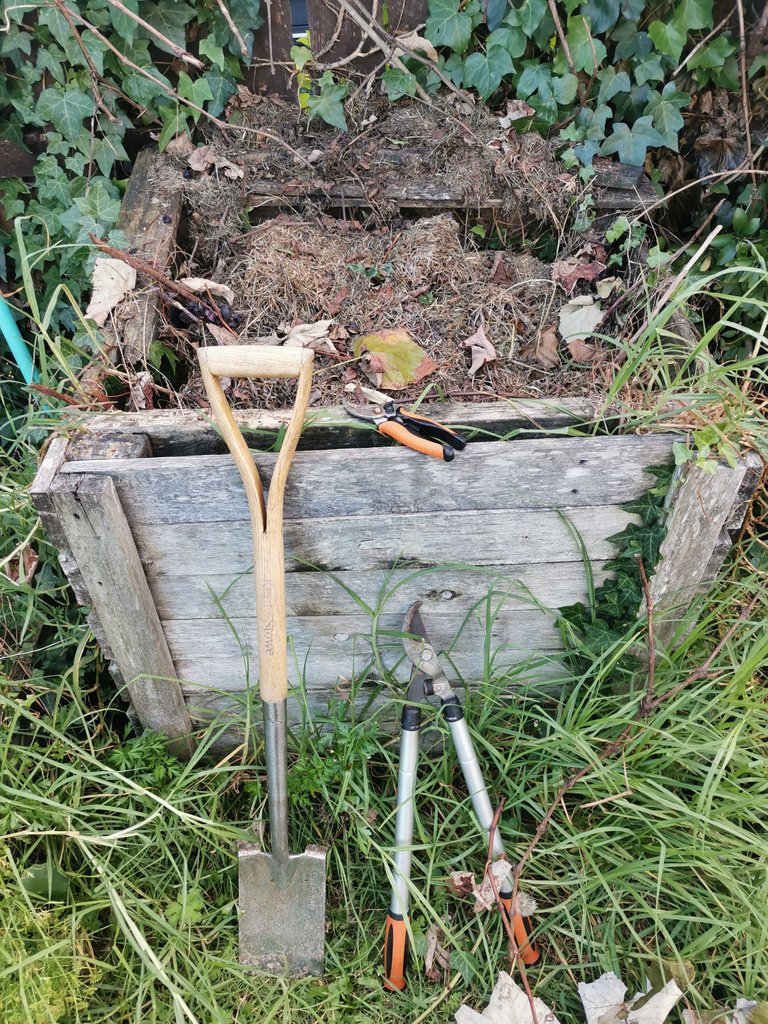
Again, you can see the vine, in only one year, has scaled the tree. The cutting begins. There are clippers with both long and short handles as options. The short handles are preferable as they are more manoeuvrable.

The long-handled clippers not in use. The first of the vine clippings discarded. Some geranium plants come out at the same time.
Geraniums and grapes. The base of the new compost. This will make lots of room for sun to shine on the raised bed when it is planted too. We are coming into winter. The bed will need the extra light.
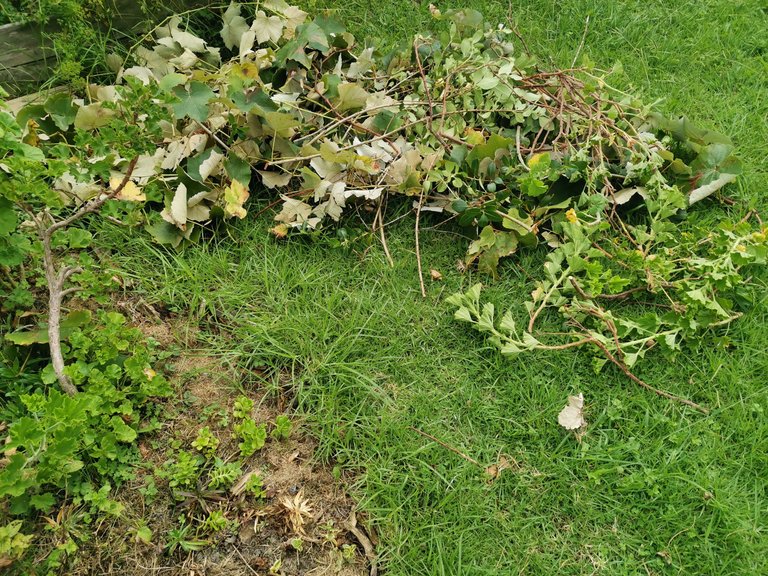
The tree is free of the vines. A little of the grape has been left trained so that the new growth in a few month's time still has some good reach. The tree-stump flower garden is looking a little sad in autumn.

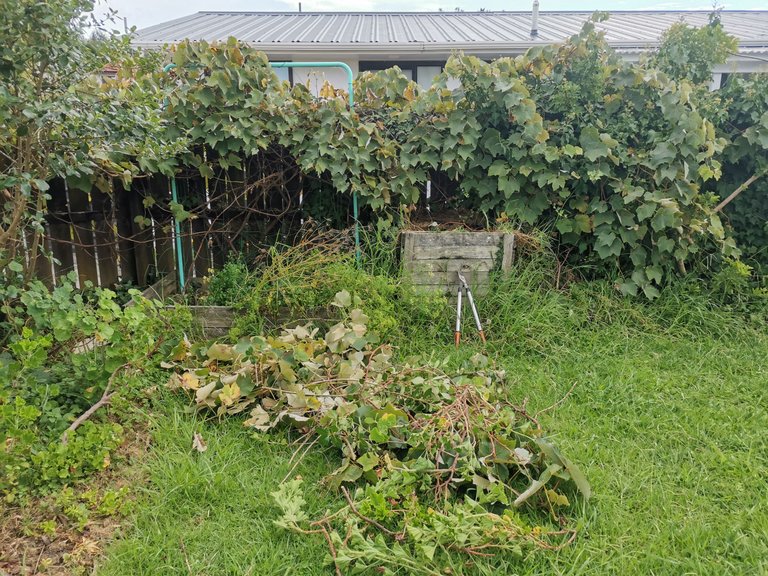
Again, much more room. Observe that there is still plenty of healthy growth in brown wood on the grape vine. Even with piles of growth removed, it will have no trouble returning another large crop.
A huge pile of grape and geranium. But nowhere to put it. On to the next task. The grape looks much better. In the end I did remove still a little more from the right hand side after this image.
Dig Kitchen Compost Into Bed
We put our kitchen compost in this wooden bin. Never any bread, eggs or meat. Very little citrus. It is usually full of worms and rich earth after it has sunk in a few times.
I have prepared the bed under the grape vine. I picked up a couple of pieces of driftwood while I was out of town. I have used these to reinforce the internal sides. I hope they may be resistant to decay having been in the ocean. Some scraps of parsley and mint will be buried. The mint may rise above!
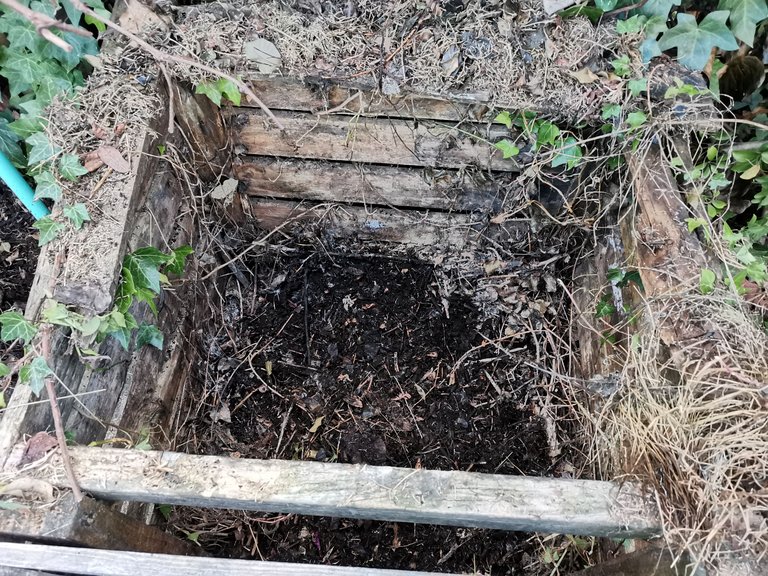
After removing the wooden front of the compost bin, I start forking into the bed. We have had mostly very hot weather. I have been watering the compost occasionally. It is almost all dirt, with no waste any more.
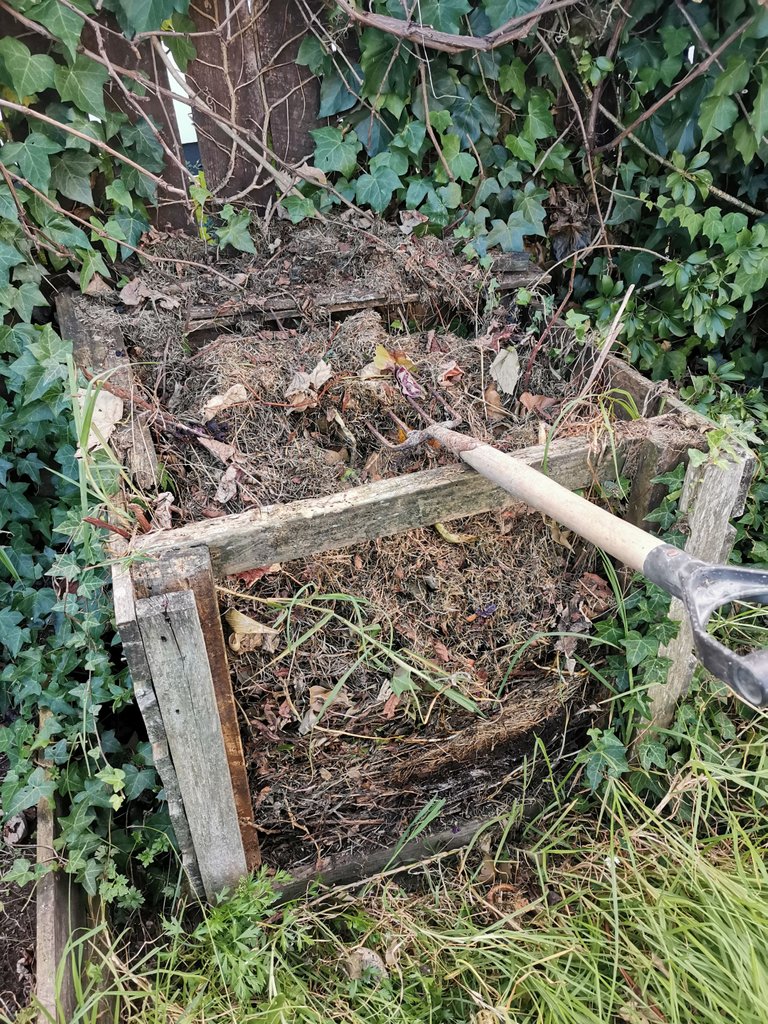
Here about two thirds of the material has been moved over. I switch to a spade. There are some roots through the bottom part that need cutting. Some decayed twigs too.
Empty bin. Front replaced. Ready for the grape and geranium to go in and form the new base. I will mow the lawn tomorrow and bury it all in clippings, which is a fast way to increase the rate of decomposition.
Before spreading, you can see a couple of oranges and a piece of cabbage. I will need to turn those in. They were on top of the compost in fact, and fell onto the ground in front of it. So they were tossed on last. The mix is mostly rich earth.
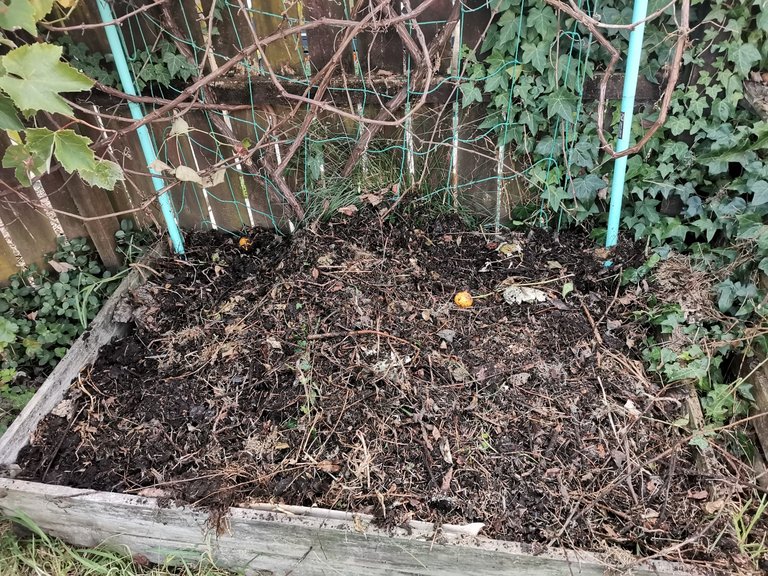
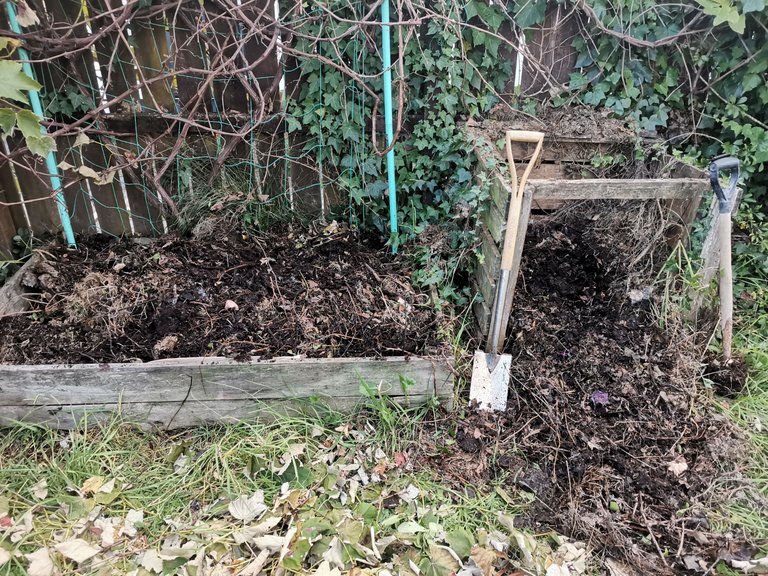
After turning over. You can see the quality of the growing medium. I water in next, soaking through and leaving for tomorrow.

Room in here now for the kitchen waste and then lawn clippings. And the cycle begins again. The wooden frame is holding together adequately even after several years. My father and I built it together. Trusty orange clippers.
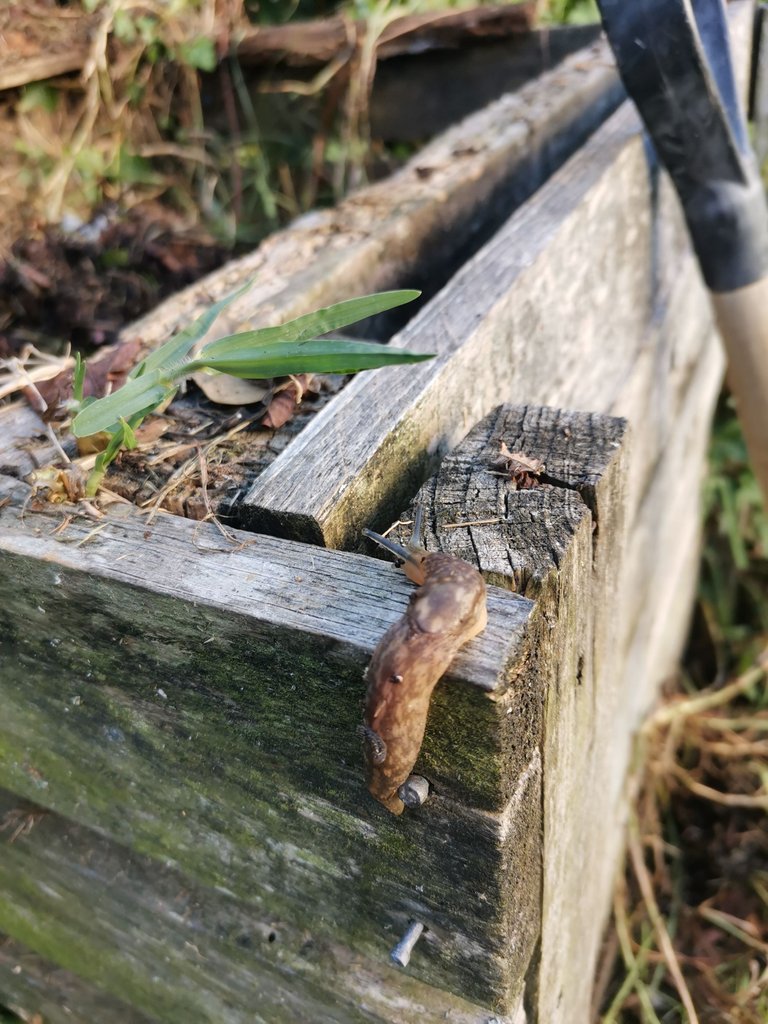
Some slugs were not impressed with my activities. This one came to the top of the bin to ask me what I was doing!
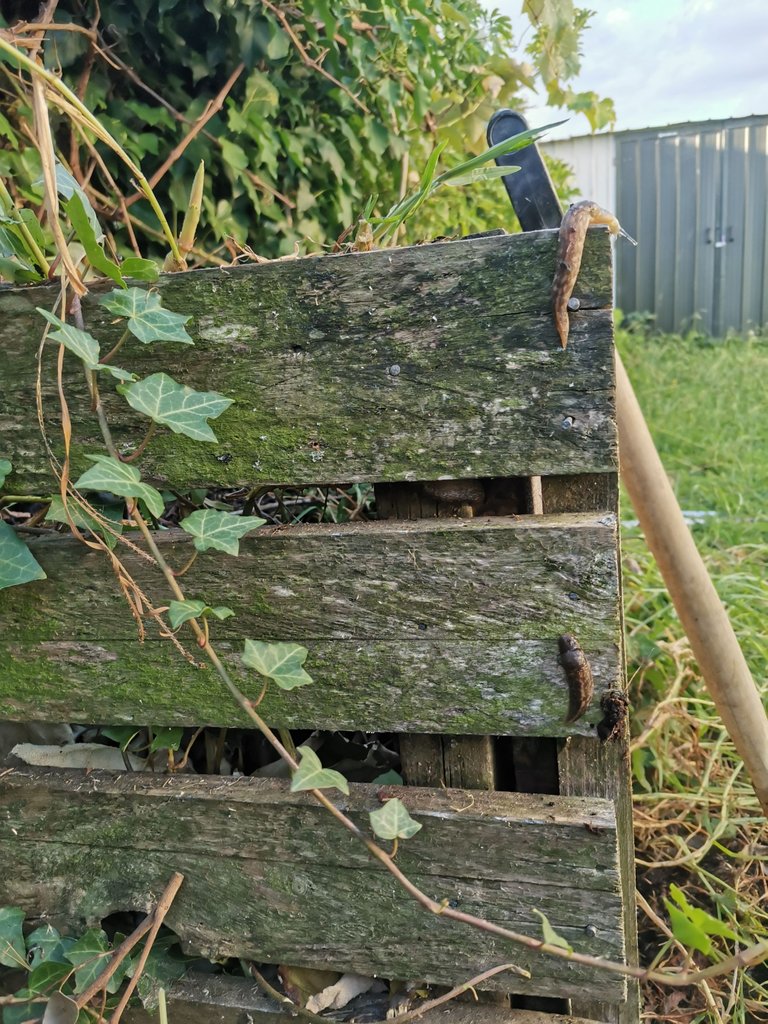
My slug friend up close. If you are ever worried about them, I find a thick layer of coffee grinds on the top of the soil really puts them off. Another strategy is to feed them! Dig in compost scraps into your border or plant species on the edge of your beds that you don't mind them eating so that they don't need to penetrate further into the garden.
That's all for now, but I will post a second time related to gardening in the next day or two when I cover this composted bed in potting mix and then plant a variety of seeds. Look out for that.
Your compost is looking good and I too started to use all the leaves (weeds and non-weeds) that I cut in my vegetable garden as a natural fertilizer for my garden soil.
Thank you. Layering is very important. And leaves make a layer that moisture has trouble getting through. Between the layers of leaves, add some other layers of scraps and more dry material that breathes well. This works well for me.
Thank you for the information, it will surely help me out.
There's nothing more satisfying than cycles of growth and compost!! Nice work.
I appreciate the support very much. It makes digging more appealing.