[ESP-ENG] Carretilla de adorno./ Ornamental wheelbarrow.
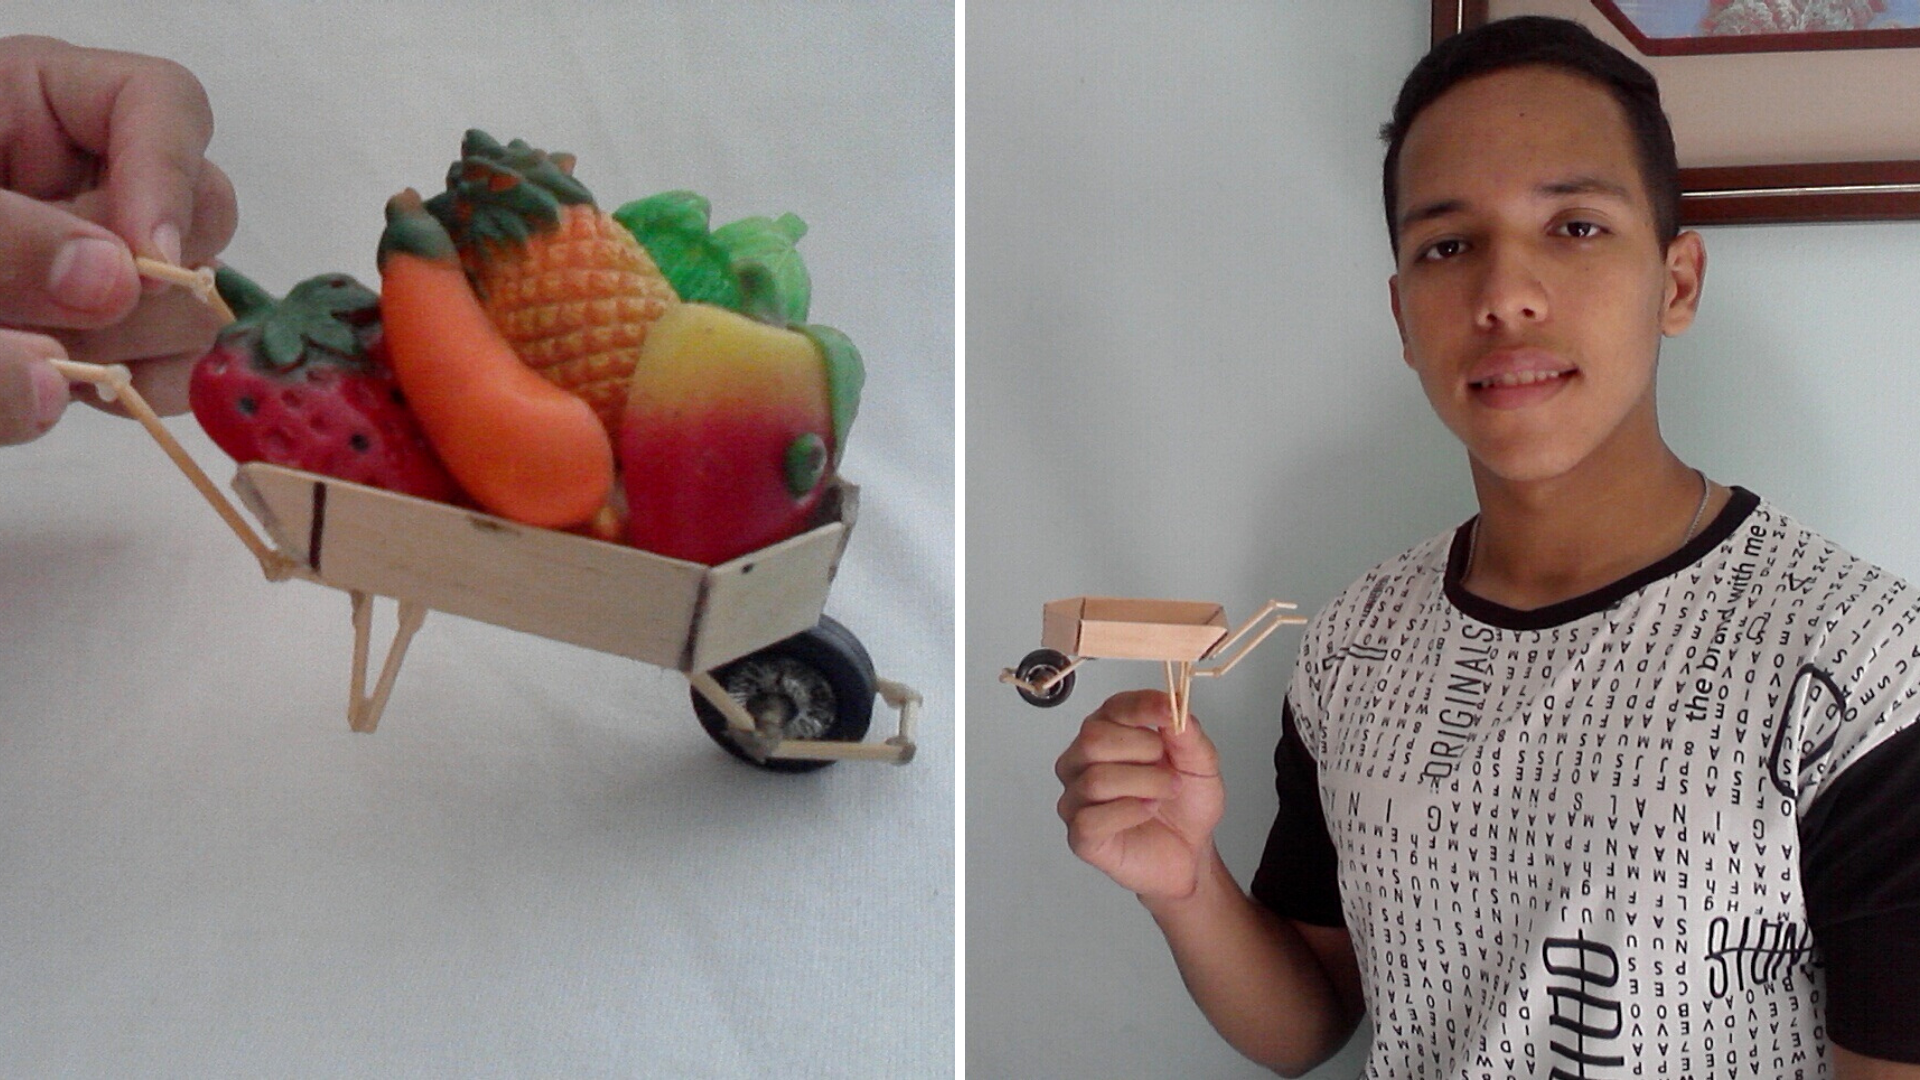
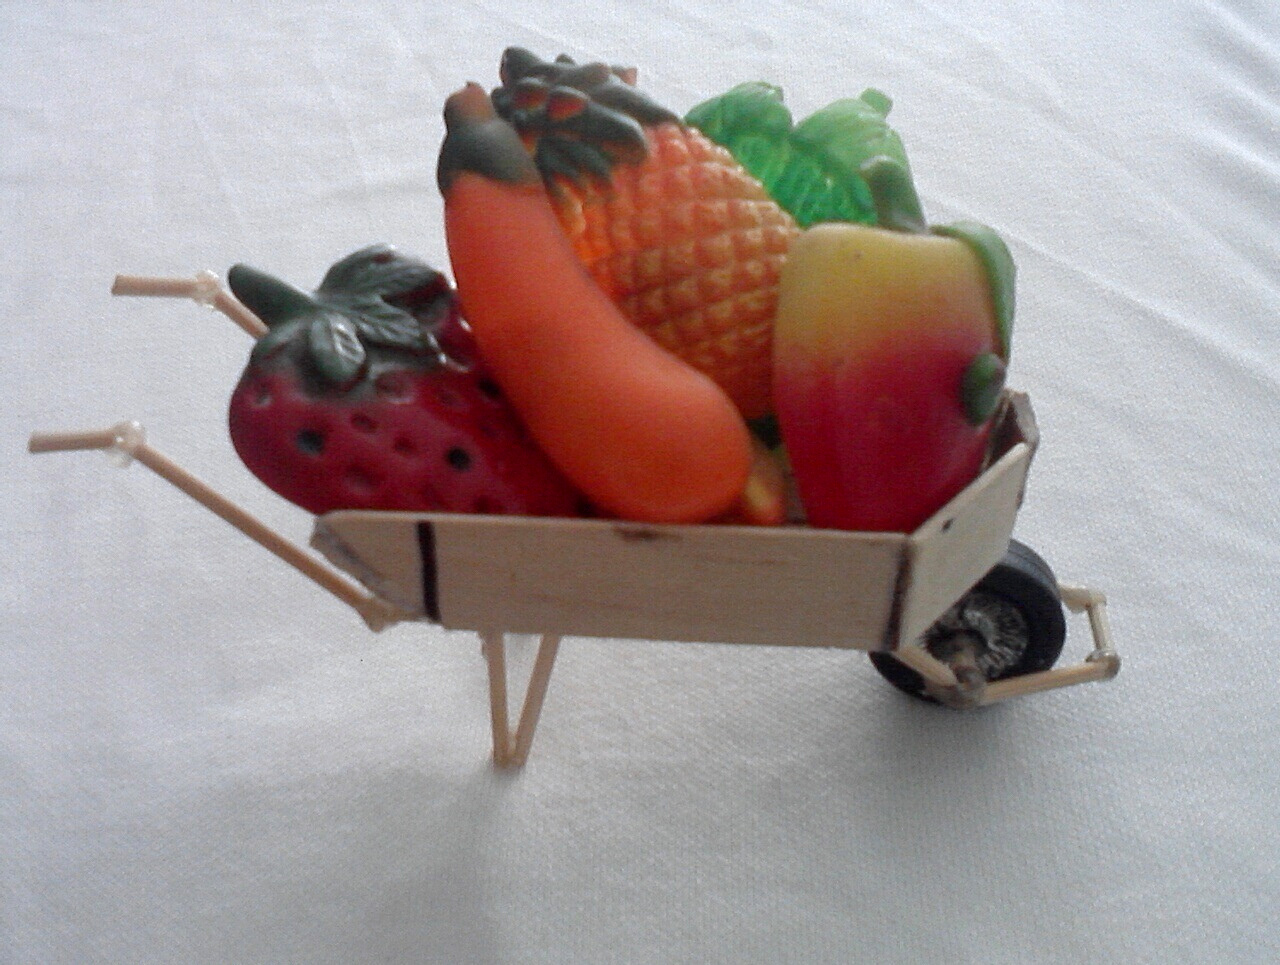
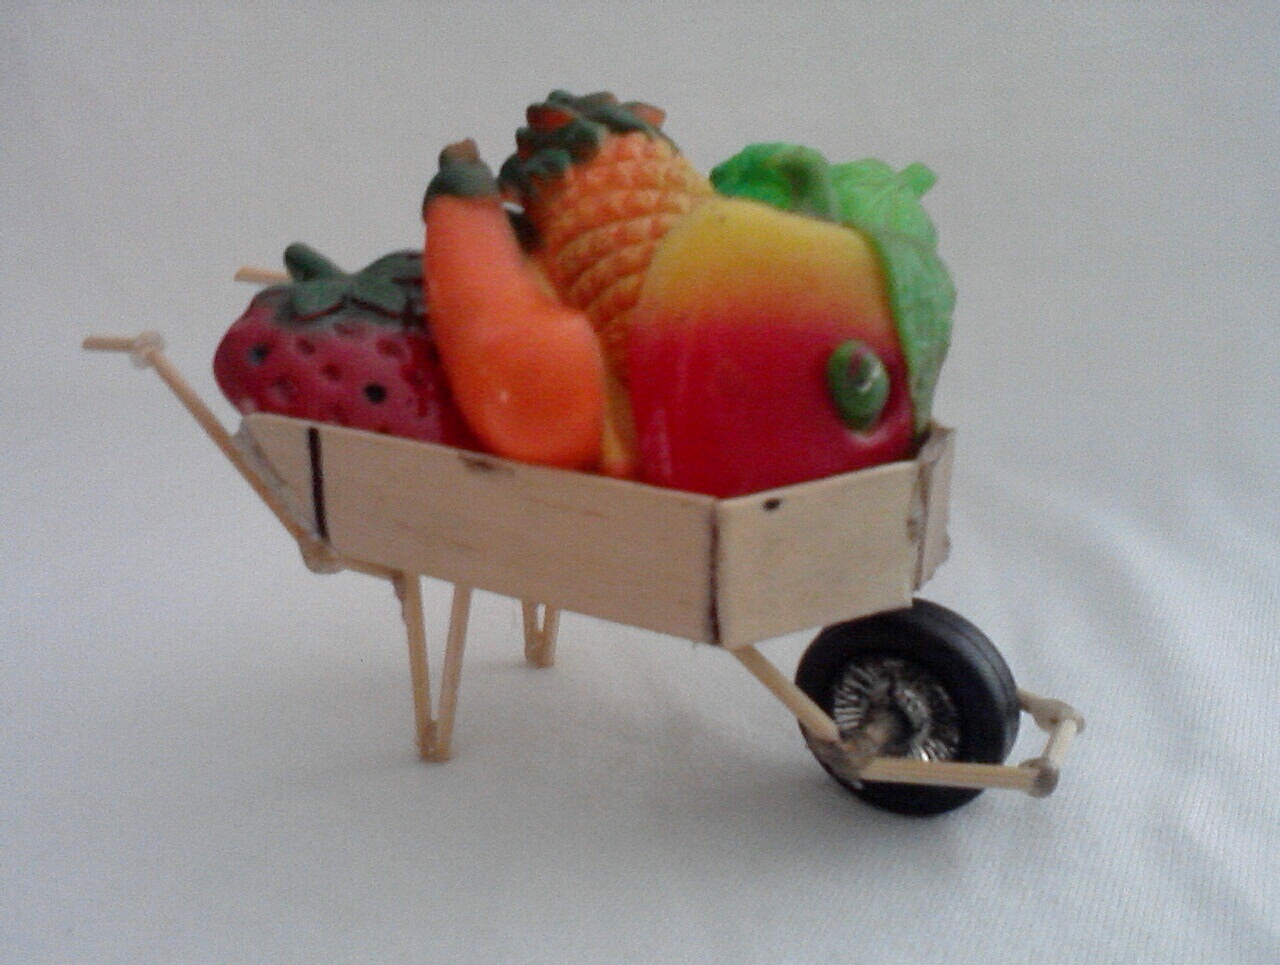
Hello my friends of Hive, today I want to share with you, a beautiful wheelbarrow to decorate, made with wooden pallets and toothpicks, and as creativity take the decorative ornaments from the fridge and place them inside the wheelbarrow, to make it look great, then I show you the step by step.

Español
Materiales:
- Paletas de madera, se usaron 4 gruesas y una delgada.
- Palillos de altura.
- 1 rueda.
- Marcador.
- Silicon en barra.
- Cuchillo.
- Escuadra o regla.
English
Materials:
- Wooden paddles, 4 thick and one thin one were used.
- Sticks of height.
- 1 wheel.
- Marker.
- Silicon stick.
- Knife.
- Square or ruler.

Español
Paso 1:
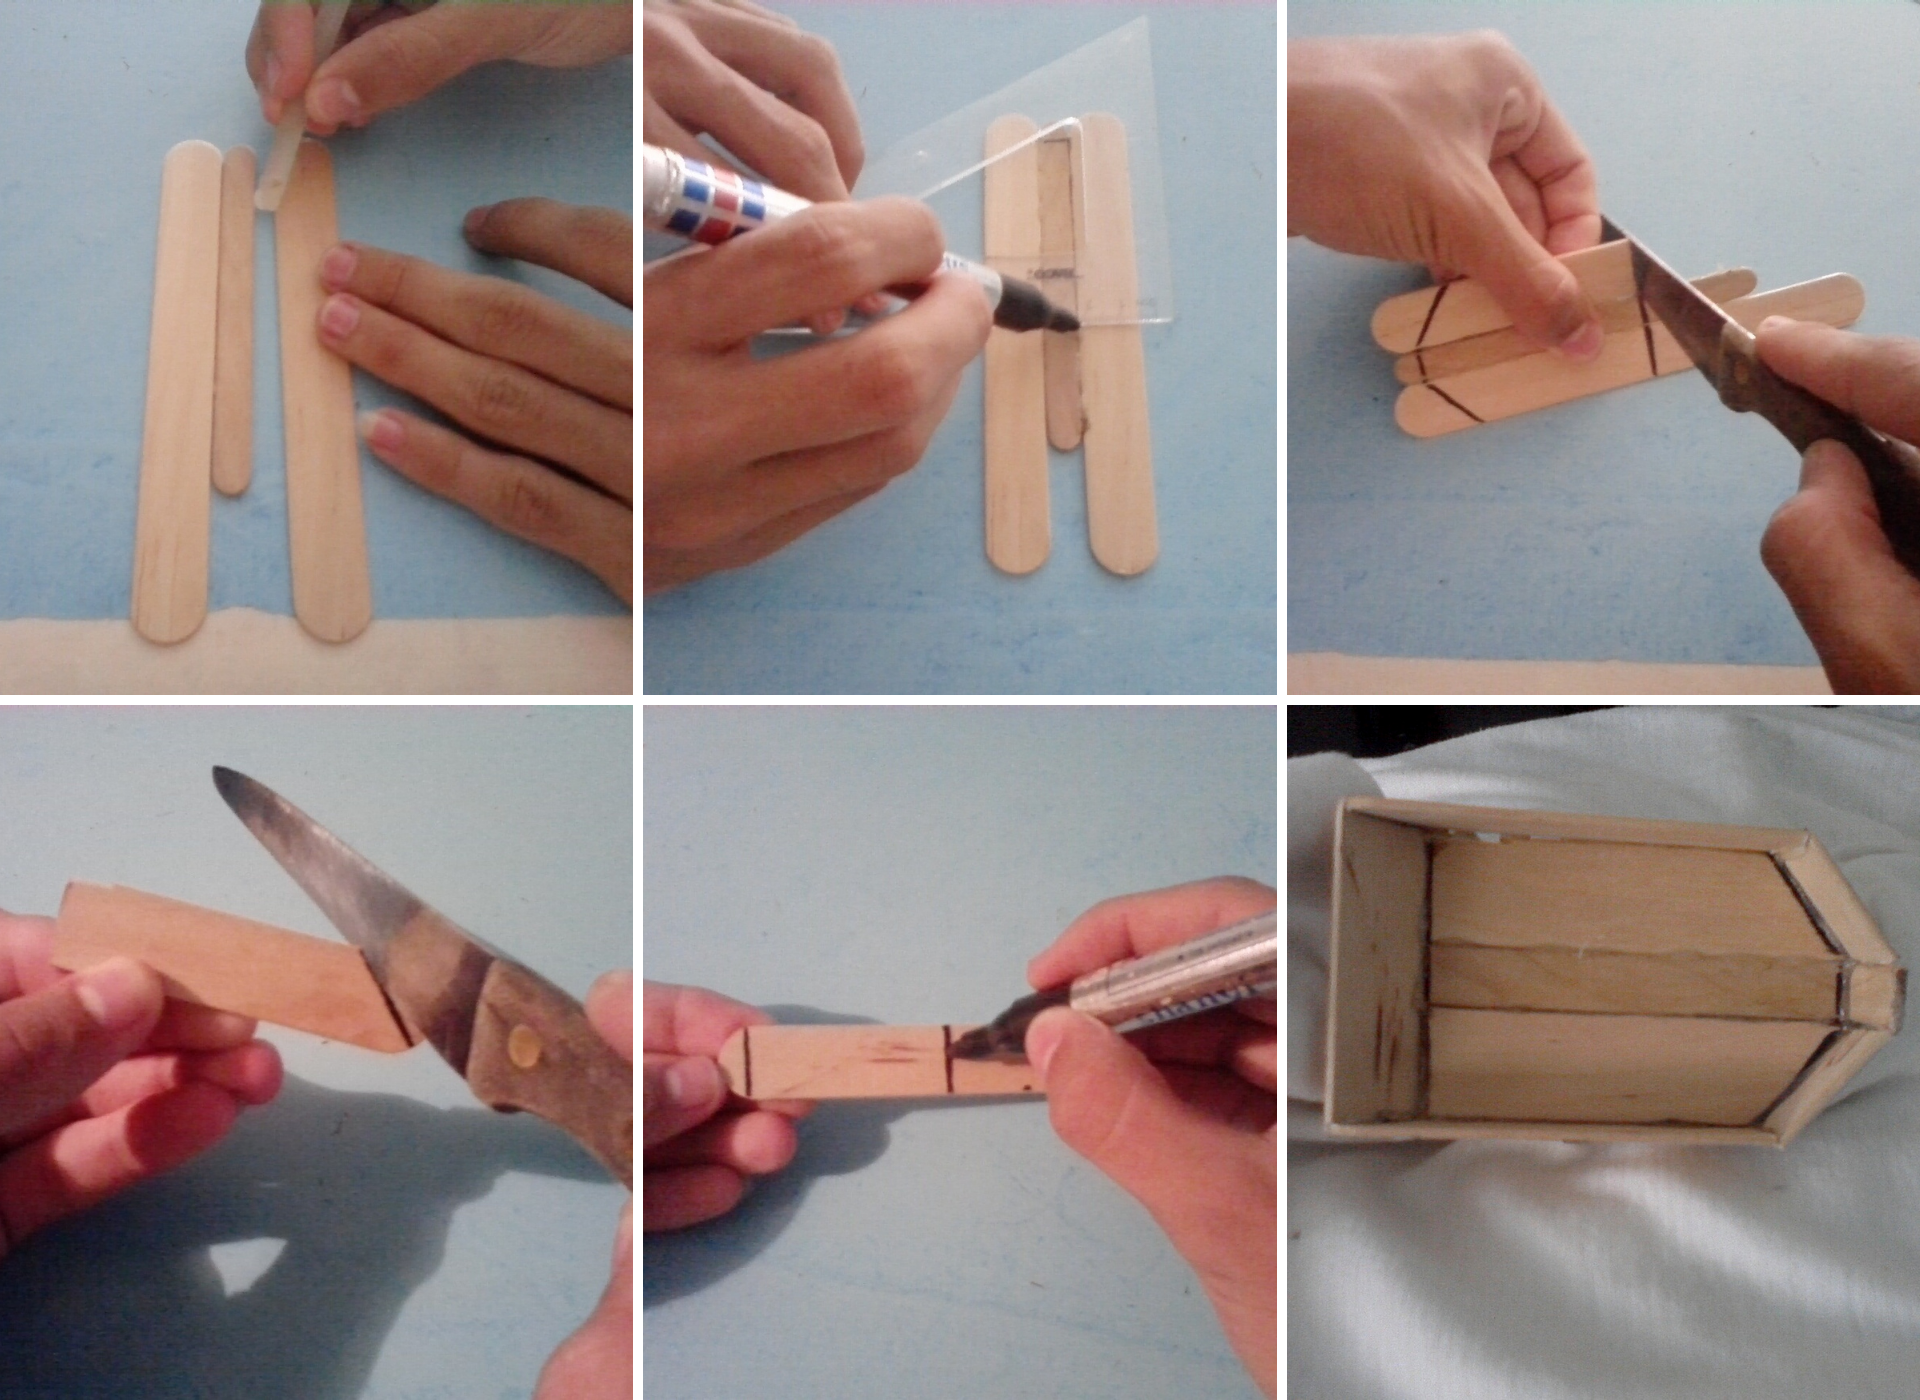
- pegamos con silicon las dos paletas gruesas, junto con una delgada en el medio, luego marcamos la forma de la carretilla, y lo recortamos con la ayuda del cuchillo, este vendría siendo el fondo de la carretilla. Ahora cortamos los laterales y la parte de atrás, junto los tres pedacitos para pegarlo adelante, con las otras dos paletas.
English
Step 1:
- We glue with silicone the two thick pallets, together with a thin one in the middle, then we mark the shape of the wheelbarrow, and we cut it out with the help of the knife, this would be the bottom of the wheelbarrow. Now we cut the sides and the back, together the three little pieces to glue it in the front, with the other two pallets.

Español
Paso 2:
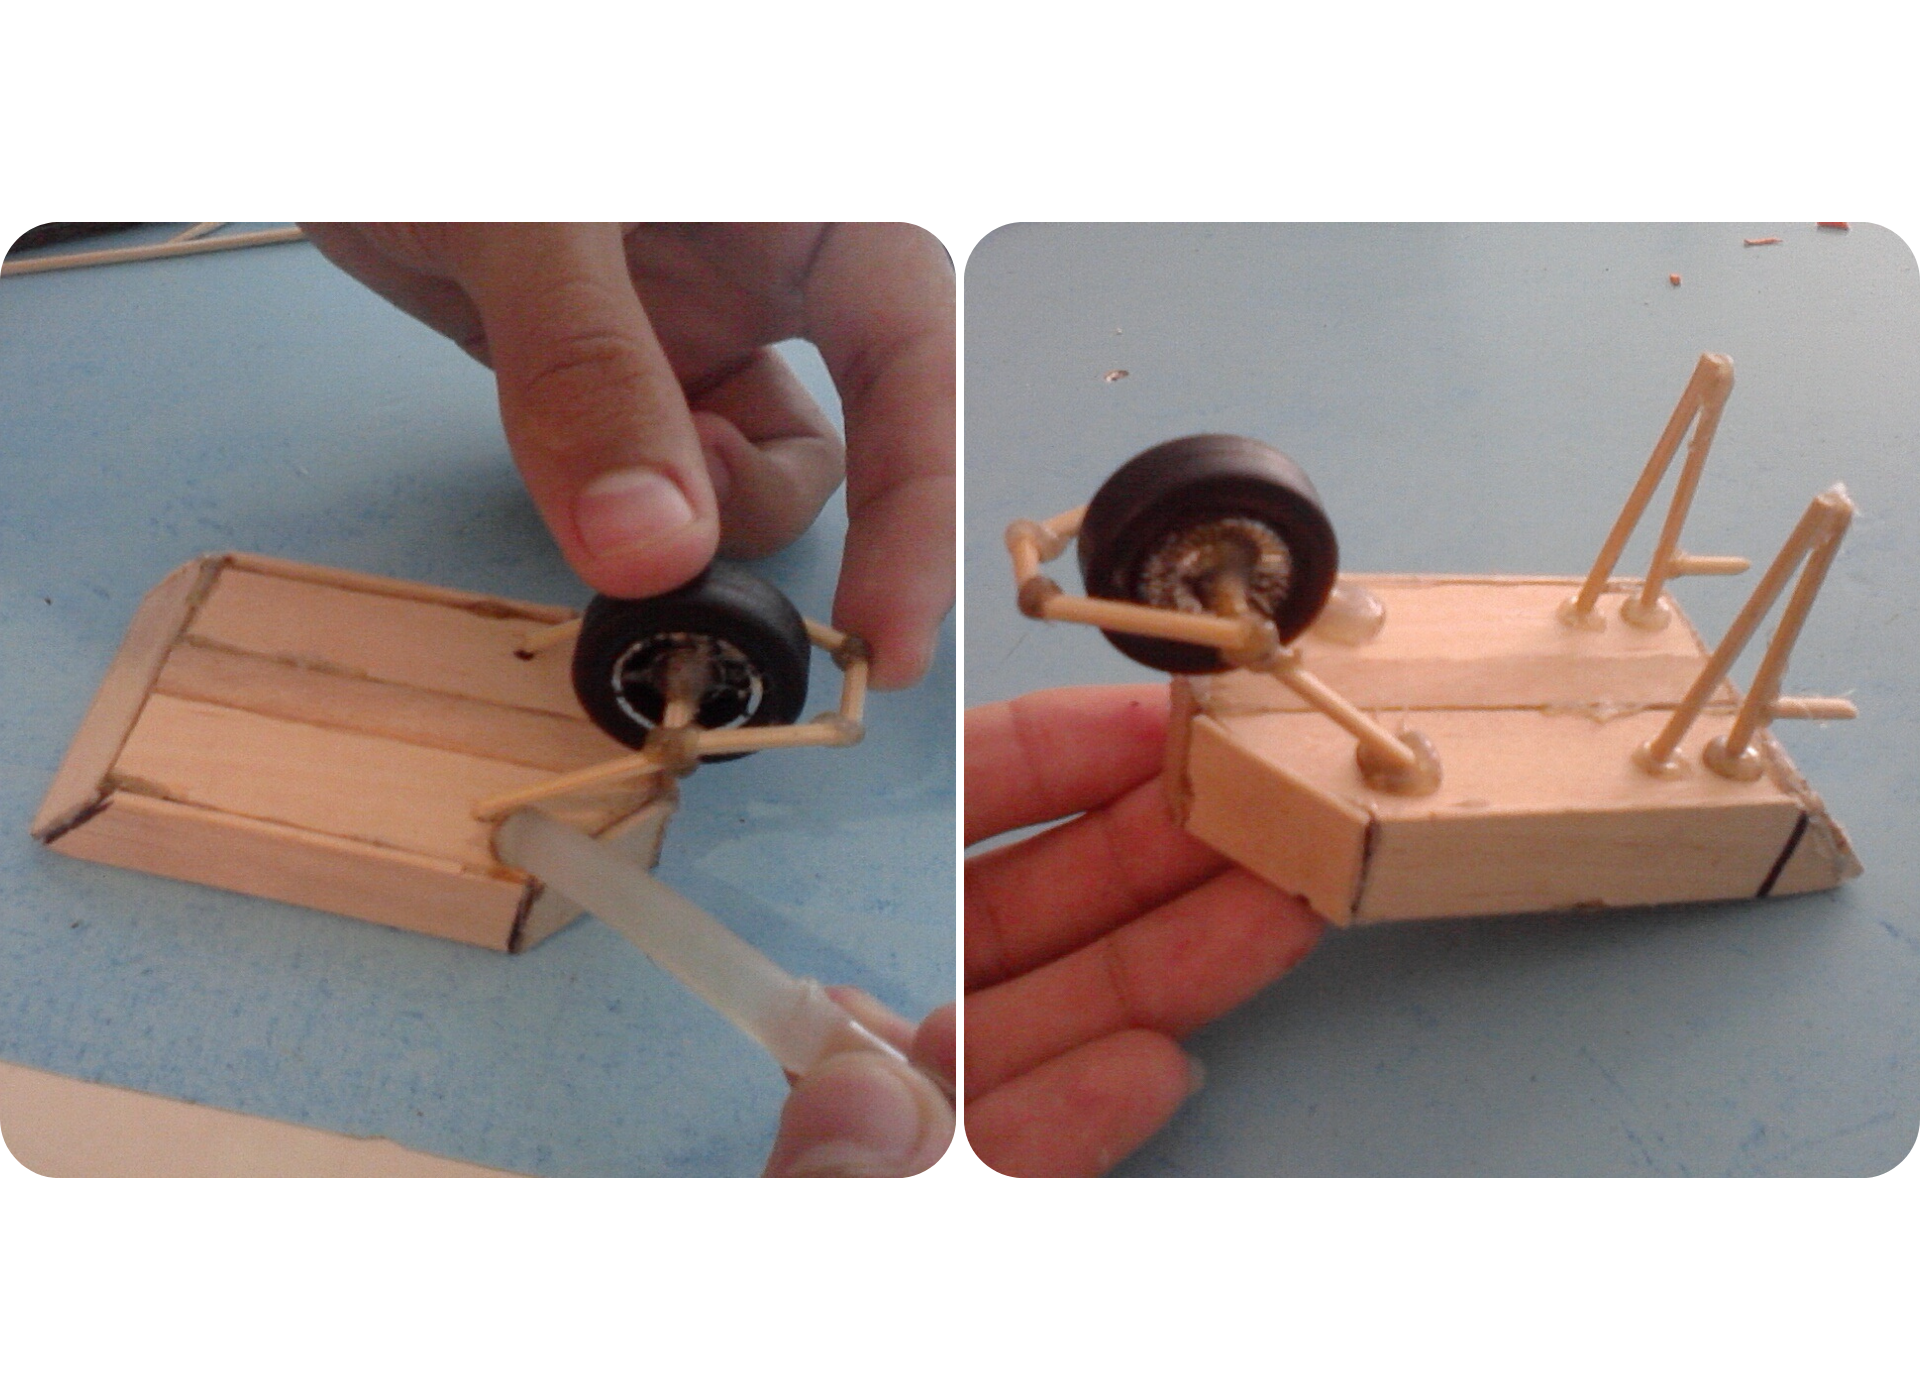
- Aquí cortamos los palillos de altura, dependiendo del tamaño del caucho y la carretilla, primero introducimos un pedacito de 3 cm del palillo en el centro del caucho, para después pegar los otros pedacitos.
English
Step 2:
- Here we cut the sticks in height, depending on the size of the rubber and the wheelbarrow, first we insert a 3 cm piece of the stick in the center of the rubber, then we glue the other pieces.
Español
Paso 3:
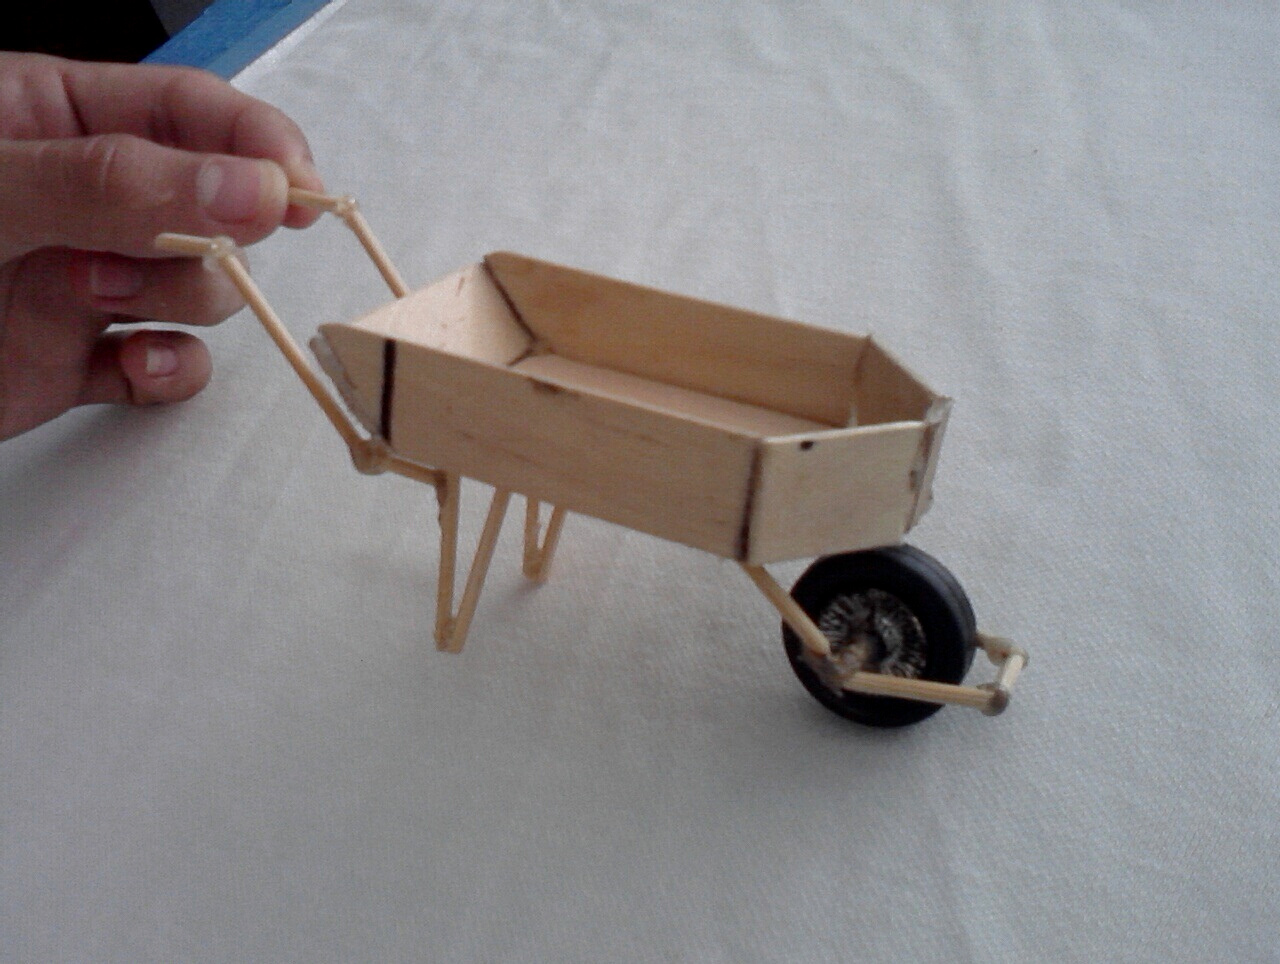
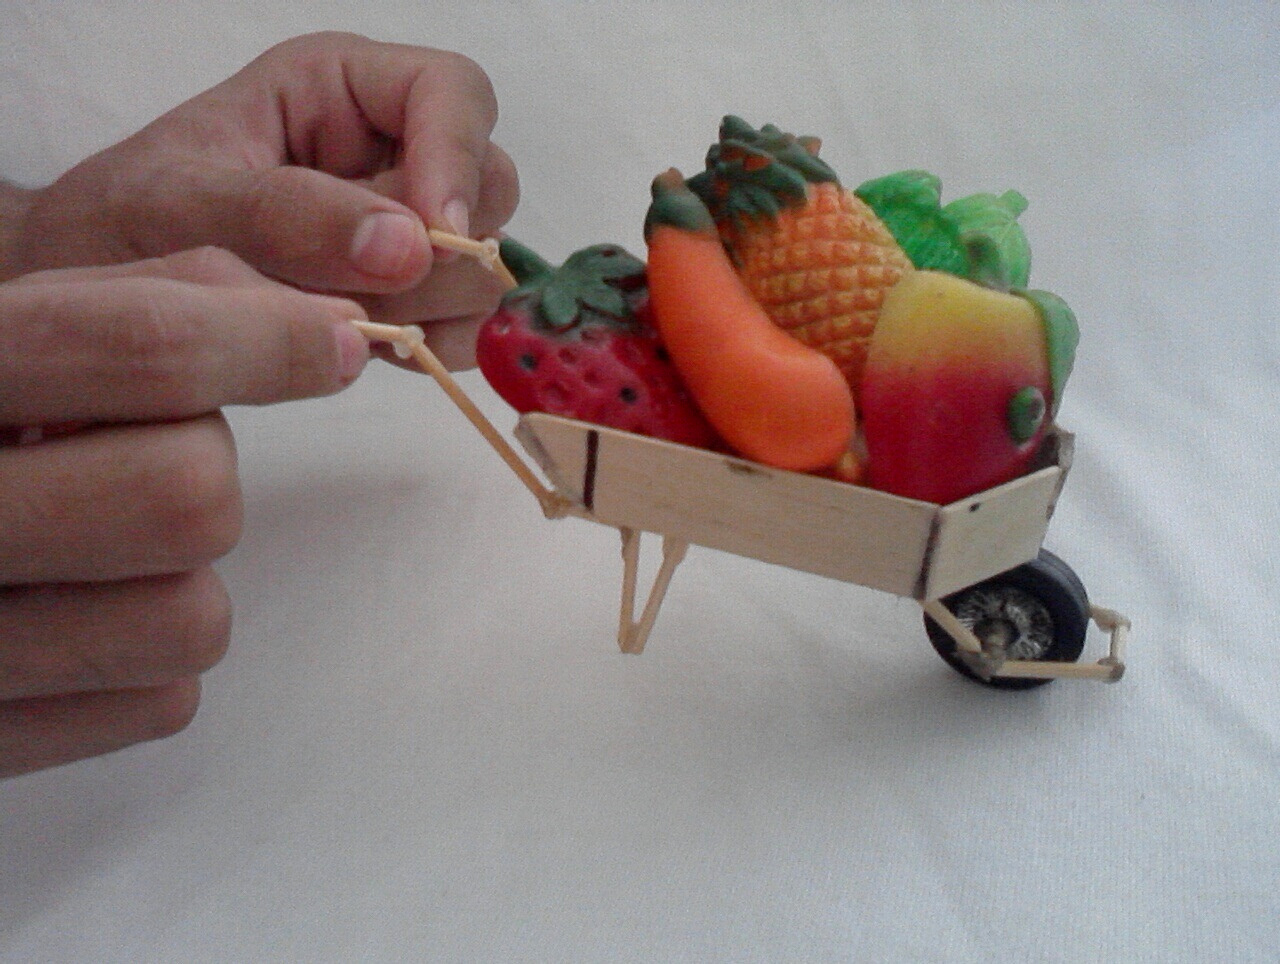
- pegamos la armadura con el caucho, luego los soporte de atrás de la carretilla pegando los palillos en forma triangular, y terminamos pegando las asas de la carretilla.
English
Step 3:
- We glue the armature with the rubber, then the back support of the wheelbarrow by gluing the sticks in a triangular shape, and we finish by gluing the handles of the wheelbarrow.
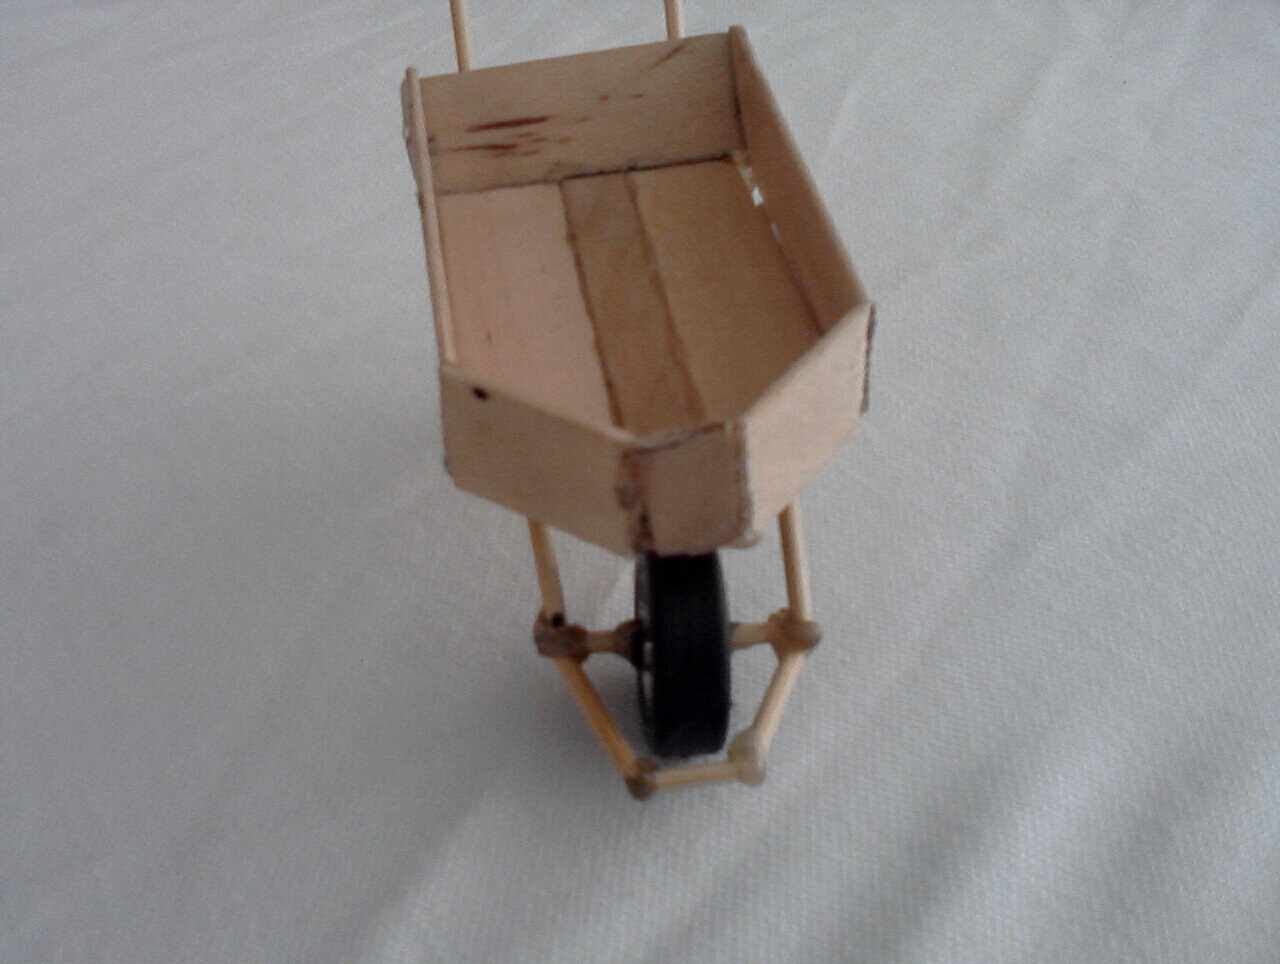
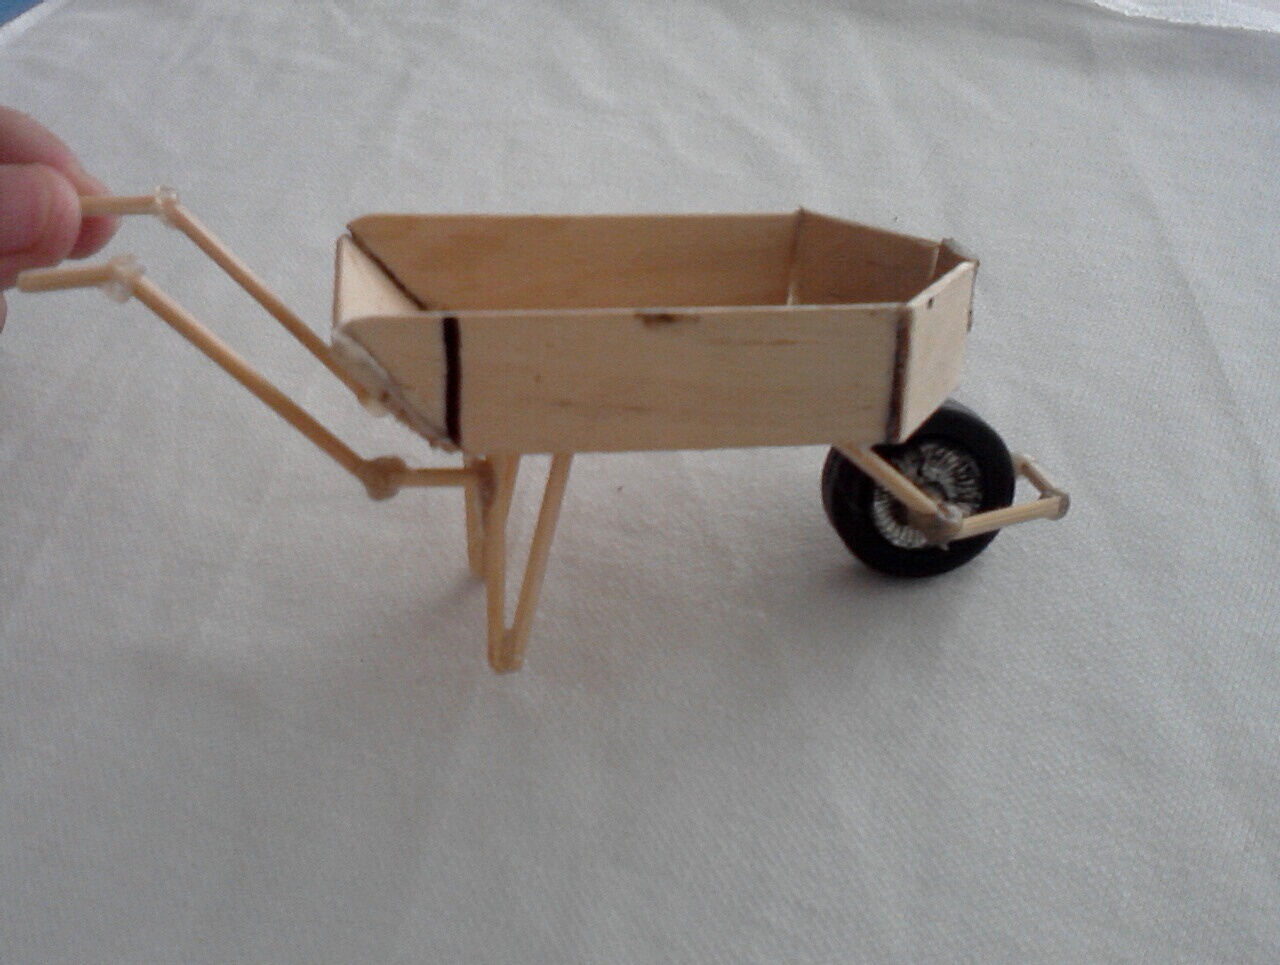
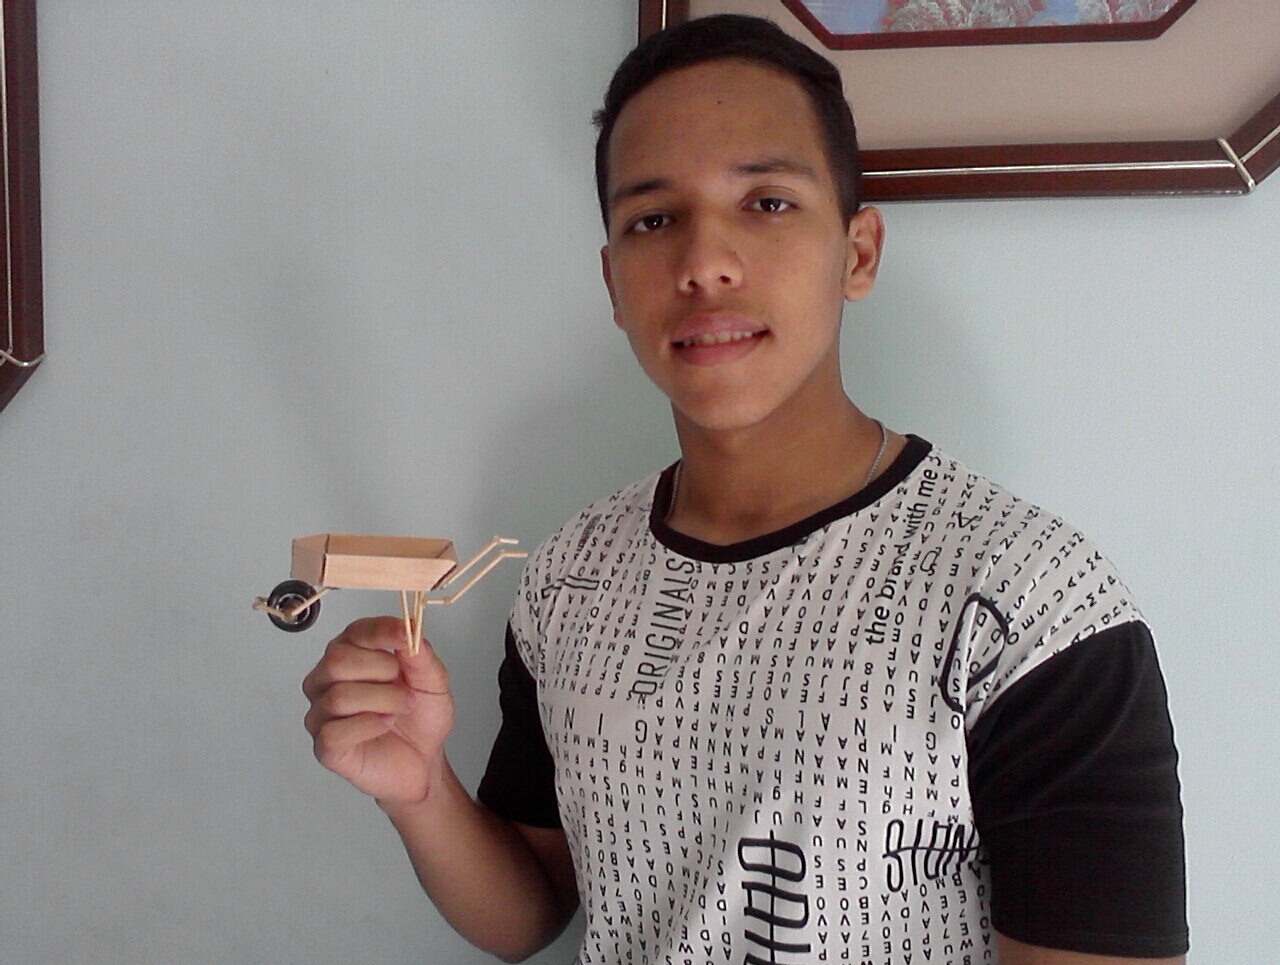
Espero les guste, así quedo mi resultado final.
I hope you like it, this is my final result.
.png)
.png)
.png)
.png)
.png)
.png)
Todas las fotos son de mi autoria y editadas con canva.
All photos are my own and edited with canva.

0
0
0.000
¡¡¡¡¡Me encanta esa minicarretilla!!! Quedaría perfecta para una muñeca que tengo!!!😍😍😍😍😍 solo que tengo que improvisar porque no tengo una rueda ja ja excelente manualidad, muy hermosa. Buen trabajo!!!!😉