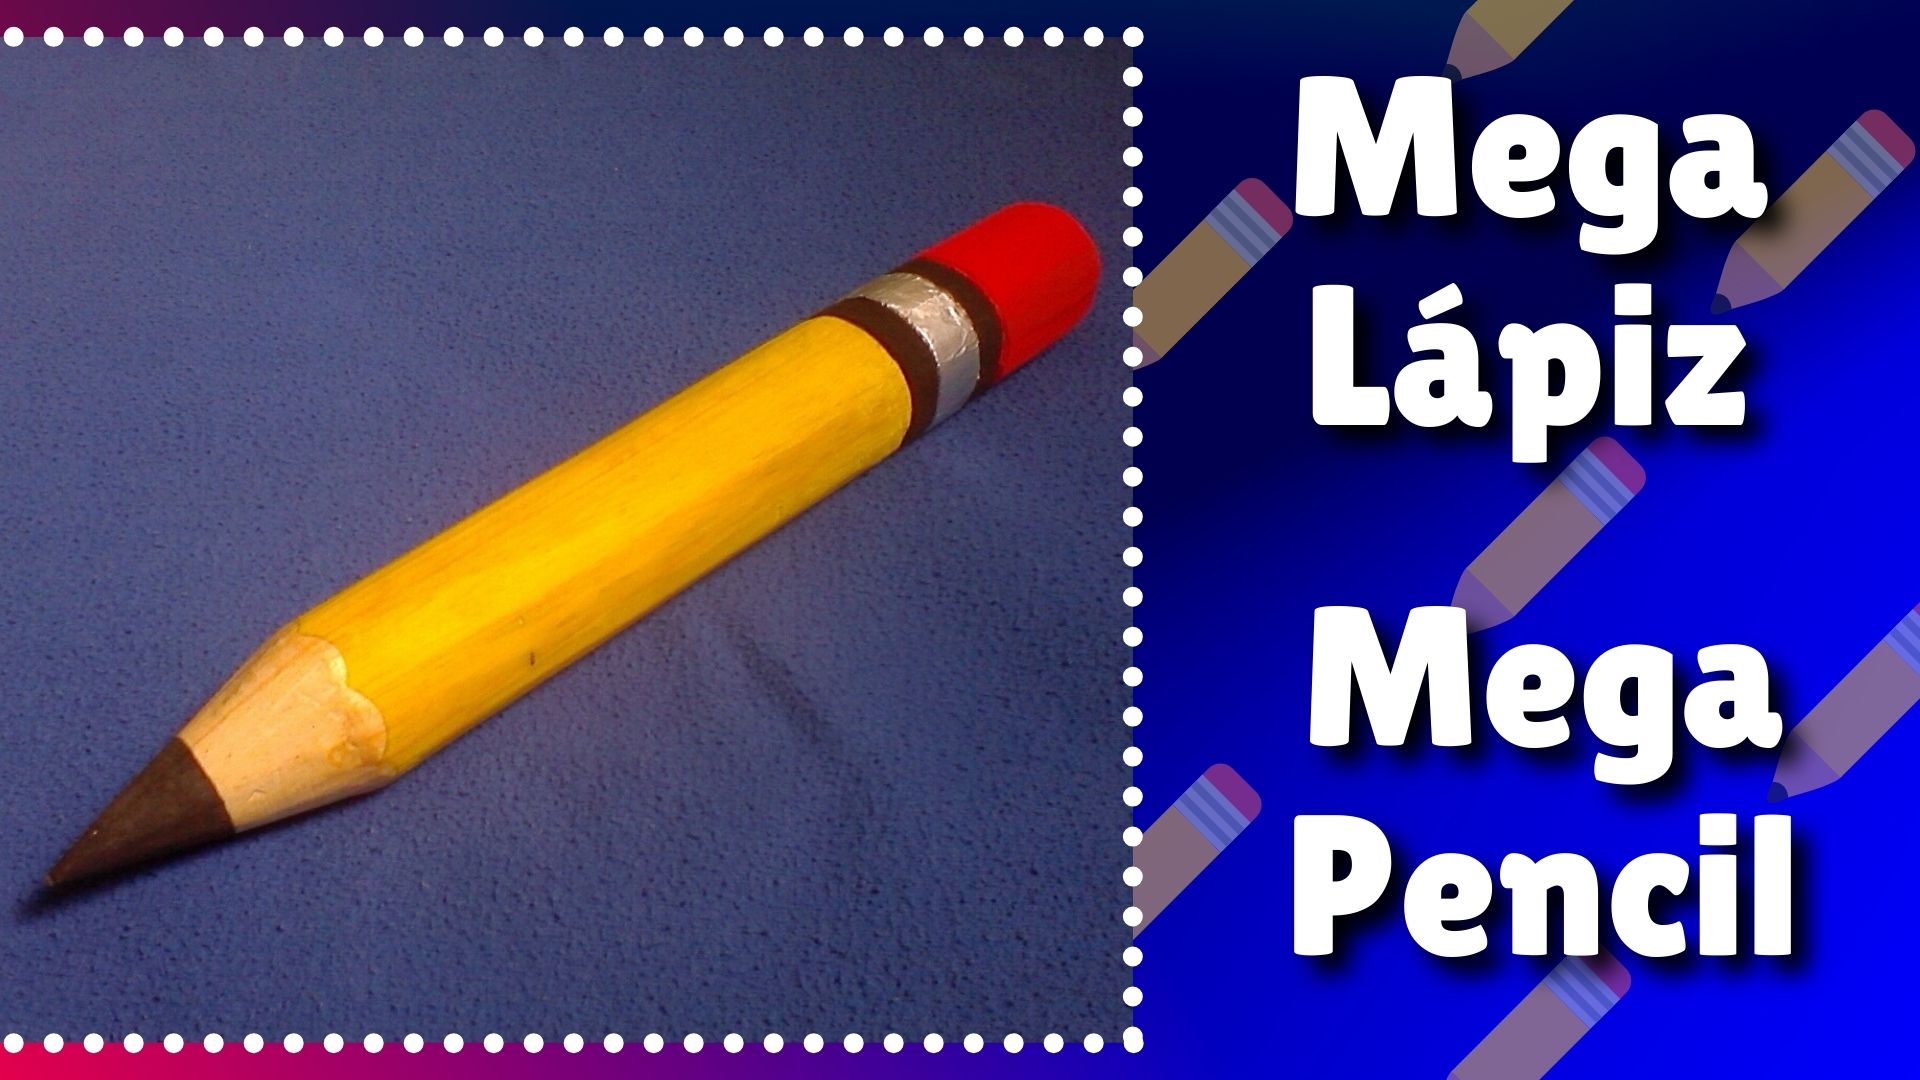
[ESP-ENG] Elaboración de un mega lápiz | Production of a mega pencil.
Veamos el paso a paso.
Good afternoon my friends of HIVE today as always I return to be with you, to share another new creativity that I started to make, with a piece of wood, and I started to make a mega pencil, it serves to decorate some space in the house.
Let's see the step by step.

Español
Materiales:
- 1 trozo de madera.
- Lija.
- Segueta.
- Cuchillo.
- Pincel.
- Lápiz.
- 1 pedacito de papel aluminio.
- Cepillo para madera.
- Pintura amarilla, roja y negra.
- Silicon.
English
Materials:
- 1 piece of wood.
- Sandpaper.
- Saw.
- Knife.
- Paintbrush.
- Pencil.
- 1 piece of aluminum foil.
- Wood brush.
- Yellow, red and black paint.
- Silicon.

Español
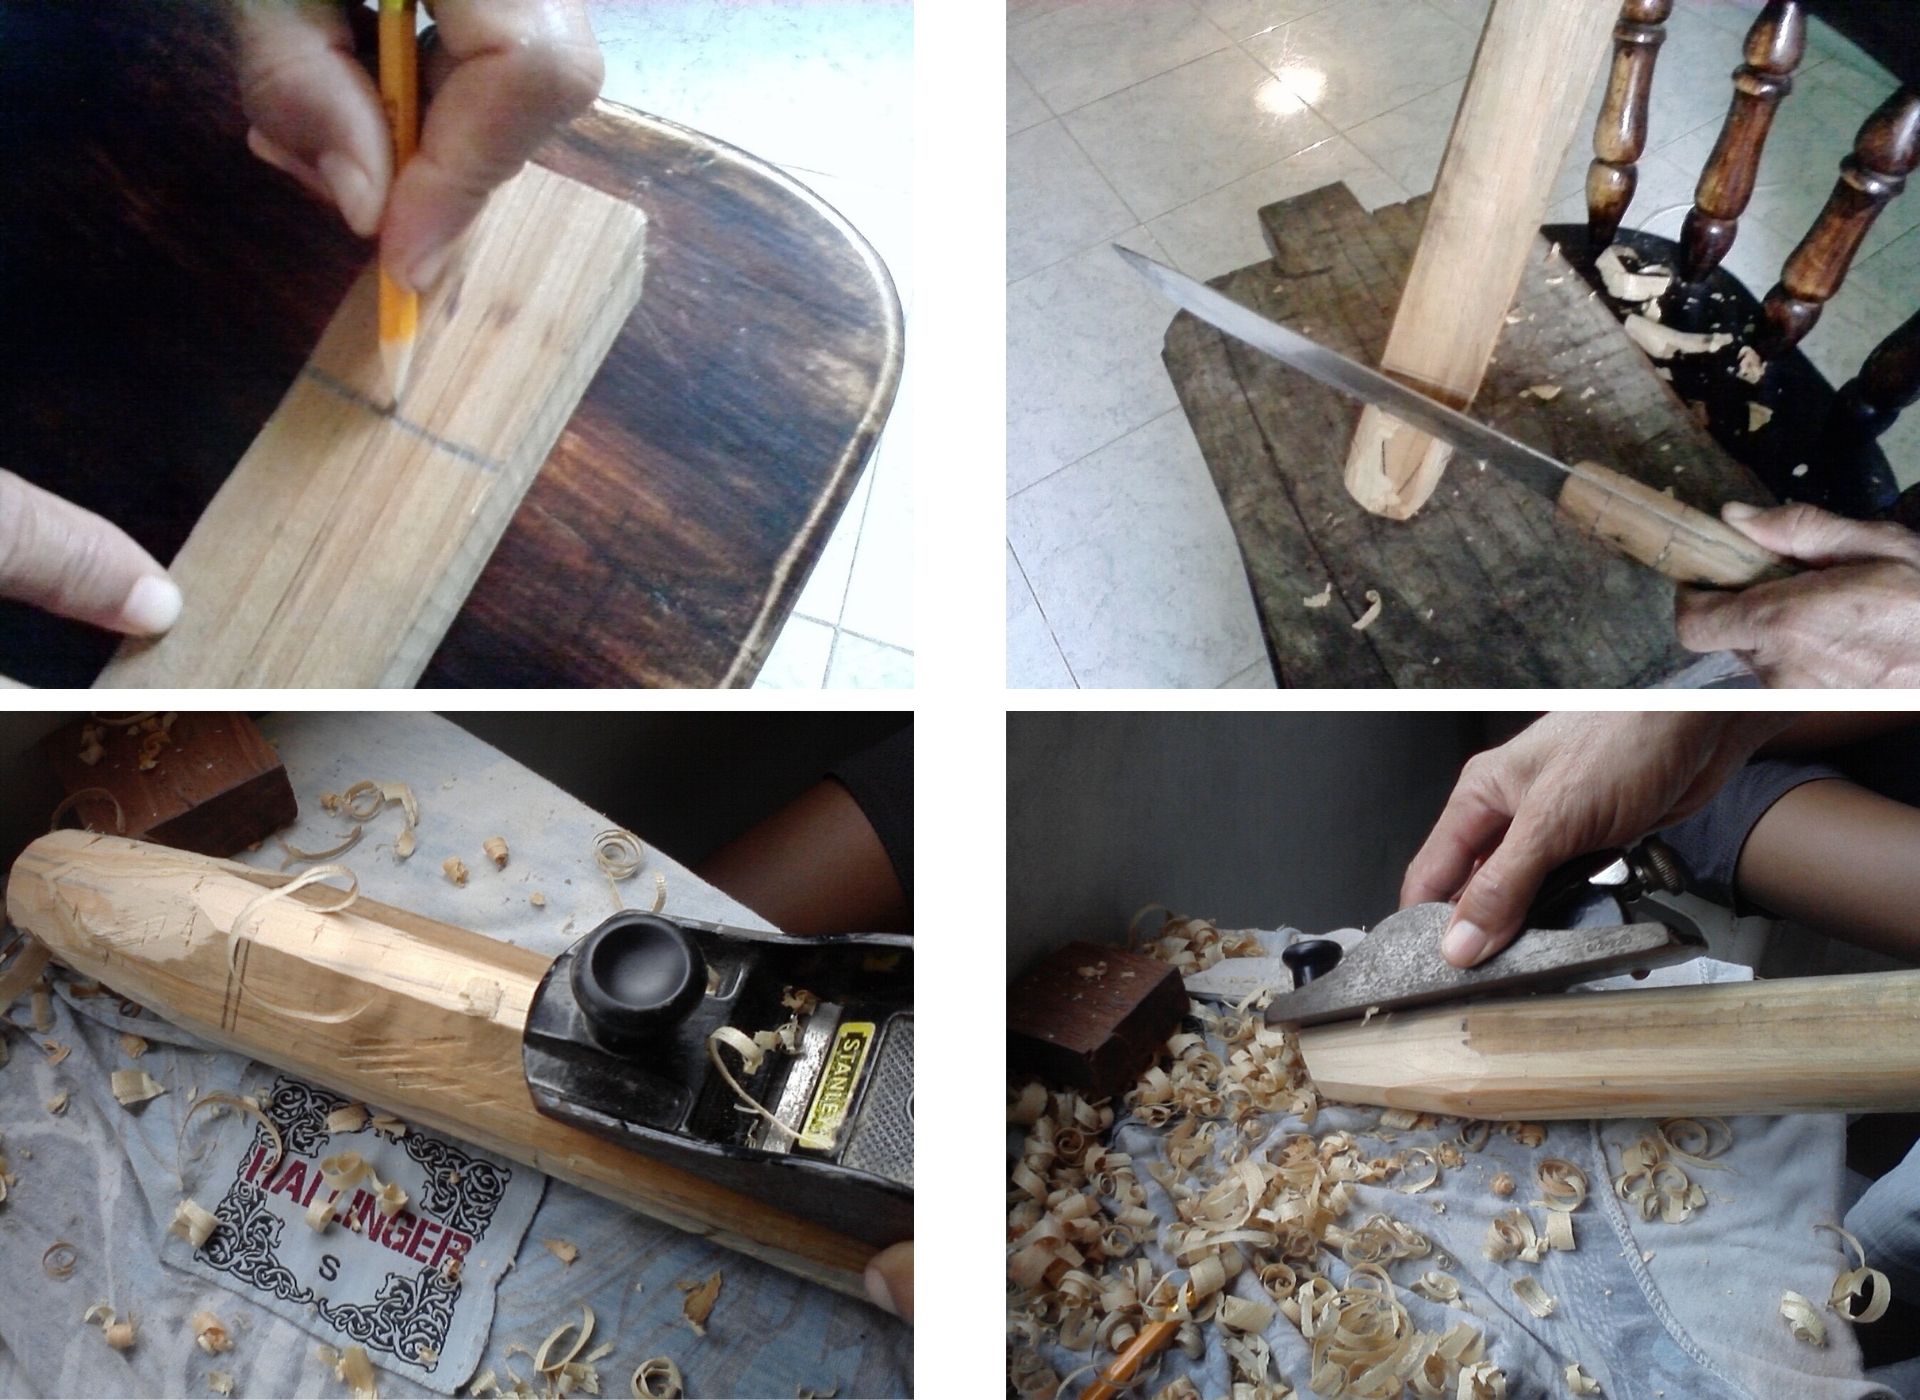
Paso 1:
El tamaño del trozo de madera es de 37 cm de largo, y 5 cm de grosor.
- Comienzo marcando la madera, del lado donde va ir la punta del lápiz , para luego con el cuchillo darle la forma a la punta, a una altura de 8 cm. Después le pasamos el cepillo, para ir dando la forma redonda al lápiz.
English
Step 1:
The size of the piece of wood is 37 cm long and 5 cm thick.
- I start by marking the wood, on the side where the pencil tip will go, and then with the knife I shape the tip, at a height of 8 cm. Then we pass the brush to give the pencil a round shape.
Español
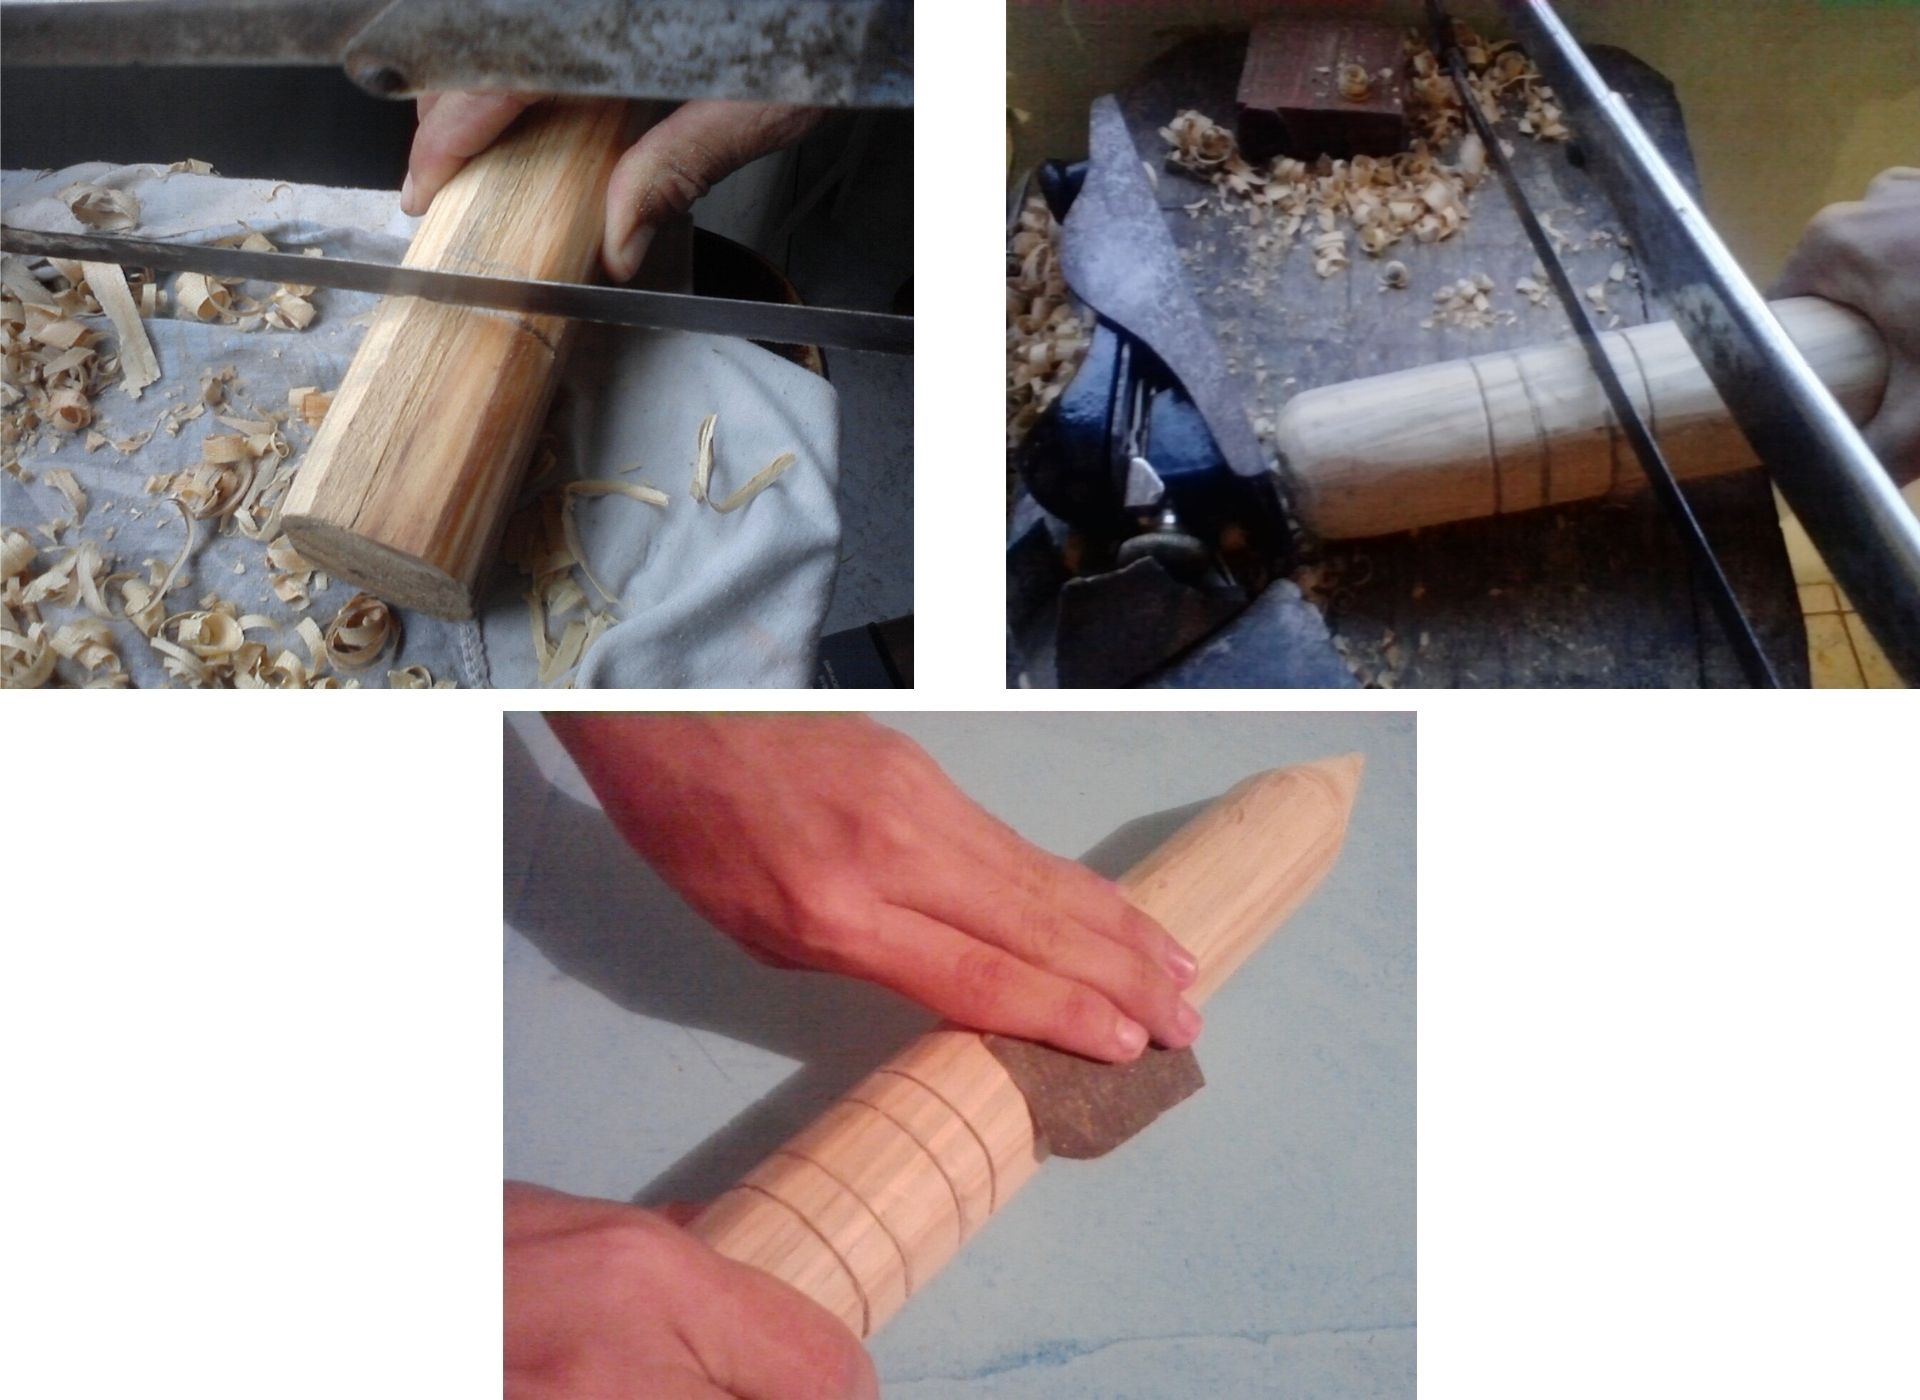
Paso 2:
- Ahora marcamos el otro lado de la madera y le abrimos una ranura con la segueta, a la altura de 6 cm, donde sera dibujada el borra. luego se le pasa lija.
English
Step 2:
- Now we mark the other side of the wood and we open a groove with the saw, at the height of 6 cm, where the bordure will be drawn. then we pass sandpaper.
Español
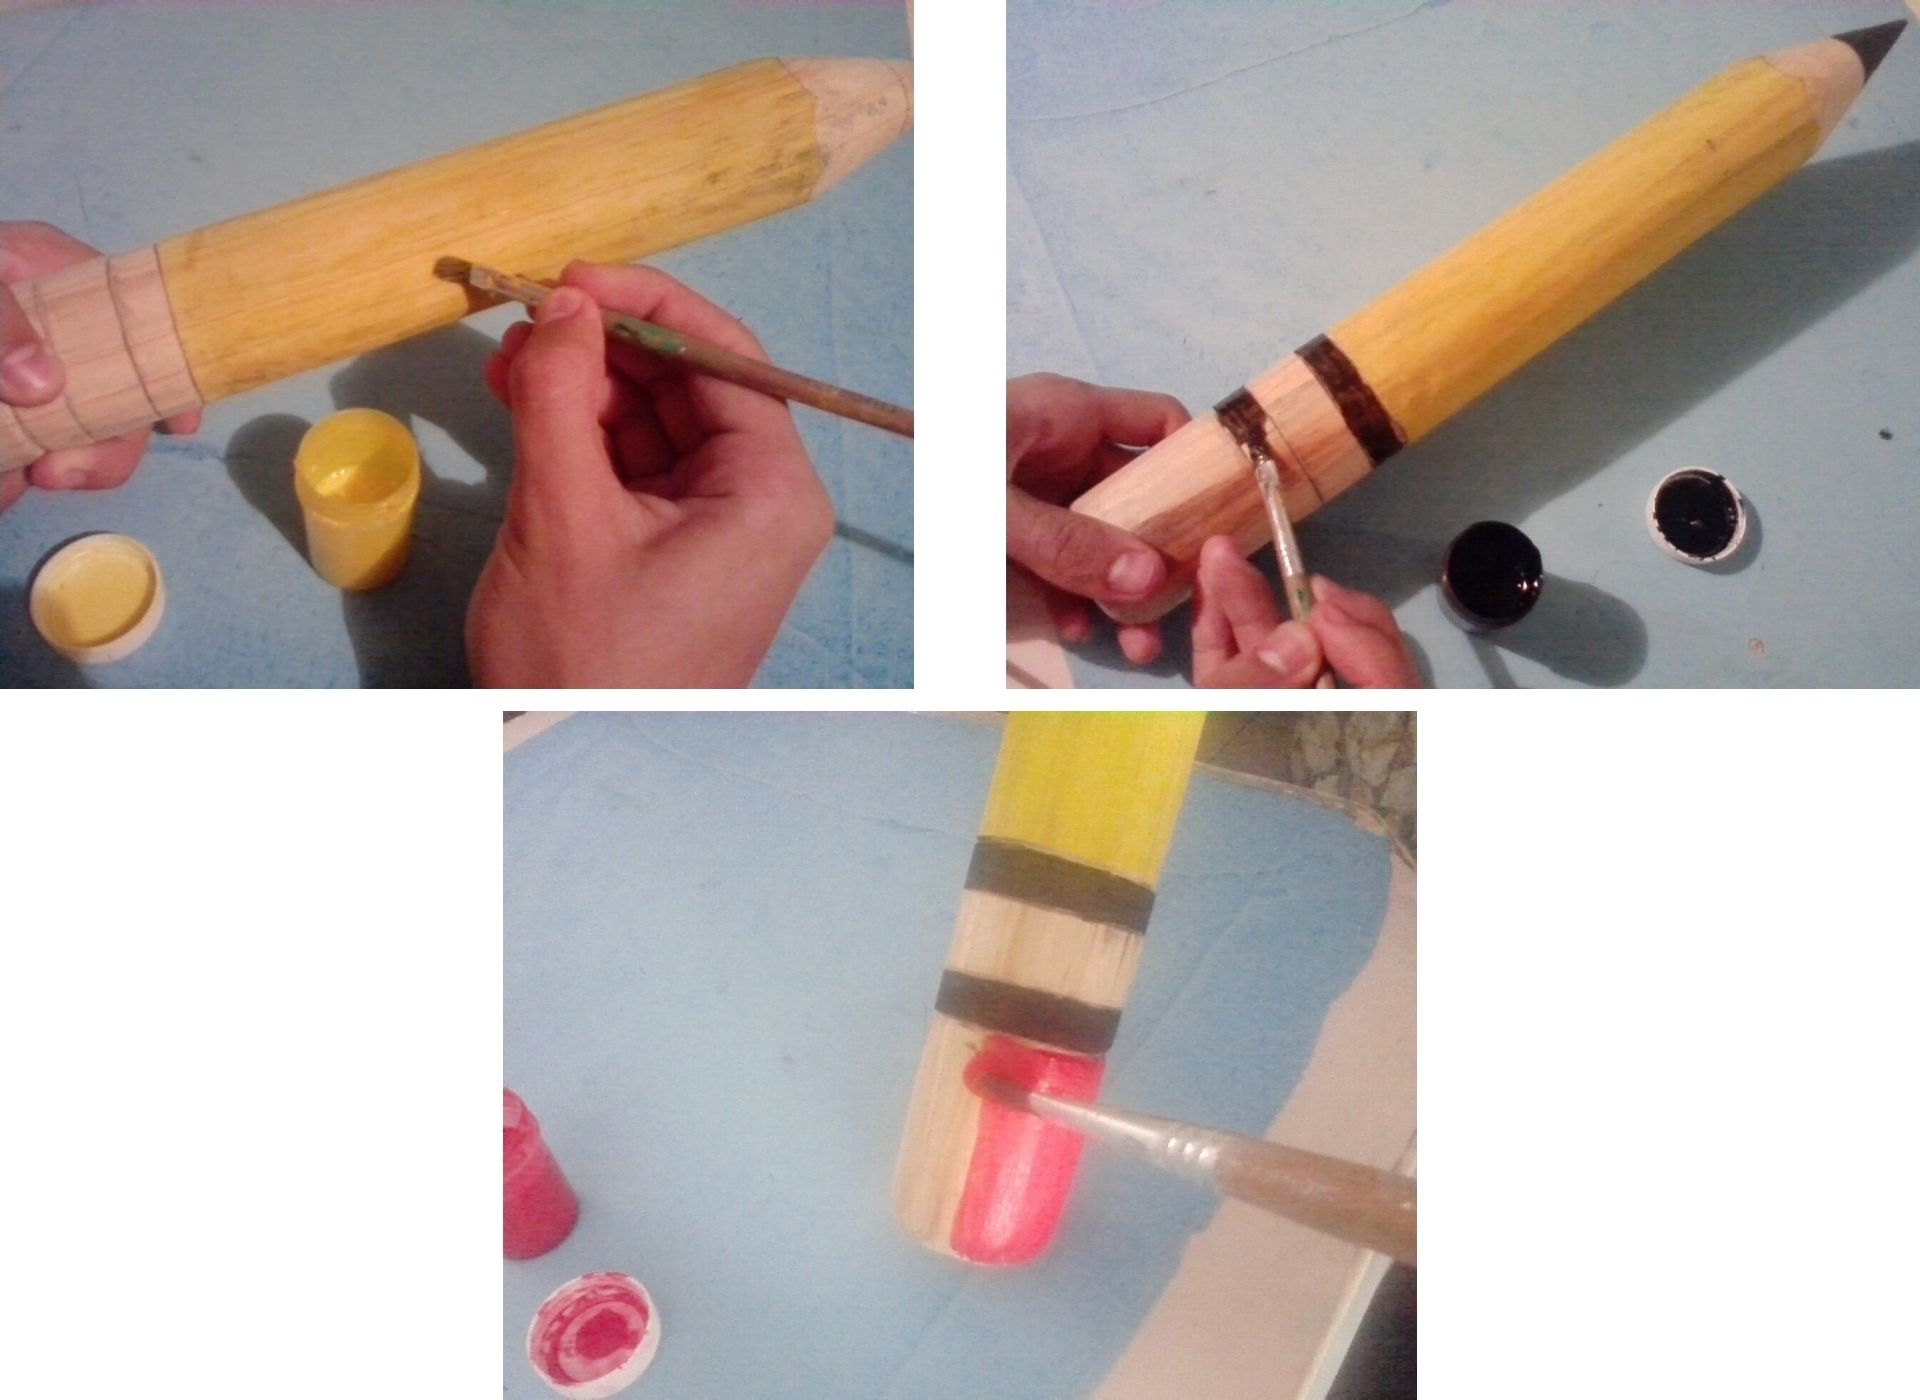
Paso 3:
- Seguidamente procedo a colorear el lápiz, comenzando con el color amarillo y después con el negro la punta y las lineas que separan a la borra y continuo con el rojo.
English
Step 3:
- I then proceed to color the pencil, starting with yellow and then with black the tip and the lines separating the eraser and continue with red.
Español
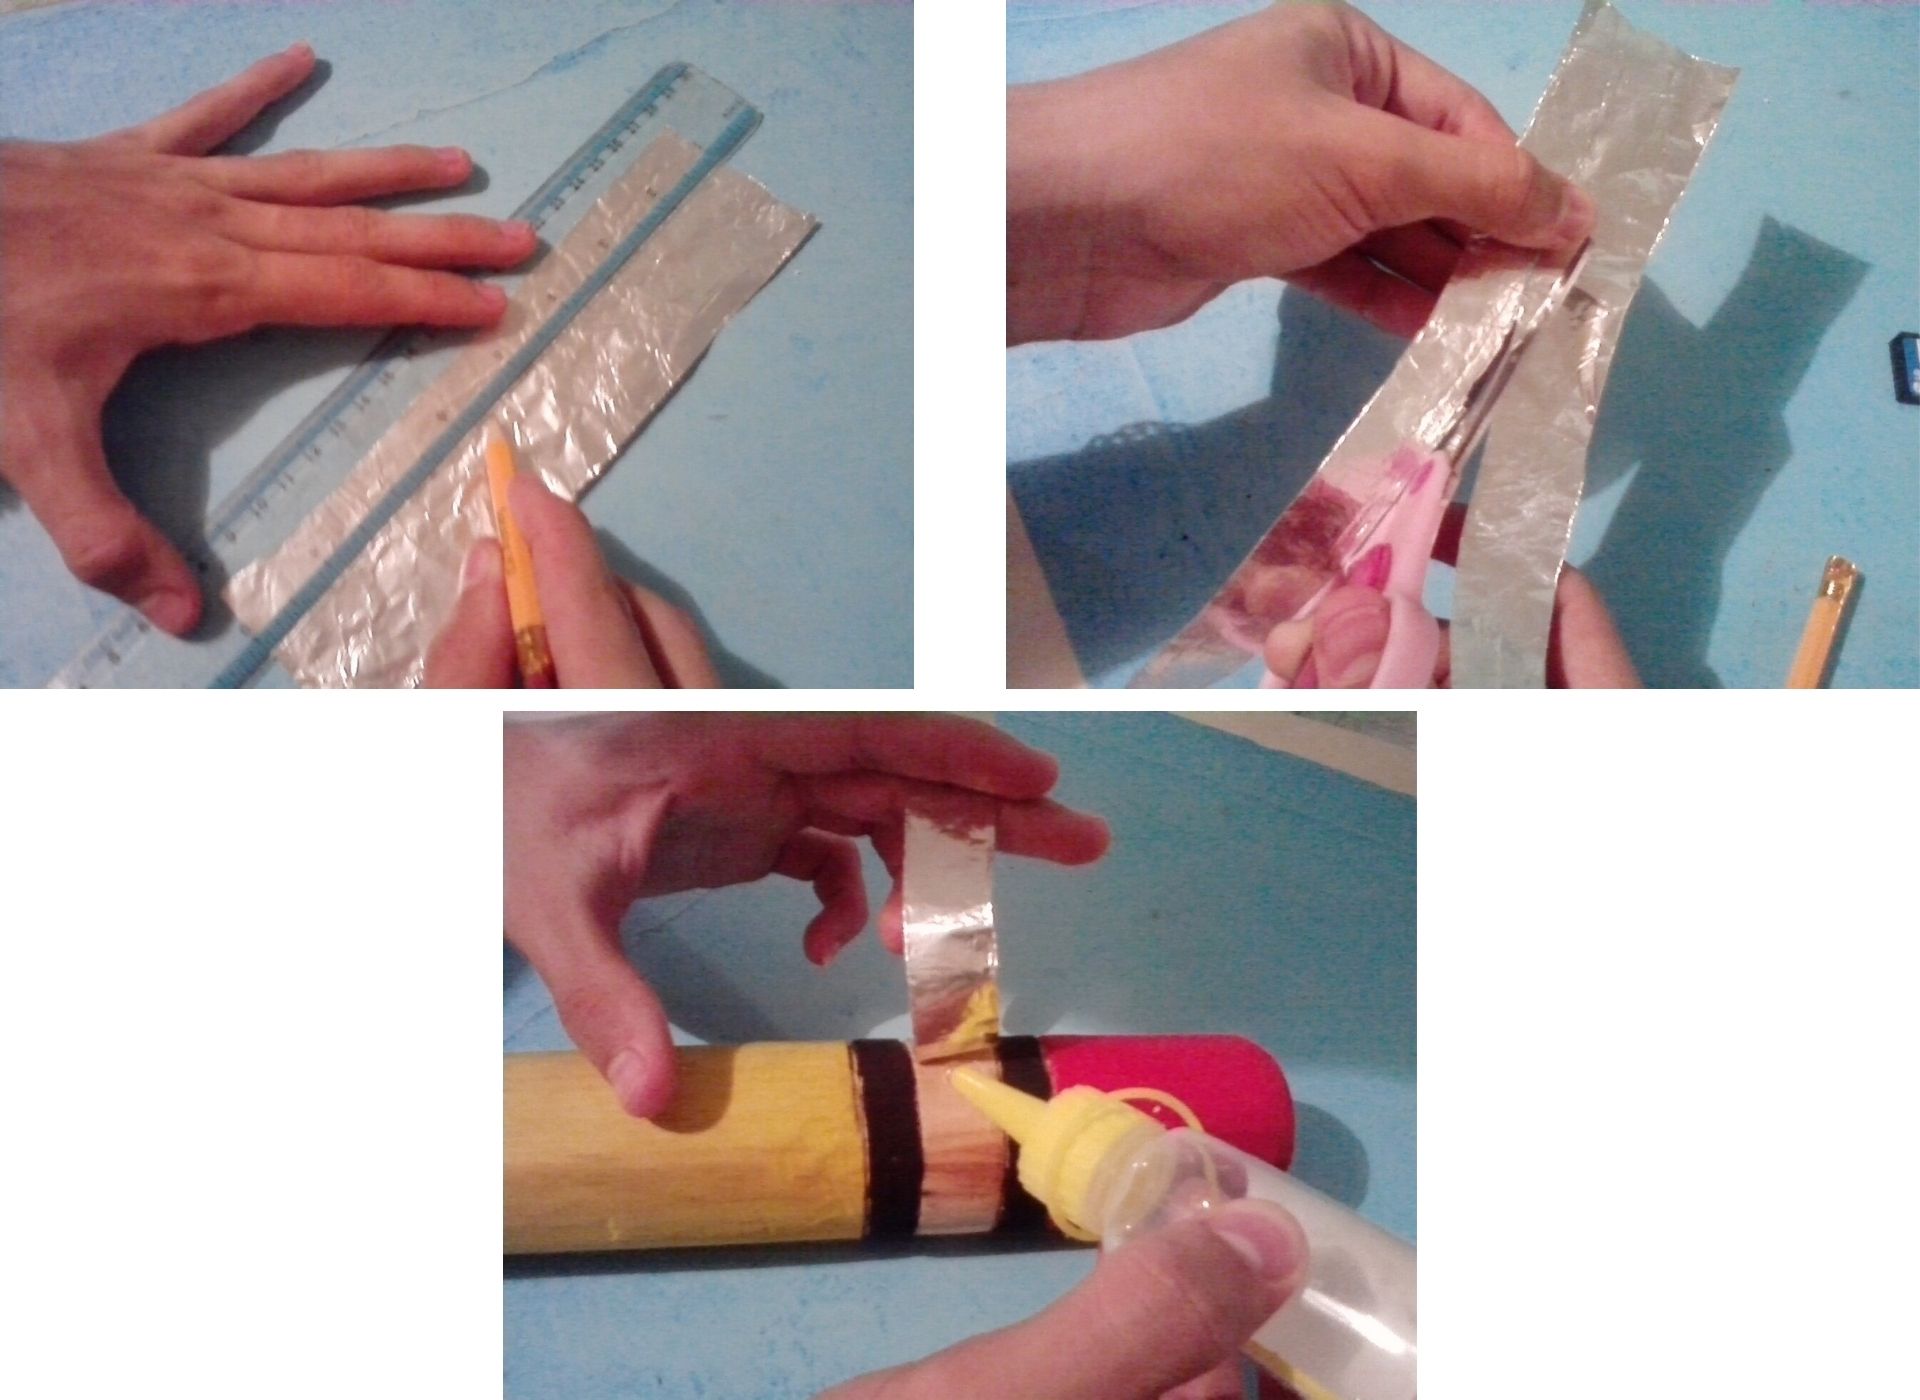
Paso 4:
- Para finalizar marco y recorto una tira de papel aluminio de 2 cm de ancho, para ser pegado con el silicon por todo el centro de las dos lineas negras.
English
Step 4:
- To finish I mark and cut out a 2 cm wide strip of aluminum foil, to be glued with the silicone all around the center of the two black lines.
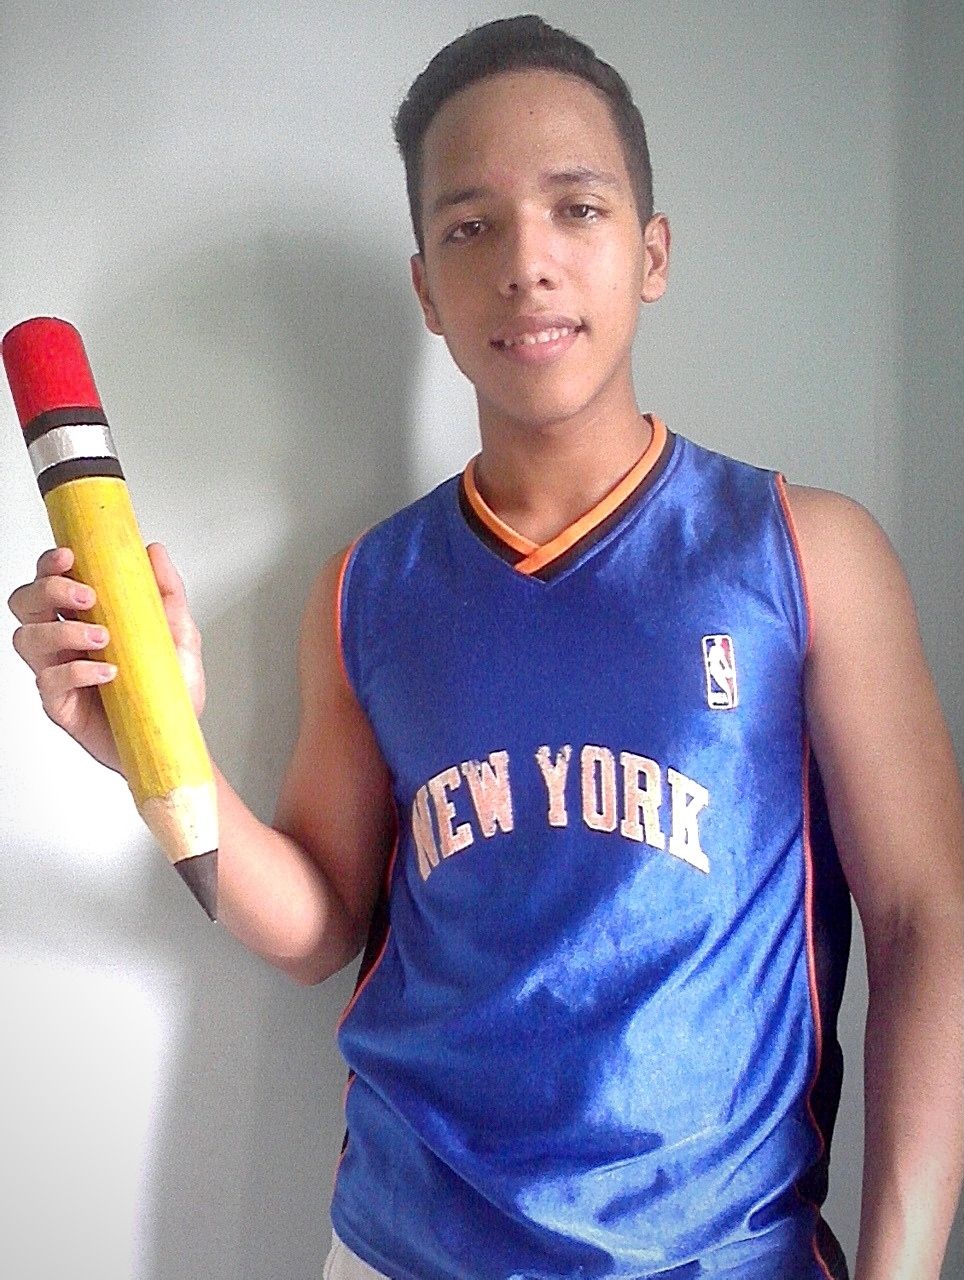
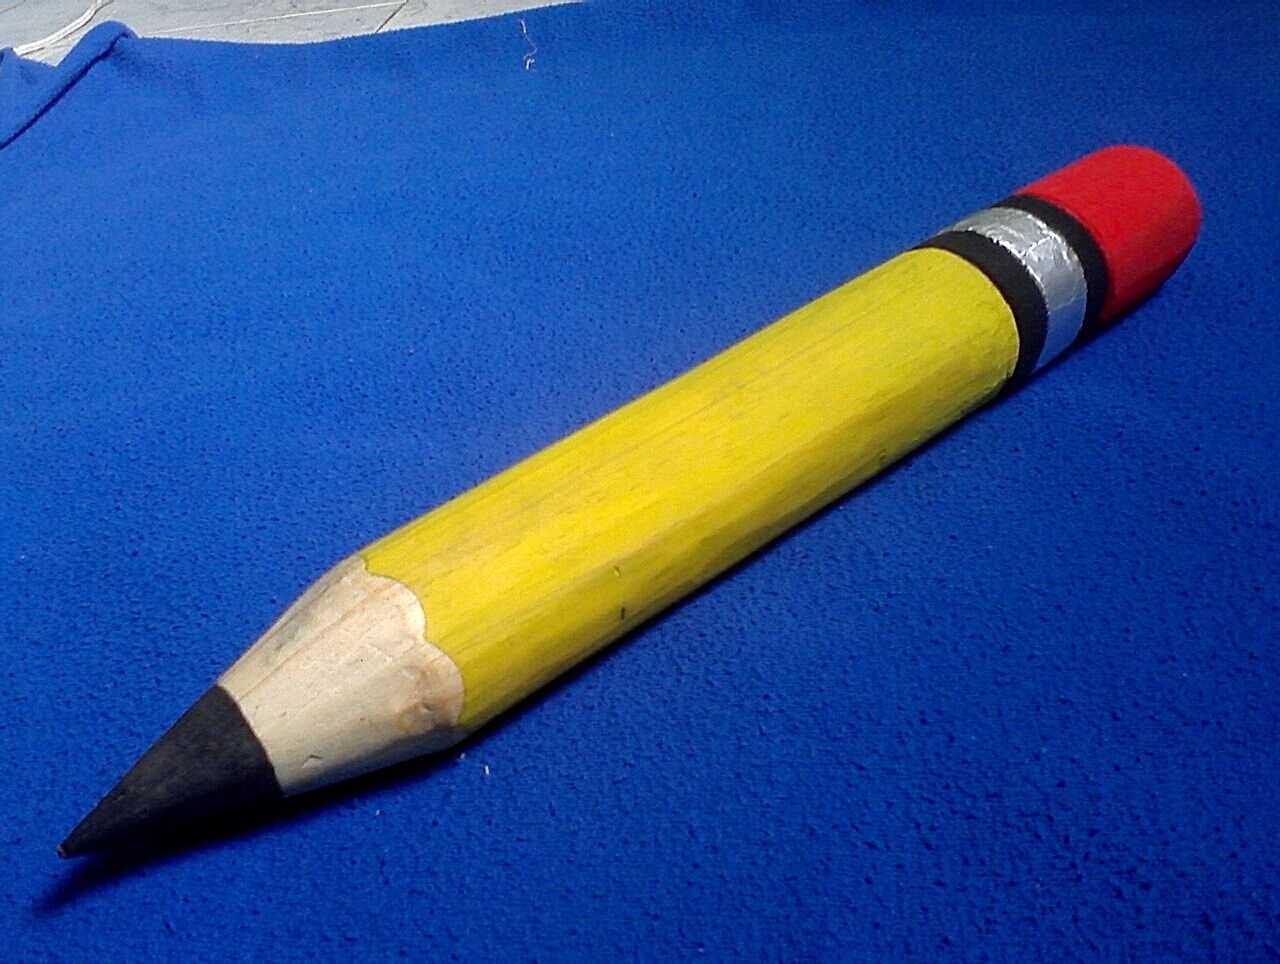
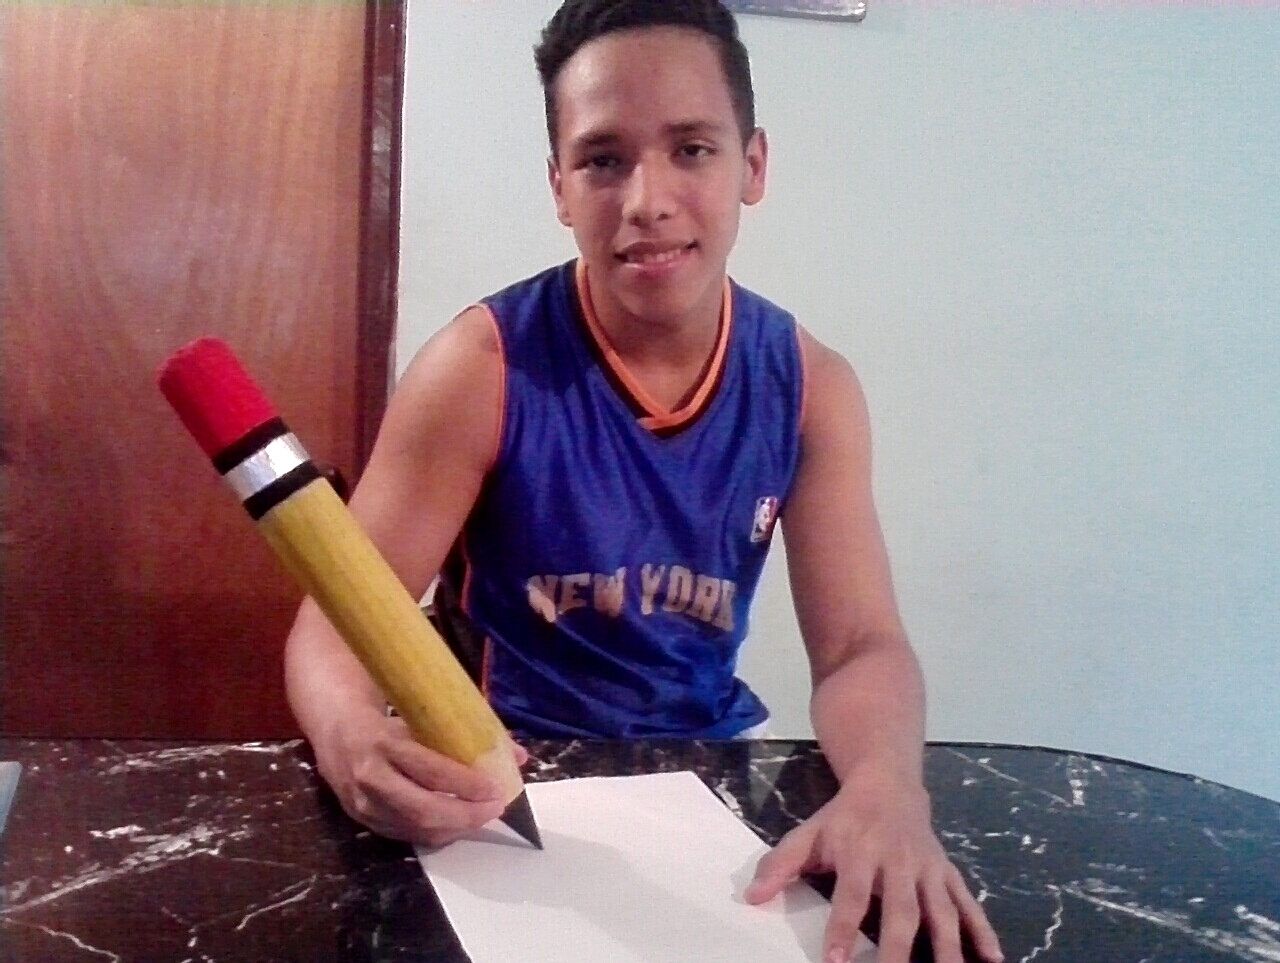
Así terminé realizando el mega lápiz.
This is how I ended up making the mega pencil.
.jpg)
.jpg)
.jpg)
Espero les aya gustado.
I hope you liked it.

0
0
0.000
0 comments