[ESP-ENG] Insecto elaborado con material reciclable | Insect made from recyclable material.
Aquí les dejo como lo elabore.
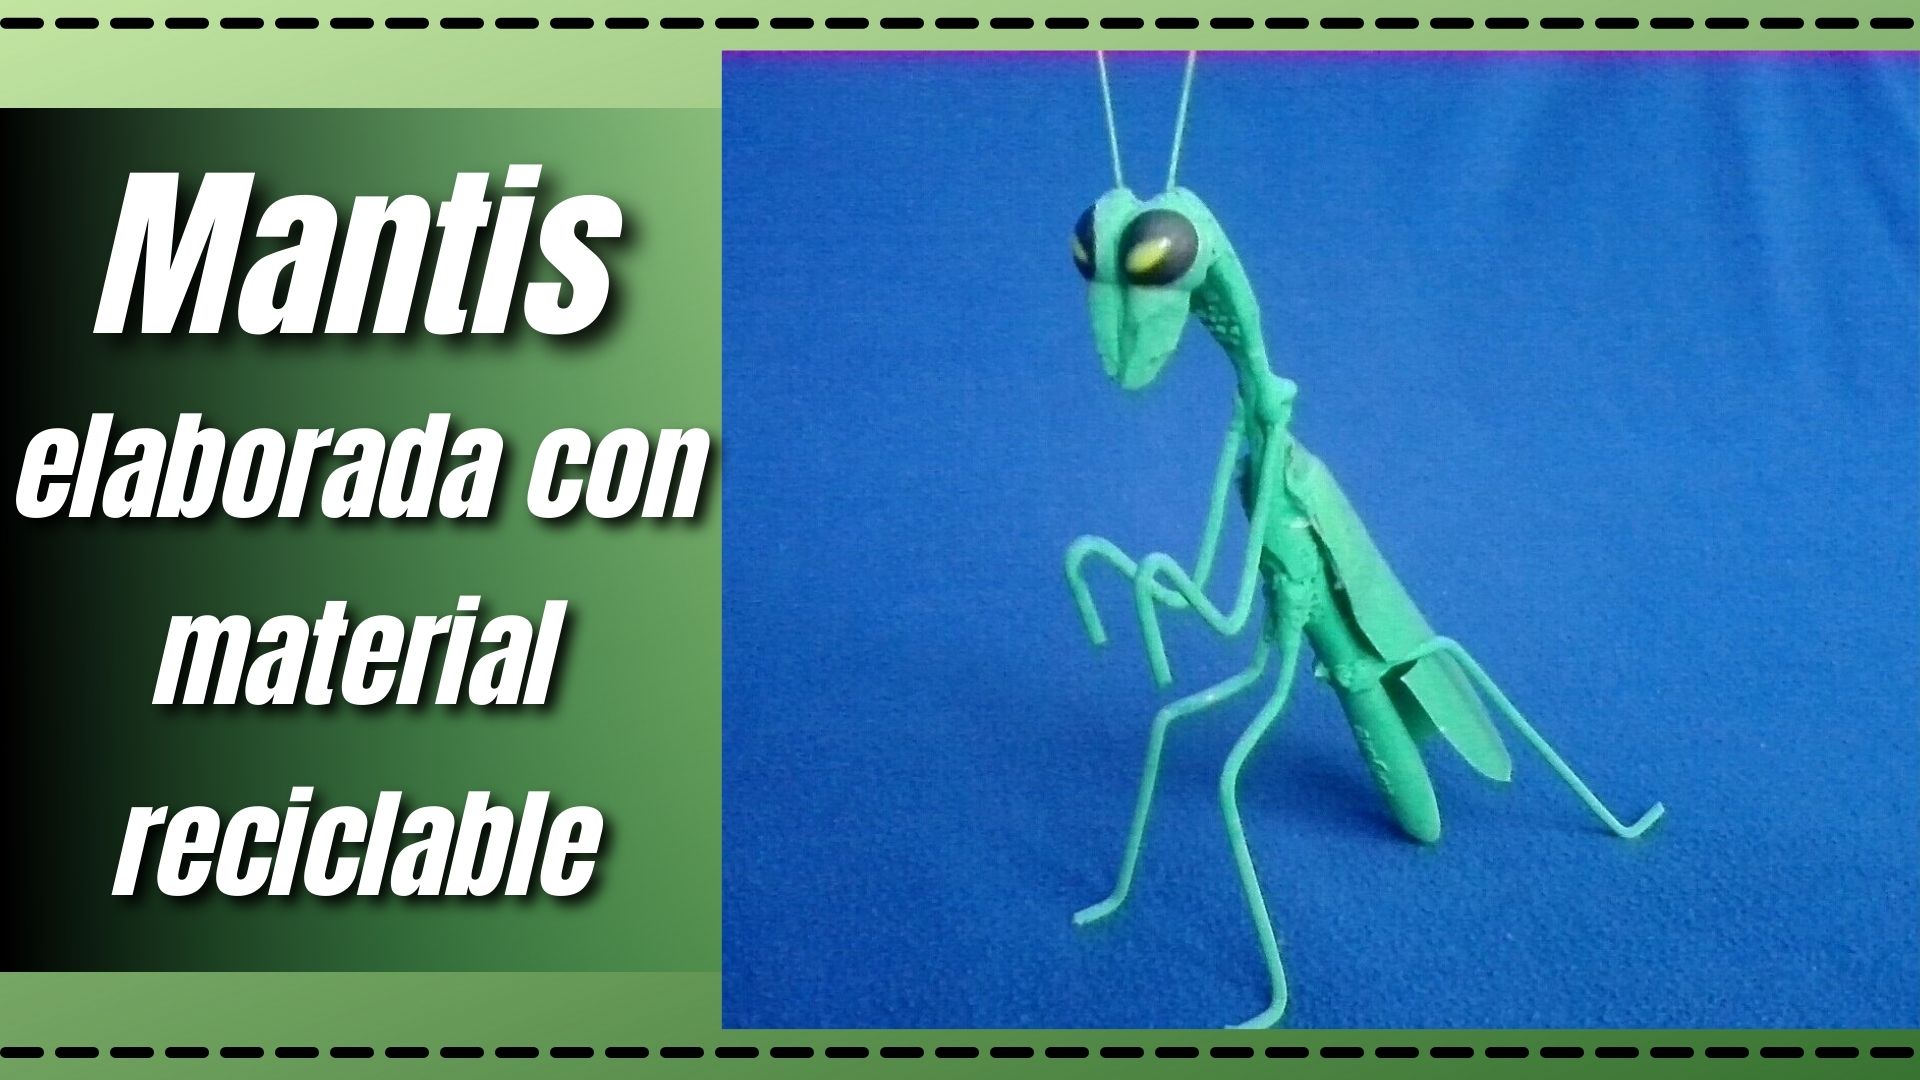
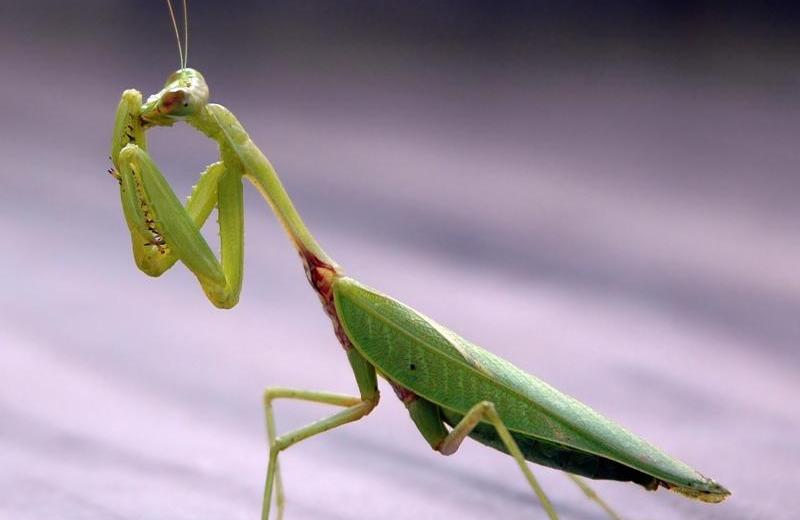
My friends of Hive I hope you are well, today I share with you a creativity of an insect that I made with recyclable material, I wanted to make it because I was walking through the garden at my aunt's house and I saw this little animal on top of a leaf, I started to detail it and I had the idea to make it, I did not even know what it was called for this reason I started to investigate how it was called and I learned that it was a Mantis. This animal attracts a lot of attention because of the way it stands with its legs raised upwards.
Here is how I made it.
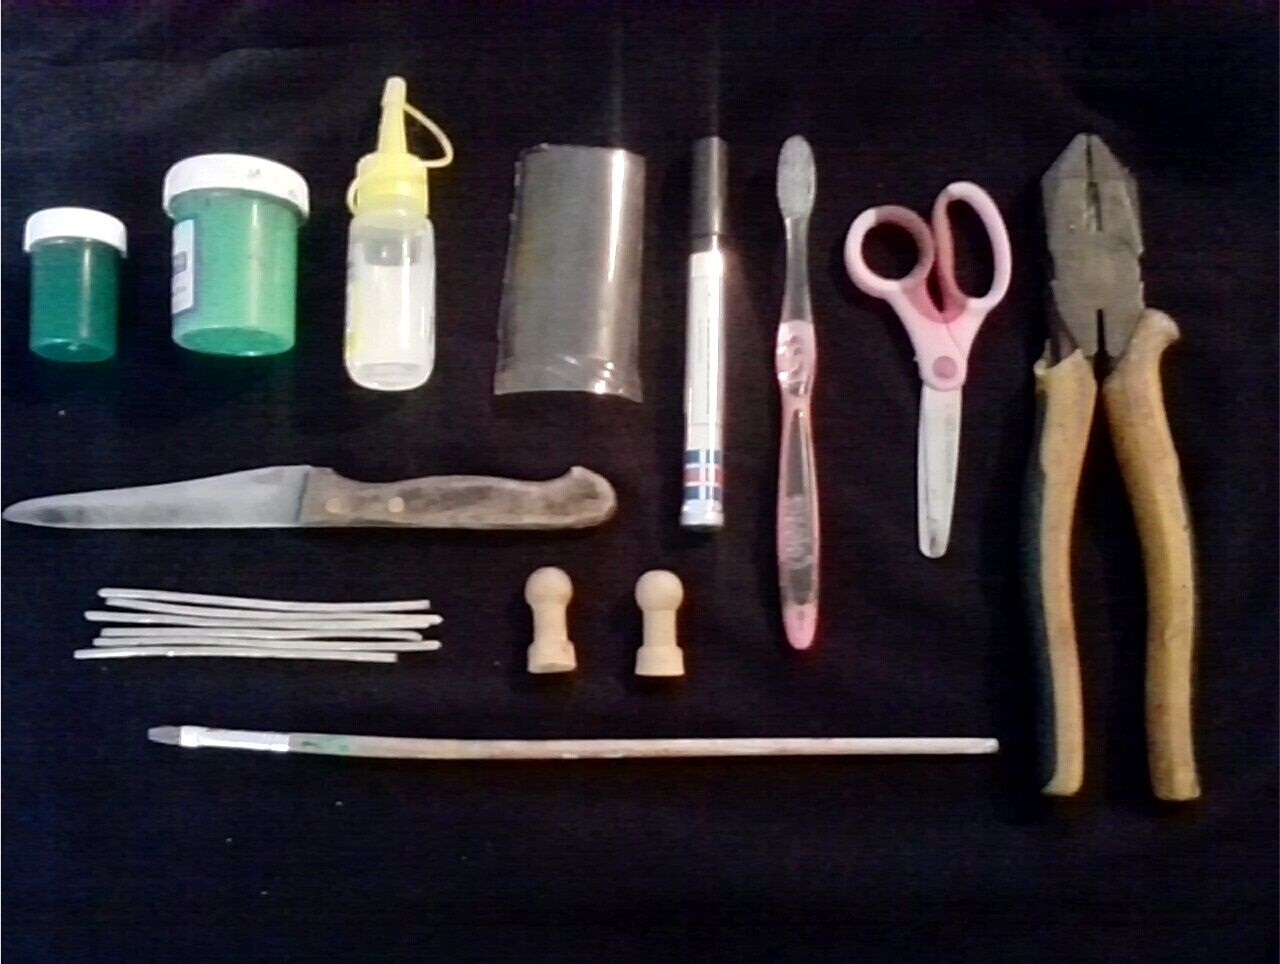
Materiales:
- (1) cepillo de dientes.
- Marcador.
- Tijera.
- Pincel.
- (6) varillas de aluminio.
- Alicate.
- Un pedacito de plástico sacado de una botella.
- Silicon.
- Pintura verde.
- (2) trocitos de madera.
- Cuchillo.
Materials:
- (1) toothbrush.
- marker.
- Scissors.
- Paintbrush.
- (6) aluminum rods.
- Pliers.
- A small piece of plastic taken out of a bottle.
- Silicon.
- Green paint.
- (2) small pieces of wood.
- Knife.

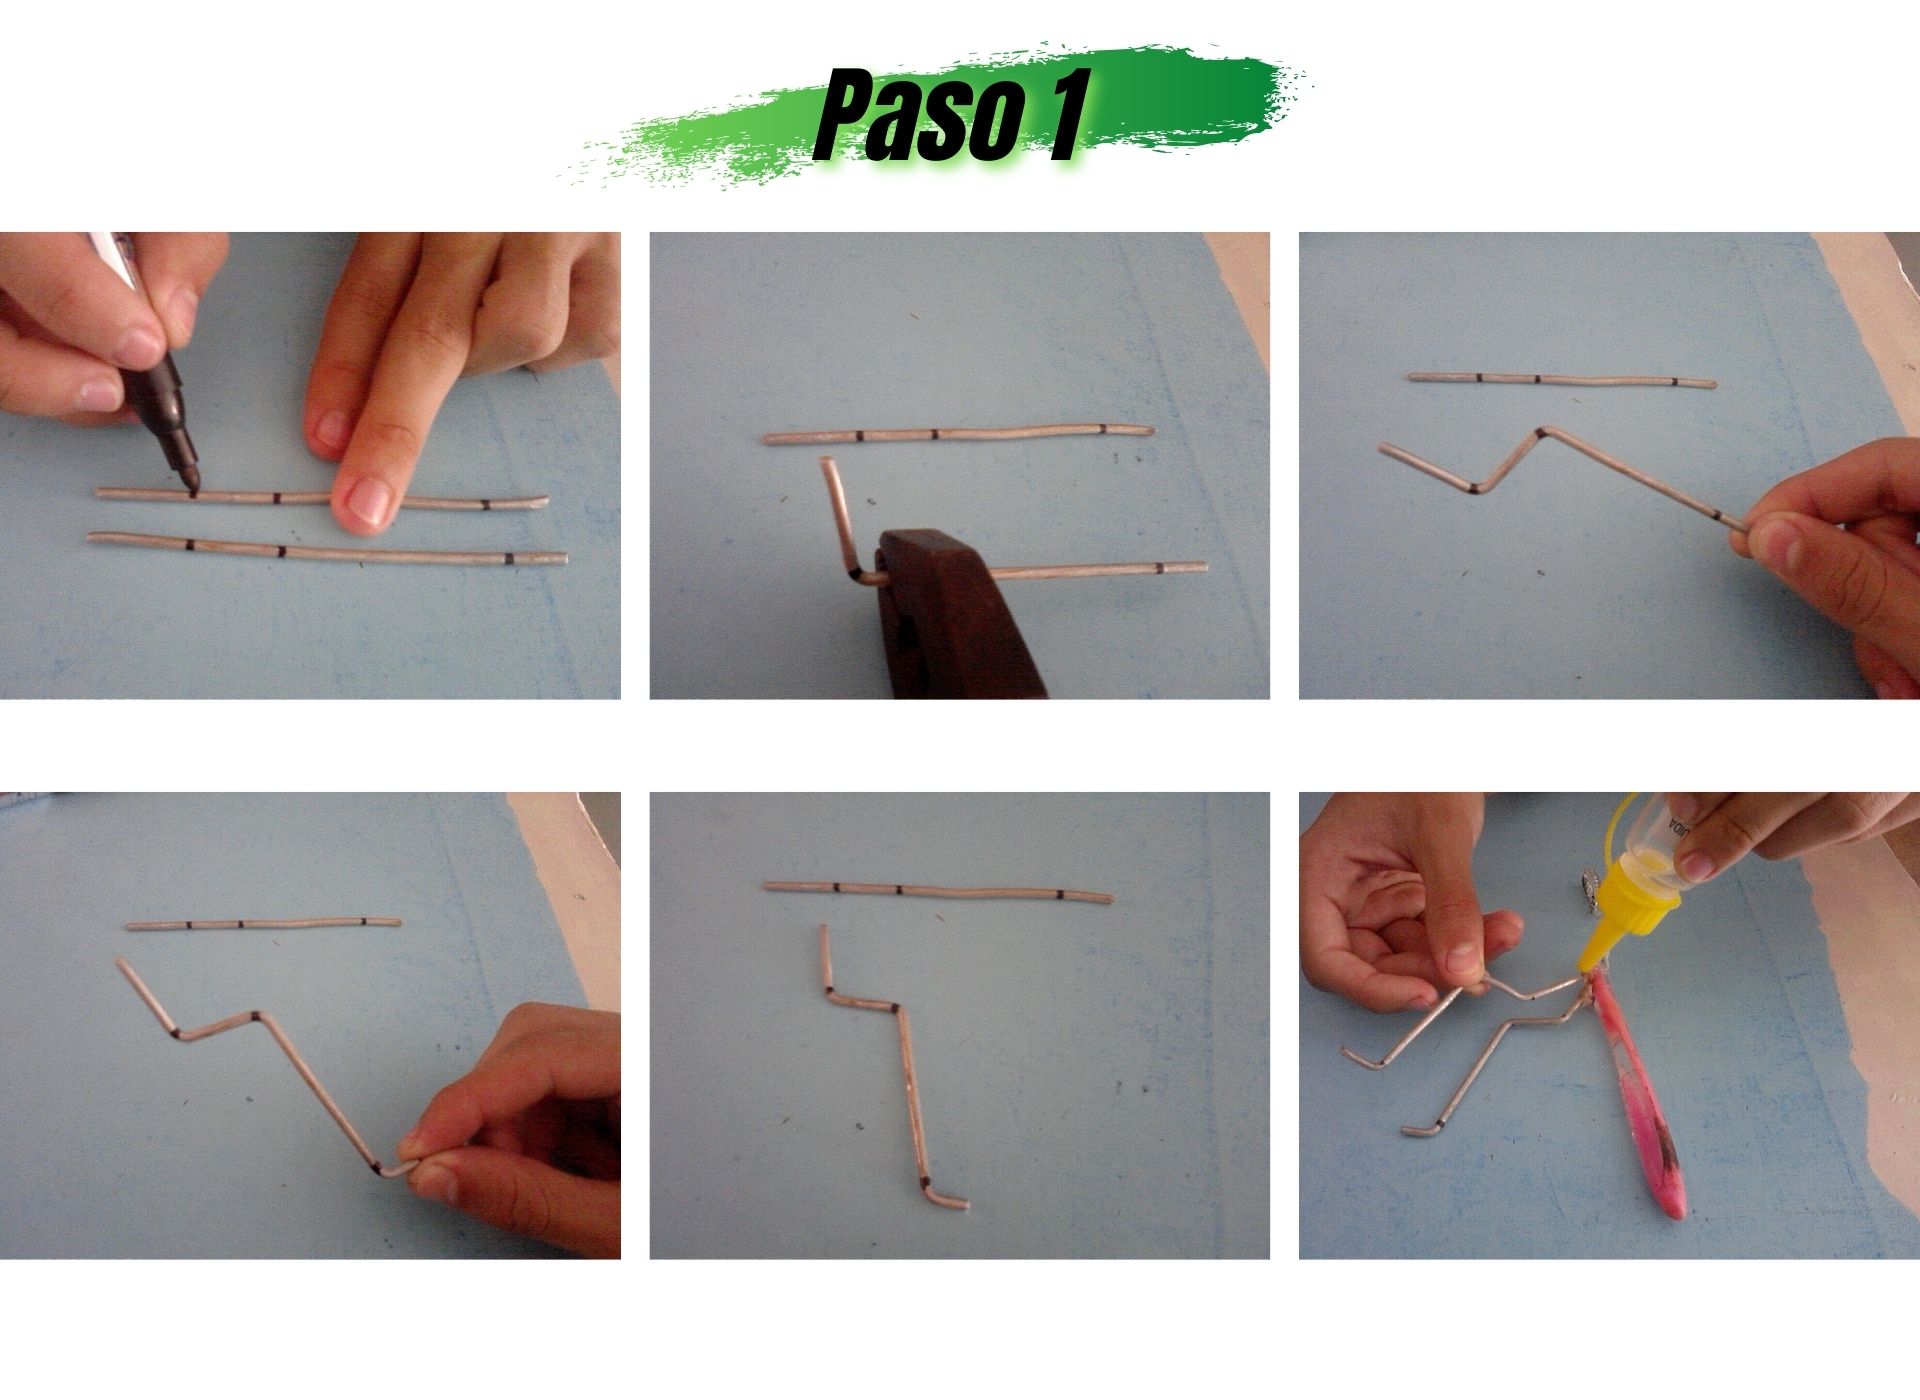
Paso 1:
- Comienzo marcando con el marcador las varillas de aluminio de 14 cm, dos marcas de 2 cm y en la otra punta de 1 cm, para hacerle el dobles con el alicate. y lo pego con el silicon las dos primeras patas delanteras a la altura de 8 cm desde arriba hacia abajo del cepillo.
Step 1:
- I start by marking with the marker the aluminum rods of 14 cm, two marks of 2 cm and at the other end of 1 cm, to make the double with the pliers. and I glue it with the silicon the first two front legs at the height of 8 cm from top to bottom of the planer.
.jpg)
Paso 2:
- Ahora procedo con las dos patas trasera con la misma medida de la anterior pero en vez de ser 3 dobles se le hacen 2, se le echa silicon encima del cepillo y se pegan las otras 2 patas traseras.
Step 2:
- Now I proceed with the two rear legs with the same measurement as the previous one but instead of being 3 doubles they are made 2, silicone is poured on top of the brush and the other 2 rear legs are glued.
.jpg)
.jpg)
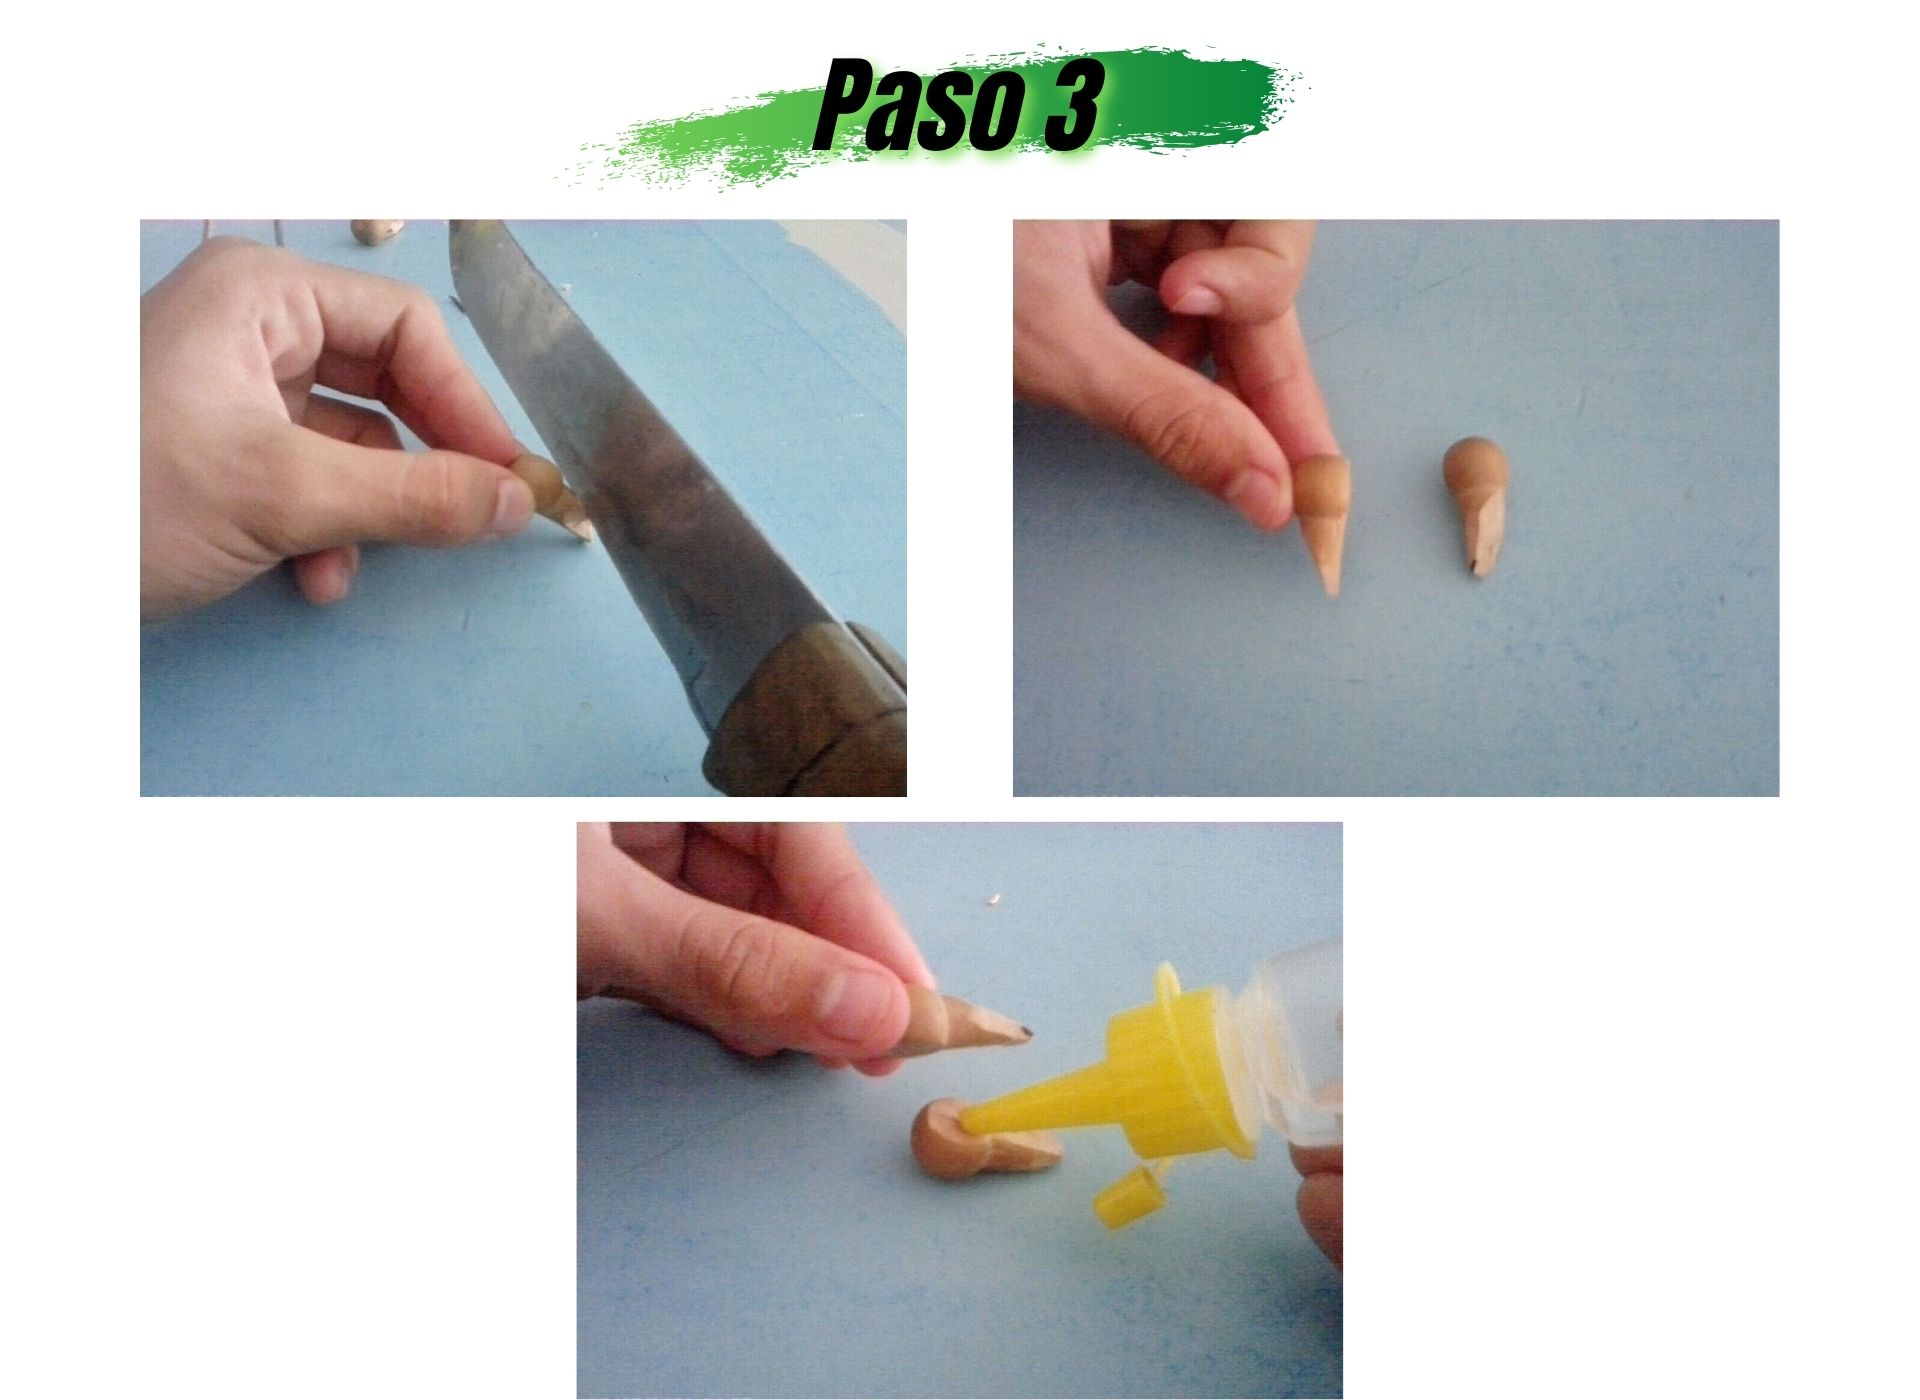
Paso 3:
ahora con el pedacito de plástico que saque de una botella , con una medida de 12 cm de largo y 5 cm de ancho, marco y recorto las alas, para luego colorearlo de verde.
Después con el cuchillo le doy forma a la cabeza en forma de (V) con los dos trocitos de madera, luego los pego con el silicon.
Step 3:
- now with the little piece of plastic that I took out of a bottle, with a measure of 12 cm long and 5 cm wide, I mark and cut out the wings, then color it green.
- Then with the knife I shape the head in a V-shape with the two little pieces of wood, then I glue them with the silicon.
.jpg)
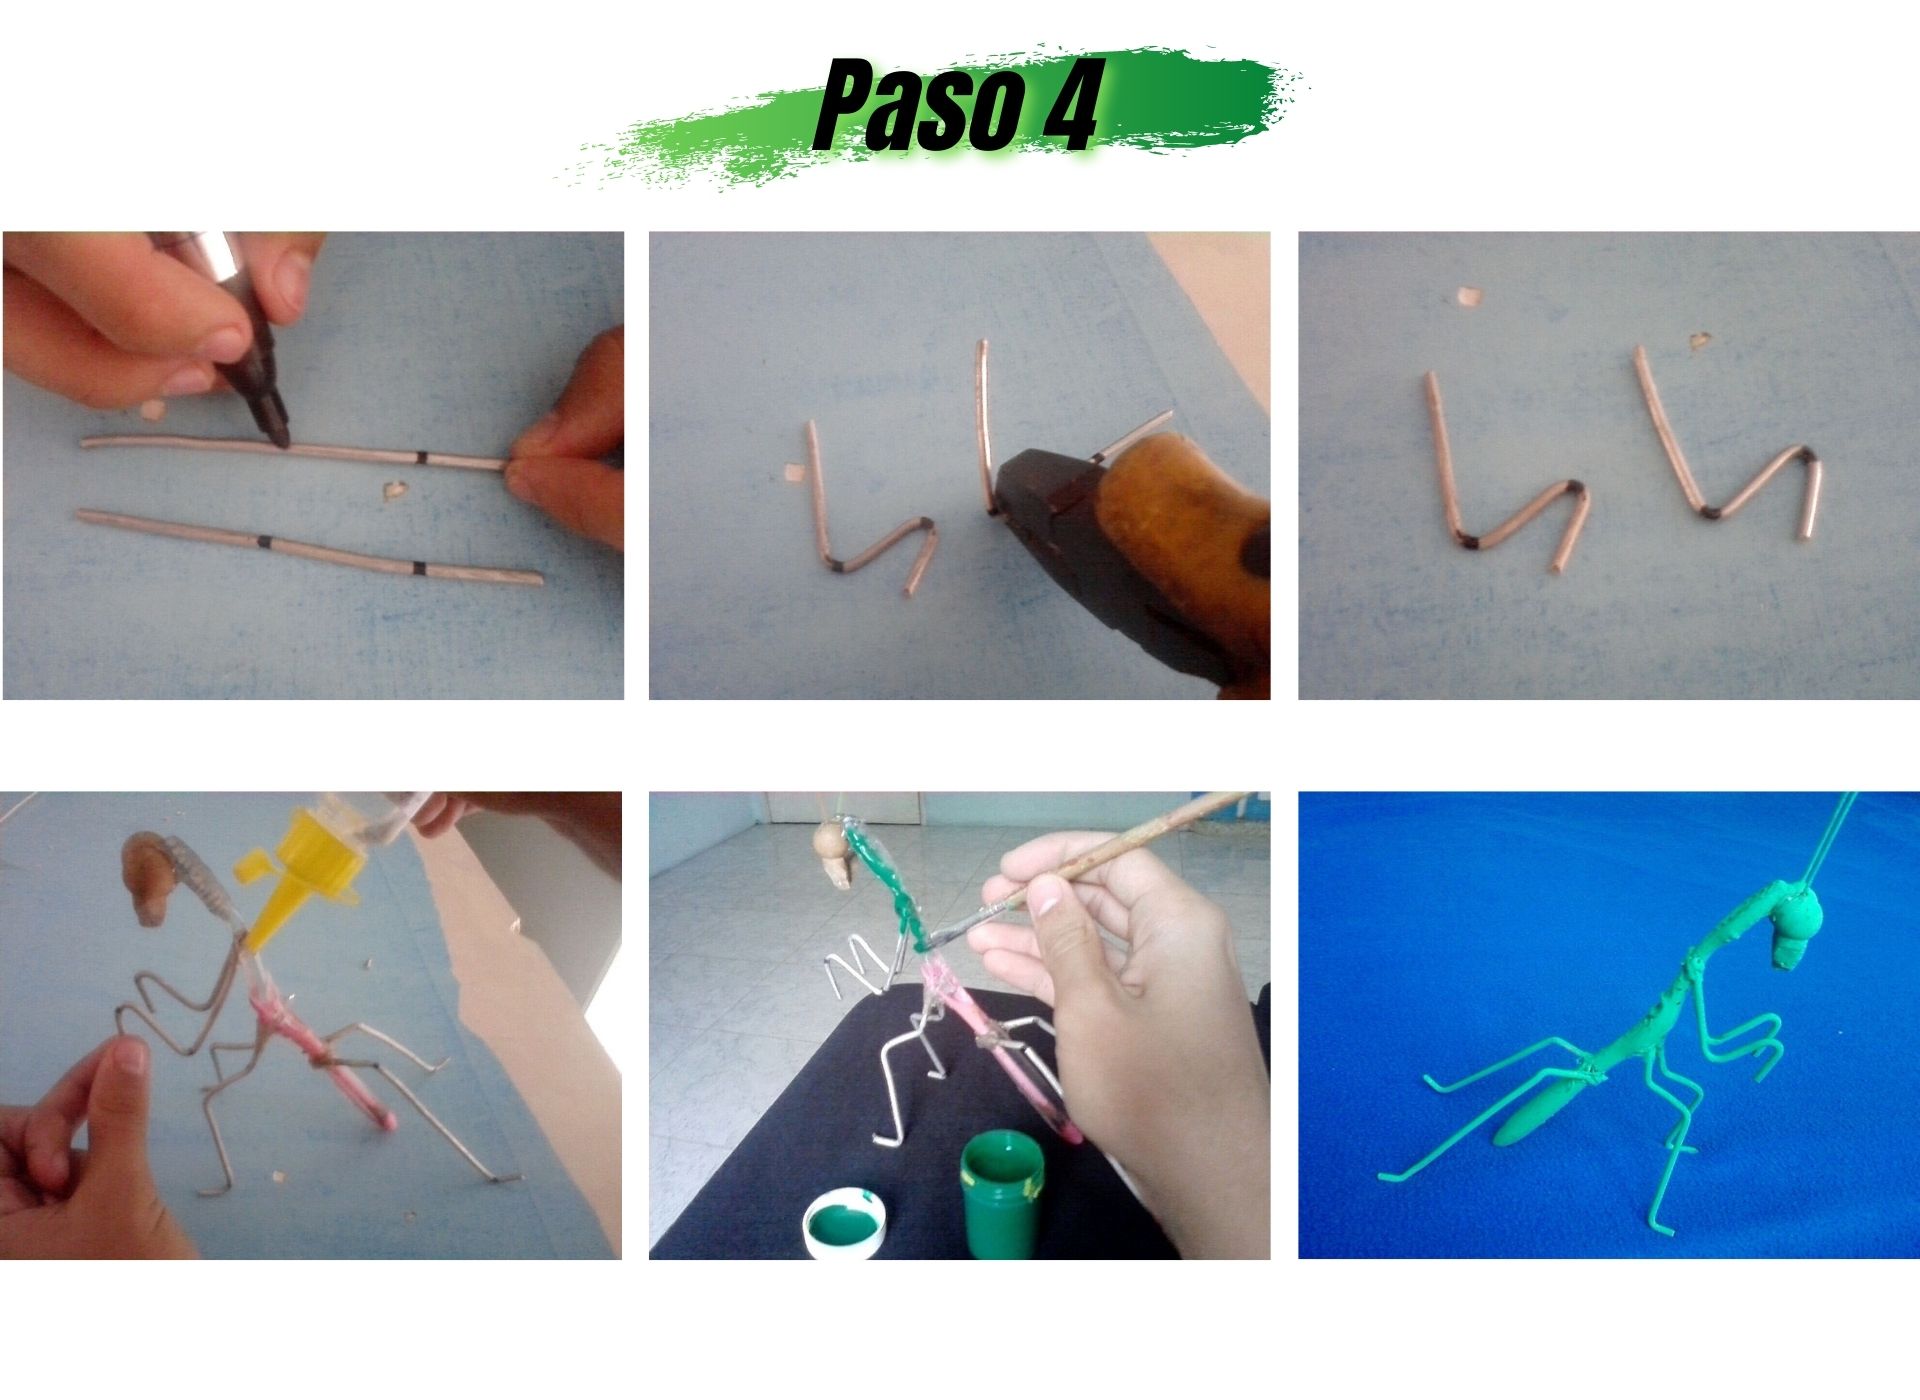
Paso 4:
En este paso con las otras 2 varillas que faltaban formo las patas delantera, las que quedan levantadas hacia arriba marcando 5 cm luego 3 cm para hacerle el dobles donde están las marcas.
Las pego en la parte superior del cepillo y comienzo a colorearlo.
Step 4:
- In this step with the other 2 rods that were missing I form the front legs, the ones that are raised upwards marking 5 cm then 3 cm to make the doubles where the marks are.
- I glue them to the top of the brush and start coloring it.
.jpg)
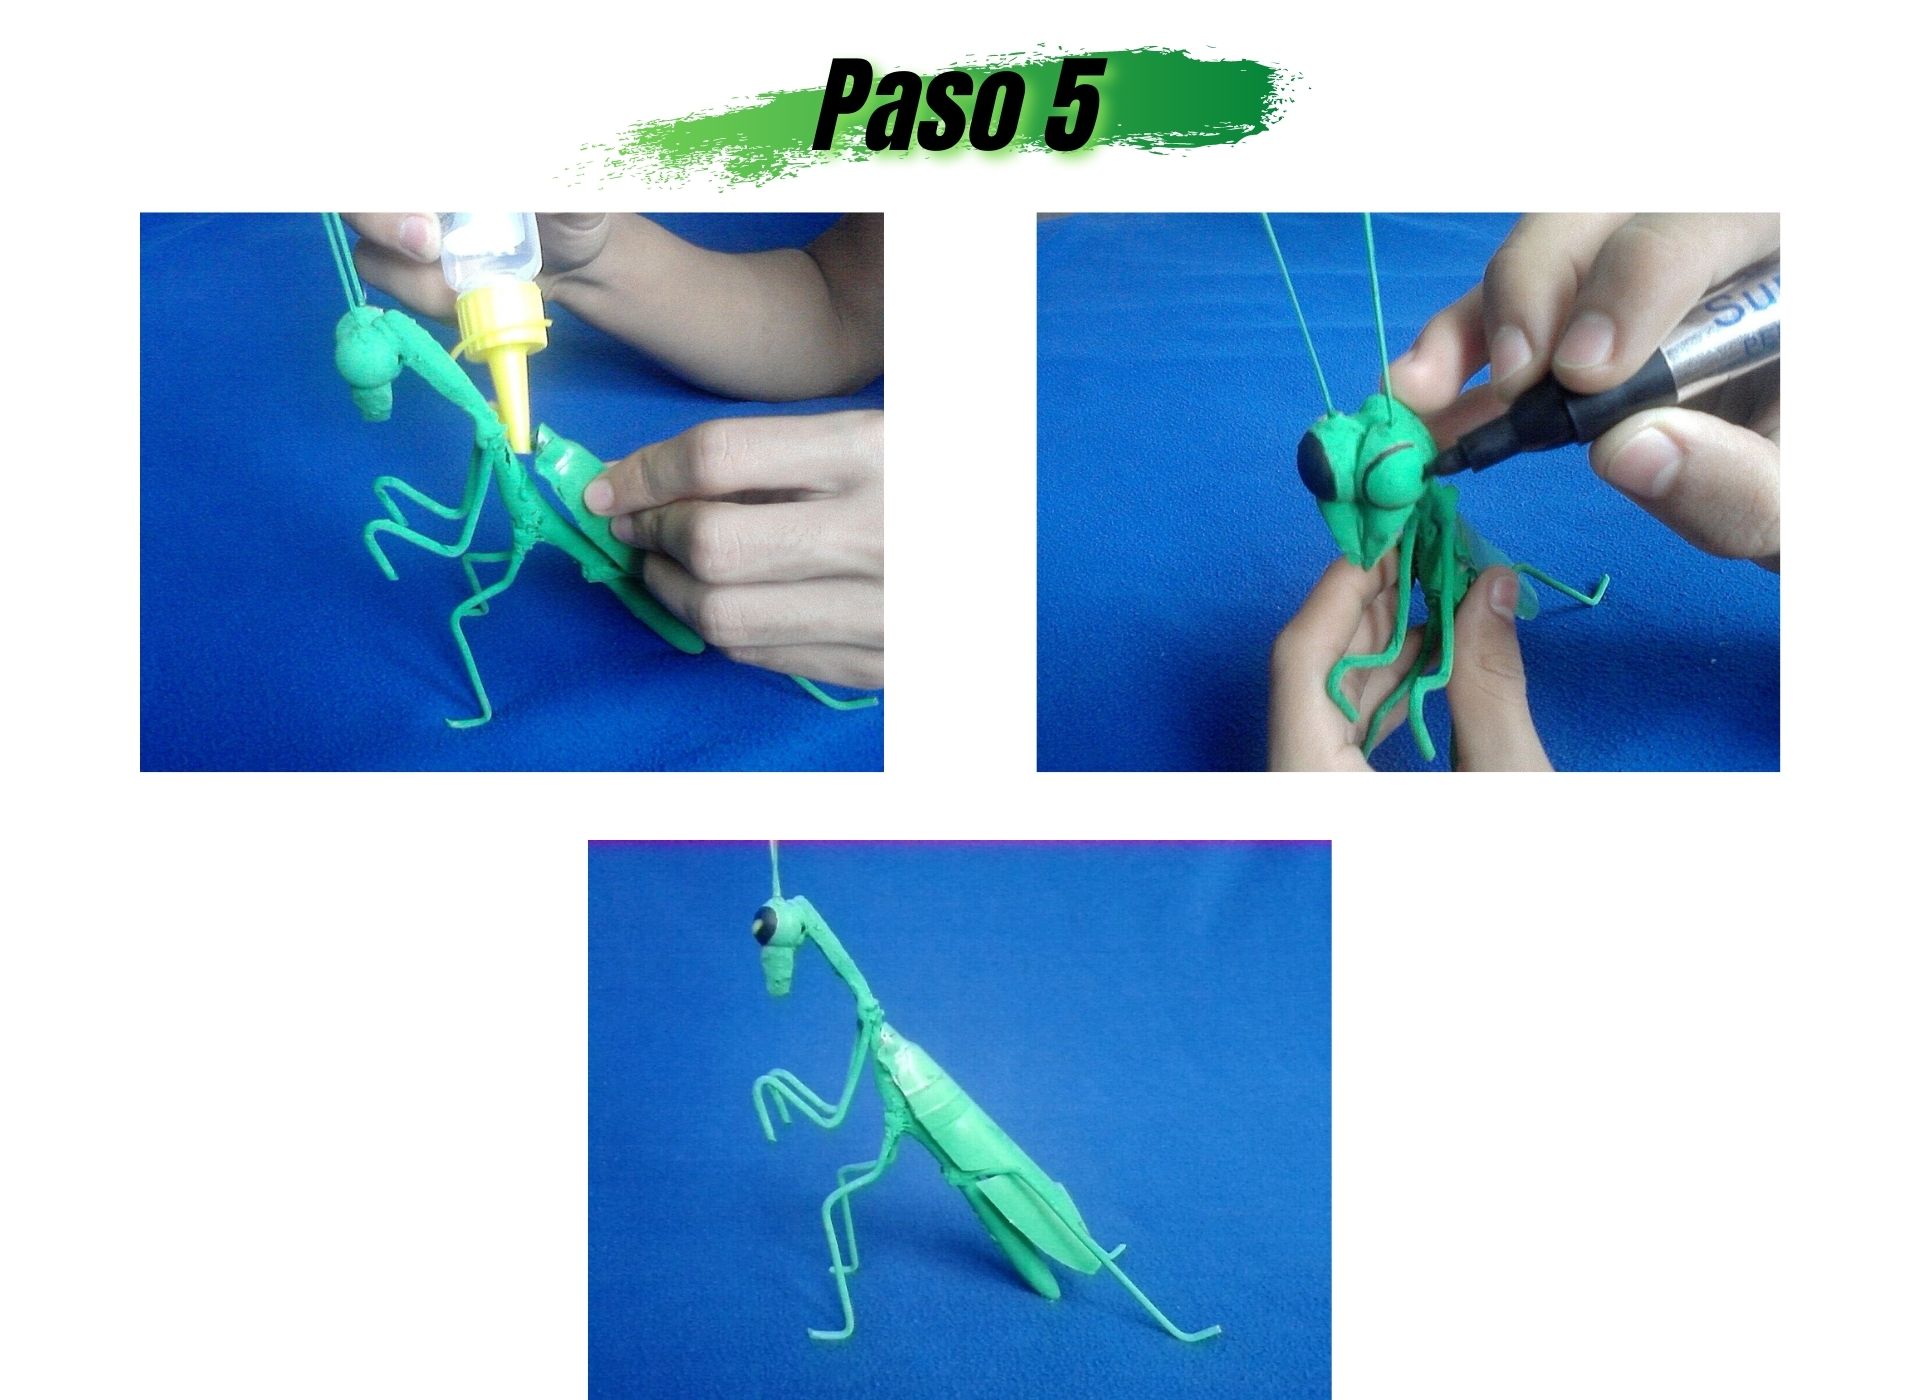
Paso 5:
- Para terminar le pego las alas en la parte trasera del cepillo, luego con el marcador le dibujo los ojos.
Step 5:
- To finish I glue the wings on the back of the brush, then with the marker I draw the eyes.
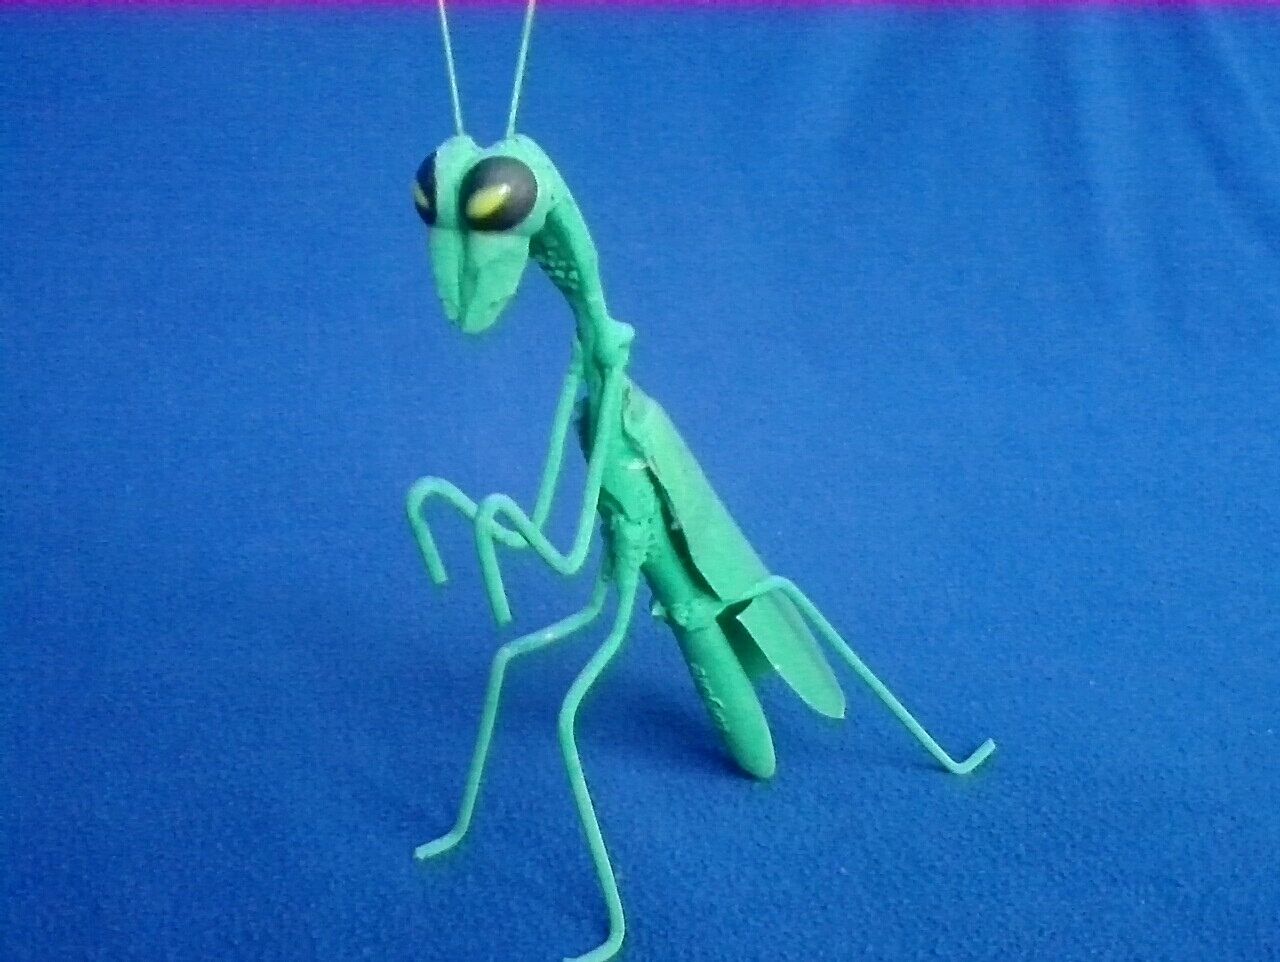
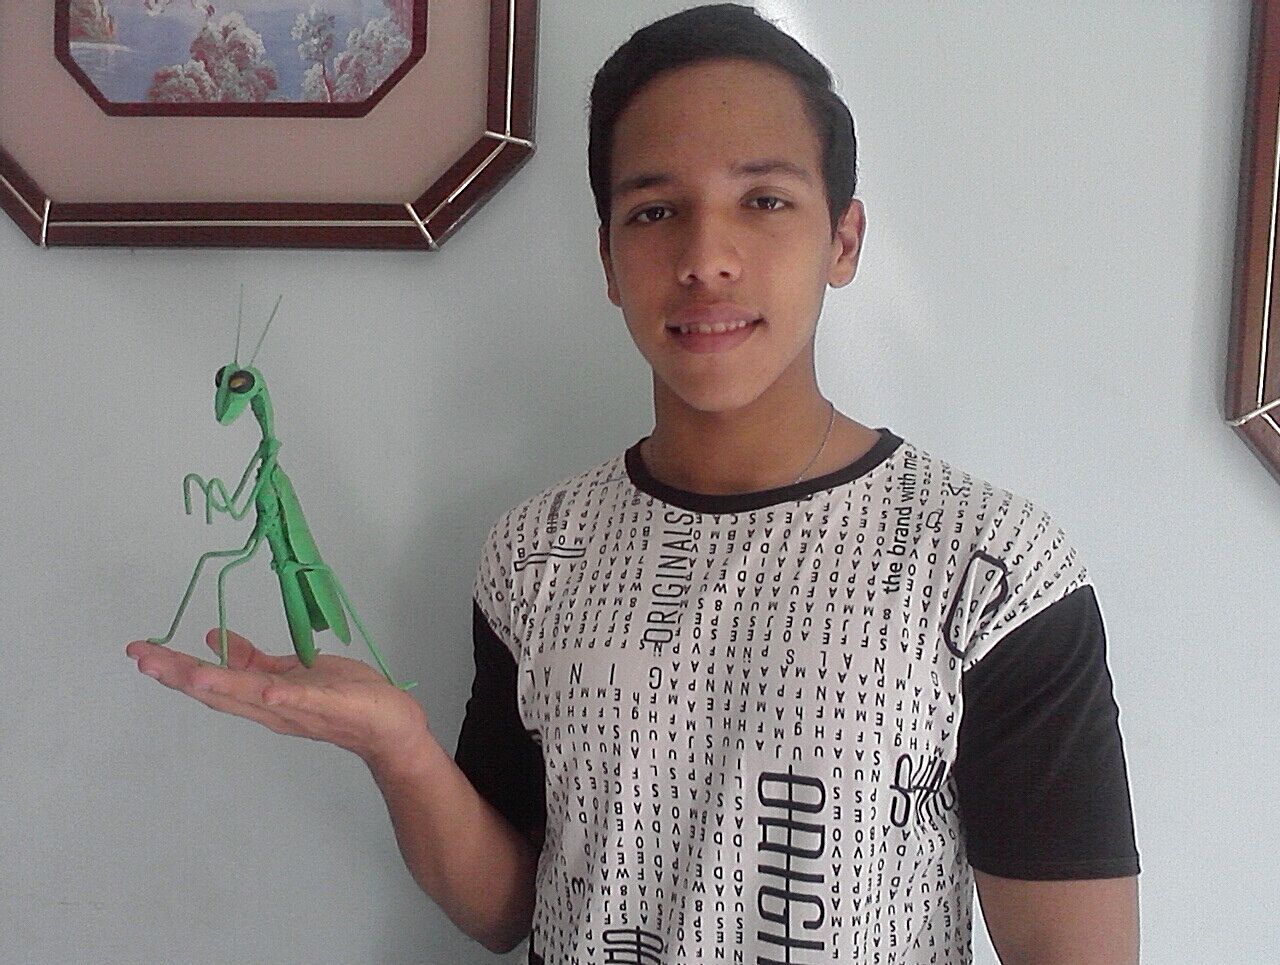
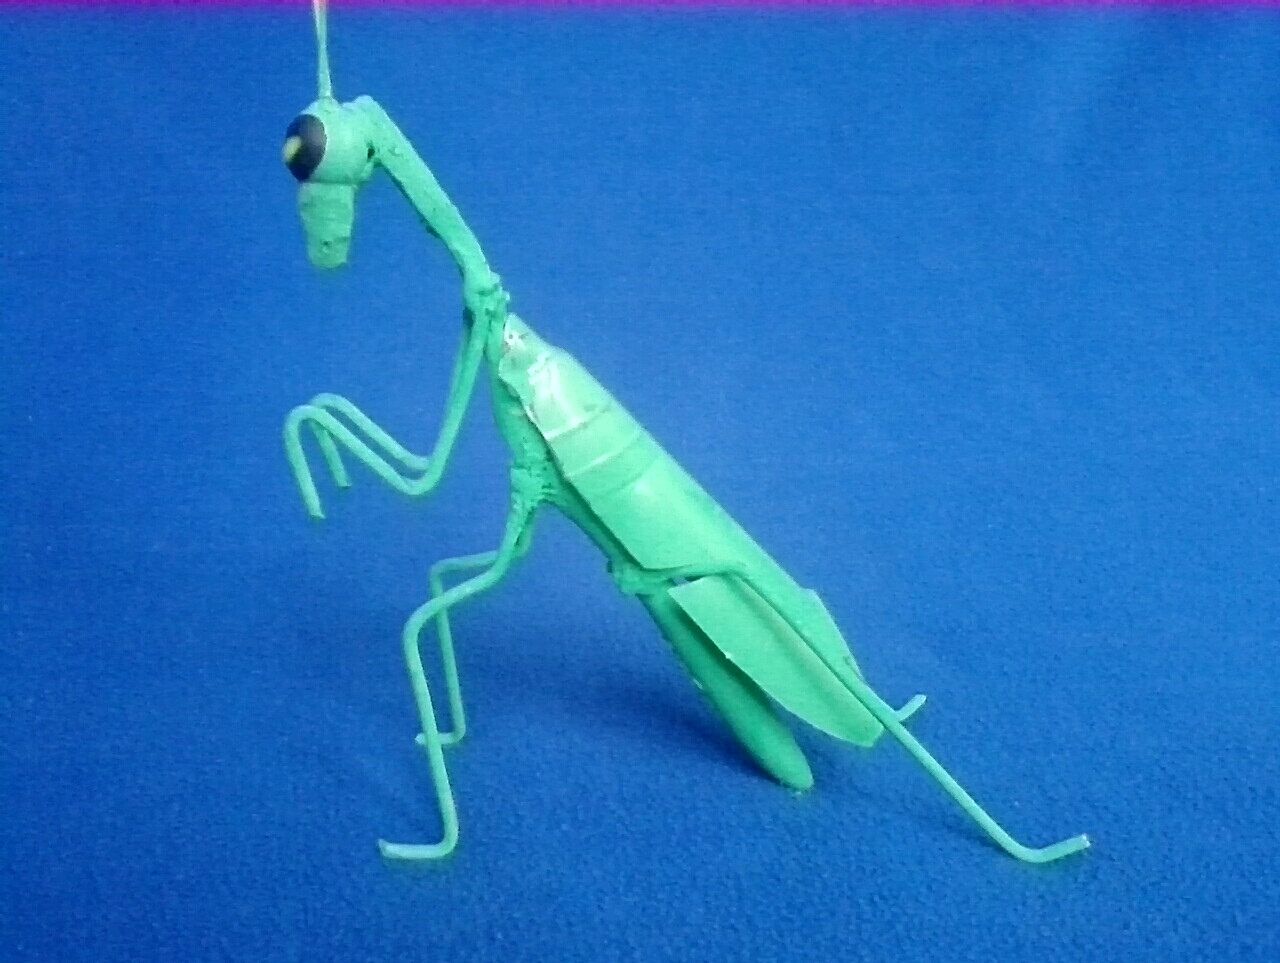
Aquí les dejo el resultado final de la Mantis.
Here is the final result of the Mantis.
.jpg)
.jpg)
Todas las fotos son de mi pertenencia y editadas con canva.
All photos are my own and edited with canva.

0
0
0.000
Your post has been curated by us! Received 20.00% upvote from @opb. Do consider delegate to us to help support our project.
Do join our discord channel to give us feedback, https://discord.gg/bwb2ENt
* This bot is upvoting based on the criteria : 1. Not plagiarised, 2. Persistent previous quality posts, 3. Active engagement with other usersDo upvote this commment if you 💚 our service :)