[ESP-ENG] Coqueto Sombrero para niña 🎩 Cute hat for girl
First of all, a big hug to all the people of the NeedleworkMonday community. Wishing you health and success in your goals!!!!
El dìa de hoy, les comparto este coqueto sombrero elaborado para niñas afirmando mi participación en la iniciativa que nos trae esta vez @crossheille Desafío de decoración de fin de año de la comunidad NeedleWorkMonday. ¡Espero que les guste! la verdad se poco de costura pero adoro las manualidades y todo lo que seamos capaces de crear o transformar para darle vida a un espacio, persona, o para embellecerlo es una cualidad que nos hace únicos y nos distingue de otros seres vivos!!!.
Today, I share with you this cute hat made for girls affirming my participation in the initiative that brings us this time @crossheille NeedleWorkMonday's end of the year decoration challenge. I hope you like it! I know little about sewing but I love crafts and everything we are able to create or transform to give life to a space, person, or to beautify it is a quality that makes us unique and distinguishes us from other living beings!!!!!
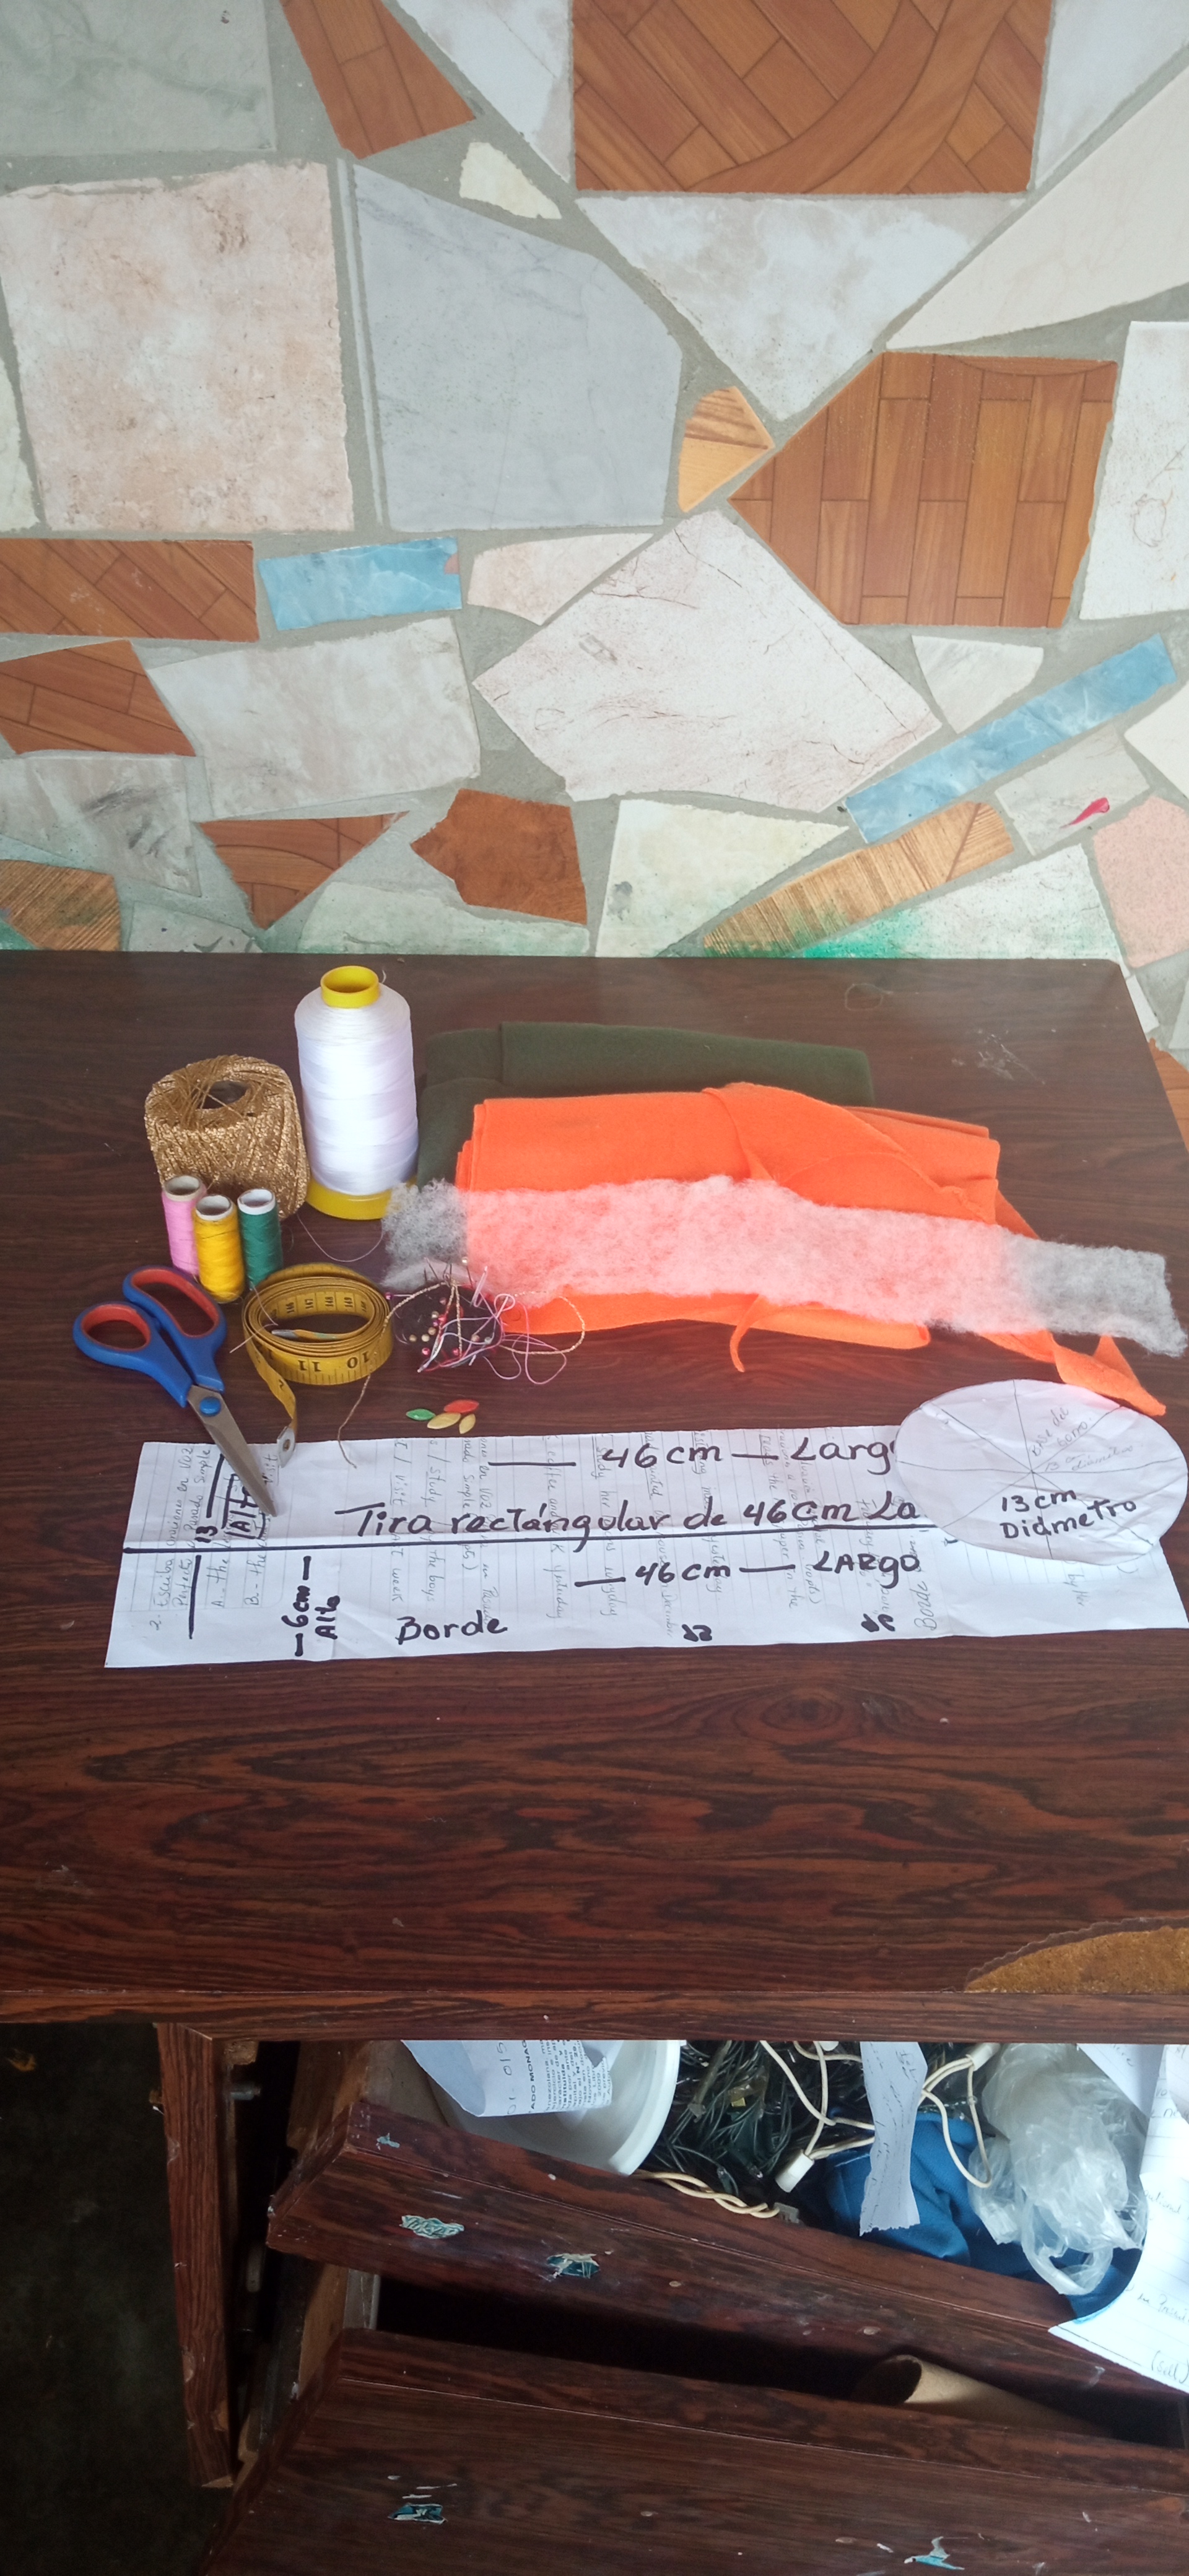
Los Materiales que utilice para esta iniciativa fueron:
- 1/4 Metro de Manta Polar Naranja.
- 1/4 Metro de Manta Polar Verde Oscuro.
- Retazo de tela estampada
. Agujas de coser. - Hilos de Coser verde, naranja.
- Guata para rellenar
- Patrones.
- Botón y apliques para decorar.
The materials I used for this initiative were:
- 1/4 Meter of Orange Polar Fleece Blanket.
- 1/4 Meter of Dark Green Fleece Blanket.
- Piece of printed fabric
- Sewing needles.
- Sewing threads green, orange.
- Wadding for stuffing
- Patterns.
- Button and appliqués for decoration.
Medidas de los Patrones:
- Un circulo de 13 Centímetros de diámetro.
- Tira rectángular de 13 Centimetros de alto por 46 Centimetros de largo.
- Para el borde del sombrero una tira rectángular de 6 Centimetros de alto por 46 Centimetros de largo.
Pattern Measurements:
- A circle of 13 Centimeters in diameter.
- Rectangular strip of 13 Centimeters high by 46 Centimeters long.
- For the edge of the hat a rectangular strip of 6 Centimeters high by 46 Centimeters long.
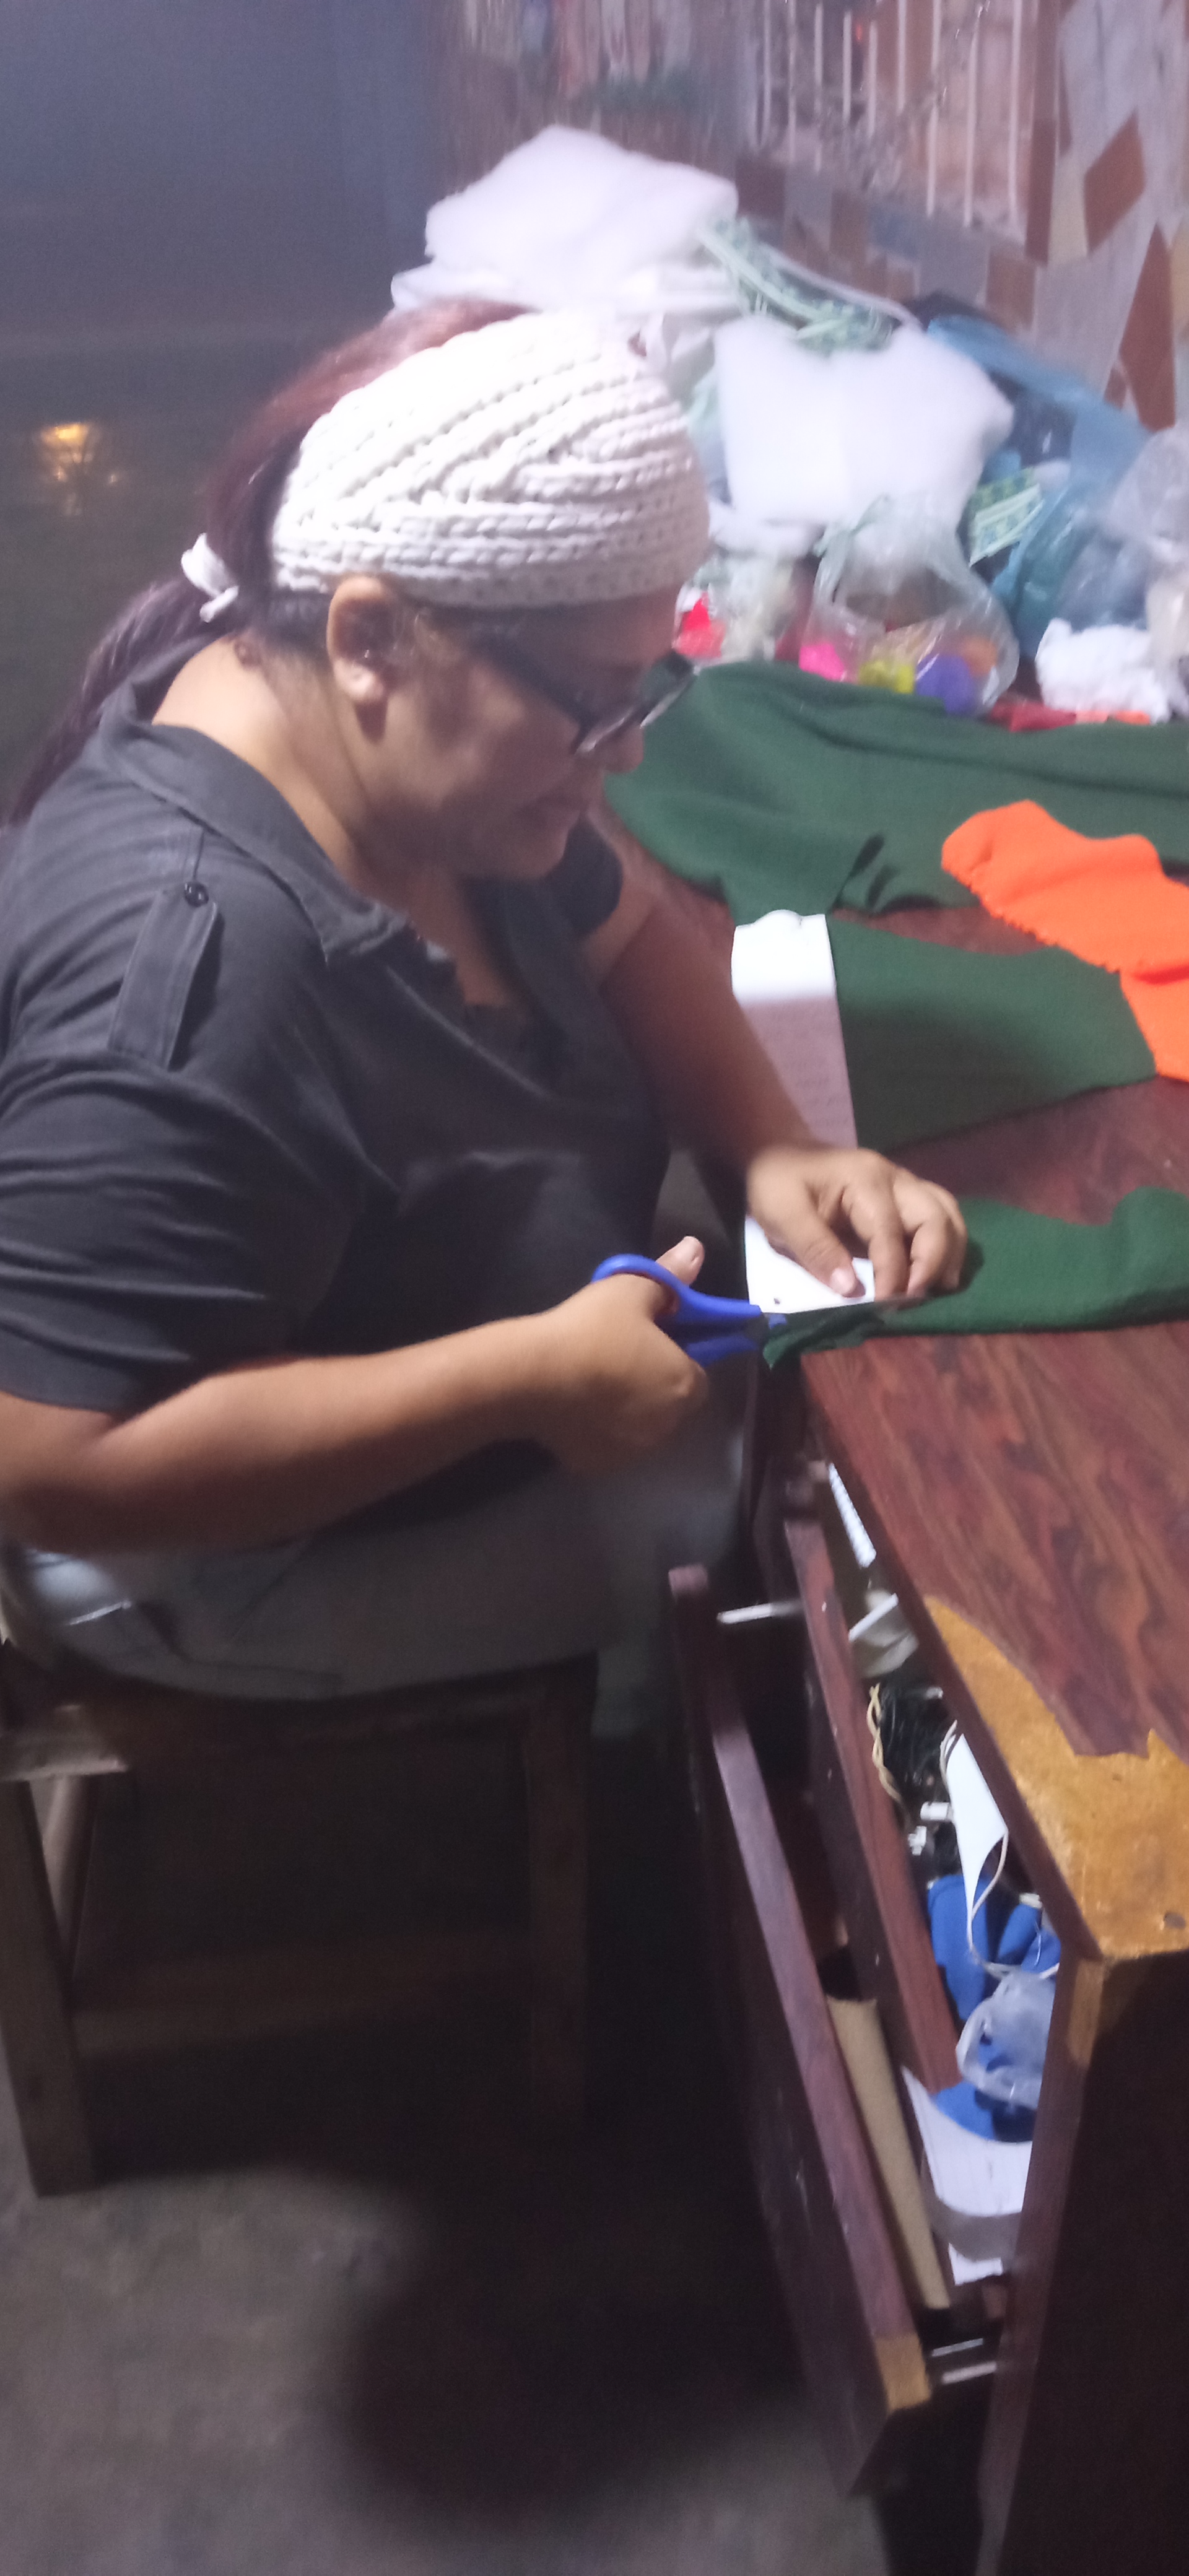
Paso 1:
Primeramente saque los patrones para confeccionar el sombrero. Luego, corte las tres piezas del sombrero utilizando el patrón que elaboré previamente. La pieza circular del sombrero la corte doble.
Step 1:
First pull out the patterns to make the hat. Then, cut out the three pieces of the hat using the pattern I made previously. The circular piece of the hat is double cut.
Paso 2:
Despúes de tener las piezas cortadas, cosí a mano las dos (2) piezas circulares del sombrero.
Step 2:
After having the pieces cut, hand sew the two (2) circular pieces of the hat.
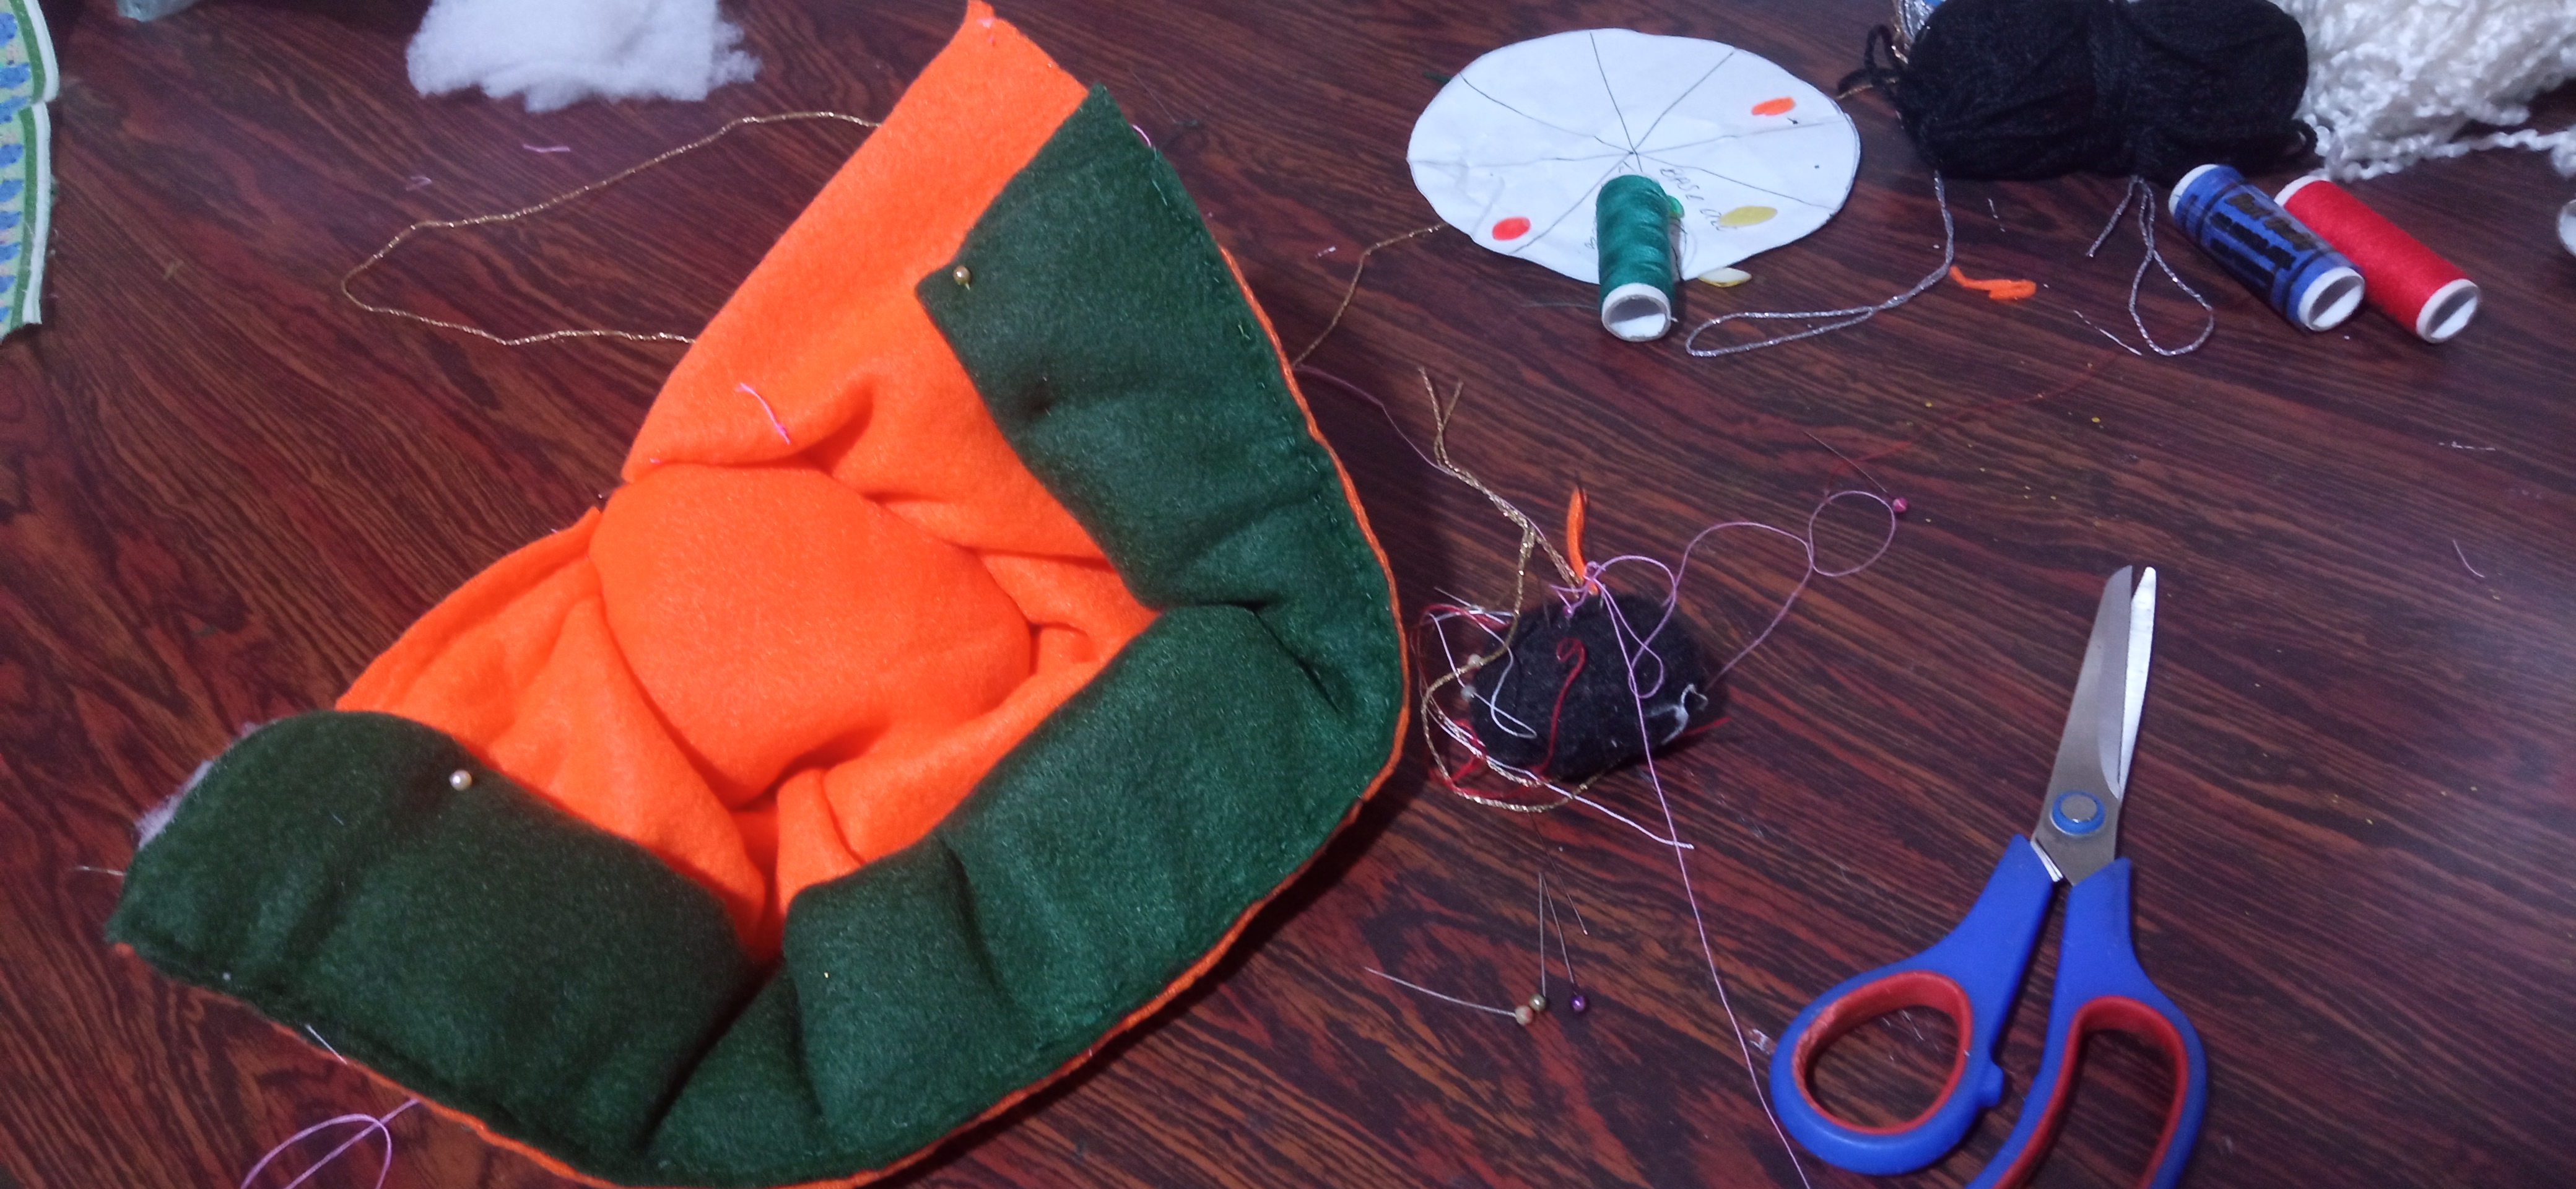
Paso 3:
Corte una tira rectángular de 6 Centimetros de alto por 46 Centimetros de largo de guata la cual dividi para que quedara más delgada. La coloque dentro de la tira rectángular de color verde oscuro para rellenar esa pieza. Luego con ayuda de unos alfileres sujete la tira del borde del sombrero (de color verde) a la tira rectángular de color naranja las cuales cosí con un punto atrás para unirlas.
Step 3:
Cut a rectangular strip of wadding 6 centimeters high by 46 centimeters long which I divided to make it thinner. Place it inside the dark green rectangular strip to fill that piece. Then with the help of pins I pinned the strip of the hat brim (green) to the orange rectangular strip which I sewed with a stitch at the back to join them together.
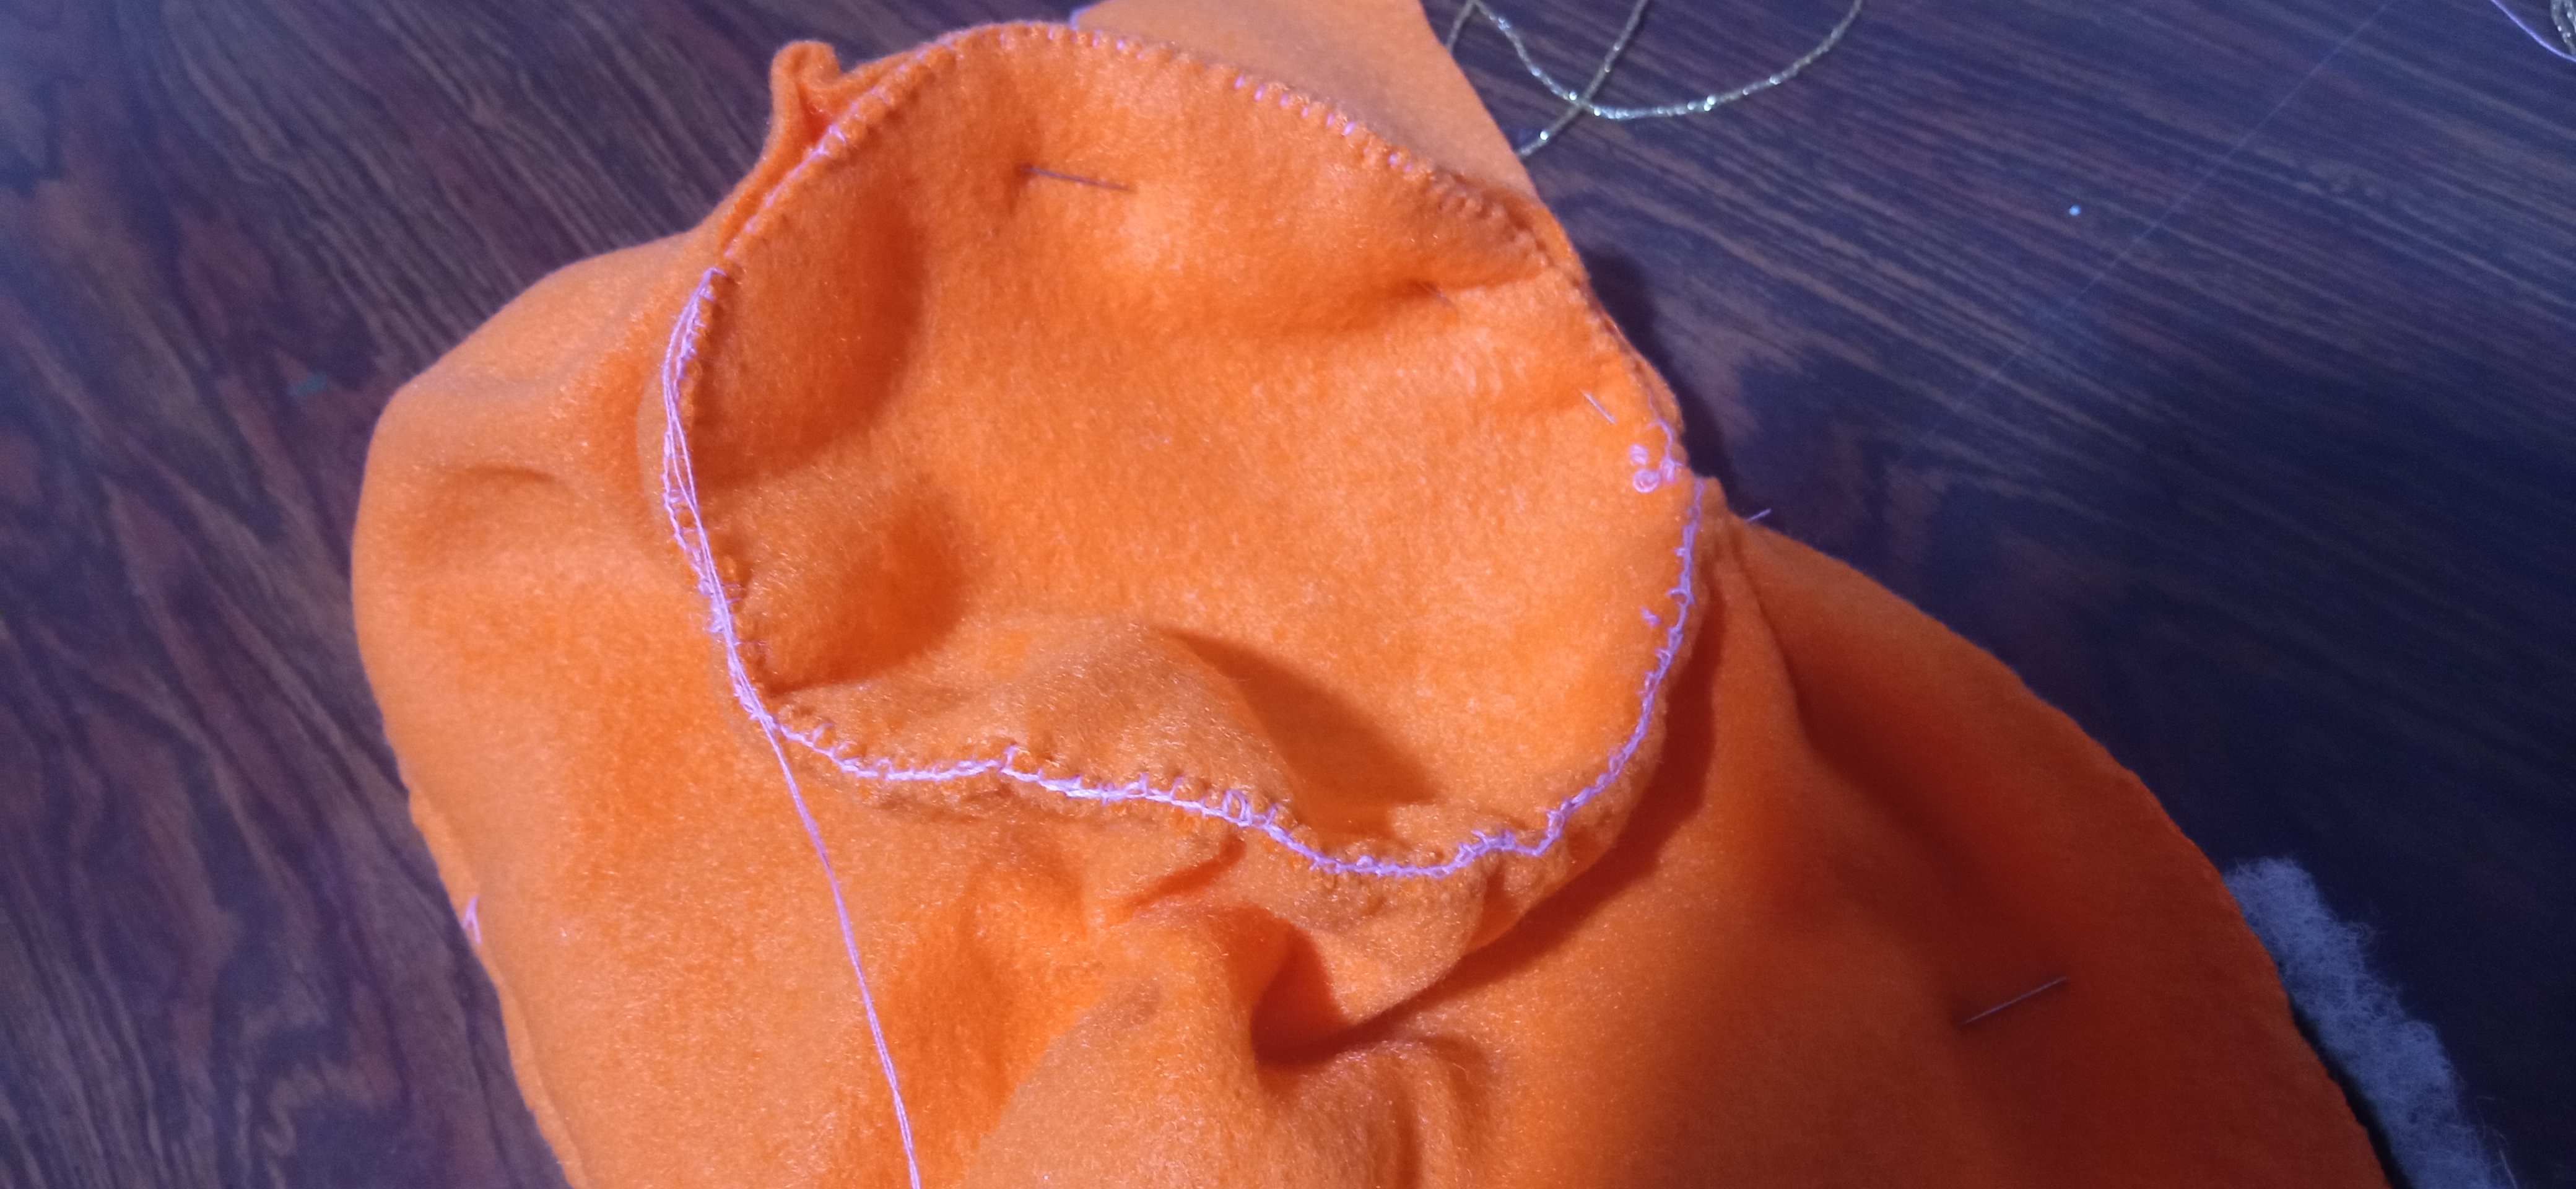
Paso 4:
Teniendo las tiras rectángulares listas. Procedi a unir la tira rectángular naranja a la pieza circular del sombrero. Para ello, previmente bastie la tira rectángular naranja para fruncirla un poco. Con ayuda de los alfileres la sujete a la pieza circular del sombrero, luego las cosí por el lado al réves del sombrero.
Step 4:
Having the rectangular strips ready. Proceed to attach the orange rectangular strip to the circular piece of the hat. To do this, first baste the orange rectangular strip to gather it a little. With the help of the pins I fastened it to the circular piece of the hat, then I sewed them on the back side of the hat.
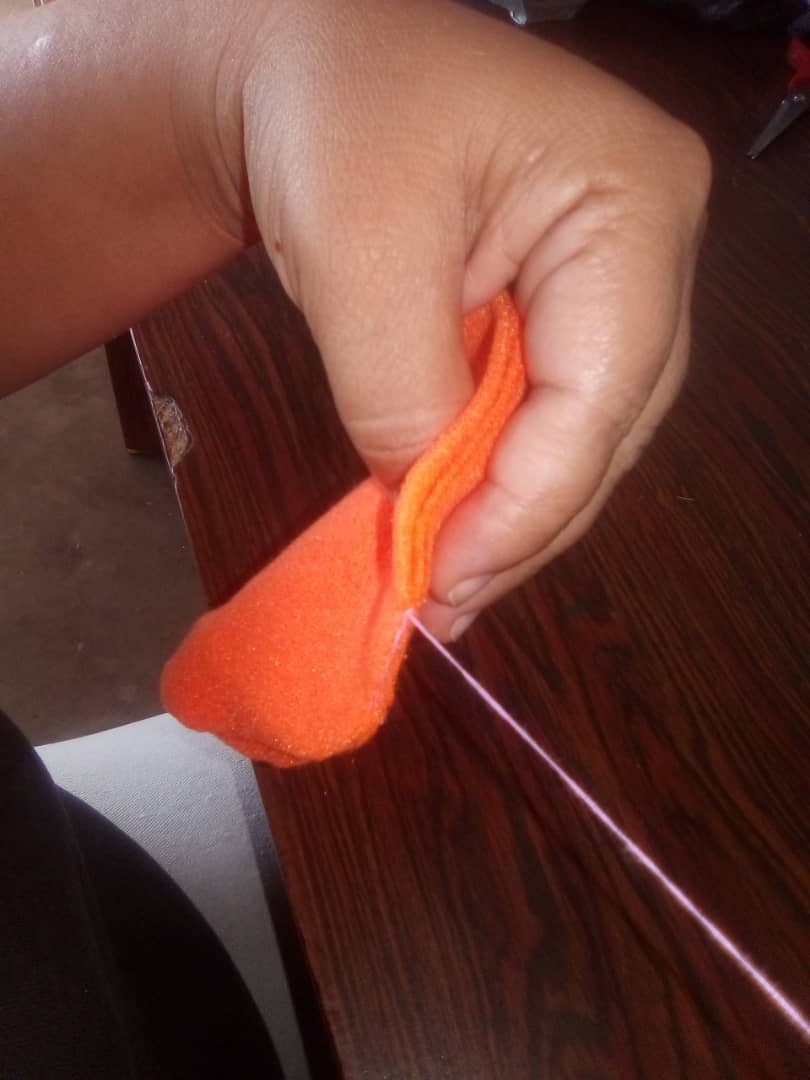
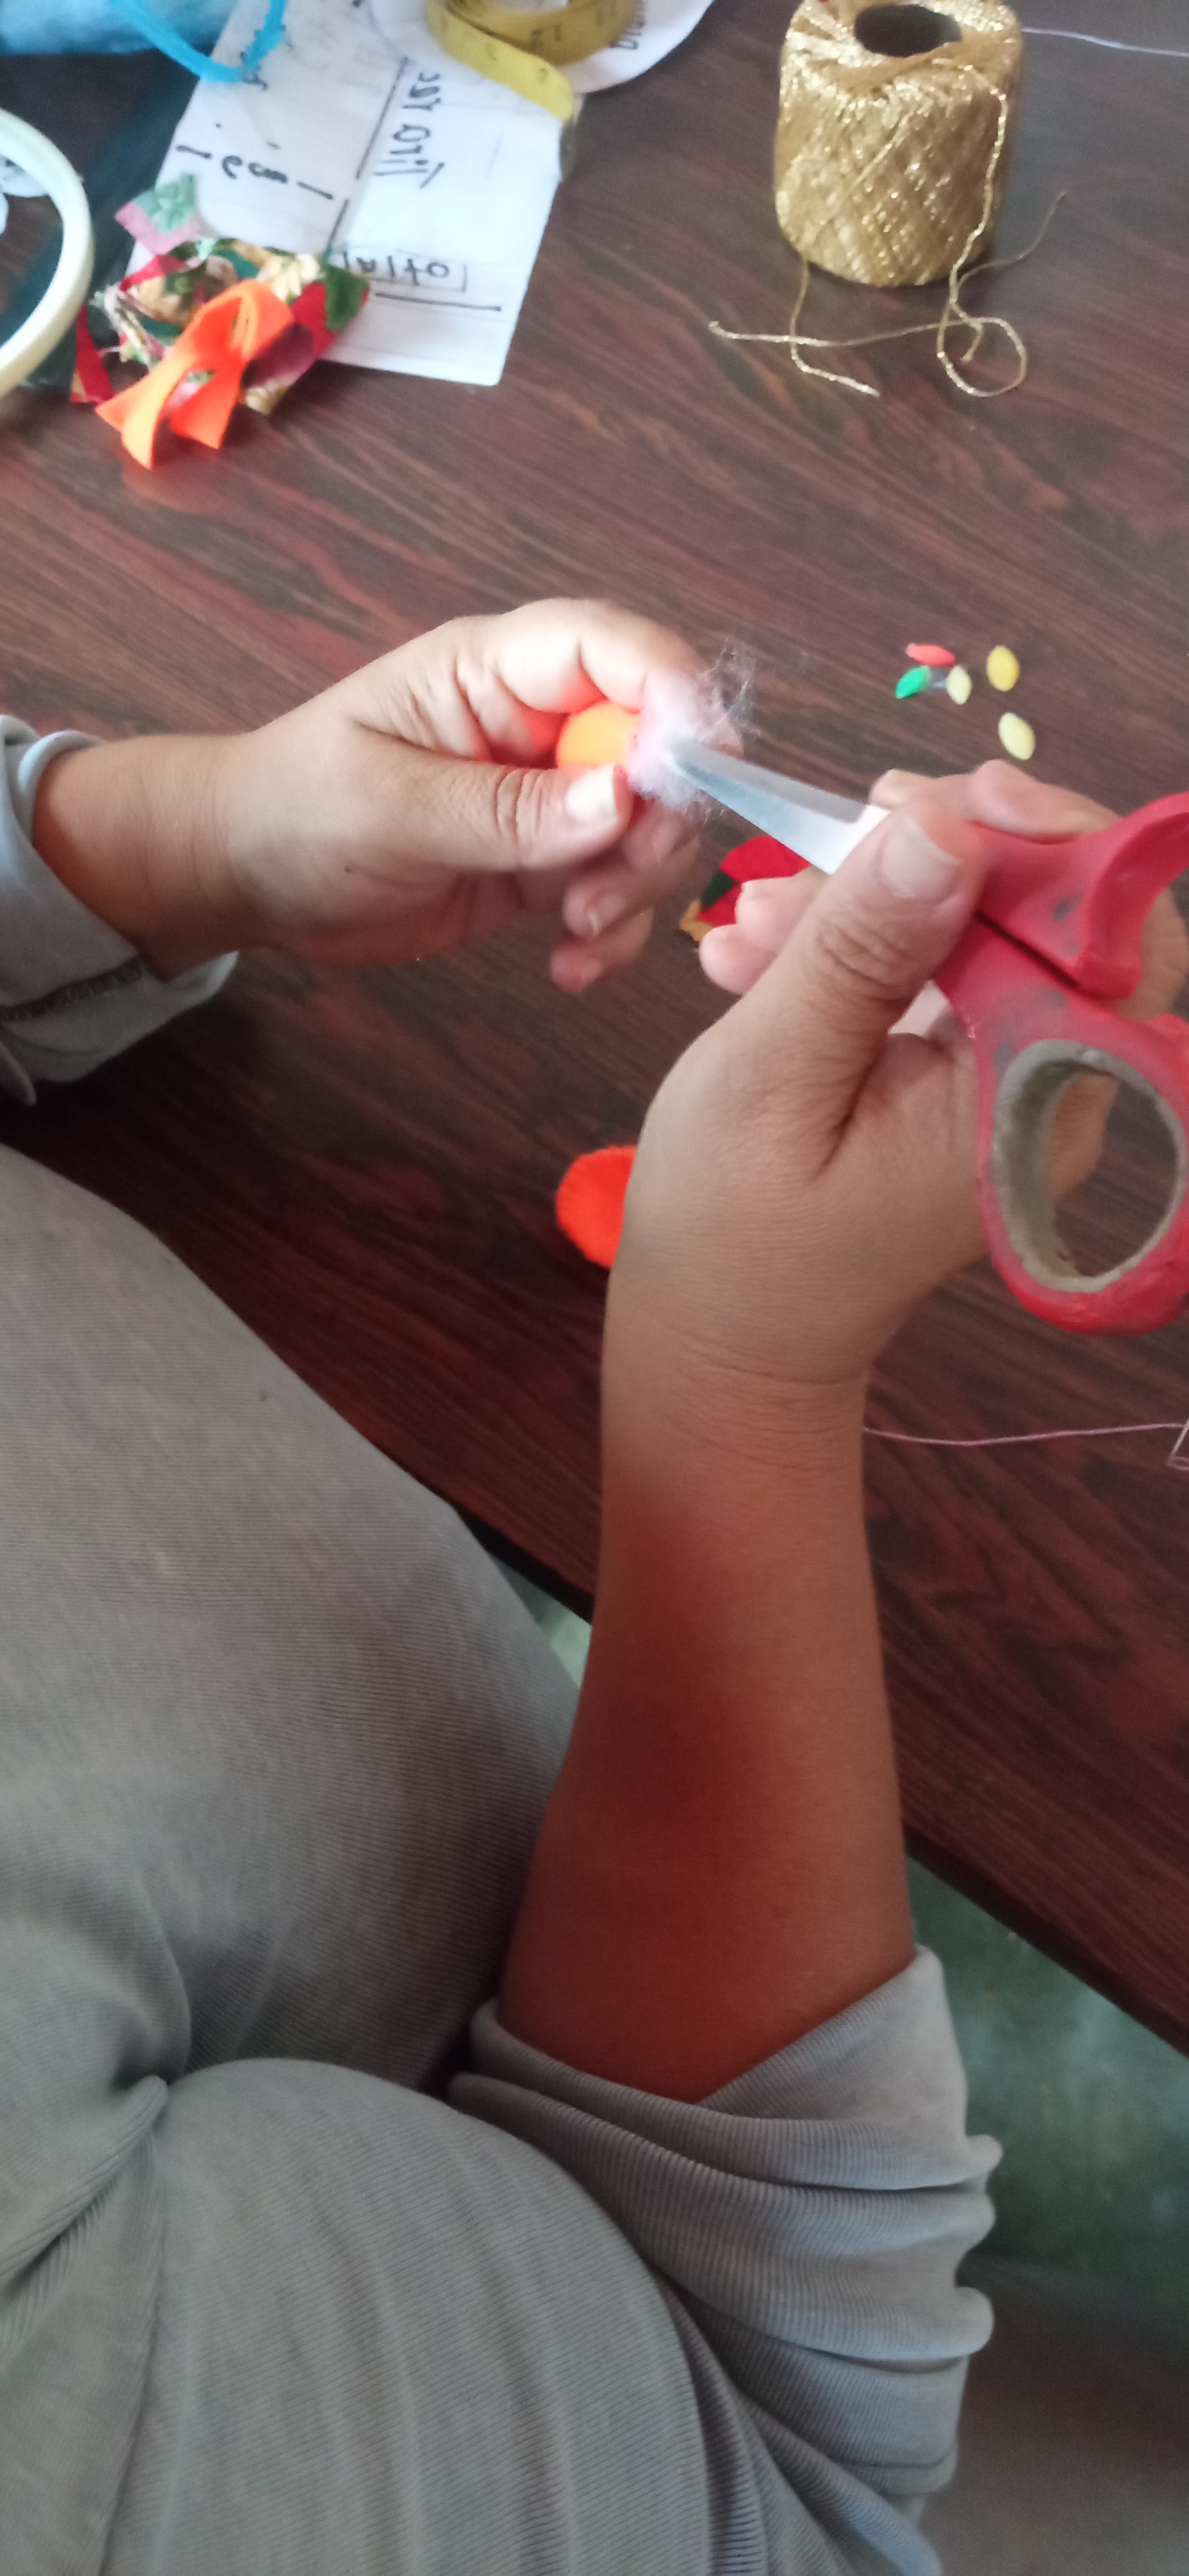
Paso 5:
Ya finalizado el sombrero, para decorarlo corte 6 pétalos los cuales cosí y rellene con guata para formar una flor en su centro pegue con silicon caliente un botón de metal y decore sus lados con pequeños apliques en colores amarillo, naranja y verde.
Step 5:
Once the hat was finished, to decorate it I cut 6 petals which I sewed and stuffed with wadding to form a flower in the center, glued a metal button with hot silicon and decorated the sides with small appliqués in yellow, orange and green.
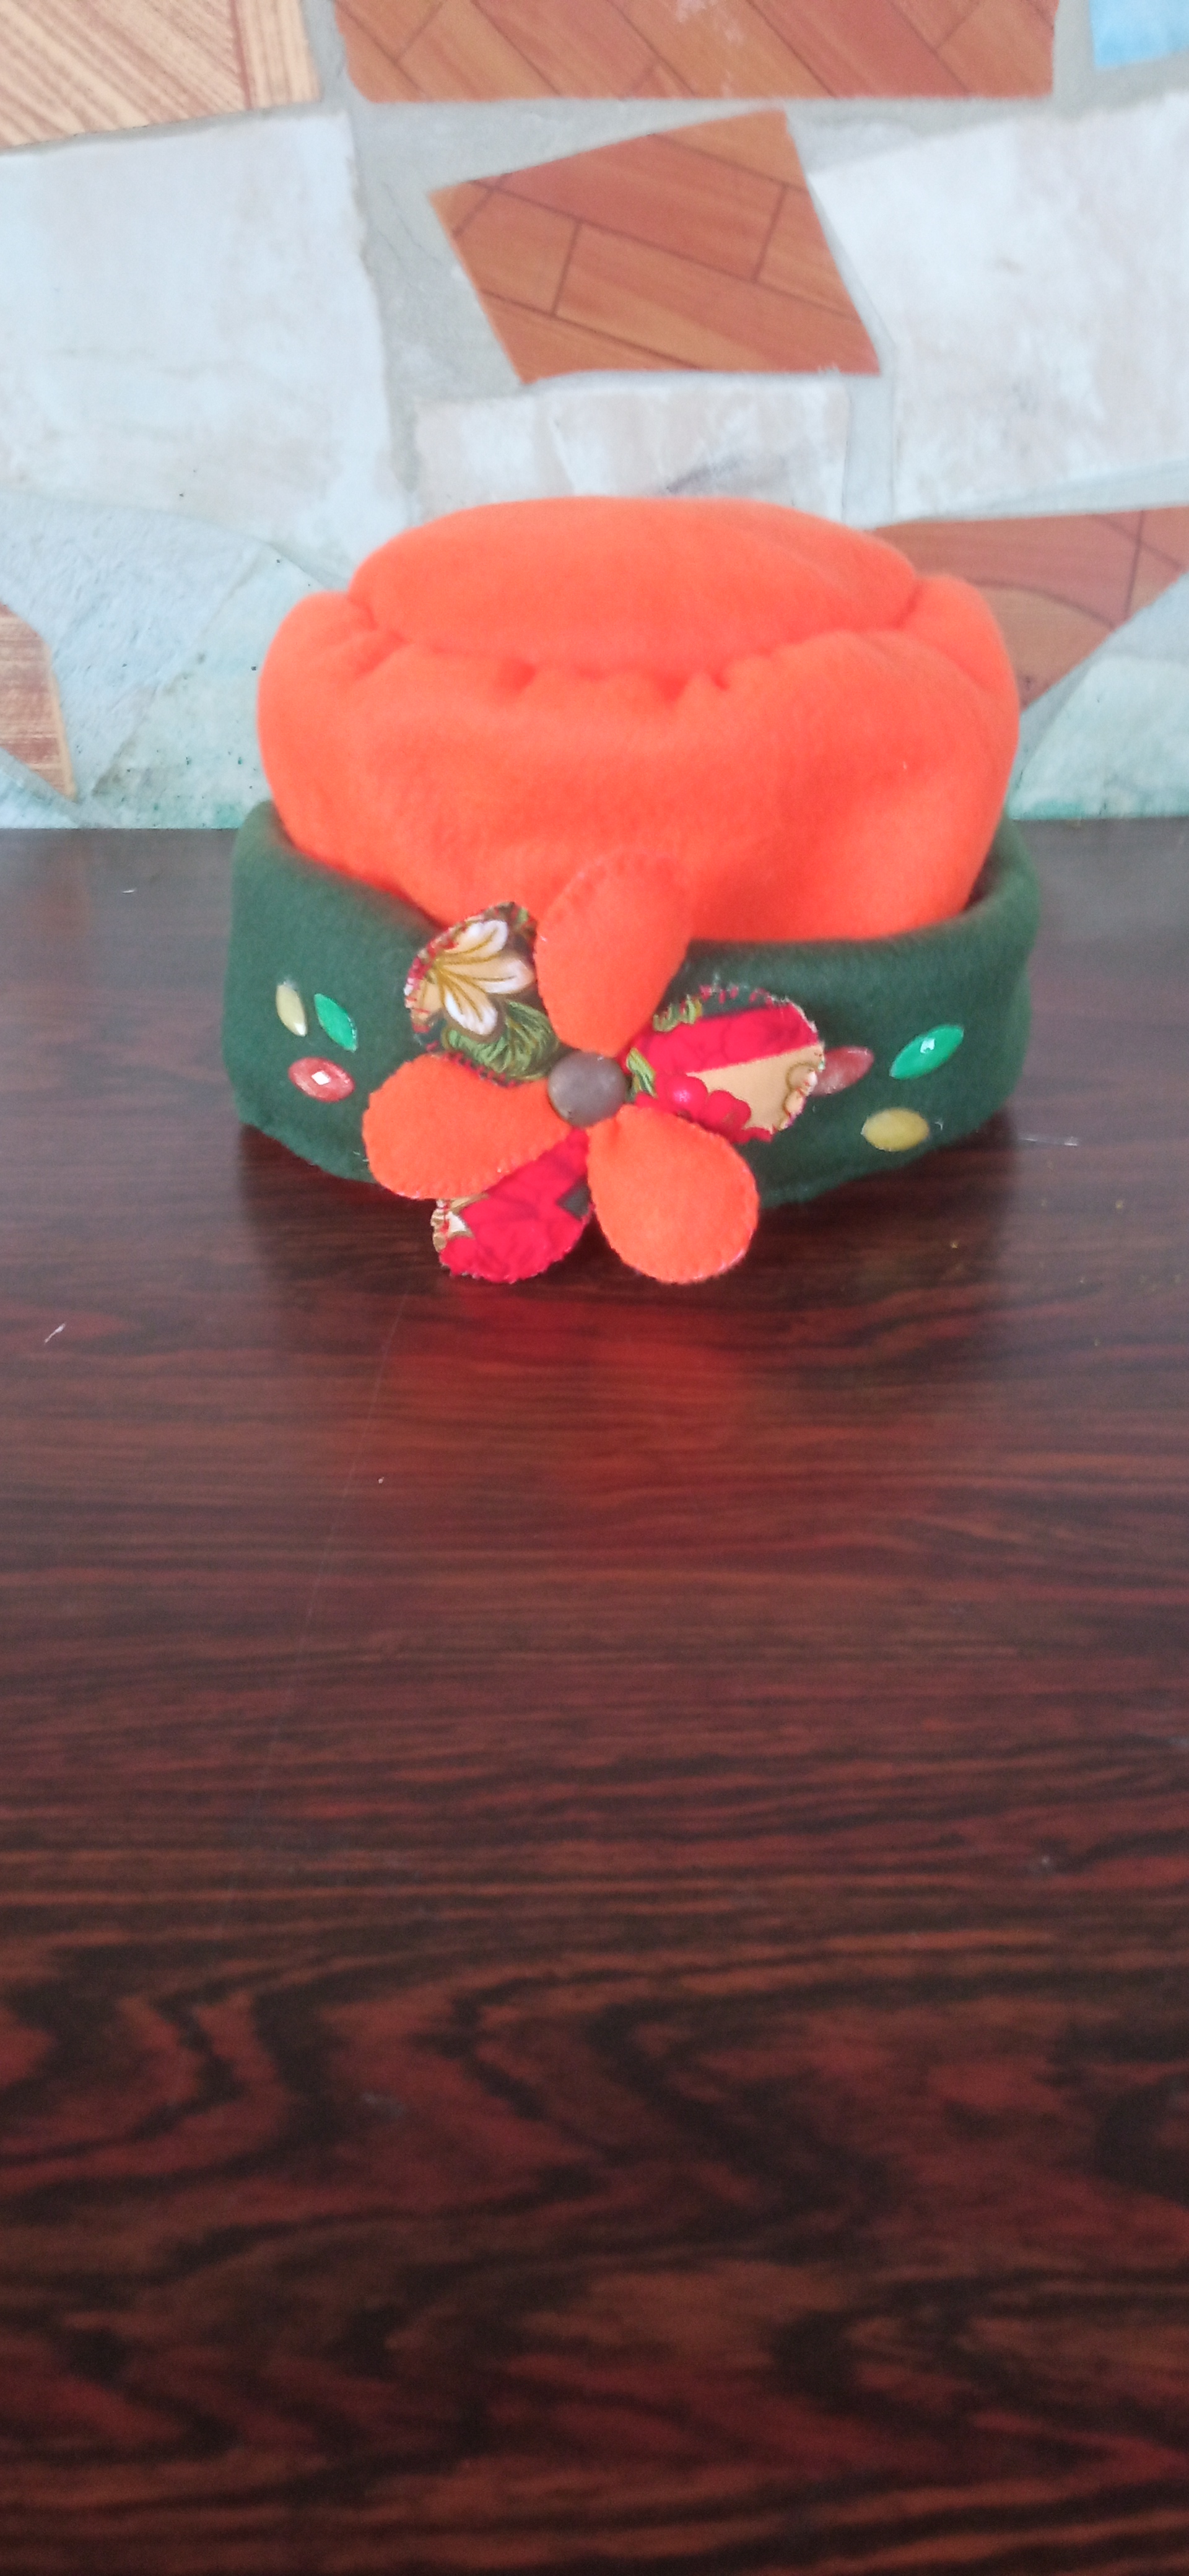
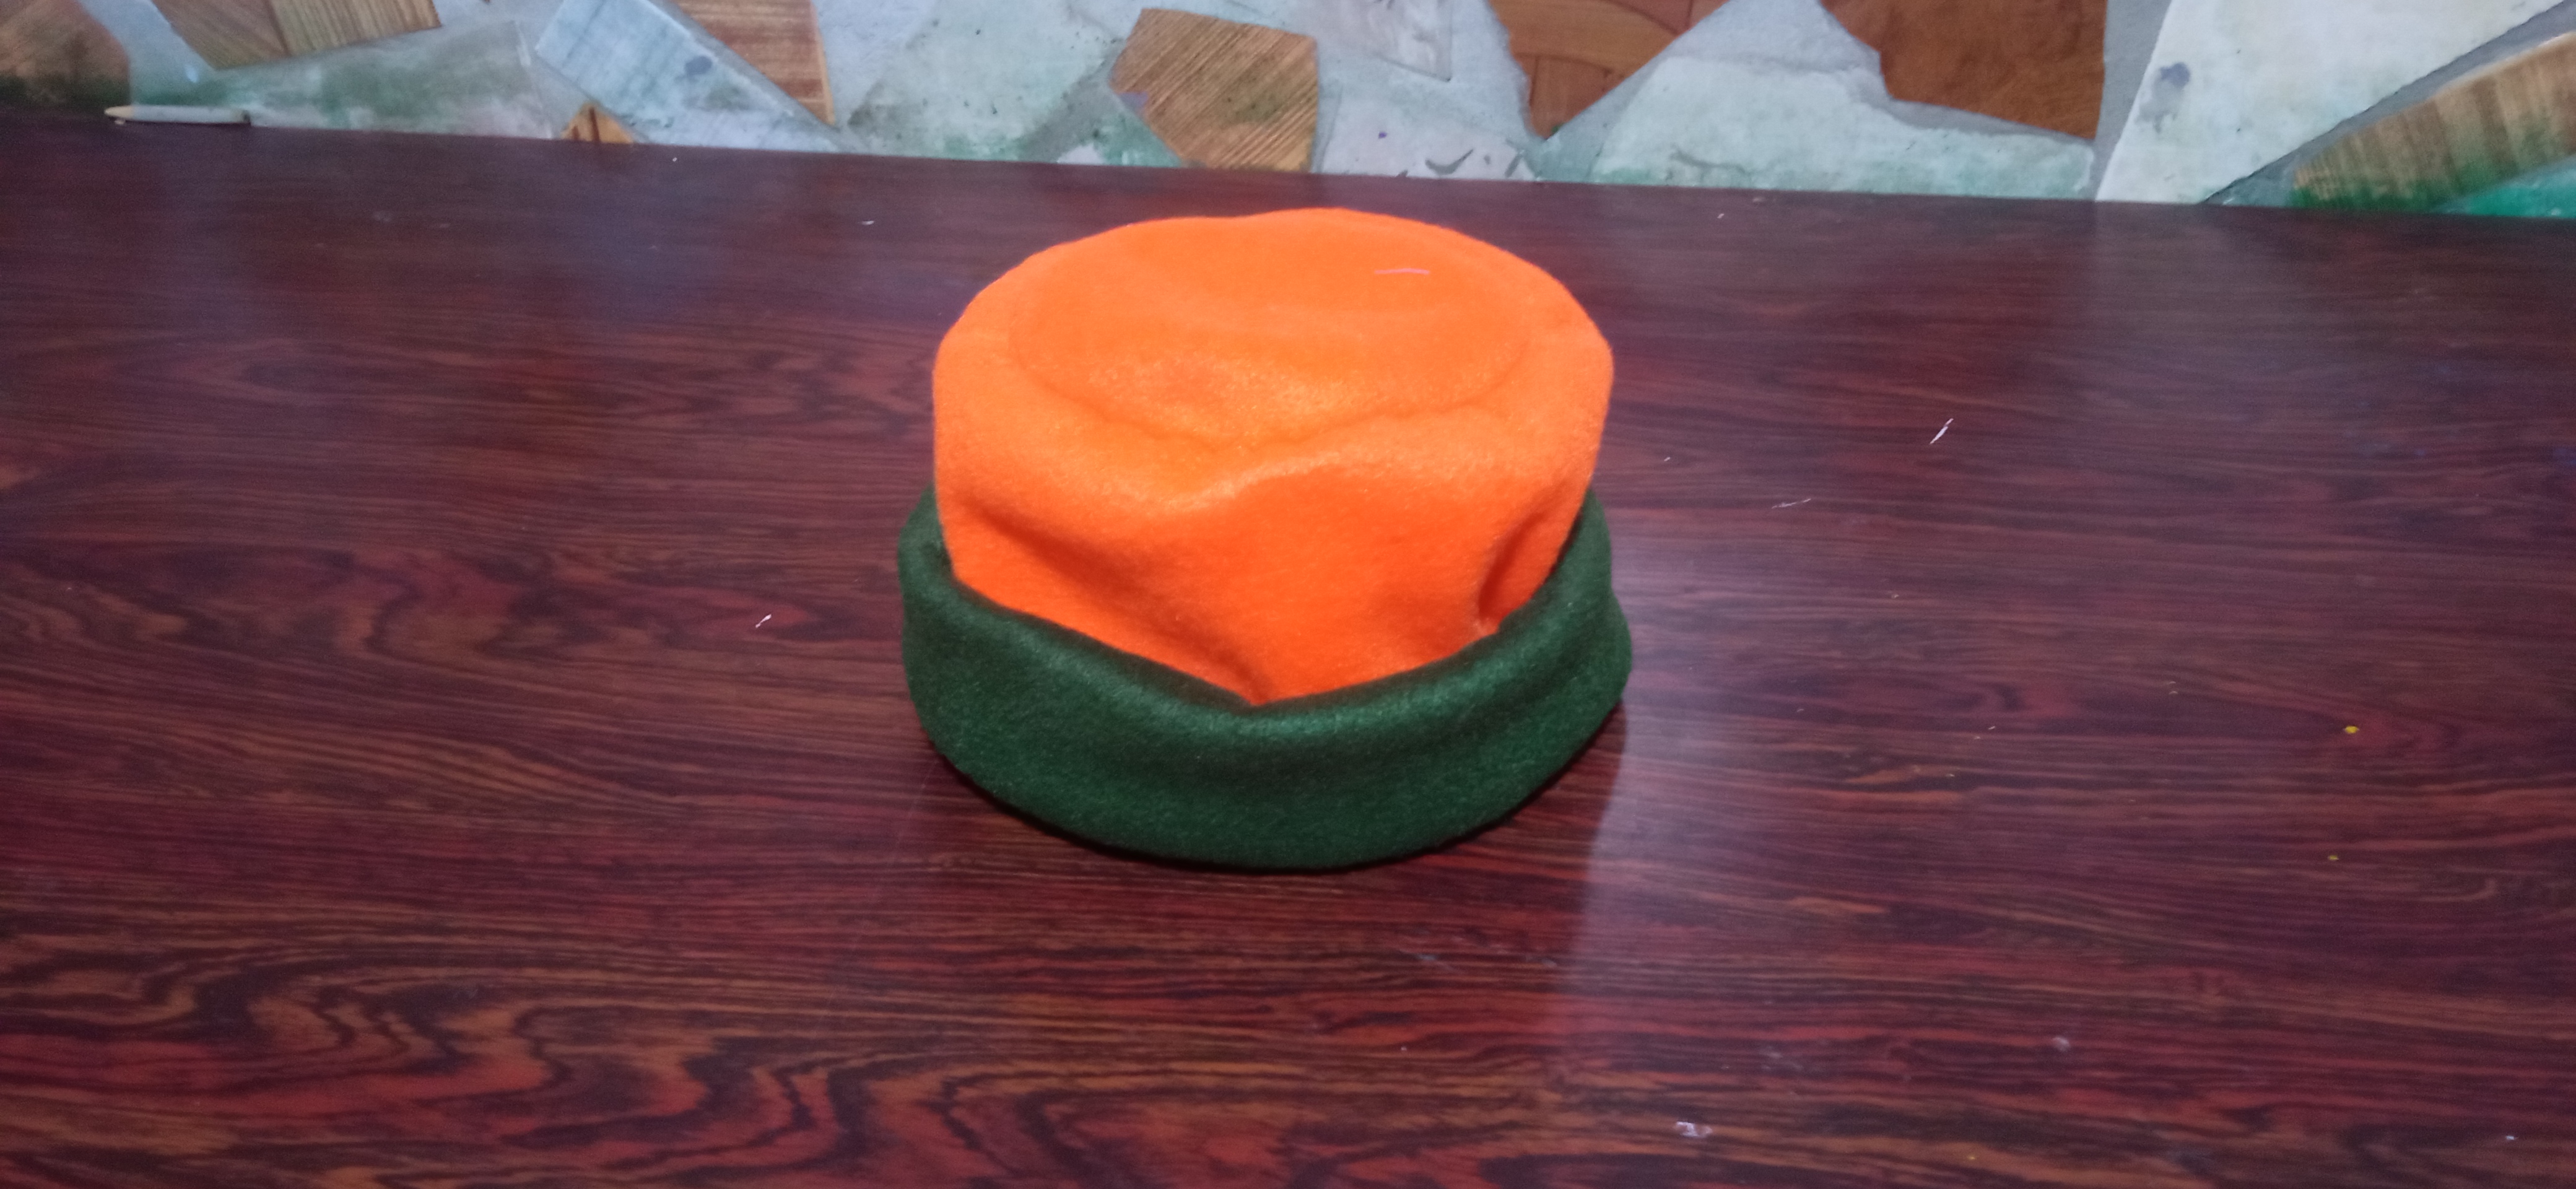
Bueno amigos así quedo mi coqueto sombrero, espero que les guste.
Well friends, this is how my flirty hat turned out, I hope you like it.
Congratulations @claire23! You have completed the following achievement on the Hive blockchain and have been rewarded with new badge(s):
Your next payout target is 100 HP.
The unit is Hive Power equivalent because your rewards can be split into HP and HBD
You can view your badges on your board and compare yourself to others in the Ranking
If you no longer want to receive notifications, reply to this comment with the word
STOPTo support your work, I also upvoted your post!
Check out the last post from @hivebuzz:
Support the HiveBuzz project. Vote for our proposal!
Lovely thanks for sharing @claire23 and welcome to a brand new year 2022
thank you very much!!! The same to you. you are very kind!!!
Wow thank you so much ma, you’re an amazing person too with an extraordinary personality so I say welcome to hive I hope to see more of your creativities.
thanks for reading my post I'll be sure!!! we'll be good friends
Le quedó precioso🤗😊.... Me encanta el detalle de la flor de tela😃👍🏻. Es un buen trabajo🤗... Gracias por compartir 😊.
Feliz y bendecido 2022🥂🎄🎁🥳
gracias a ustedes por sus comentarios . Espero seguir compartiendo y aprender mucho de ustedes
Very cute!!!!
thank you so much!!!