[ESP-ENG] Cuadro decorativo. | Decorative painting.
Veamos el paso a paso.
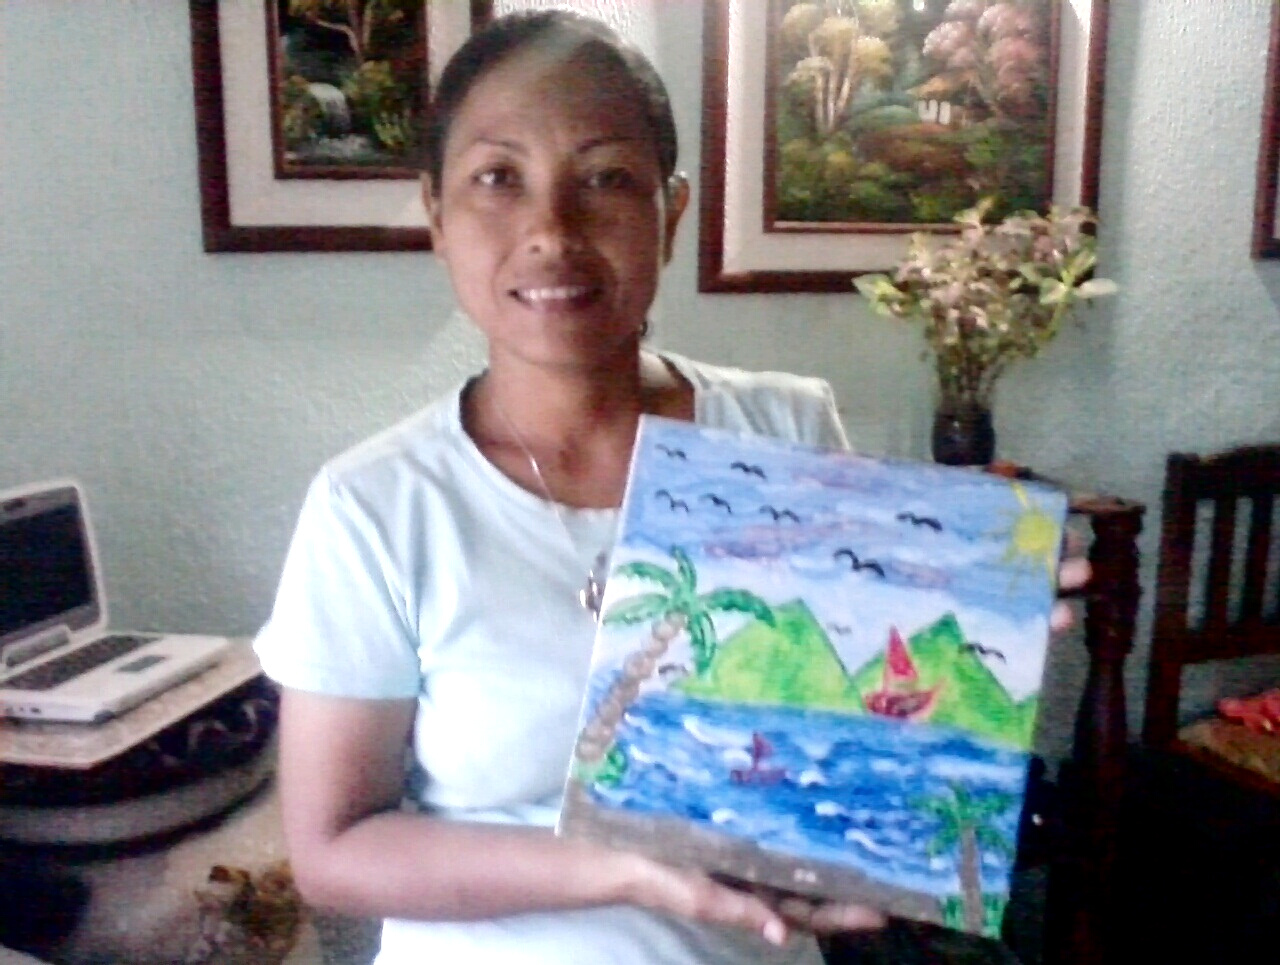
Good afternoon my beautiful people of Hive, today I want to share with everyone a nice decorative painting, with a beautiful landscape ideal to place anywhere in the home, made with little material and very original.
Let's see the step by step.
Español:
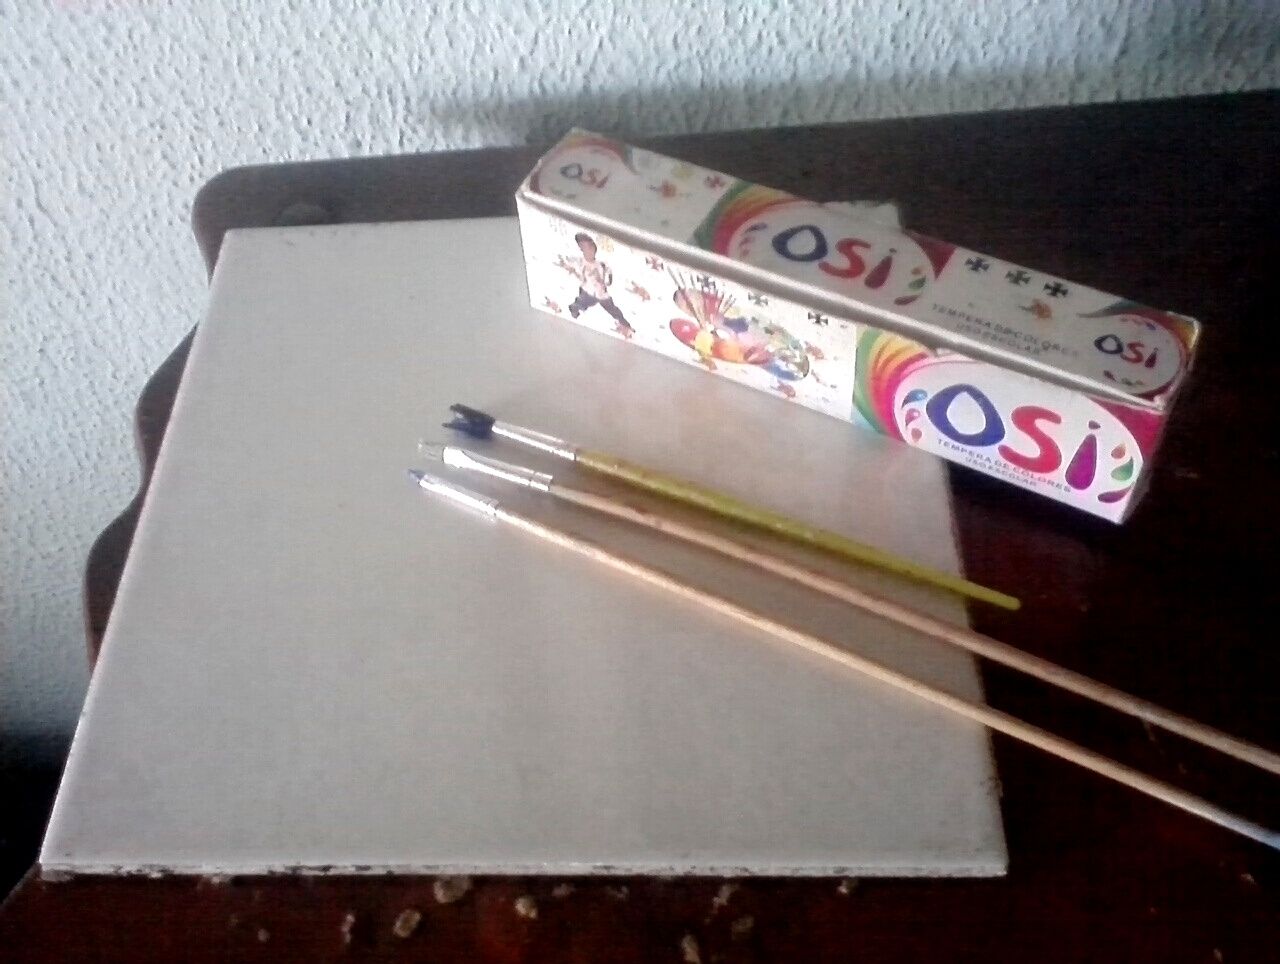
Materiales:
- Una lamina de cerámica de 24 x 24cm.
- Pincel, (1 punta fina y 2 punta gruesa).
- Tempera de color: azul, blanca, marrón, negra, roja, verde y amarillo.
English:
Materials:
- A ceramic sheet of 24 x 24cm.
- Brush, (1 fine tip and 2 coarse tips).
- Colored tempera: blue, white, brown, black, red, green and yellow.

Español:
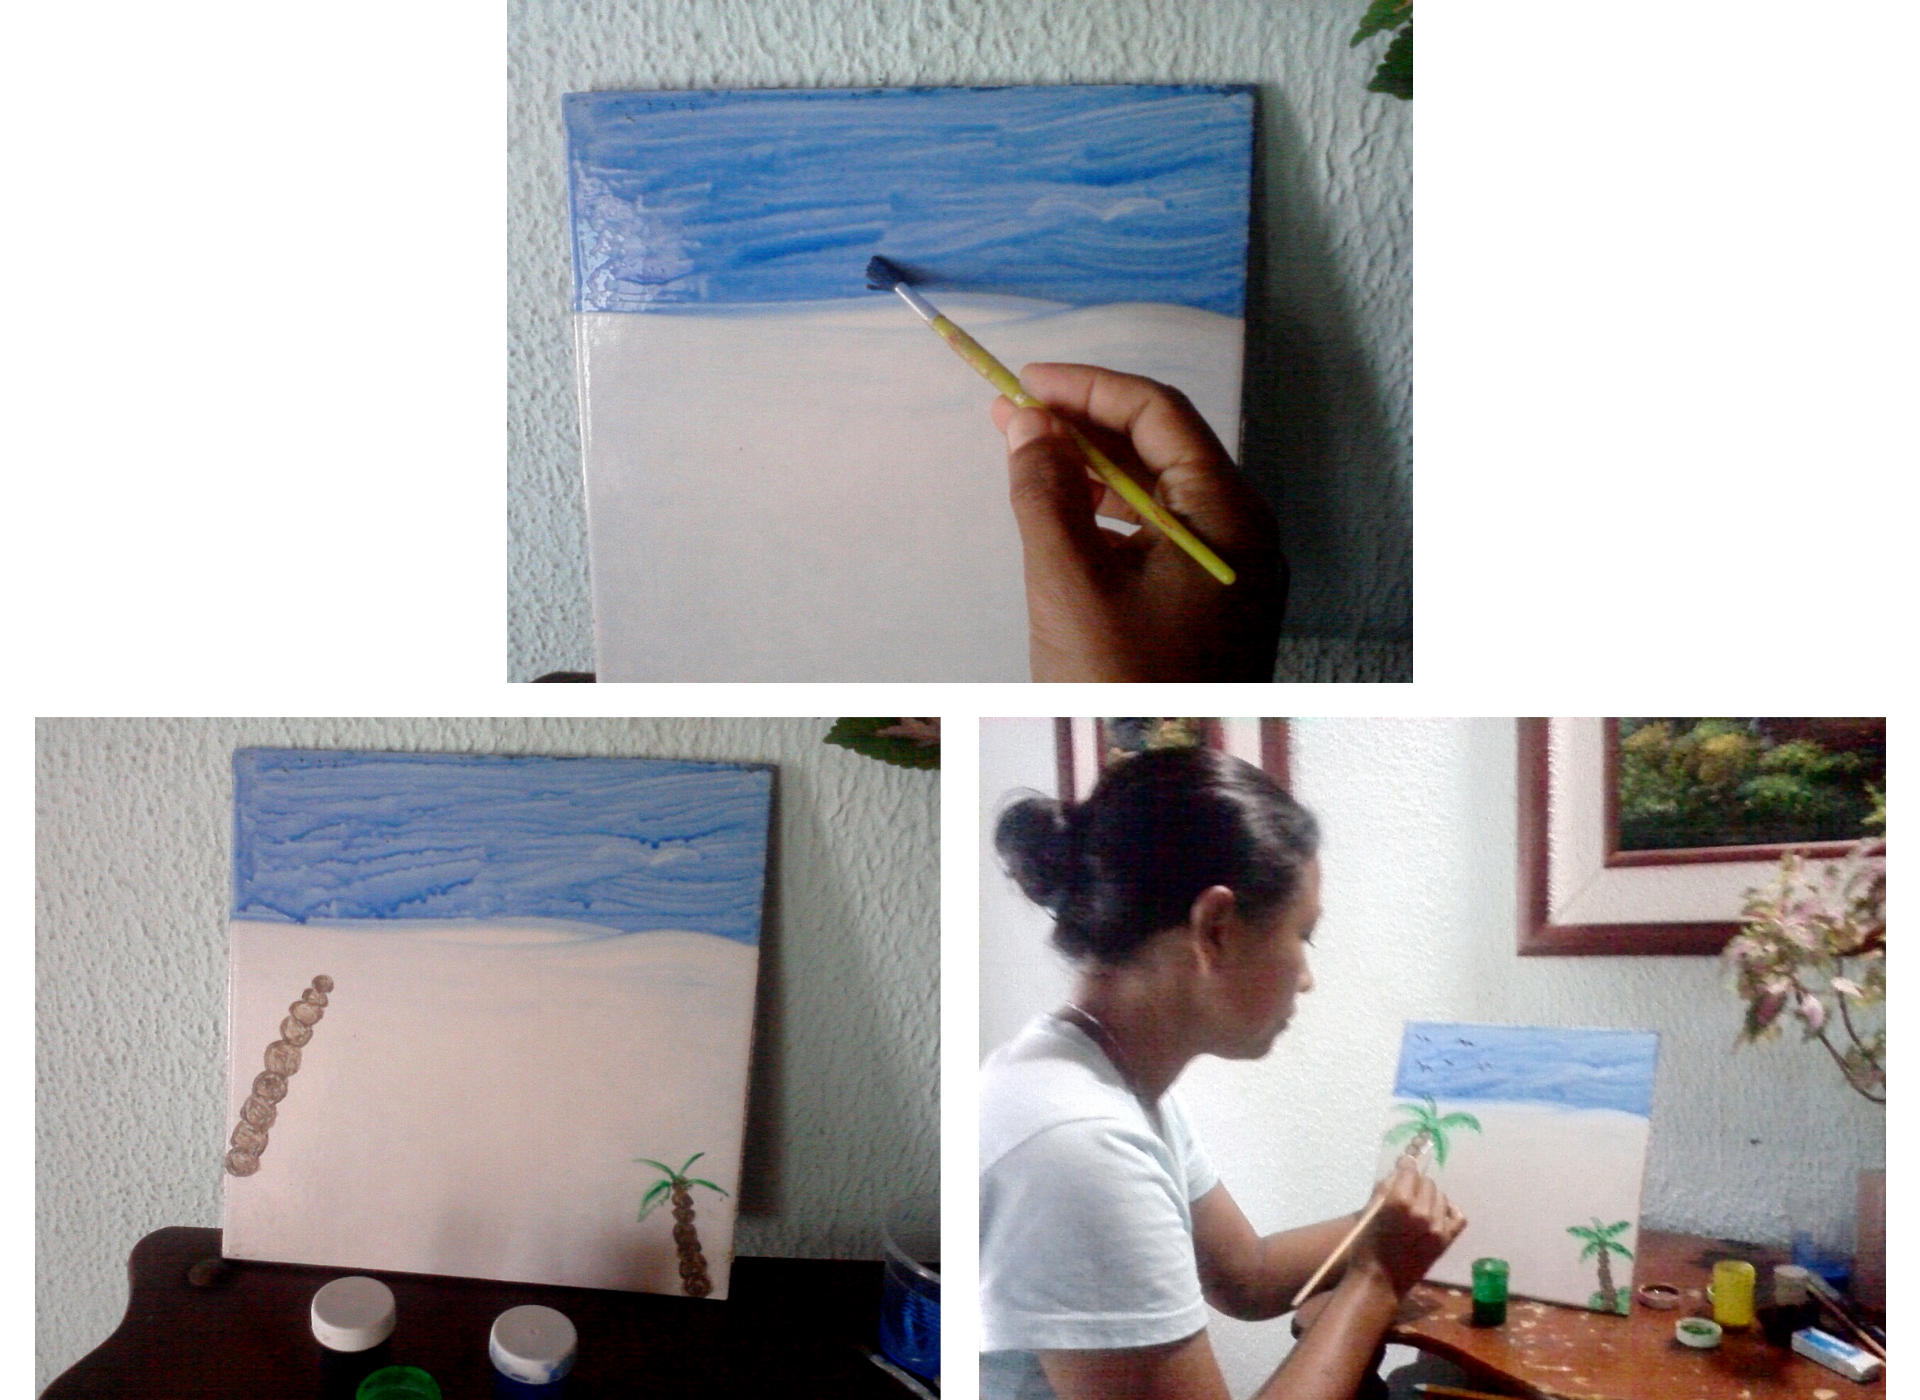
Paso: 1
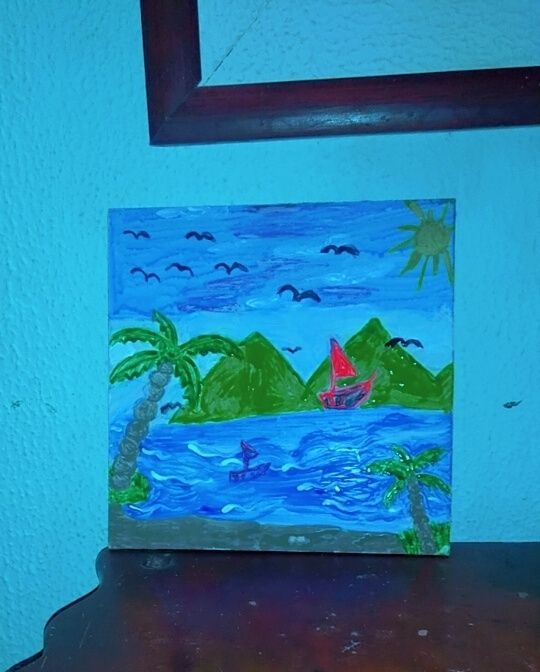
- Comienzo en la parte superior coloreando con el color azul claro, dejando matices blancos, este vendría siendo el cielo. Luego de un lado continuo dibujando y coloreando con el color marrón en formas circulares los troncos de unas palmeras, después con el color verde dibujo las palmas de ambos lados, la palma mas grande hacia un lado, y la mas pequeña en una esquina de la parte inferior de la lamina.
English:
Step: 1
- I start in the upper part coloring with the light blue color, leaving white shades, this would be the sky. Then on one side I continue drawing and coloring with the brown color in circular forms the trunks of some palm trees, then with the green color I draw the palms of both sides, the bigger palm to one side, and the smaller one in a corner of the lower part of the sheet.
Español:
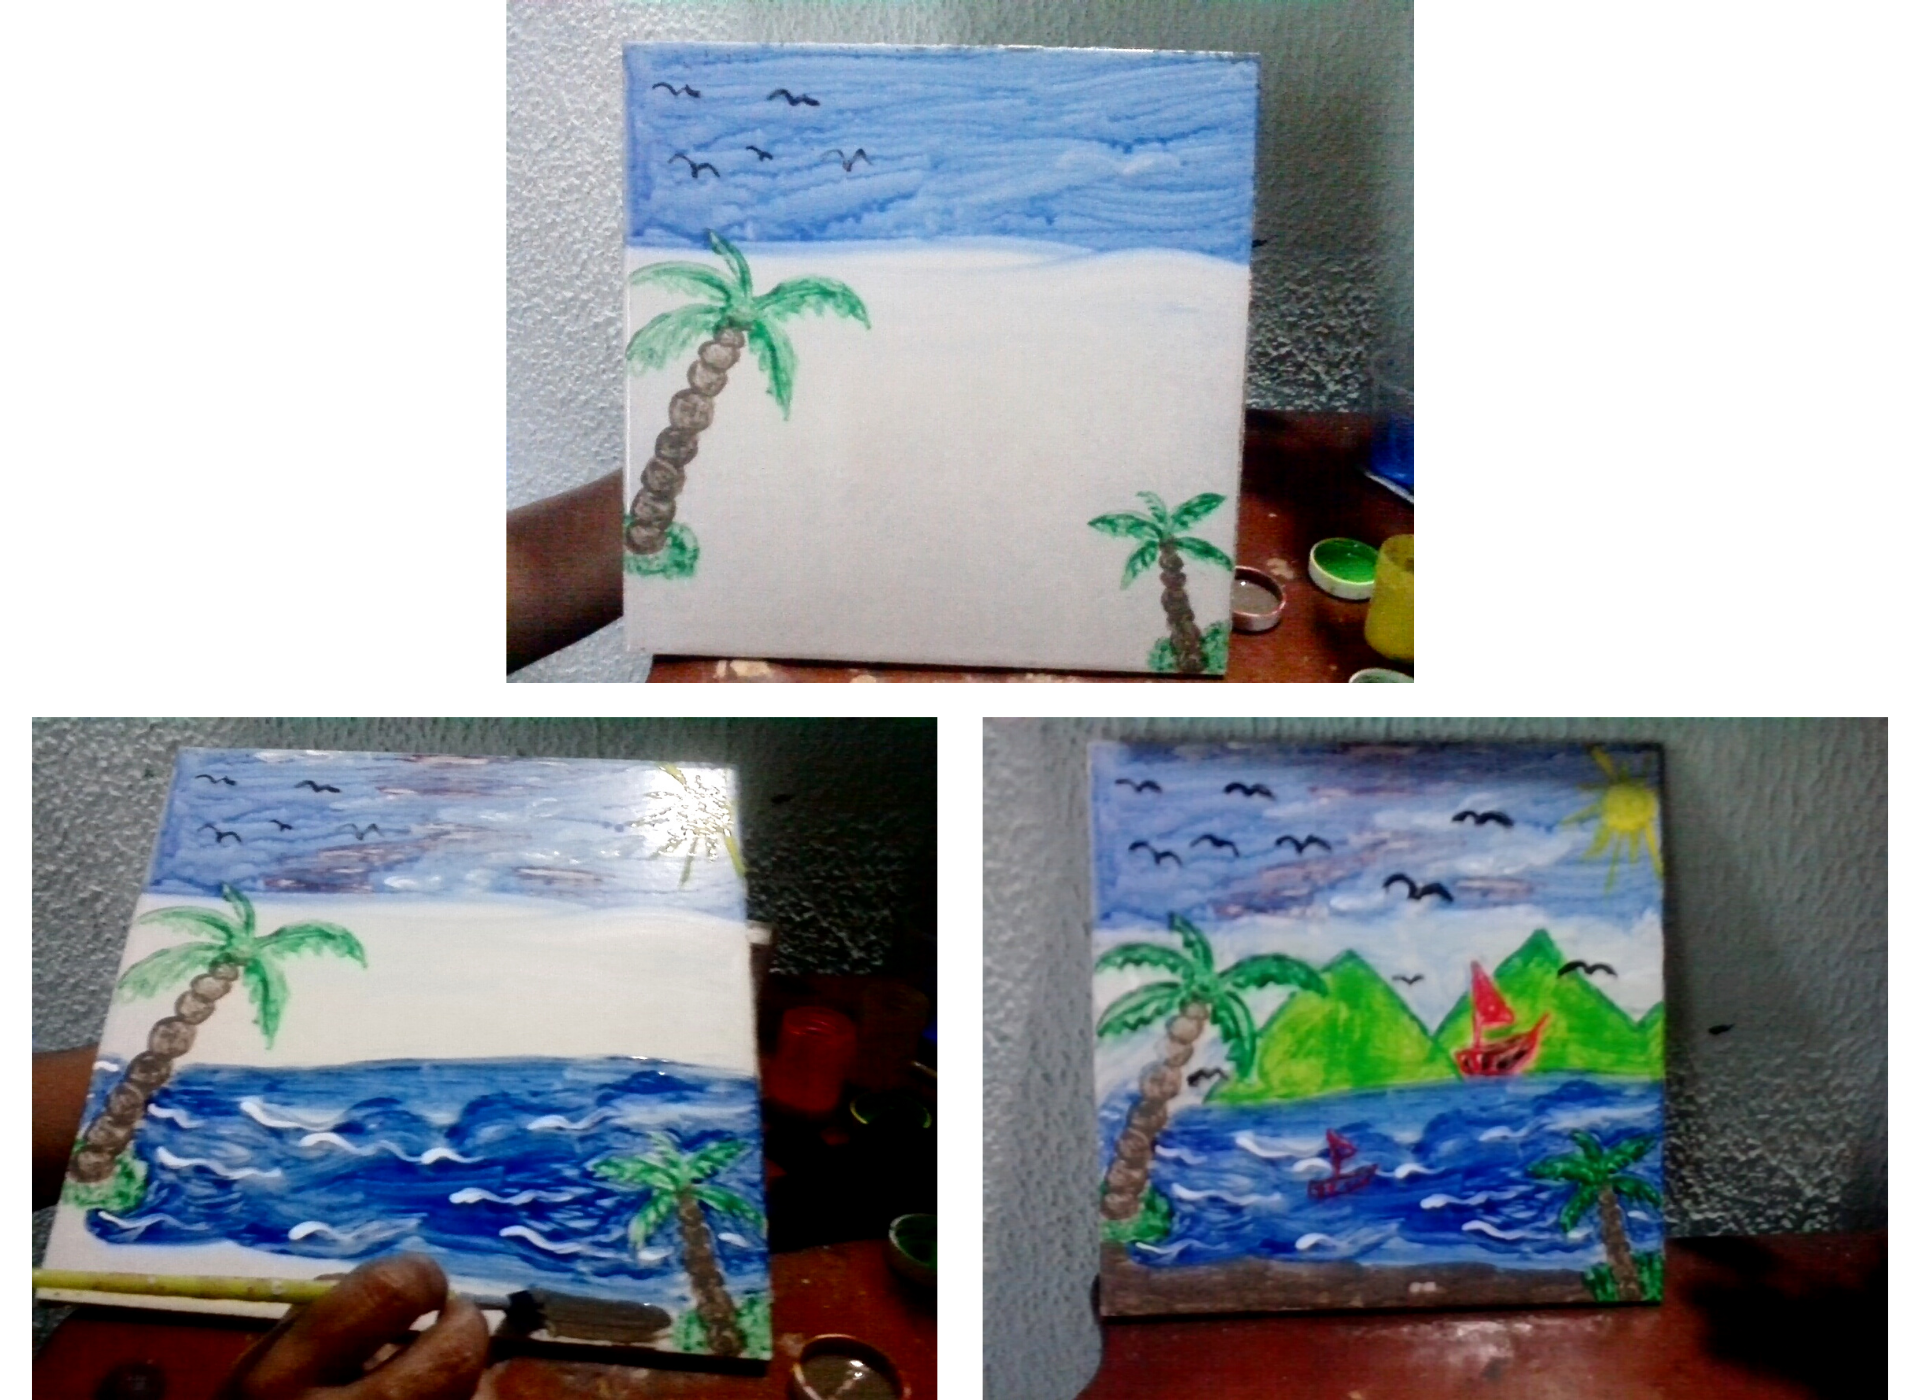
Paso: 2
- Después que termino con las palmeras, dibujo algunas gaviotas negras en la parte del cielo encima de la palmera grande, ahora procedo a dibujar el resto del paisajes aplicando unas franjas rojas difuminando en el medio del cielo, luego dibujamos el sol en la otra esquina del lado superior de la lamina con el color amarillo, y continuamos con un azul más intenso formando el mar, haciendo reflejos blancos simulando las olas, luego dibujo al final de la lamina con el color marrón la arena del mar. Para finalizar con el color rojo coloreo 2 veleros uno pequeño en el medio del mar y otro en la parte alta del mar y unas montañas con el color verde detrás del velero.
English:
Step: 2
- After I finish with the palm trees, I draw some black seagulls in the part of the sky above the big palm tree, now I proceed to draw the rest of the landscape applying some red stripes blurring in the middle of the sky, then we draw the sun in the other corner of the upper side of the sheet with yellow color, and we continue with a more intense blue forming the sea, making white reflections simulating the waves, then I draw at the end of the sheet with brown color the sand of the sea. To finish with the red color I colored 2 sailboats, a small one in the middle of the sea and another one in the high part of the sea and some mountains with the green color behind the sailboat.
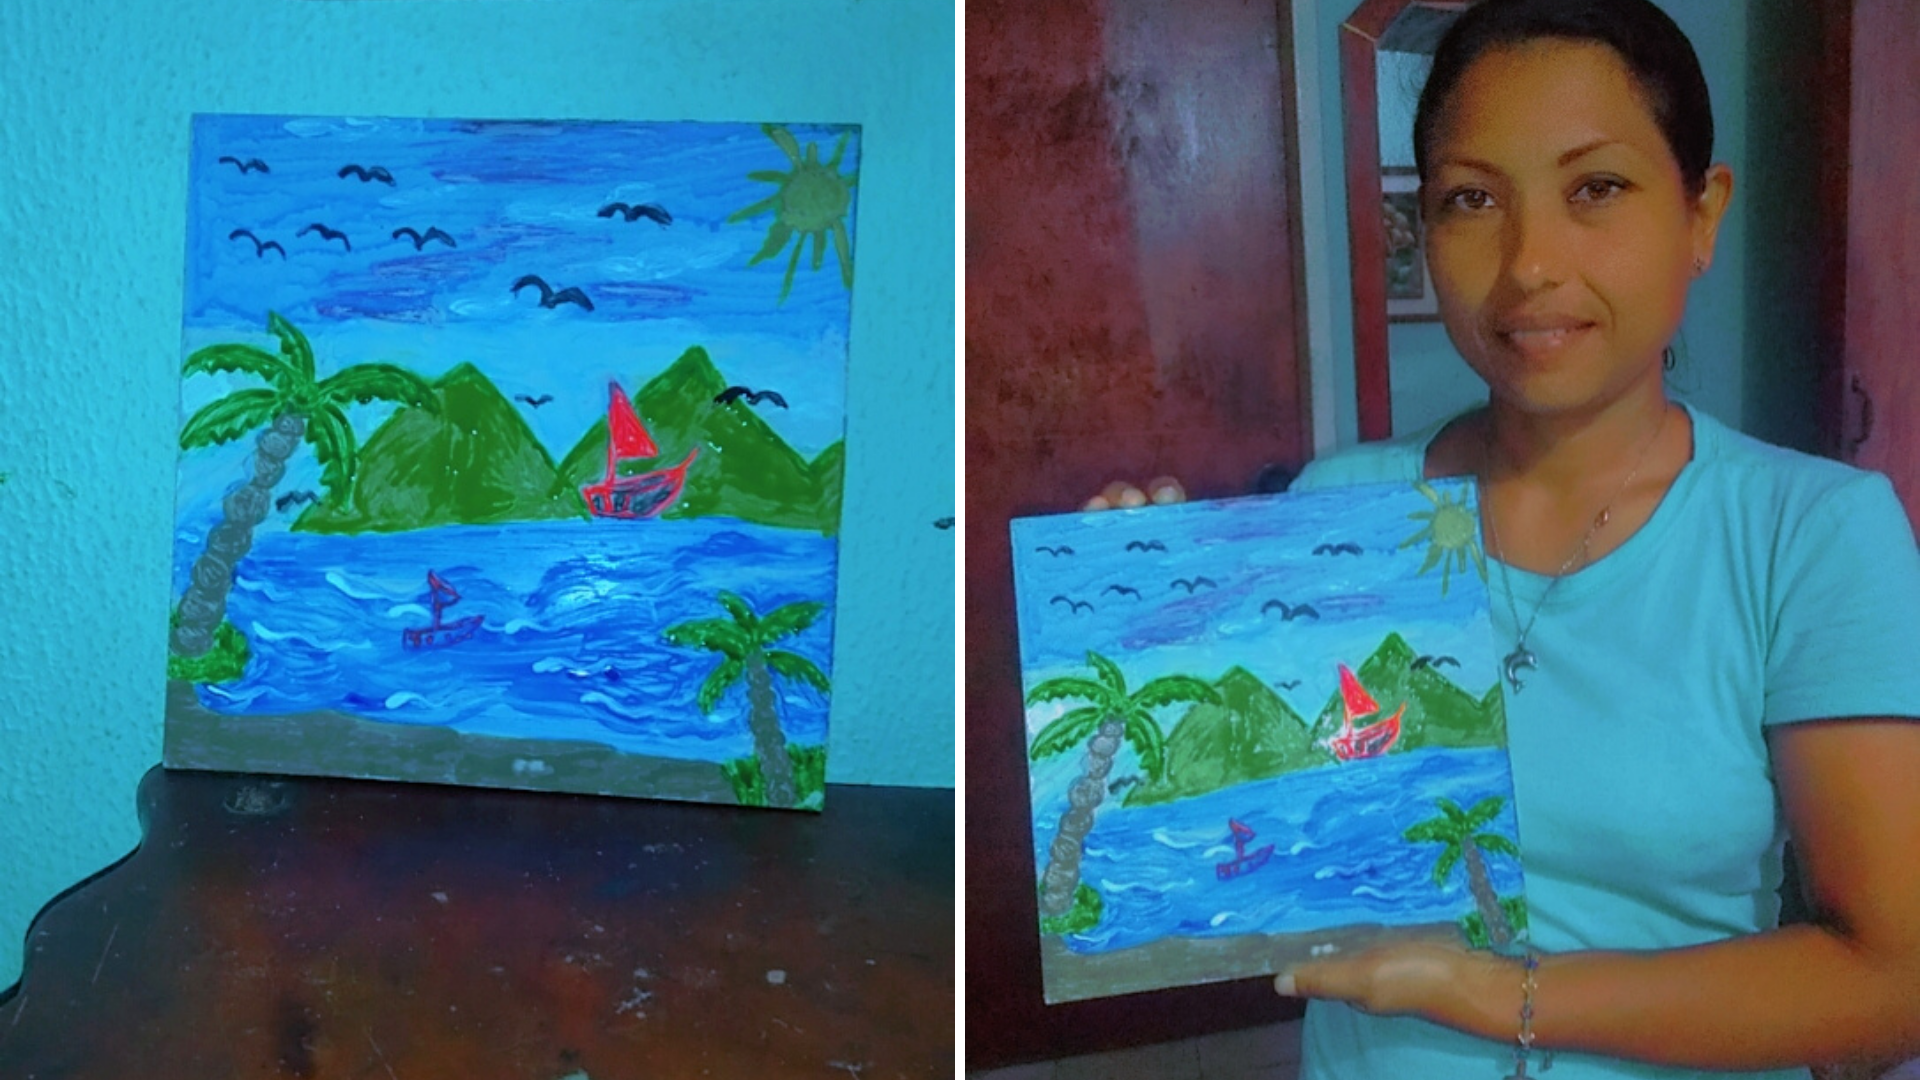
Así quedo el resultado final.
This is the final result.
.png)
.png)
Todas las fotos son de mi autoria y editadas con Canva.
All the photos were taken by me and edited with Canva.

0
0
0.000
Electronic-terrorism, voice to skull and neuro monitoring on Hive and Steem. You can ignore this, but your going to wish you didnt soon. This is happening whether you believe it or not. https://ecency.com/fyrstikken/@fairandbalanced/i-am-the-only-motherfucker-on-the-internet-pointing-to-a-direct-source-for-voice-to-skull-electronic-terrorism