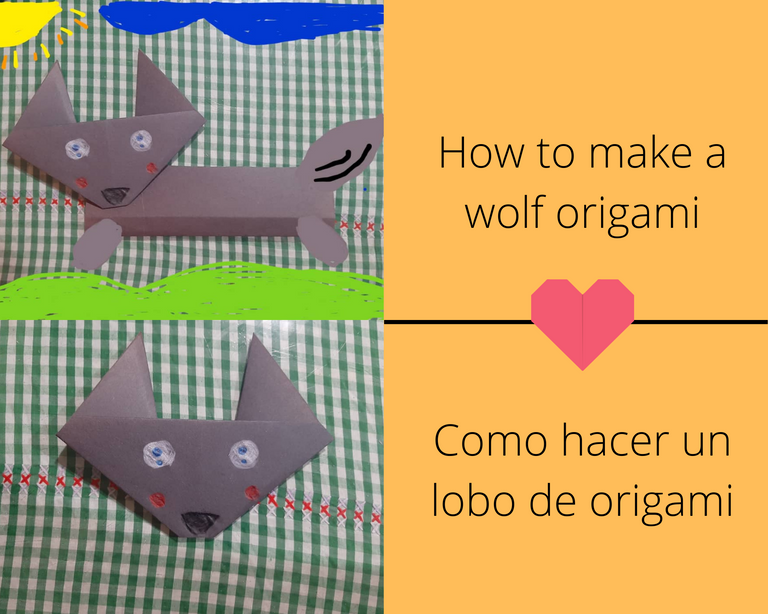
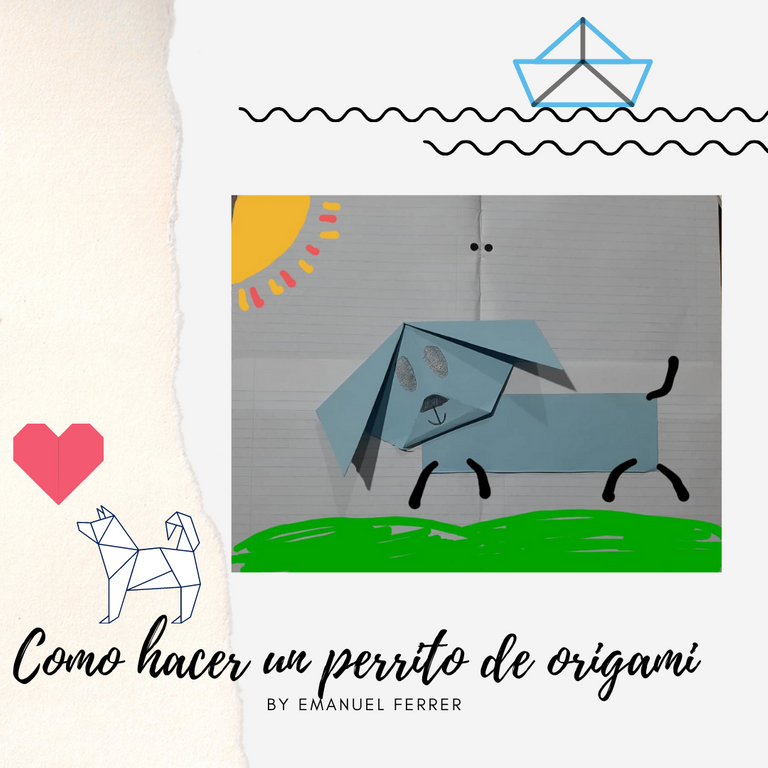
[ ESP/ ENG ] Como hacer un lobo de origami🙋♂️🐶📄|| How to make a wolf origami🙋♂️🐶📄
This image was made by me in canva
Hola amigos de Hive blog, ¿cómo están? espero se encuentren bien, luego de una semana sin escribir vuelvo a aparecer por aquí para saludarlos y traer este tutorial de cómo hacer un lobo usando origami, y algo extra que puedes hacer :D.
Hello friends of Hive blog, how are you? I hope you are well, after a week without writing I come back here to greet you and bring you this tutorial on how to make a wolf using origami, and something extra you can do :D.
Este tutorial va dirigido para todos aquellos que quieran distraerse después de un día de trabajo o simplemente para pasar el rato. para mi desde pequeño siempre me ha gustado hacer origami para desestresarme.
This tutorial is intended for all those who want to distract themselves after a day of work or just to pass the time. For me, since I was a child, I have always liked to make origami to de-stress.
Los materiales que utilizaremos para hacer este tutorial son muy sencillos, una hoja de color (preferiblemente colores oscuros), colores y tijeras. son materiales bastantes sencillos de conseguir.
The materials we will use to make this tutorial are very simple, a colored sheet (preferably dark colors), colors and scissors. These materials are quite easy to obtain.
Al final de esta explicación les mostrare algo extra que podemos hacer con este origami. Ya que con algo de imaginación pasara de ser algo simple a formar parte del paisaje que tu imagines.
At the end of this explanation I will show you something extra that we can do with this origami. With some imagination it will go from being something simple to be part of the landscape that you imagine.
y sin nada más que agregar empecemos esta increíble obra:
And with nothing more to add, let's begin this incredible work:
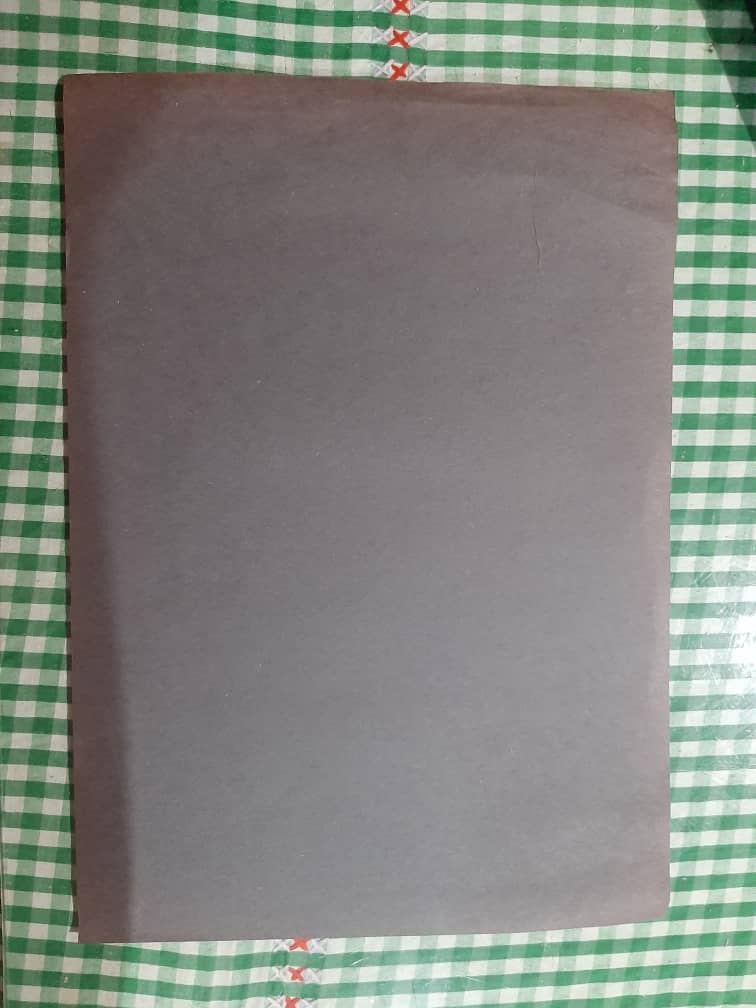
*** Paso 1📄🐶 *** || *** Step 1 📄🐶 ***
Como primer paso buscaremos una hoja de papel de colores como esta que se ve en la siguiente imagen, preferiblemente colores oscuros.
As a first step we will look for a sheet of colored paper like the one shown in the following image, preferably dark colors.
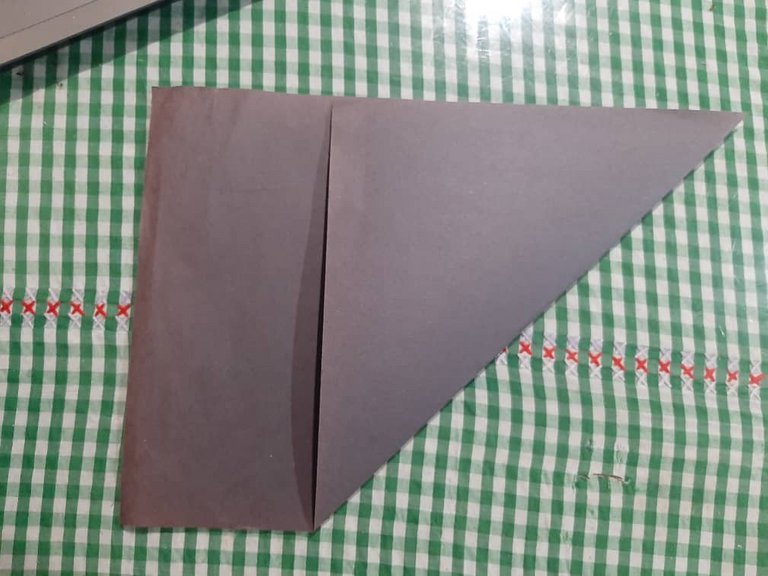
*** Paso 2📄🐶 *** || *** Step 2📄🐶 ***
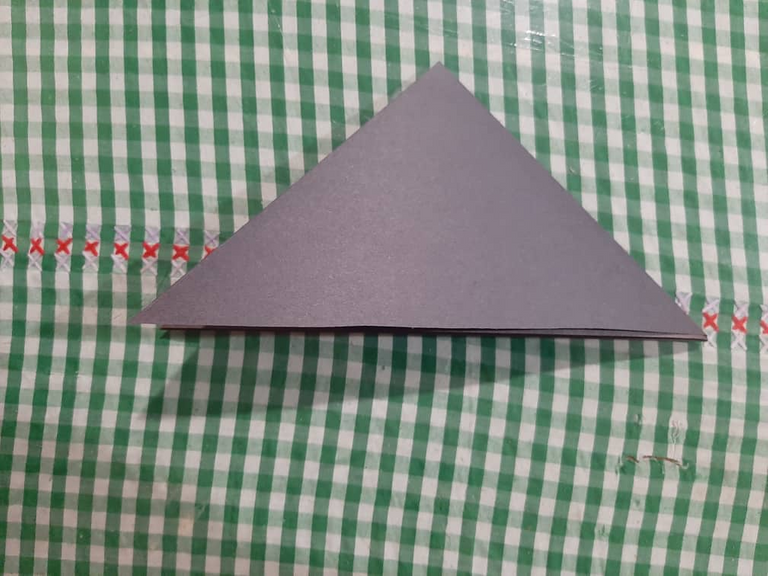
Llevamos una esquina de la hoja hasta la mitad de la misma para de esta manera hacer un triángulo. El resultado deber de ser como en el de la siguiente fotografía.
We bring one corner of the sheet to the middle of it to make a triangle. The result should look like the one in the following picture.
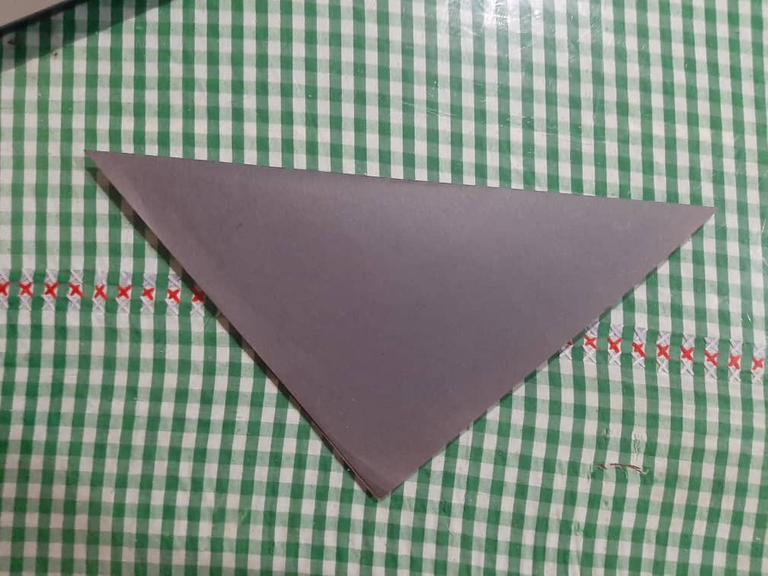
*** Paso 3📄🐶 *** || *** Step 3📄🐶 ***
Cortamos la parte de debajo de la hoja para que nos quede el triángulo libre, como se ve en la siguiente fotografía.
Cut the bottom part of the leaf so that the triangle is free, as shown in the following picture
*** Paso 4📄🐶 *** || *** Step 4📄🐶 ***
Llevamos una esquina de este triangulo a la otra (imagen 1 ), para hacer un triángulo más pequeño (imagen 2 ).
We bring one corner of this triangle to the other (image 1 ), to make a smaller triangle (image 2 ).
imagen 1 || picture 1
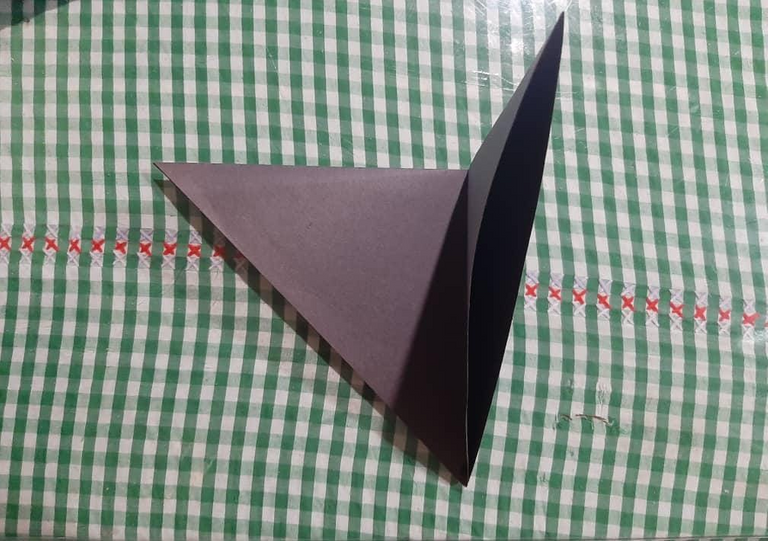
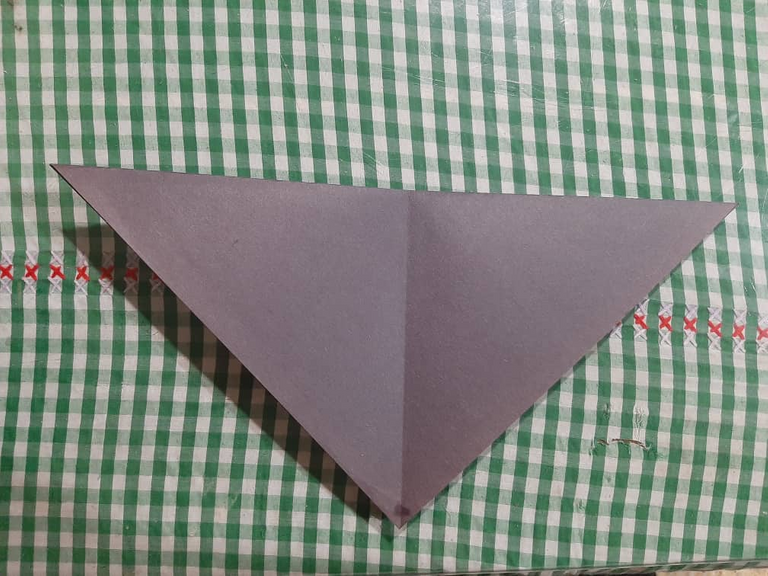
imagen 2 || picture 2
*** Paso 5📄🐶 *** || *** Step 5📄🐶 ***
Abrimos este pequeño triangulo debería quedar marcada su mitad tal como se ve en la siguiente imagen:
We open this small triangle and its half should be marked as shown in the following image:
*** Paso 6📄🐶 *** || *** Step 6📄🐶 ***
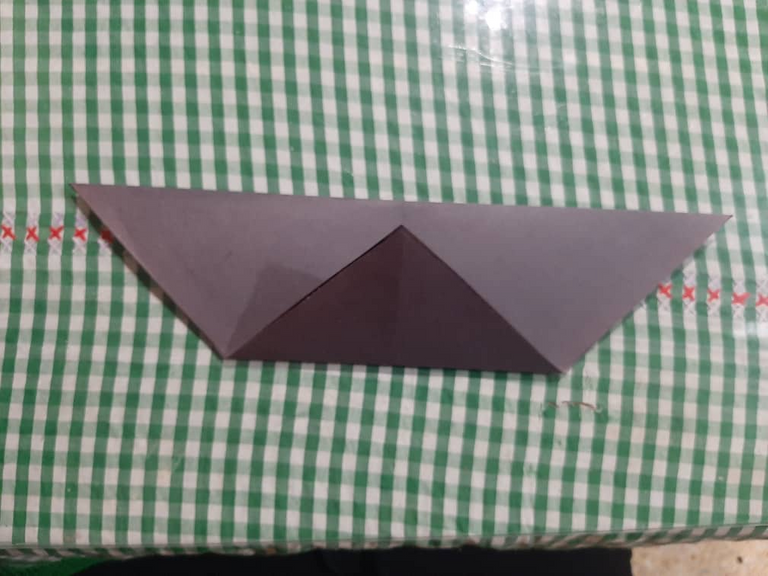
Llevamos este la punta de este triangulo hasta la parte superior del mismo como podemos apreciar de seguida:
We bring the tip of this triangle to the top of the triangle as we can see below:
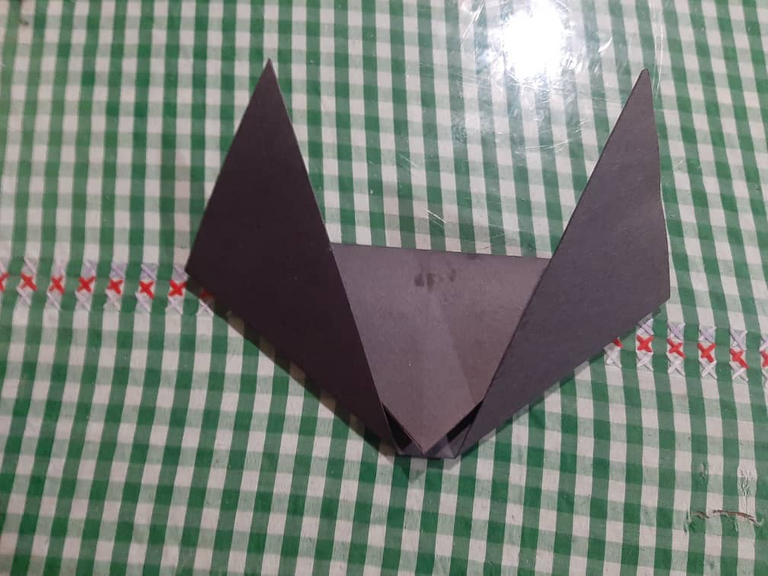
*** Paso 7📄🐶 *** || *** Step 7📄🐶 ***
llevamos una puta de este triangulo hasta la parte superior tal como podemos ver en la siguiente imagen:
we take a slut of this triangle to the top as we can see in the following image:

*** Paso 8📄🐶 *** || *** Step 8📄🐶 ***
Repetimos el paso anterior como la otra punta asi :
Repeat the previous step as the other end as well:
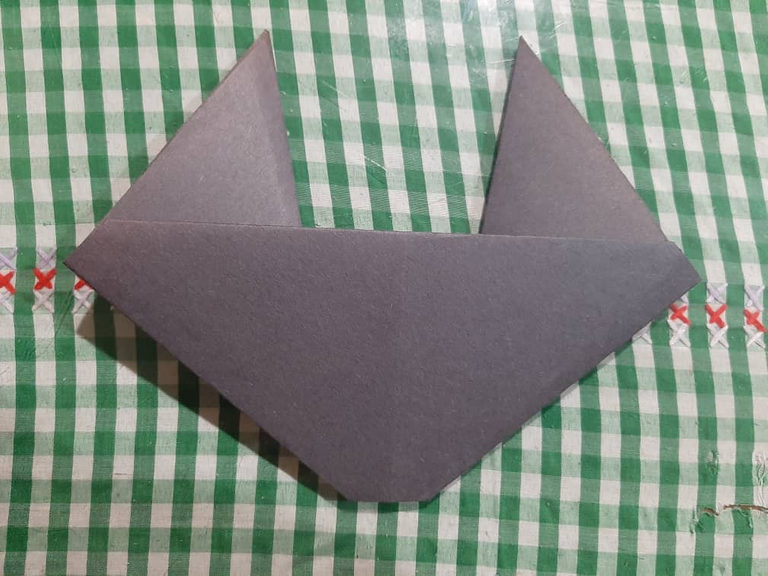
*** Paso 9📄🐶 *** || *** Step 9📄🐶 ***
Damos la vuela a este origami y nos queda esto, ya casi terminamos.
We turn this origami over and we are left with this, we are almost done.
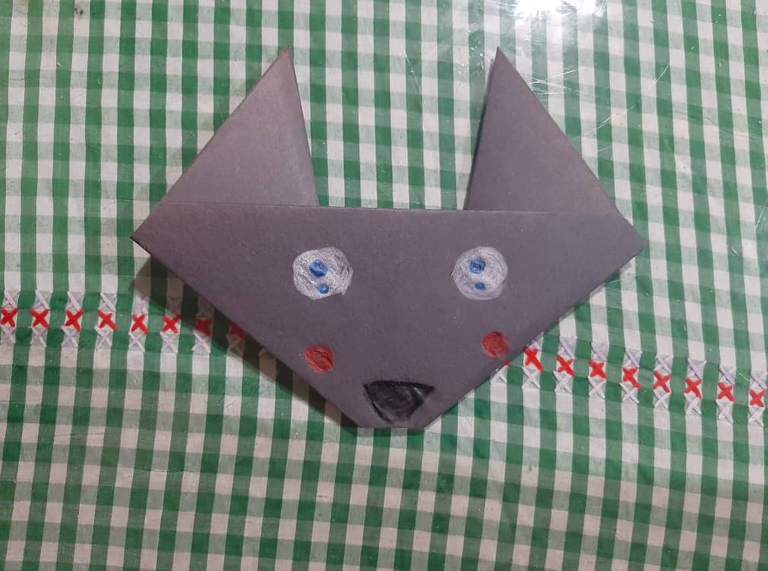
*** Paso 10📄🐶 *** || *** Step 10📄🐶 ***
Pintamos los ojos y la boca de nuestro lobito asi, y con esto terminariamos nuestro origami.
We painted the eyes and mouth of our little wolf like this, and with this we would finish our origami.
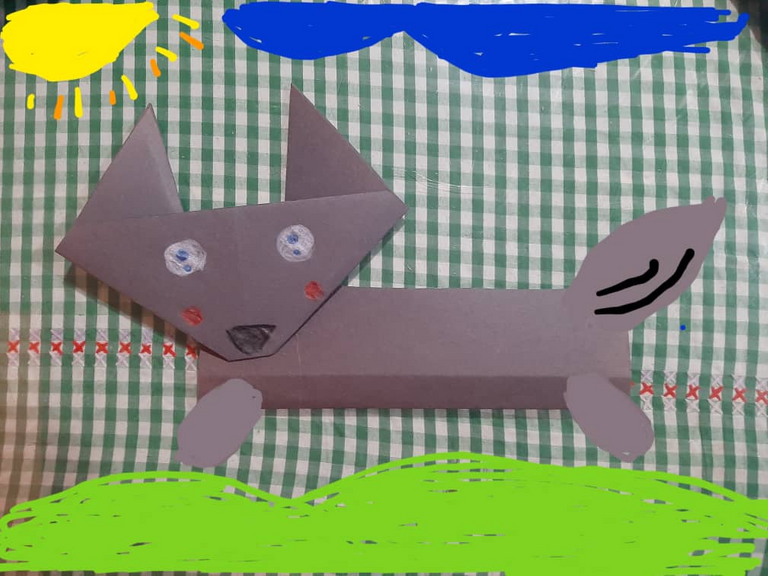
*** Paso extra *** || *** Step extra 📄🐶 ***
Con la tira de papel que nos quedó del paso 2 podemos Anexarla a la figurita de nuestro lobo y de esta manera imaginar que es el cuerpo de nuestro lobo. Le tómanos una fotografía y podemos con la opción de pintar hacer le un paisaje a nuestra figura de nuestro lobo. Es el toque del viejo con lo moderno, con este paso final quiero que imaginen en que paisaje esta su lobito el mío esta en una montaña :D.
With the strip of paper left over from step 2 we can attach it to our wolf figurine and in this way imagine that it is the body of our wolf. Take a picture of it and we can with the option of painting make a landscape to our figure of our wolf. It is the touch of the old with the modern, with this final step I want you to imagine in which landscape is your wolf, mine is in a mountain :D.
Si quieres aprender a hacer un origami de un perrito pueder daler click aqui , es de mi blog pero de hace unos años.
If you want to learn how to make an origami of a puppy you can click here , it's from my blog but from a few years ago.
Hemos llegado al final, sin nada mas que agregar nos vemos en otro
blog hasta la proxima amigos de hive blog.
We have come to the end, with nothing more to add, see you in another blog.
blog until next time hive blog friends.
🙌😁🍃
traduccion hecha en DEEPL
translation done at DEEPL
-------------------------------------------
this image was made in canva
https://twitter.com/emanuel50700091/status/1565557417408167936
The rewards earned on this comment will go directly to the people sharing the post on Twitter as long as they are registered with @poshtoken. Sign up at https://hiveposh.com.
Has sido votado por
PROYECTO ENLACE
'Conectando Ideas y Comunidades'
PROYECTO ENLACE es un proyecto de curación de habla hispana enfocado en recompensar contenido de calidad y apoyar autores en su proceso de crecimiento en HIVE.
Creemos y apostamos por el futuro de esta gran plataforma, y estamos muy emocionados de poder hacerla crecer junto a esta comunidad. Así que te invitamos a usar nuestra etiqueta ENLACE y estar atento a todas las actividades que tenemos preparadas y que estaremos publicando en breve.
¿QUIERES AUTOMATIZAR TUS GANANCIAS DE CURACIÓN? SE PARTE DEL PROYECTO ENLACE APOYANDO A NUESTRO TRAIL EN HIVE.VOTE INGRESA AQUÍ PARA CONOCER LOS DETALLES.
¿QUIERES INVERTIR ENLACE? DESCUBRE COMO HACERLO Y GENERAR INGRESOS DE FORMA SEMANAL MEDIANTE TU DELEGACIÓN DE HP AQUÍ TE EXPLICAMOS COMO.
Te invitamos a participar en nuestro servidor de Discord: https://discord.gg/3S9y7BbWfS
Atentamente
EQUIPO ENLACE 2022
La origamiami amigo @emanuelgfkekin juega un papel fundamental en el aprendizaje ya que permite al niño desarrollar la motricidad fina y tambien la coordinación y en la resolución de problemas de la vida cotidiana.
Thank you for sharing this amazing post on HIVE!
Your content got selected by our fellow curator @rezoanulvibes & you just received a little thank you via an upvote from our non-profit curation initiative!
You will be featured in one of our recurring curation compilations and on our pinterest boards! Both are aiming to offer you a stage to widen your audience within and outside of the DIY scene of hive.
Join the official DIYHub community on HIVE and show us more of your amazing work and feel free to connect with us and other DIYers via our discord server: https://discord.gg/mY5uCfQ !
If you want to support our goal to motivate other DIY/art/music/homesteading/... creators just delegate to us and earn 100% of your curation rewards!
Stay creative & hive on!