Step by step tutorial: Cut crease open colorful cut crease [ESP//ING]
HOLA MI LINDA COMUNIDAD
HELLO MY BEAUTIFUL COMMUNITY

Es lindo volver a esta plataforma, llena de personas talentosas y con ganas de dar lo mejor de si mismos. El día de hoy decidí compartir con ustedes un tutorial paso a paso de un cut crease abierto lleno de colores y vitalidad. Lo hice hace un tiempo y realmente me parece que es una de las mejores formas de volver con ustedes, así que manos a la obra:
It's nice to come back to this platform, full of talented people who want to give the best of themselves. Today I decided to share with you a step by step tutorial of an open cut crease full of colors and vitality. I did it a while ago and I really think it is one of the best ways to get back to you, so let's get to work:

Paso a paso | Step by step
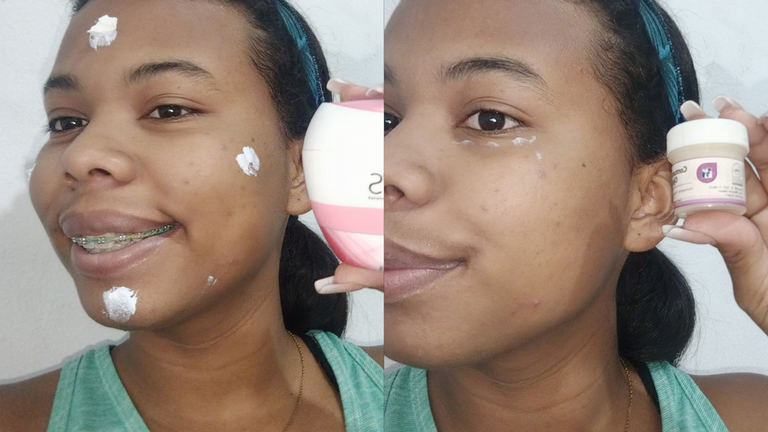
Hoy comenzaré como se debe: Preparando la piel. Creo que ya todos sabemos lo importante que es el Skin care, y si no lo sabes, te cuento que limpiar, hidratar y mimar tu piel, llevará tu maquillaje al siguiente nivel, aparte de que en el futuro mantendrás la salud de tu piel. Pero bueno, aquí la cosa es que en mi rostro recién lavado apliqué mi crema hidratante Pond's y un contorno de ojos farmatodo. Luego de esto peiné y rellené mis cejas.
Today I will start the right way: Preparing the skin. I think we all know how important Skin care is, and if you don't know, I'll tell you that cleansing, moisturizing and pampering your skin will take your makeup to the next level, besides that in the future you will maintain the health of your skin. But well, here's the thing, on my freshly washed face I applied my Pond's moisturizer and a farmatodo eye contour. After that I combed and filled in my eyebrows.

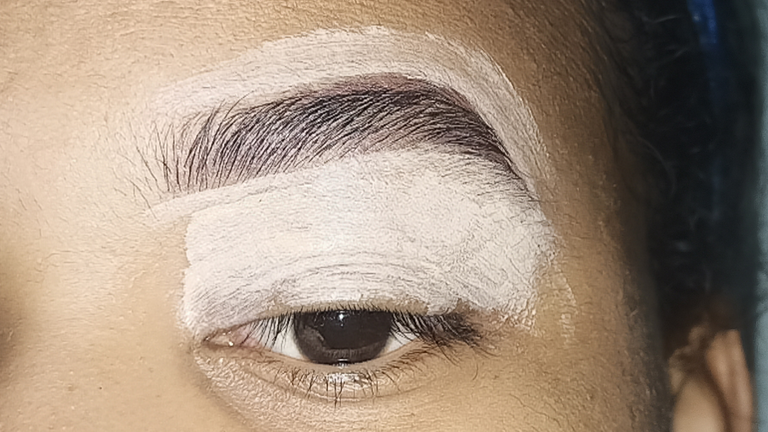
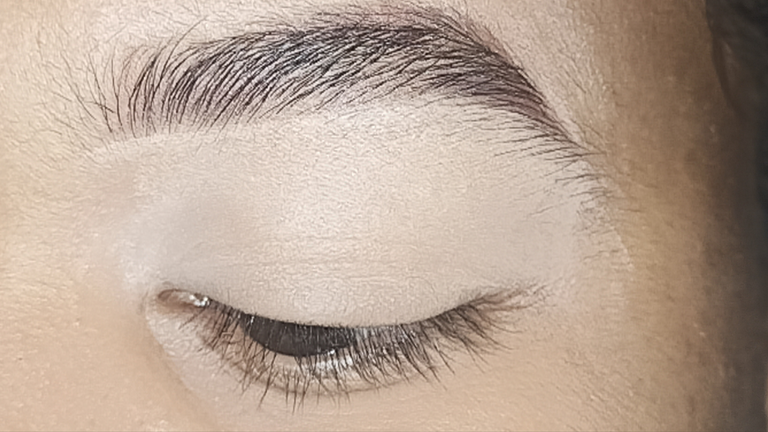
Ya una vez que estoy conforme con mis cejas, voy corregirlas y tomaré un poco más de ese corrector para extenderlo por mi párpado y así prepararlo para las sombras. Recuerda que luego de aplicar el corrector debes difuminarlo con ayuda de una brocha o esponja. Luego de eso puedes o no sellarlo con un poco de polvo, yo decidí no hacerlo para no interferir en la pigmentación de las sombras.
Now that I'm happy with my brows, I'm going to correct them and take some more of that concealer and spread it on my eyelid to prepare it for the shadows. Remember that after applying the concealer you should blend it with the help of a brush or sponge. After that you may or may not seal it with a little powder, I decided not to do that so as not to interfere with the pigmentation of the shadows.
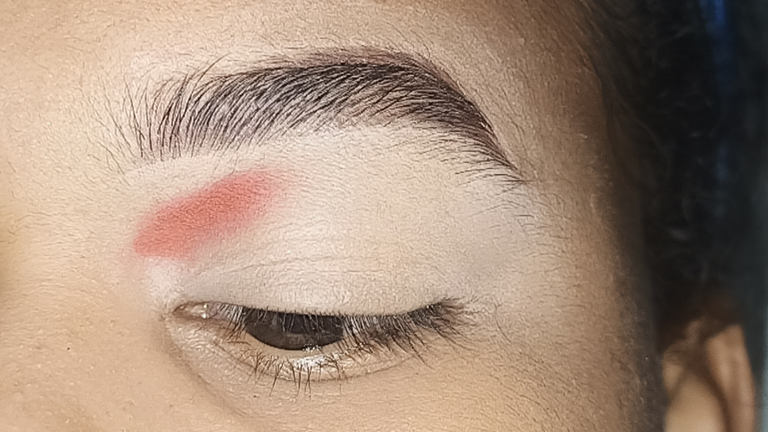
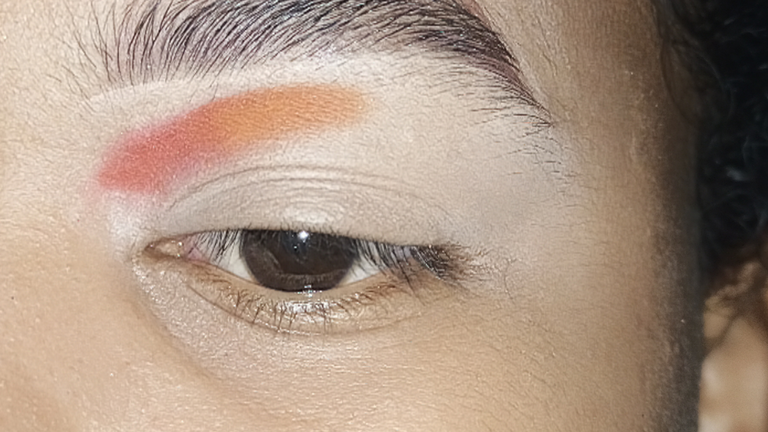
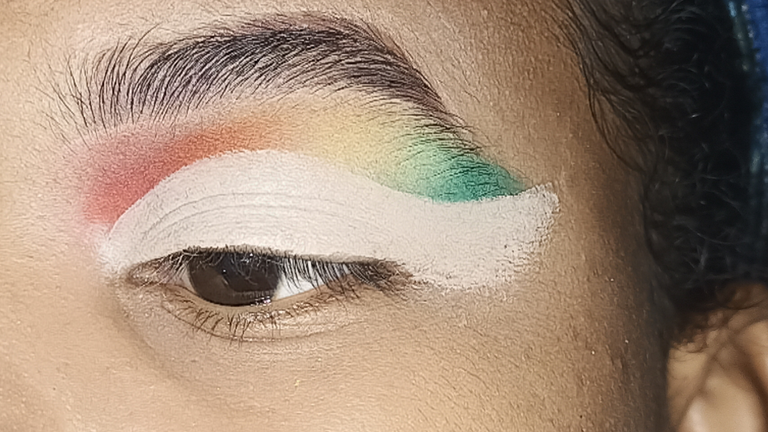
¡Ahora sí, viene la parte interesante! Para ello tenemos que hacer un arco desde el inicio hasta el final de nuestro ojo. Éste arco no debe ser perfecto, así que no te preocupes. No te asustes, ya te explico: Lo primero que hice fue aplicar un poco de rojo haciendo punteo con mi pincel, luego de eso apliqué un naranja, la idea es que ambos colores se toquen; es decir dónde termina el rojo es que comenzarás a aplicar el naranja. Aquí te dejo fotos, no queremos que tú cabeza explote 🤭
Now comes the interesting part! For this we have to make an arc from the beginning to the end of our eye. This arc should not be perfect, so don't worry. Don't be scared, I'll explain: The first thing I did was to apply a little red with my brush, after that I applied an orange, the idea is that both colors touch each other; that is to say, where the red ends is where you start to apply the orange. Here are some pictures, we don't want your head to explode 🤭.
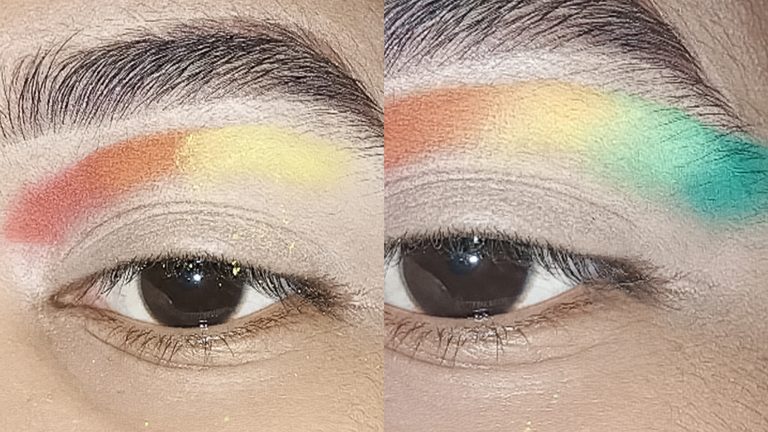
Ahora, siguiendo con la técnica que llevamos aplicaremos el amarillo, y luego un verde claro (lo más similar al verde manzana que tengas) y seguido del verde claro, debemos colocar un verde más oscuro. Recuerda: Técnica de punteo y tratando de hacer un arco.
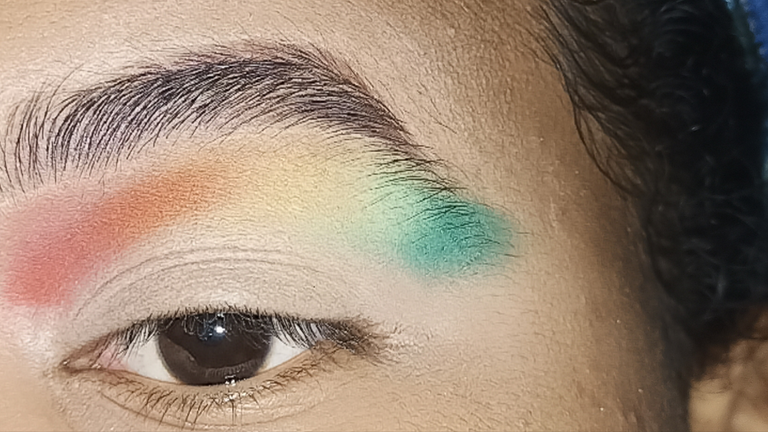
Ya para terminar con el arco, pasa una brocha limpia de difuminar por dónde se encuentran los tonos rojo y naranja en círculos. Luego limpiala y repite el procedimiento con los verdes.
Fotos aquí abajo:
Now, following with the technique that we carry we will apply the yellow, and then a light green (the most similar to the apple green that you have) and followed by the light green, we must place a darker green. Remember: Dotting technique and trying to make an arc. To finish with the arc, pass a clean blending brush over the red and orange tones in circles. Then clean it and repeat the procedure with the greens. Photos below:
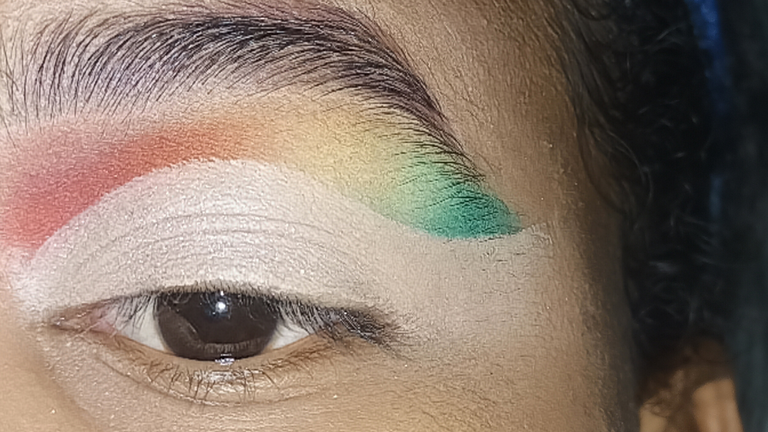
Ya que tenemos nuestro intento de arco, haremos el corte de cuenca, para ello haremos un delineado con corrector liquido súper pegado a la línea de nuestras pestañas y luego miraremos hacia arriba de esa forma obtendremos nuestras líneas guías. Ya luego solo nos queda rellenar y hacer la colita final del corte de cuenca.
Now that we have our bow attempt, we will make the basin cut, for this we will make an outline with liquid concealer super glued to the line of our eyelashes and then we will look up that way we will get our guide lines. Then we just have to fill in and make the final tail of the socket cut.
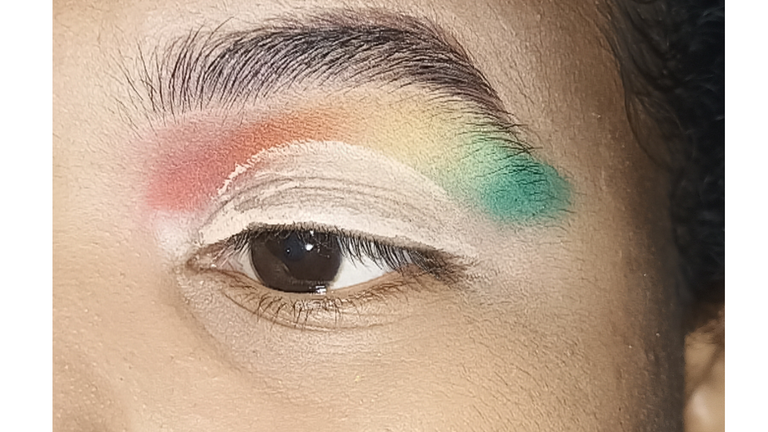
Ahora vamos a colocar un poco de sombra satinada color beige sobre el corrector del corte de cuenca
Now we are going to put a little bit of beige satin shadow on top of the under eye concealer.
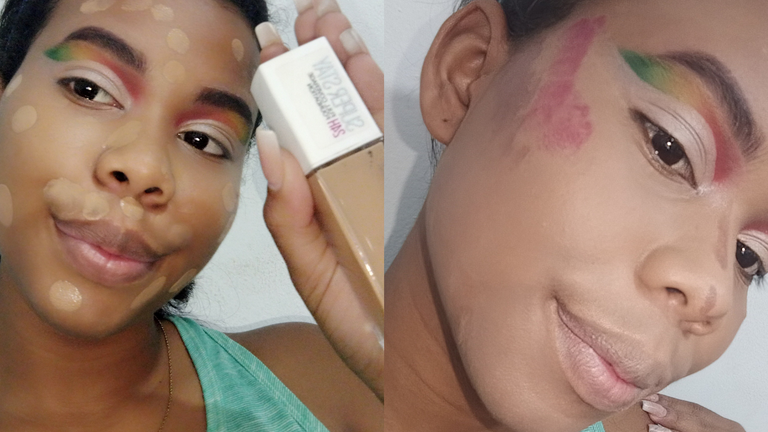
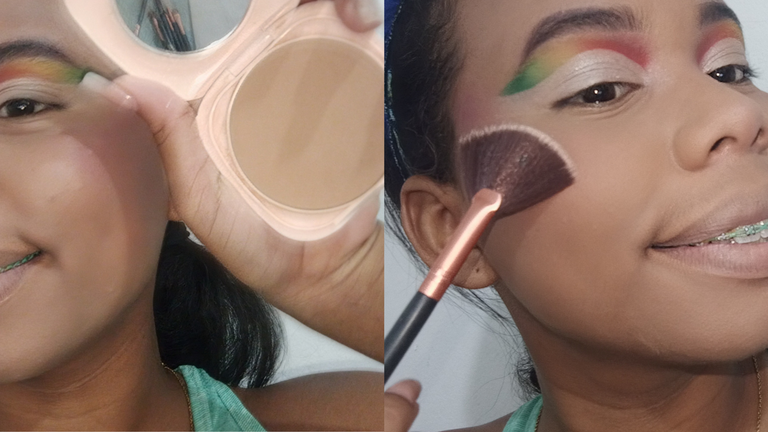
Ya que nuestro ojos están listos, haremos el resto de nuestro rostro: aplico base, luego de difuminarla, hago mi contorno y aplico rubor y volvemos a difuminar.
Por último sello cada producto en crema con polvo, aplico iluminador y pestañas.
Now that our eyes are ready, we will do the rest of our face: I apply foundation, after blending it, I make my contour and apply blush and blur it again. Lastly I seal each cream product with powder, apply highlighter and lashes
Fotos finales | Final photos
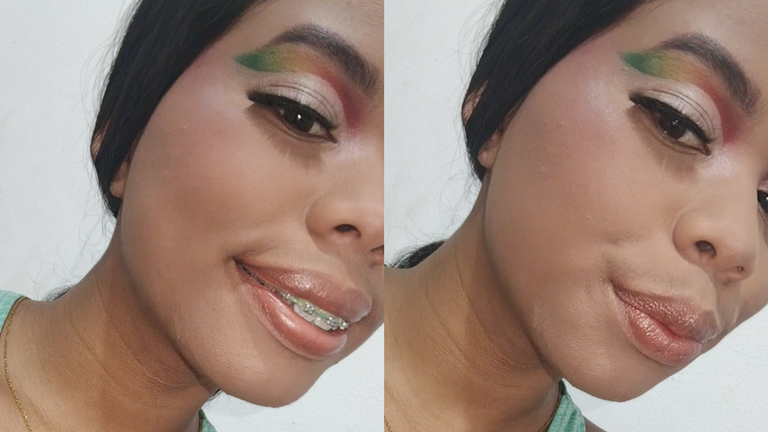
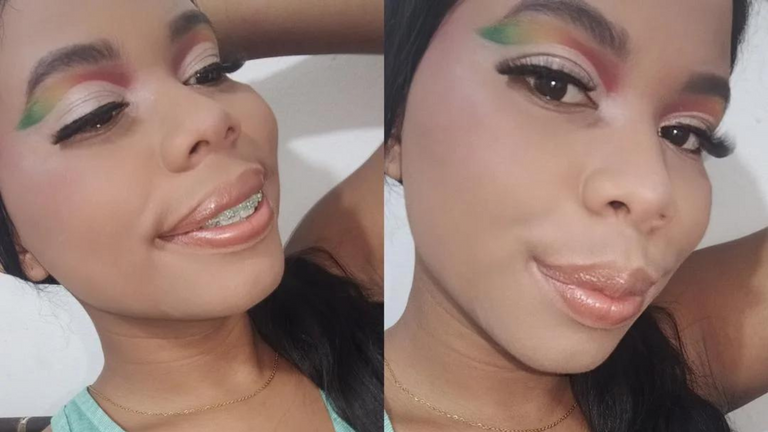
Sin más que agregar, aquí espero que les haya gustado éste pequeño tutorial de un maquillaje colorido lleno de vida y alegría. De verdad amé el resultado, espero que a ustedes también. Si llegaste hasta aquí:
Without more to add, here I hope you liked this little tutorial of a colorful makeup full of life and joy. I really loved the result, I hope you did too. If you made it this far:
Gracias por leerme y hasta un próximo post
Thanks for reading and see you in a future post
Traducción: Deepl // Traslation: Deepl

0
0
0.000
0 comments