Creative Sunday: My Infographics Design For Polygon Network
Hello Everyone!!! I hope you are having a great time over there? It's really nice to see you visit my blog today and I must say I'm really happy to have a great personality like you visiting my blog today 😊. Thank you once again 💕
If there's definitely something i love doing during leisure, it will definitely be creating something out of nothing through a process known as Designing. It's not that I'm an expert in the field of designing neither did I attended any designing classes or tutorials. I developed interest in graphic design ever since I have started blogging due to the fact that visual representation or good catchy design is one of the best and fastest way to attract more people on your blog post.
Since today is Sunday, i decided to come up with some Infographics design for Polygon Network using my favourite design tool known as Canva. I love Canva because it's very easy to use and I really find it very handy to use when it comes to making captivating designs provided you're good selecting the right elements, images and good colour combination.
Without wasting much time, I'll be sharing some of my personal techniques i use when it comes to creating cool design with Canva but in this case, I'll be making use of the Polygon Infographics I designed by myself while using my smartphone.
The Requirements
Develop Your Idea or Design Concept
The first thing you need to do before designing anything is to come up with your design concept. This is where your creativity level is tested and implemented. You can also adopt someone else design as a guide or concept but just make sure you avoid design plagiarism at all costs and also ensure you make use of free image sources which aren't encrypted or watermarked when designing.
Get Your Design Ingredients Ready
The next step is to gather your design ingredients such as images, elements, icons, colours, etc. Your design ingredients determines your design results and the beauty of your design also depends on how you make use of your available design ingredients.
Put Your Intelligence and Creativity to Work
The last step but not the least is to put your creativity and intelligence into action. All you need to do here is to make use of the available design ingredients in the appropriate places and by combining them together to produce a beautiful Design.
My Polygon Infographic Design Steps with Canva
You can download Canva App on your smartphone. Install and Set up the App by logging into Canva, then you're good to go.
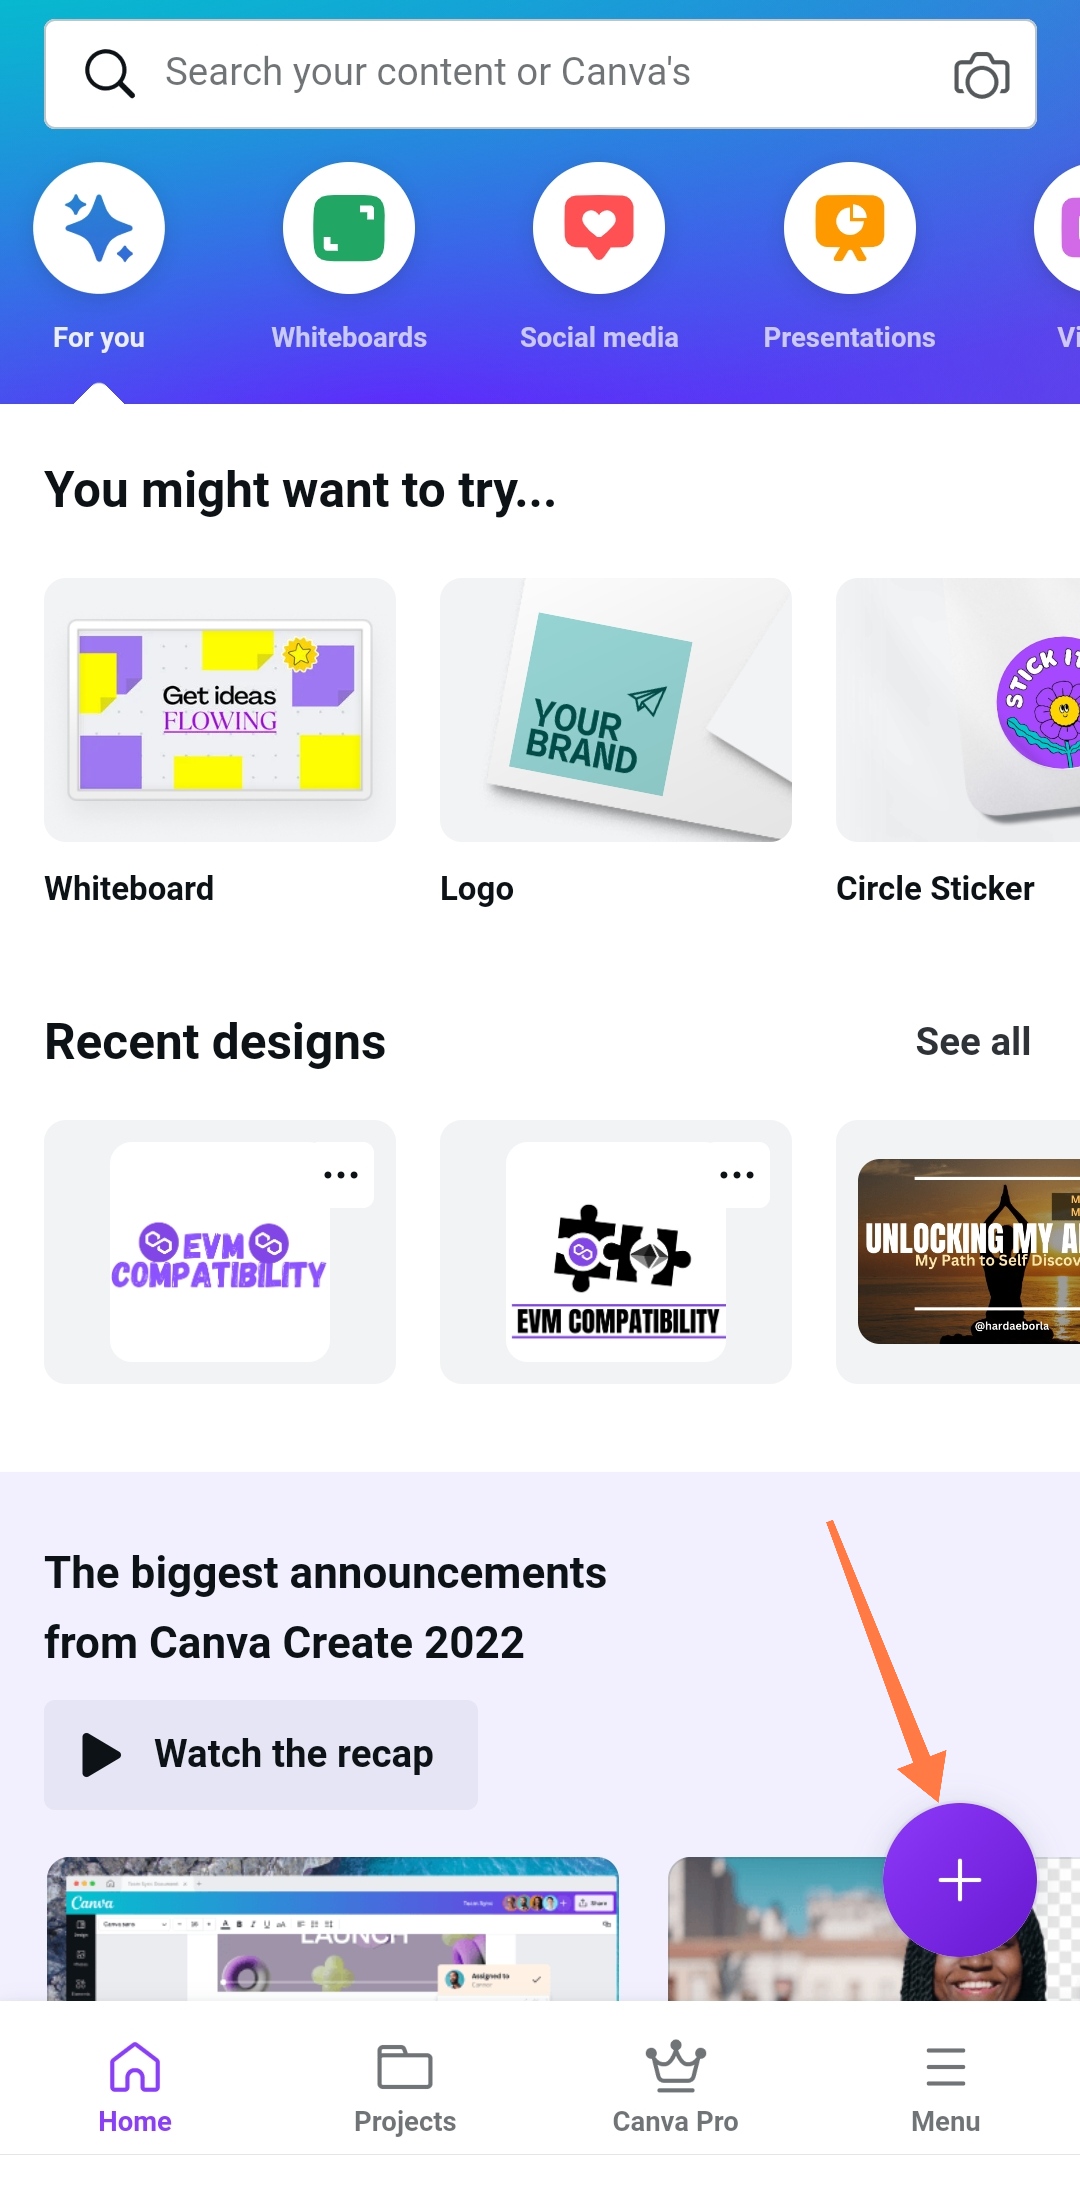
- Click on the "+" sign to create a new design as shown above.
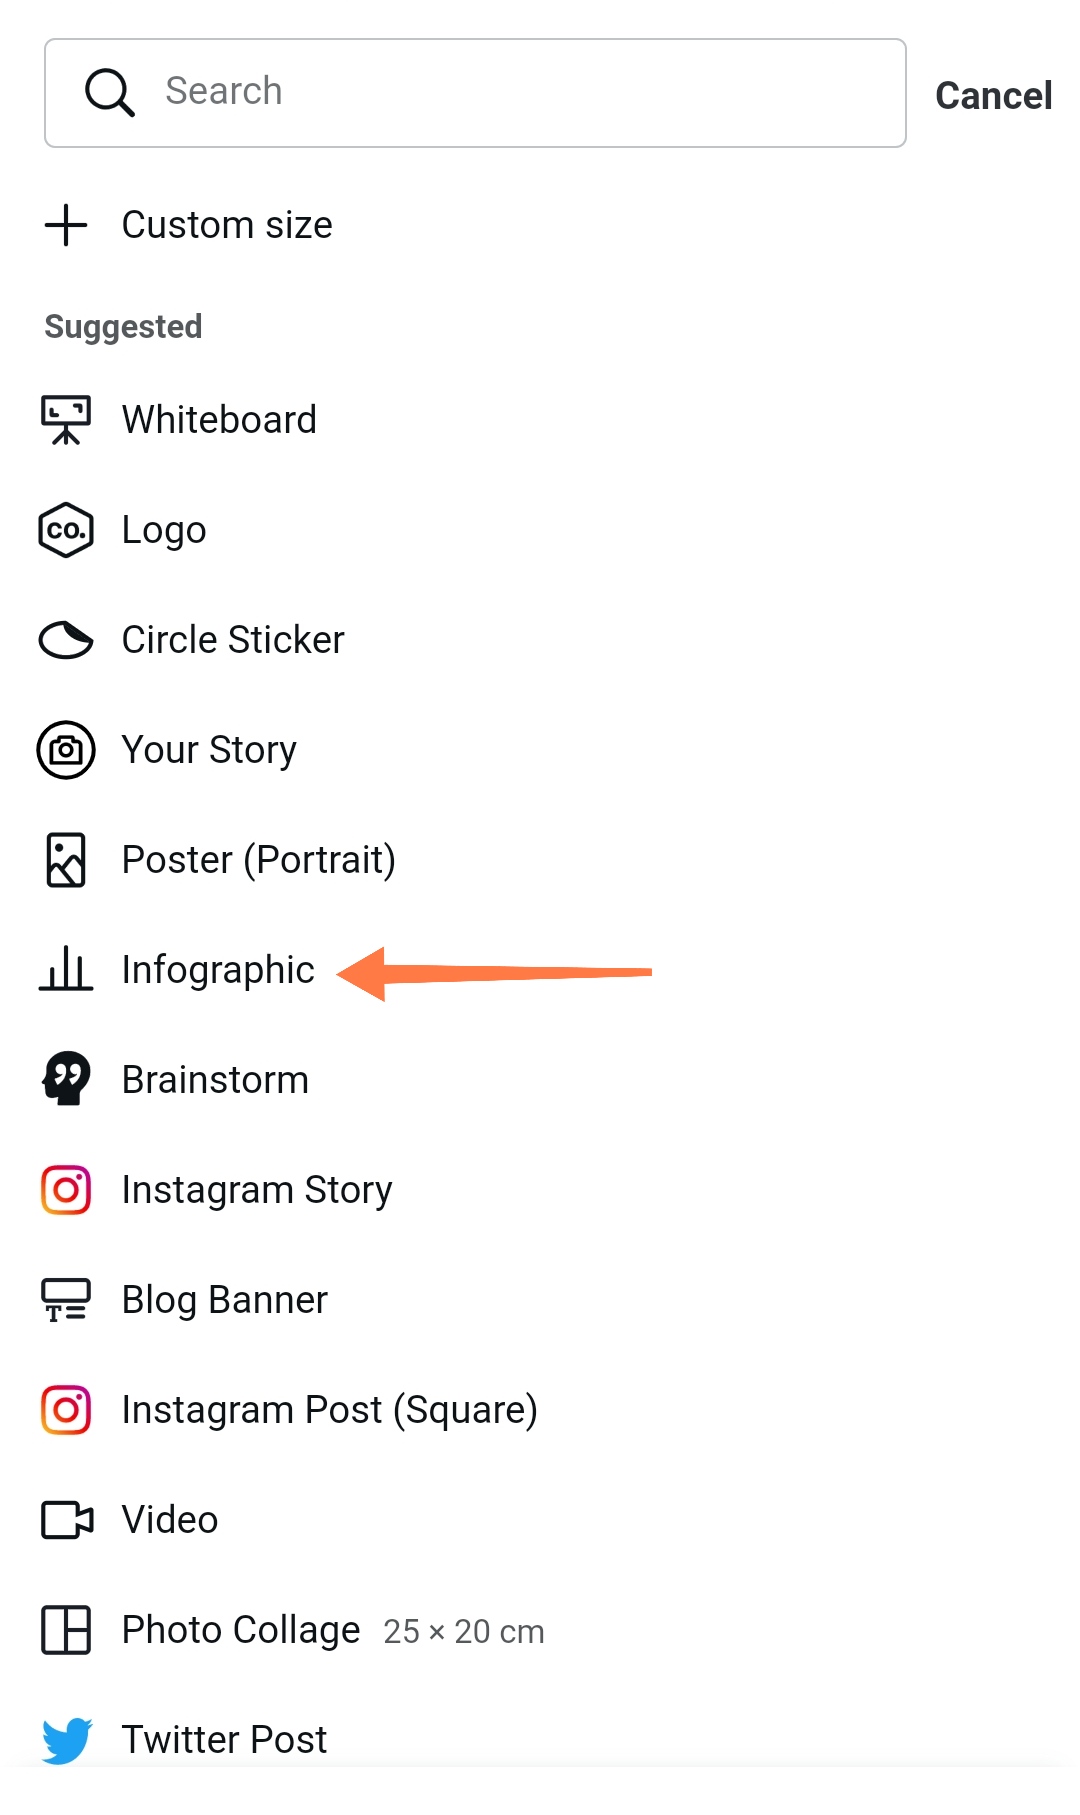
- Select the Infographic option since that's what we are designing for. Remember we want to design an Infographic for Polygon Network.
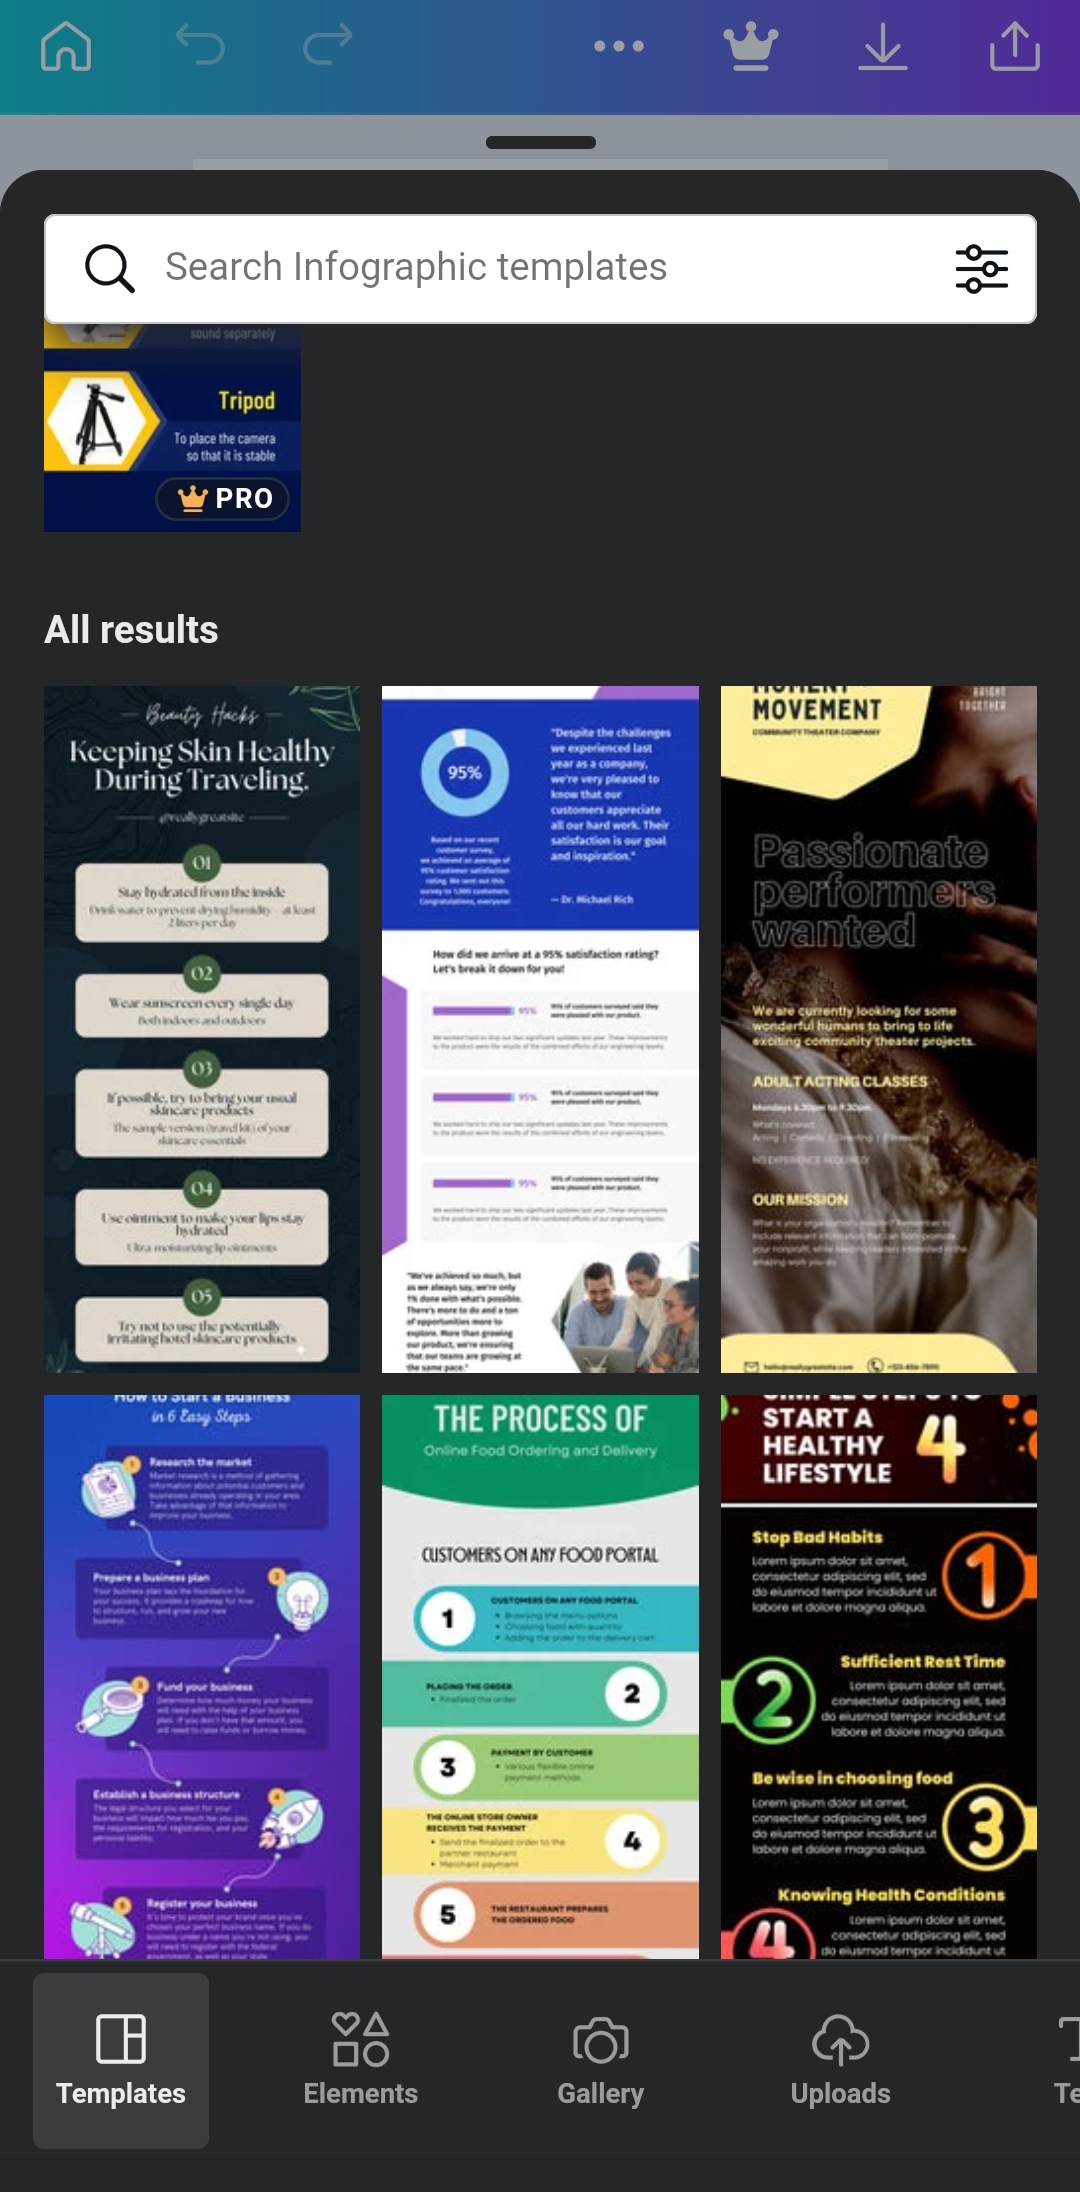
- Different Infographics templates will pop up as shown in the above image but I am not interested in any of the templates. I'm designing my Polygon Infographic from scratch.
- The next thing I did was to download free polygon images or media kits from polygon brand resources
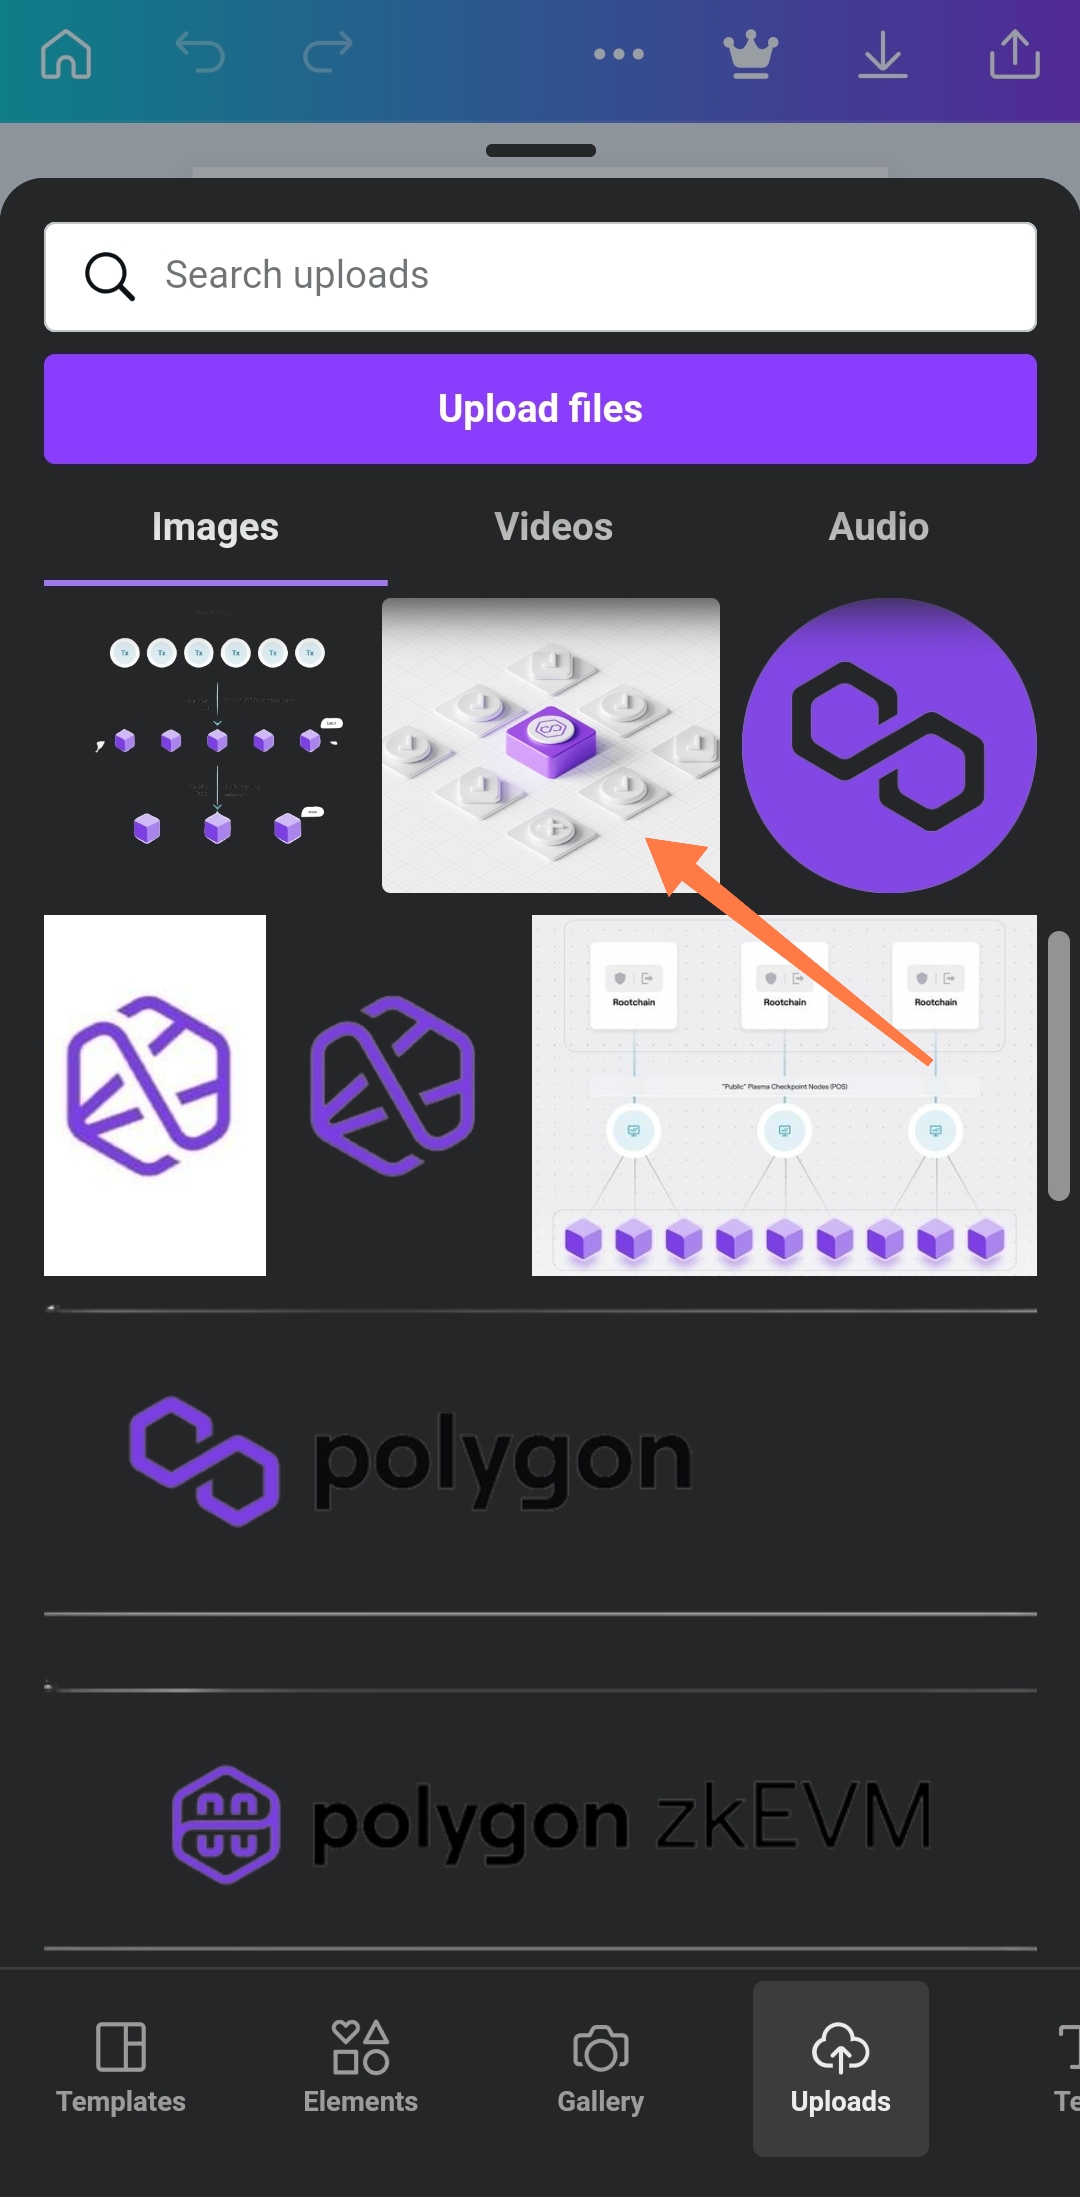
As you can se from the above screenshot, I already have some Polygon media kits downloaded on my smartphone. I'm also going to make this available for you to download in case you may want to try out my steps to achieve similar results.
I'm selecting that image as the background of my Polygon Infographics Design.
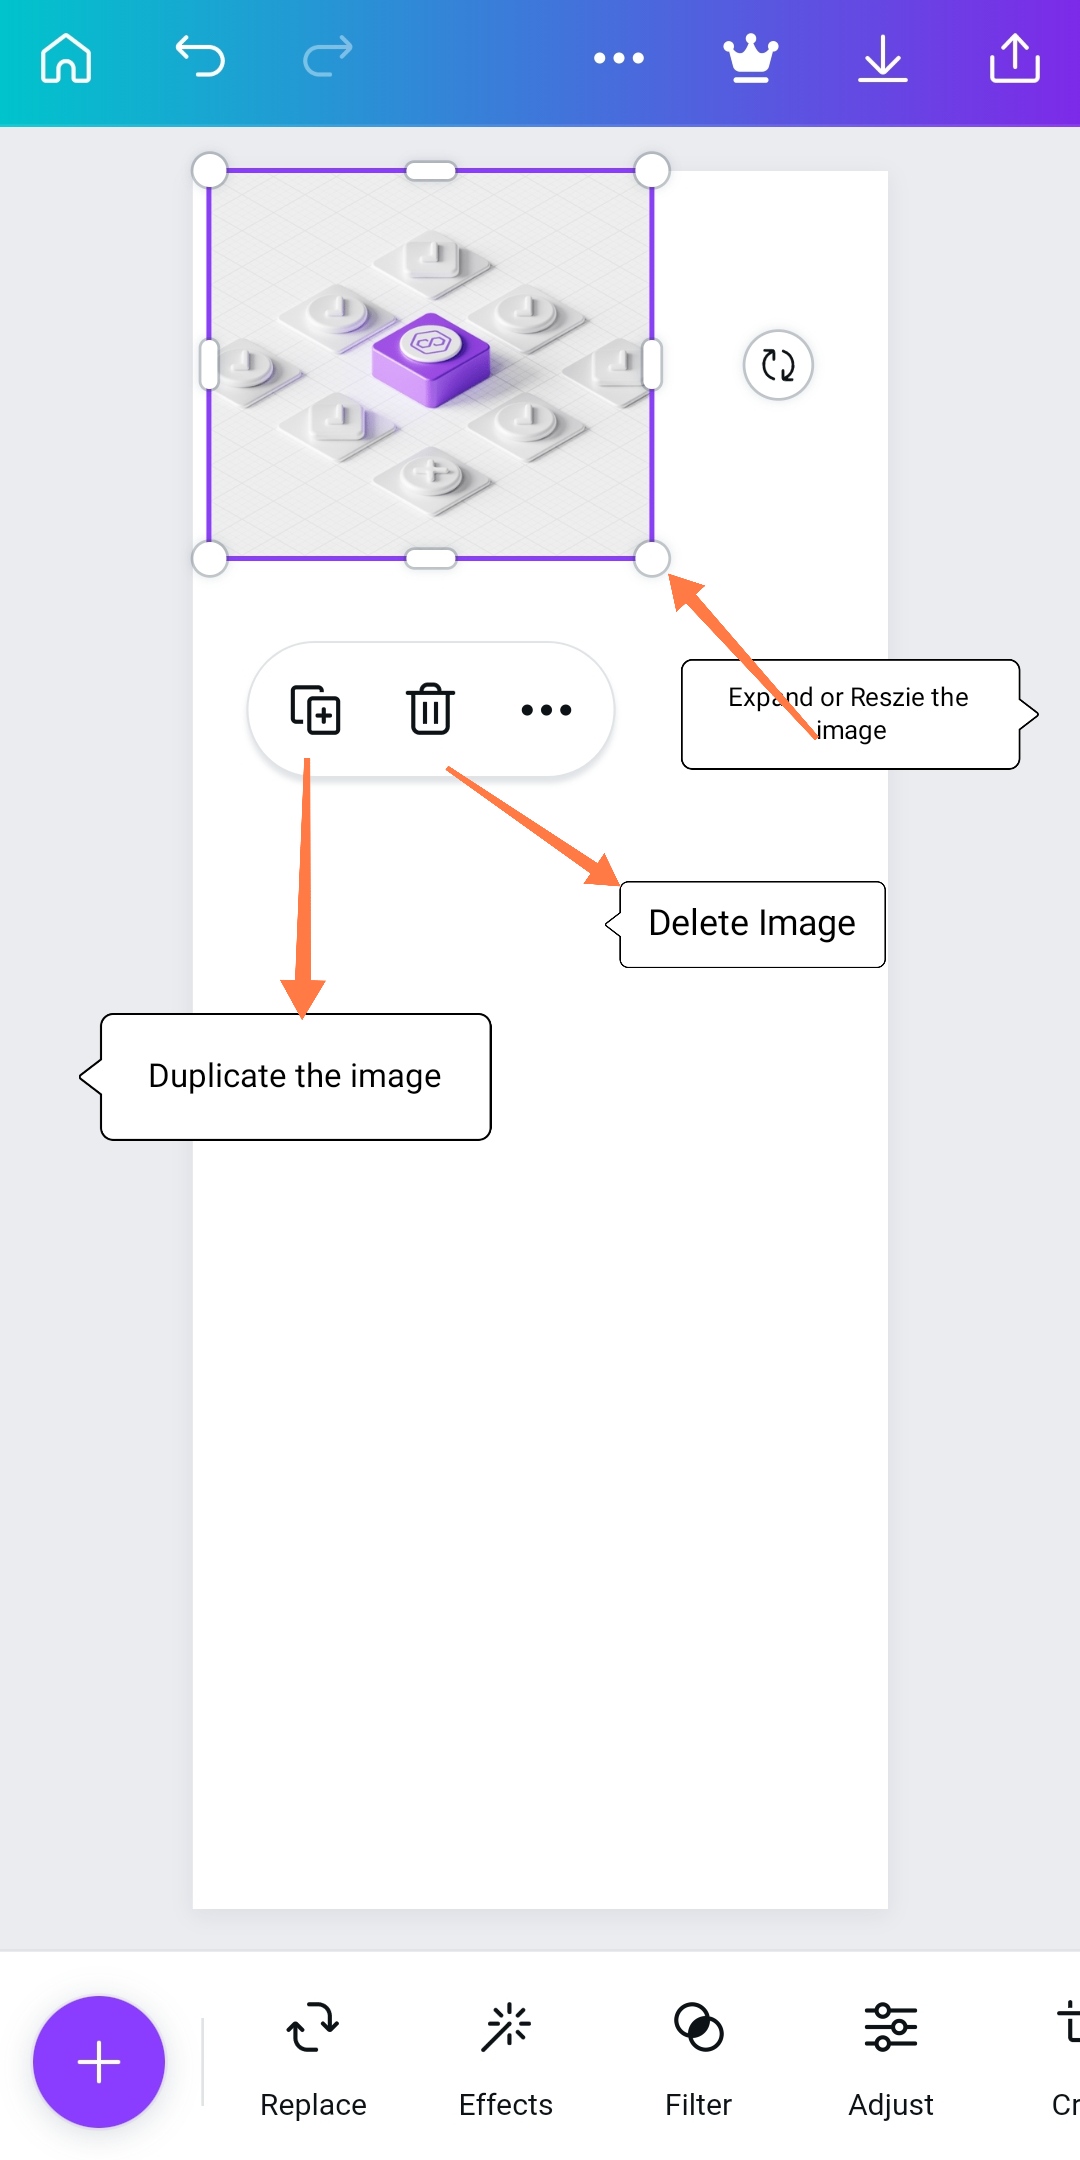
- The next step is to expand the image dragging the edge as shown in the above screenshot.

- After expanding the image till it fits, the next step is to reduce the transparency level to 32%.
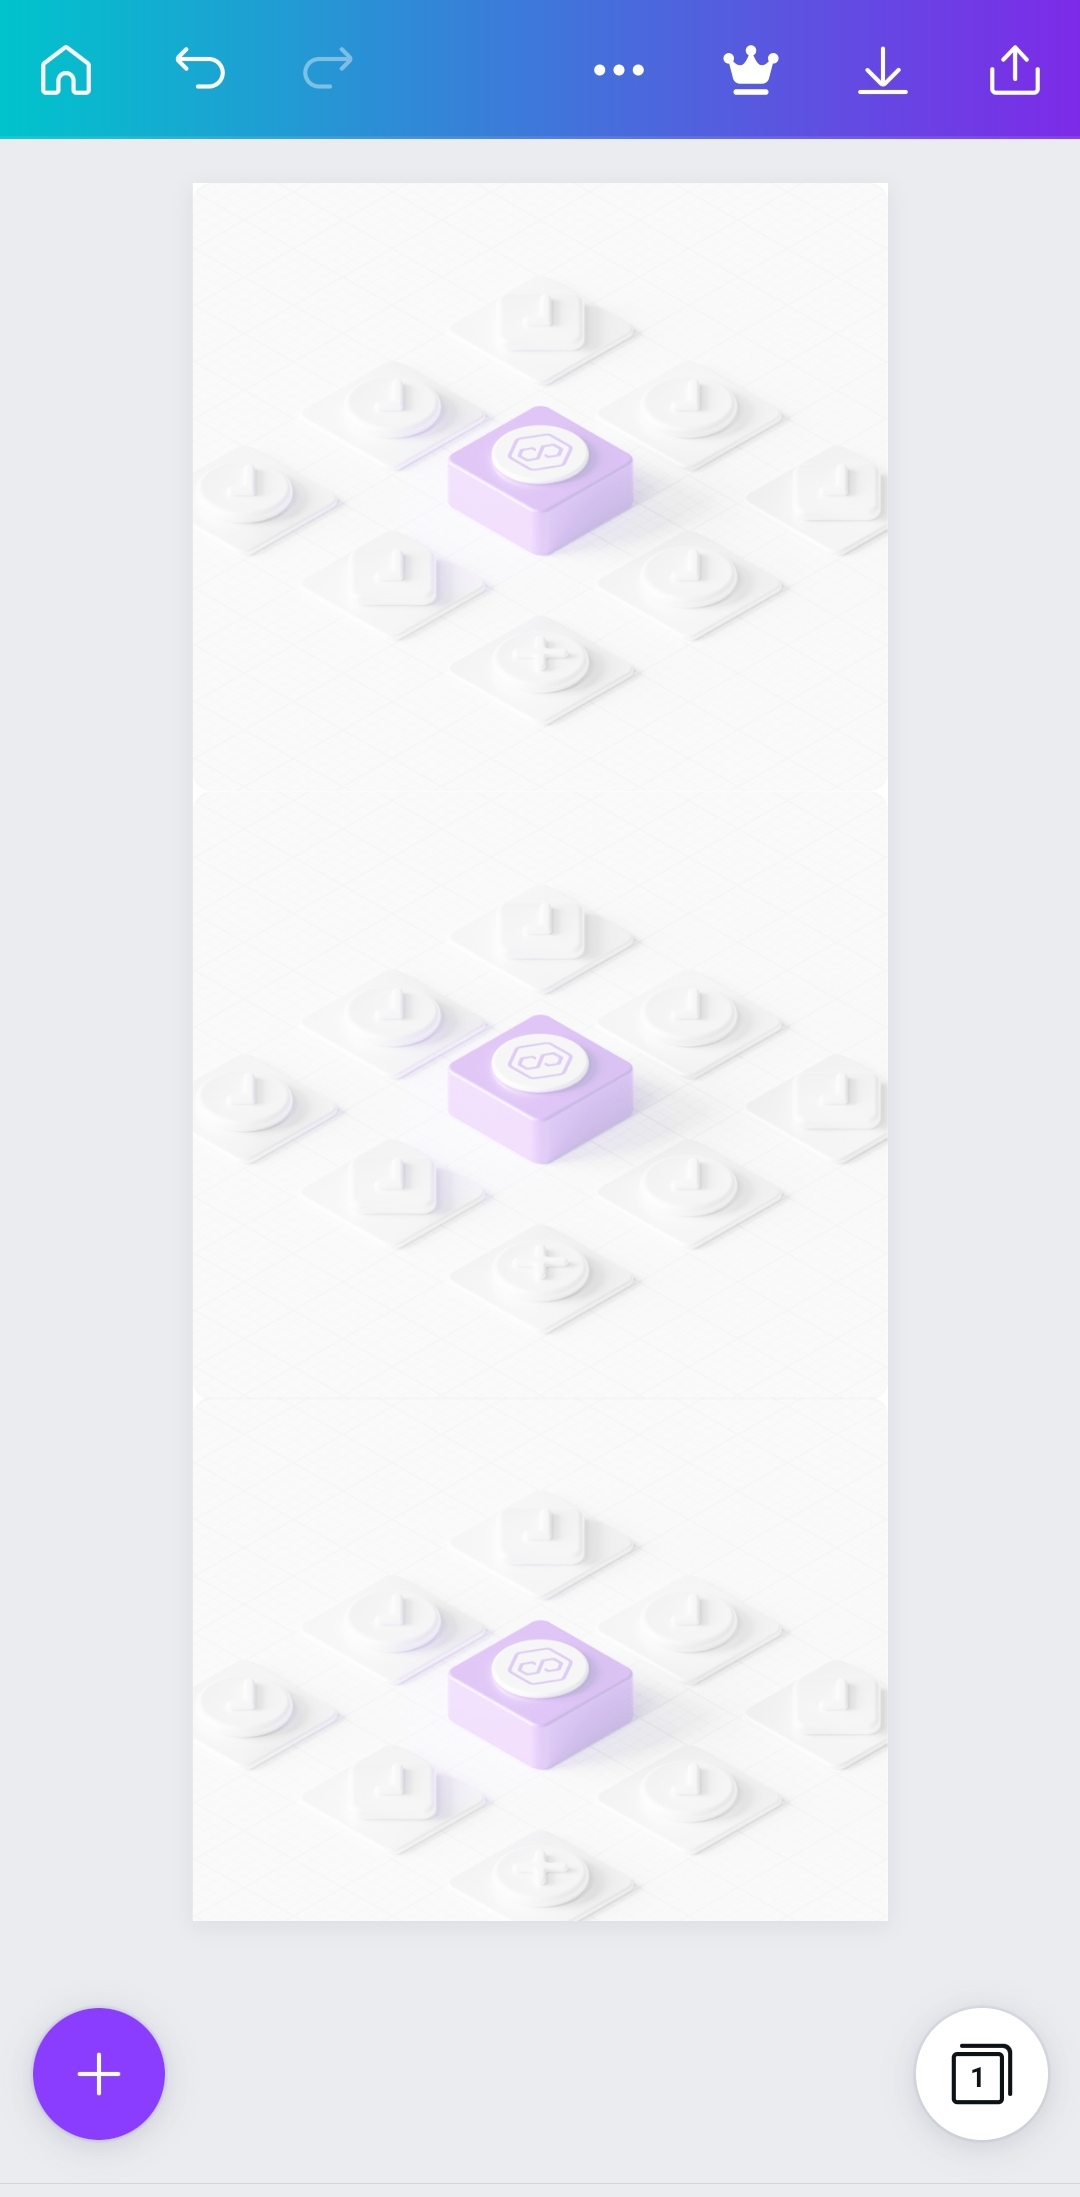
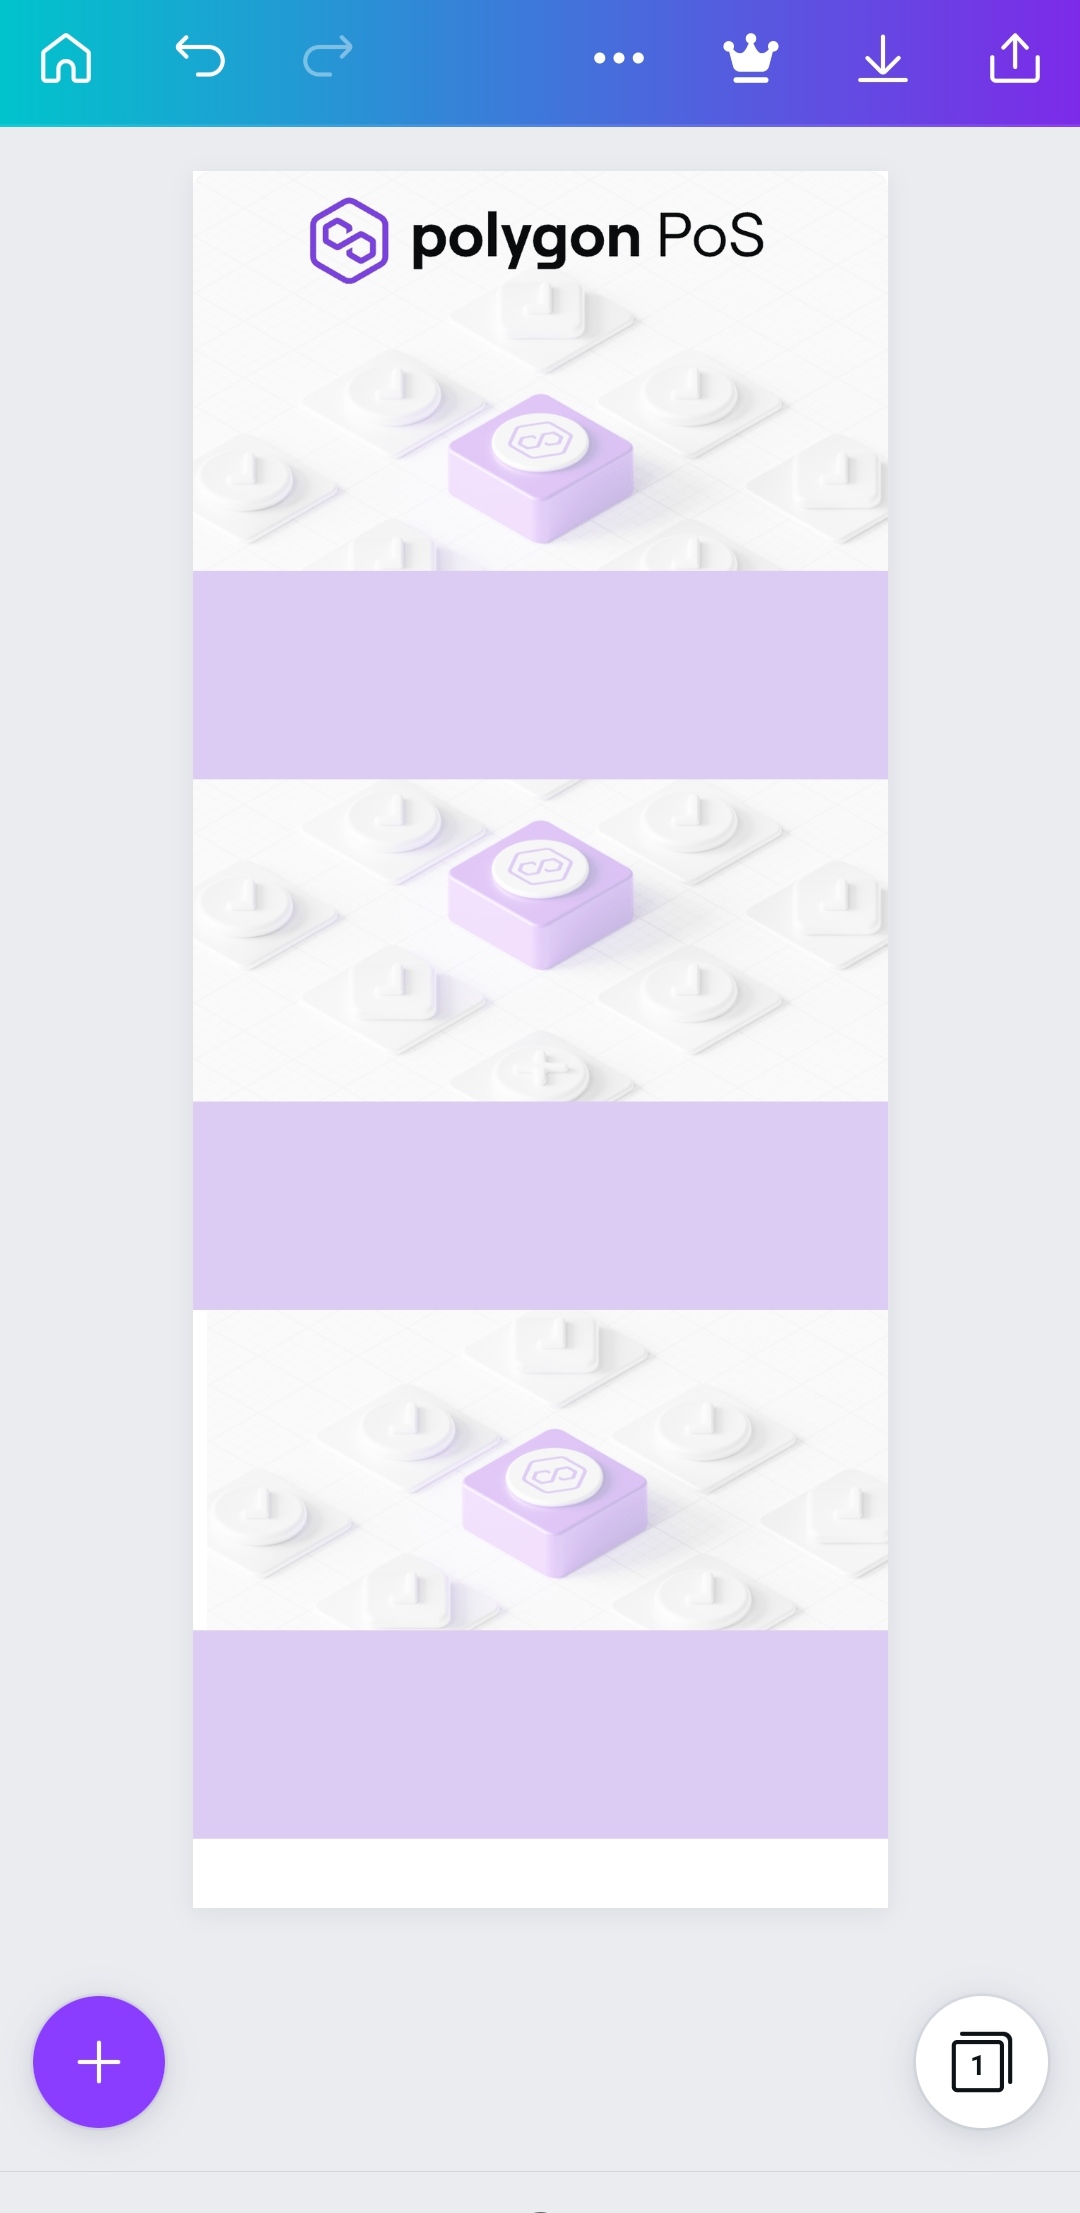
- The next step is to duplicate the transparent image and make sure it's arranged in this form.
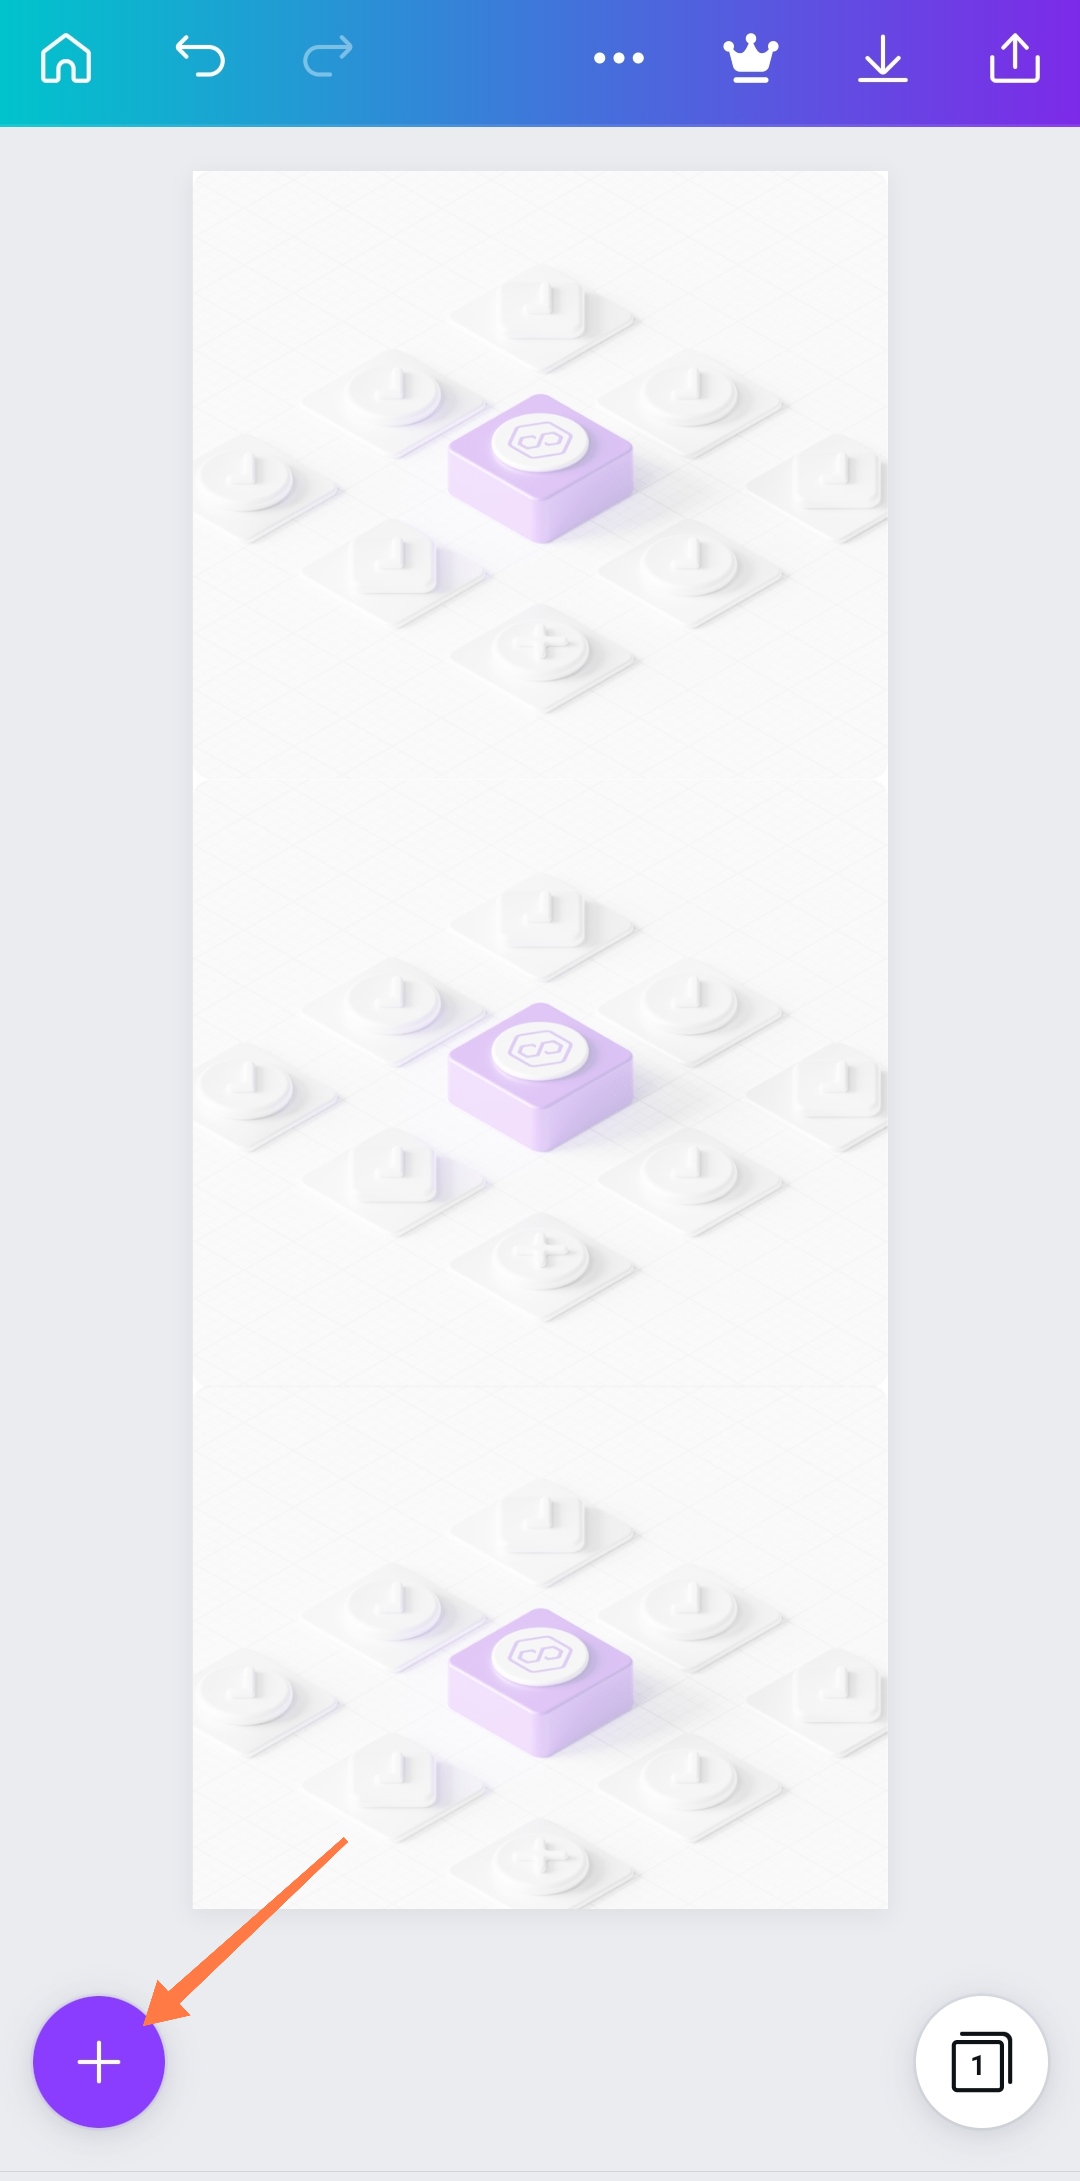
Click on the "+" button to add or upload another image on the top of the Infographics.
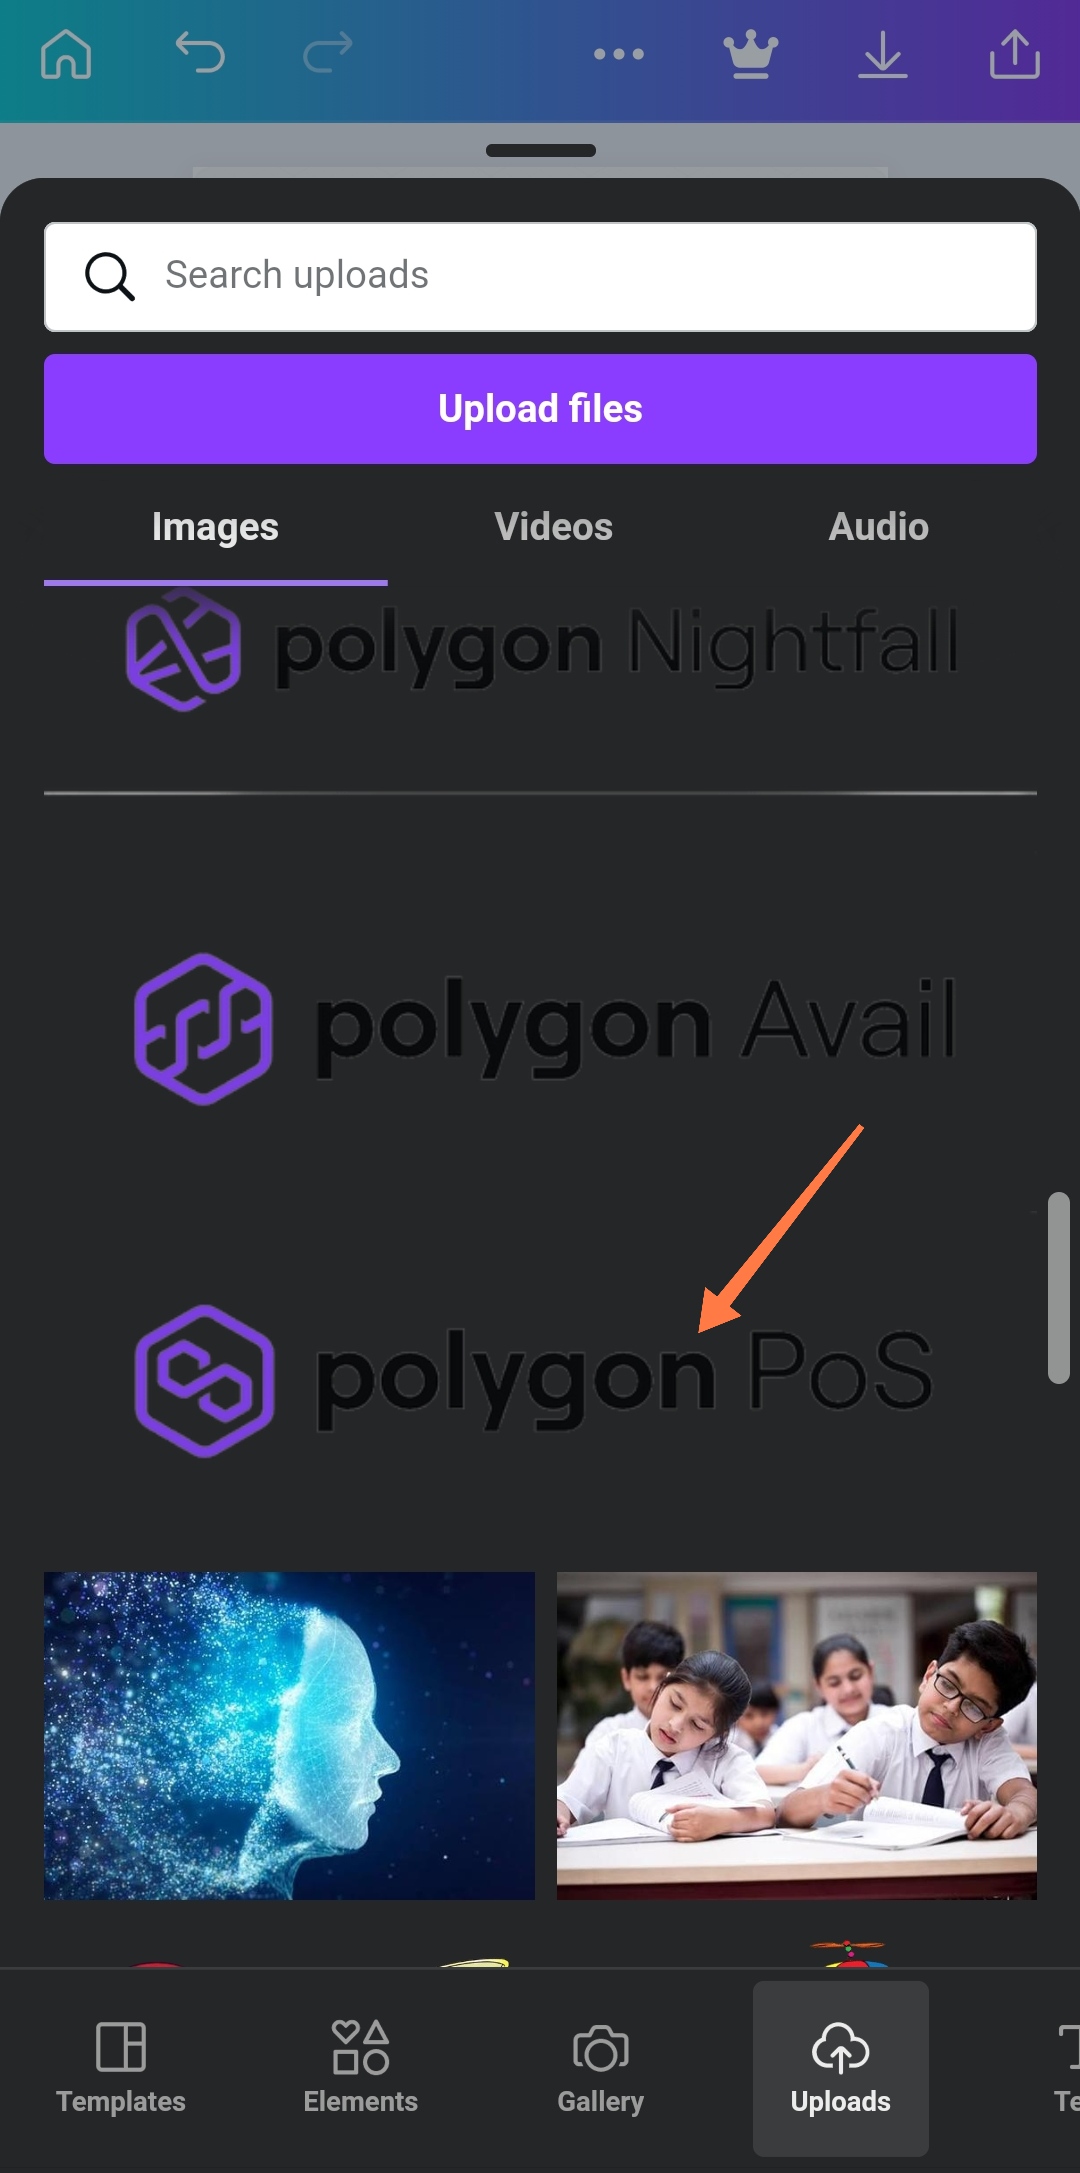
I'm adding the Polygon PoS image on the upper part or top of the Infographics.
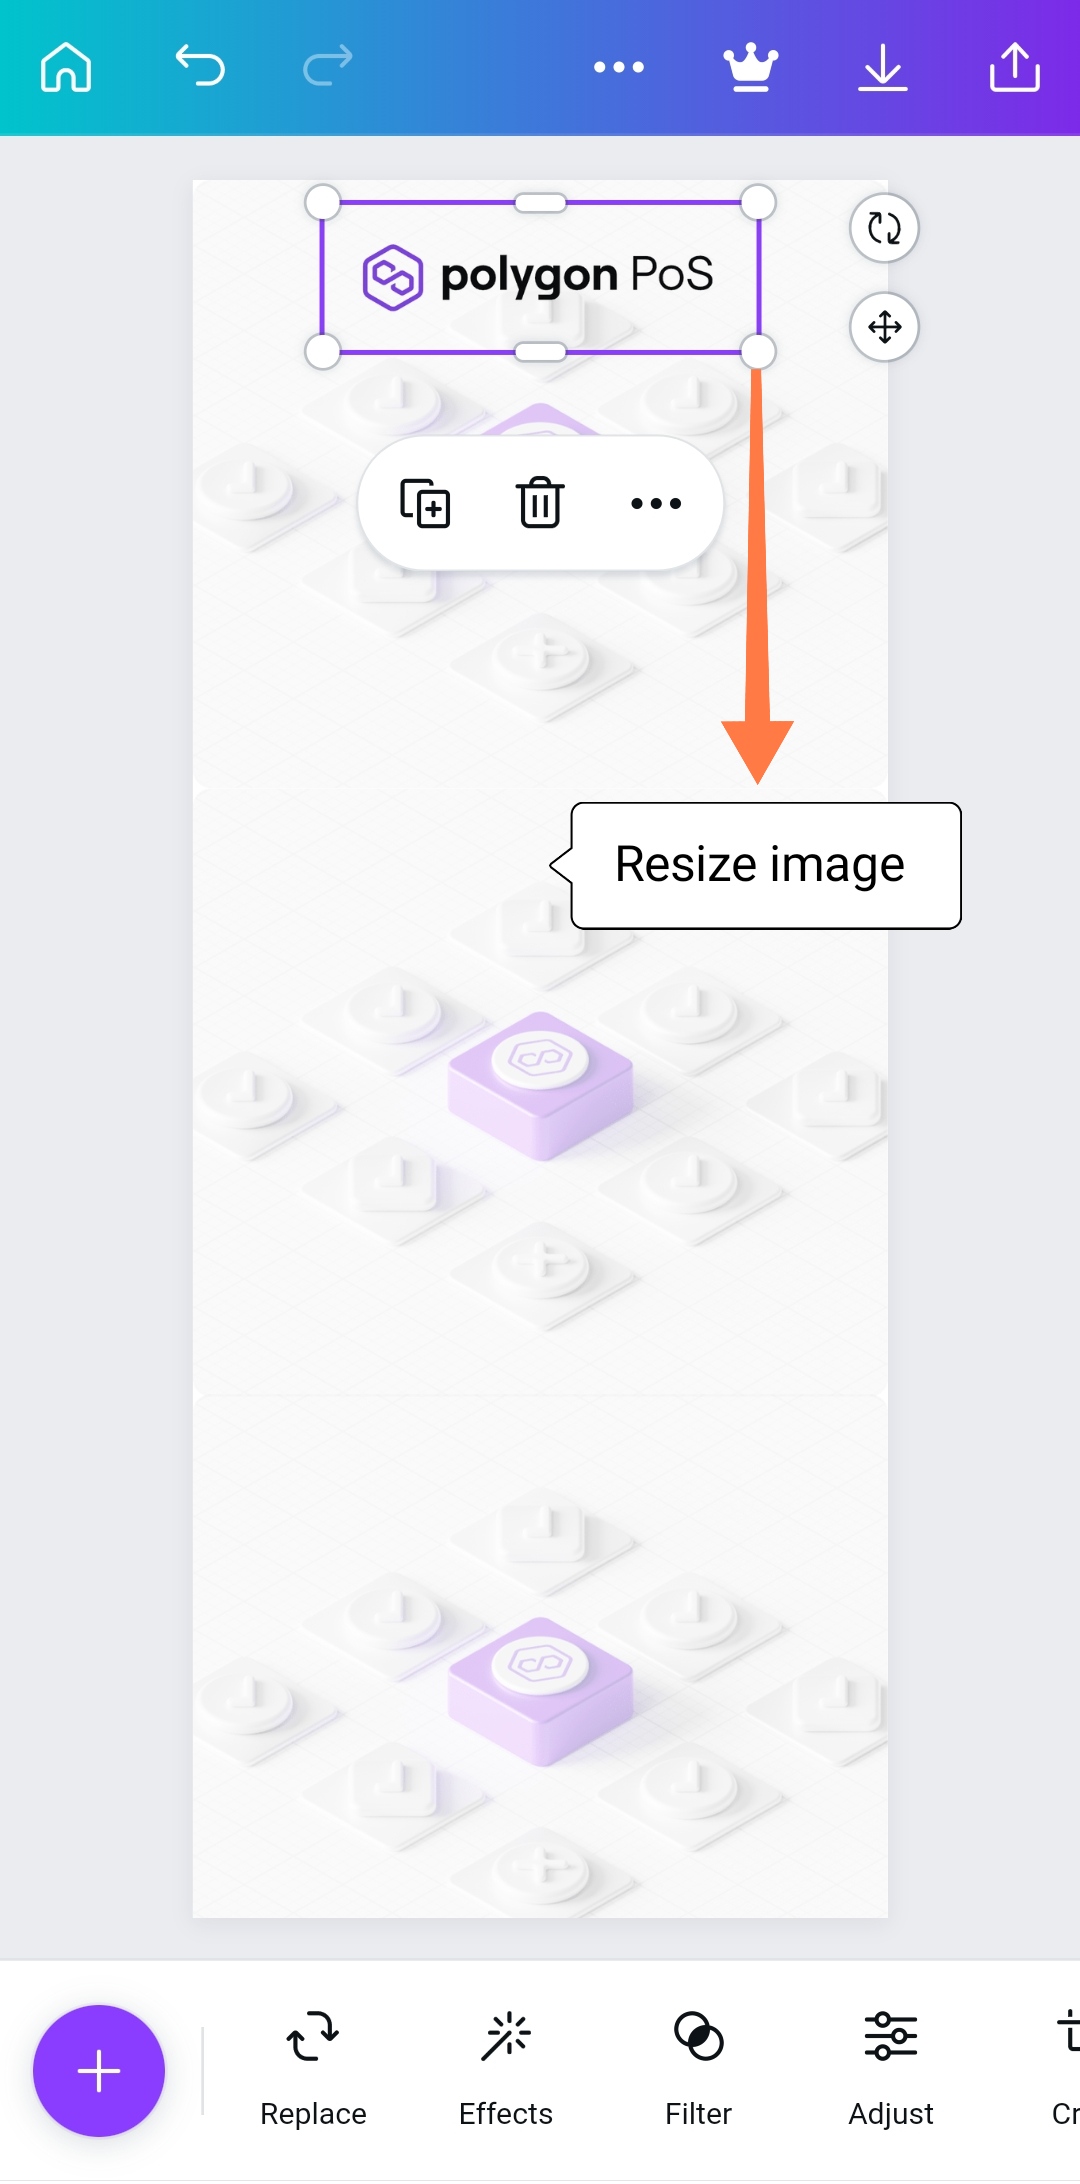
- Use the resize image tool to resize the Polygon PoS image till it fit at the top center of the Infographics. You can decide to drag and drop the image anywhere you feel comfortable with provided it is visible.
The next step is to apply three purple rectangles in between the Infographics leaving out the background box visible.
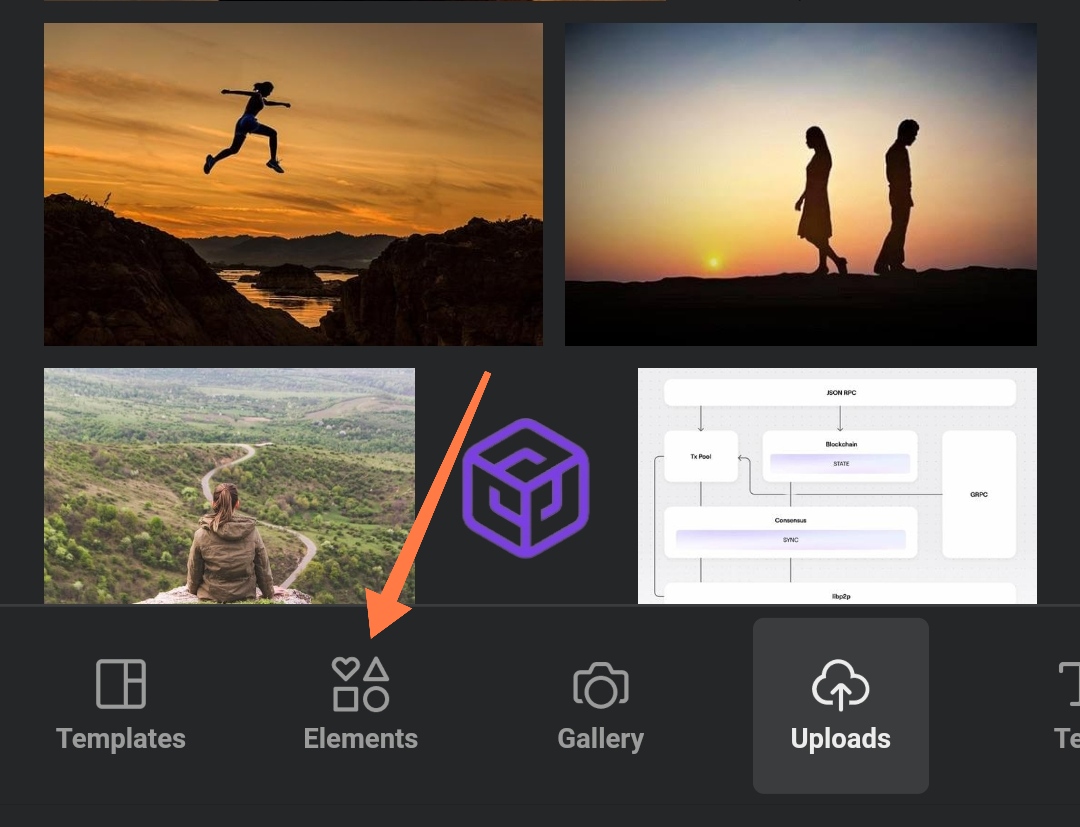
Click on the element button as shown in the above screenshot.
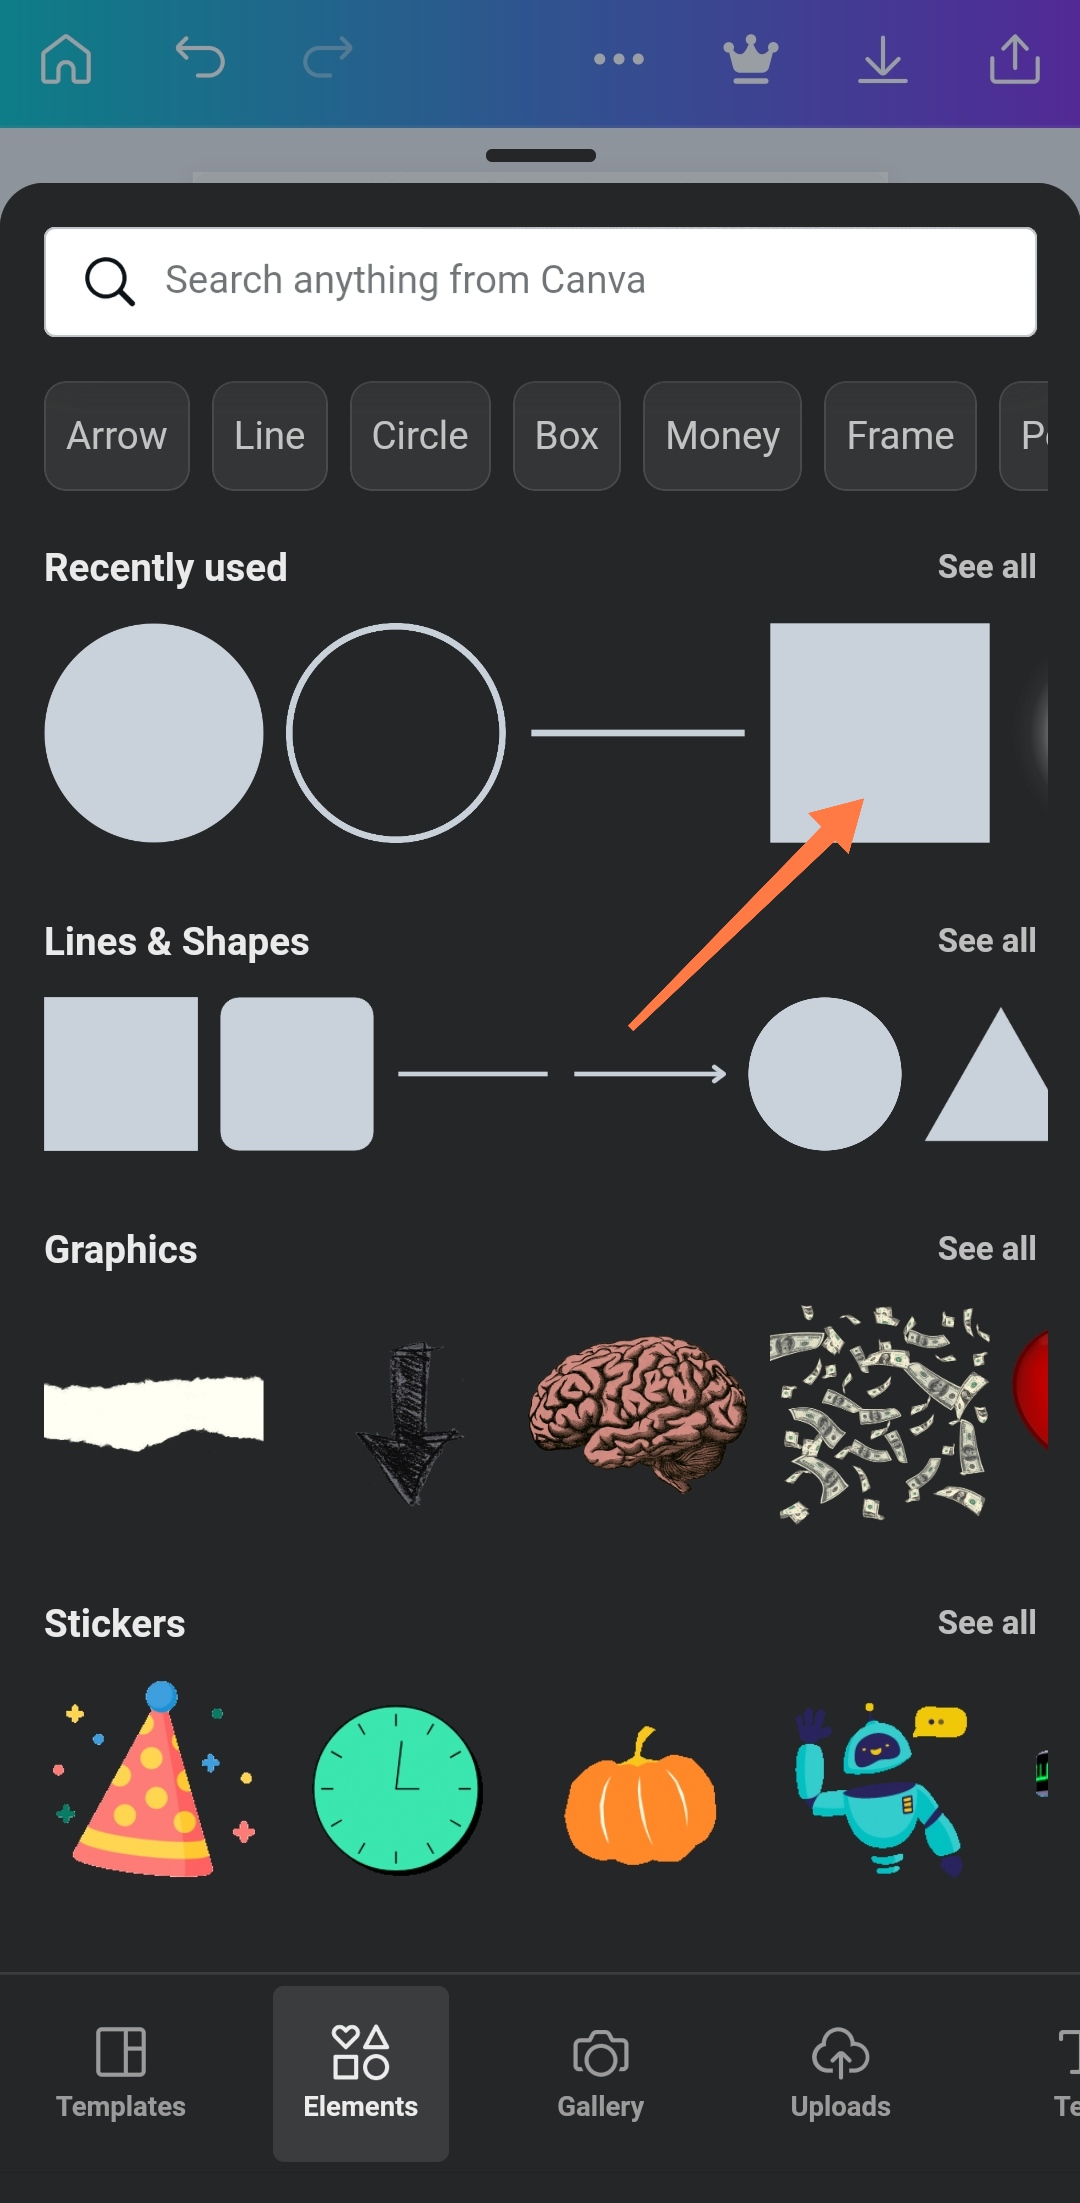
- Select the rectangle or square shape as shown in the above image.
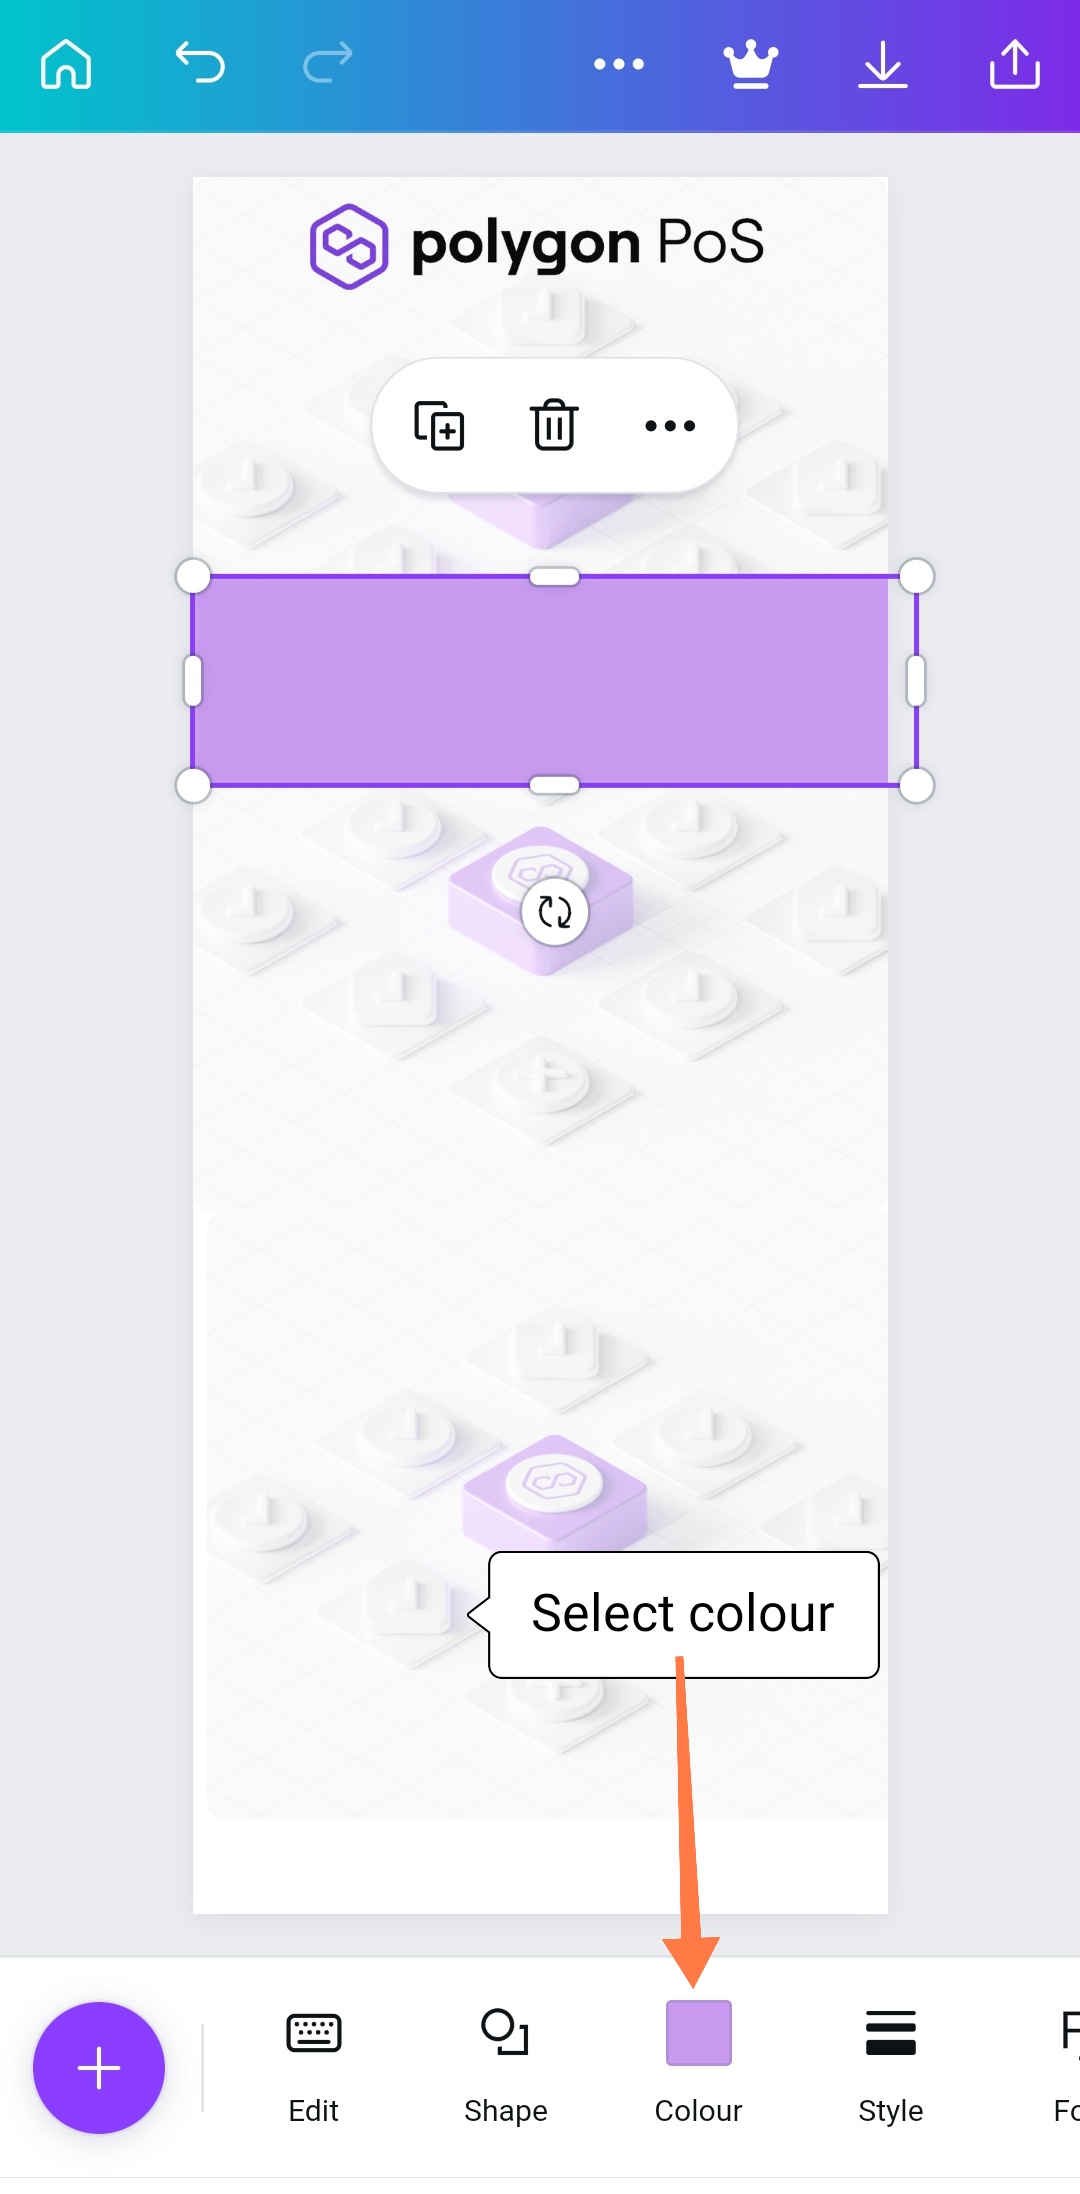
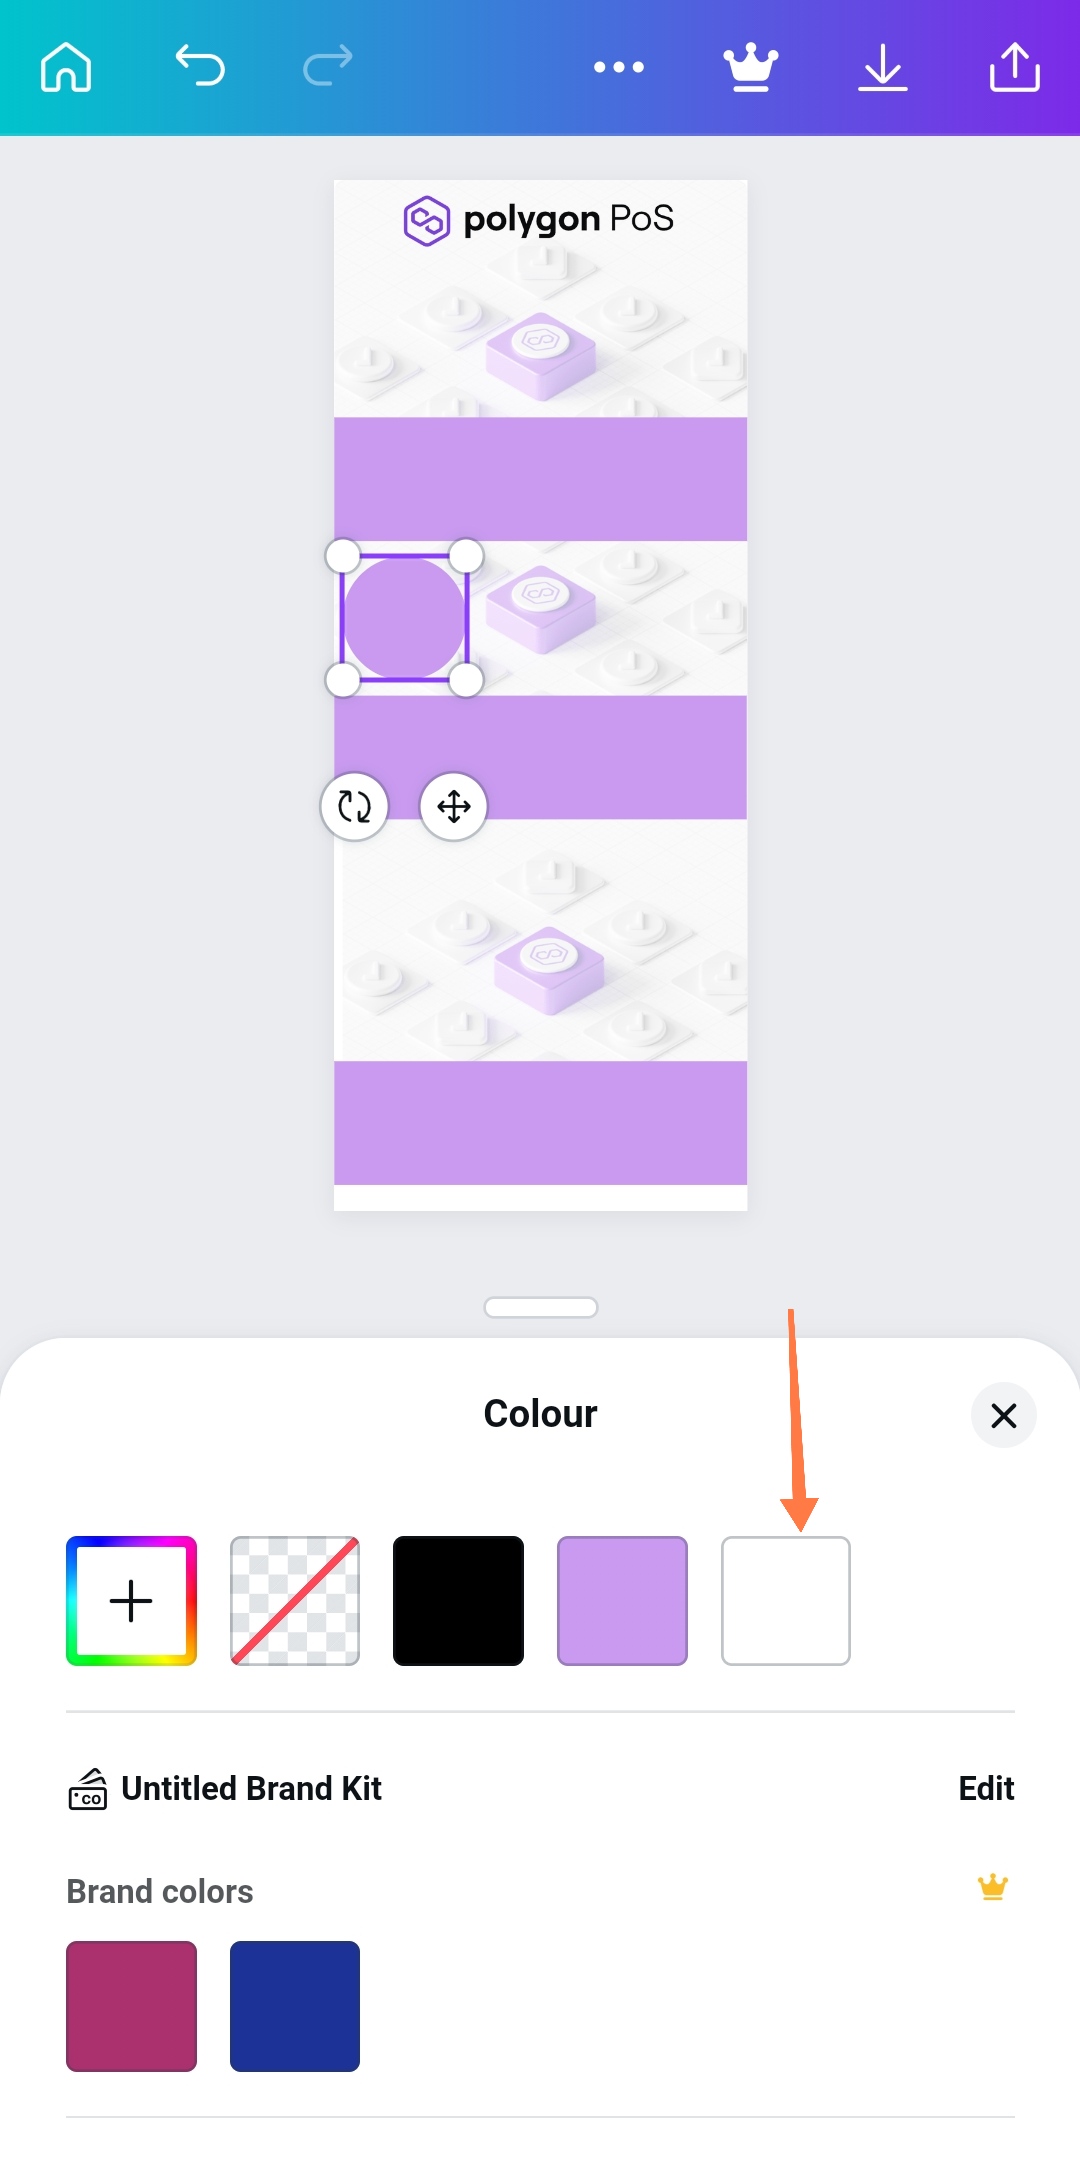
- Select any colour of your choice but in this case i prefer this colour since it matches with the Polygon design layout.
Resize and duplicate the three rectangles in the form as shown above.
- Click on the "+" button and select the circle shape. Change the colour to white and place at the left hand side of the rectangular shape.
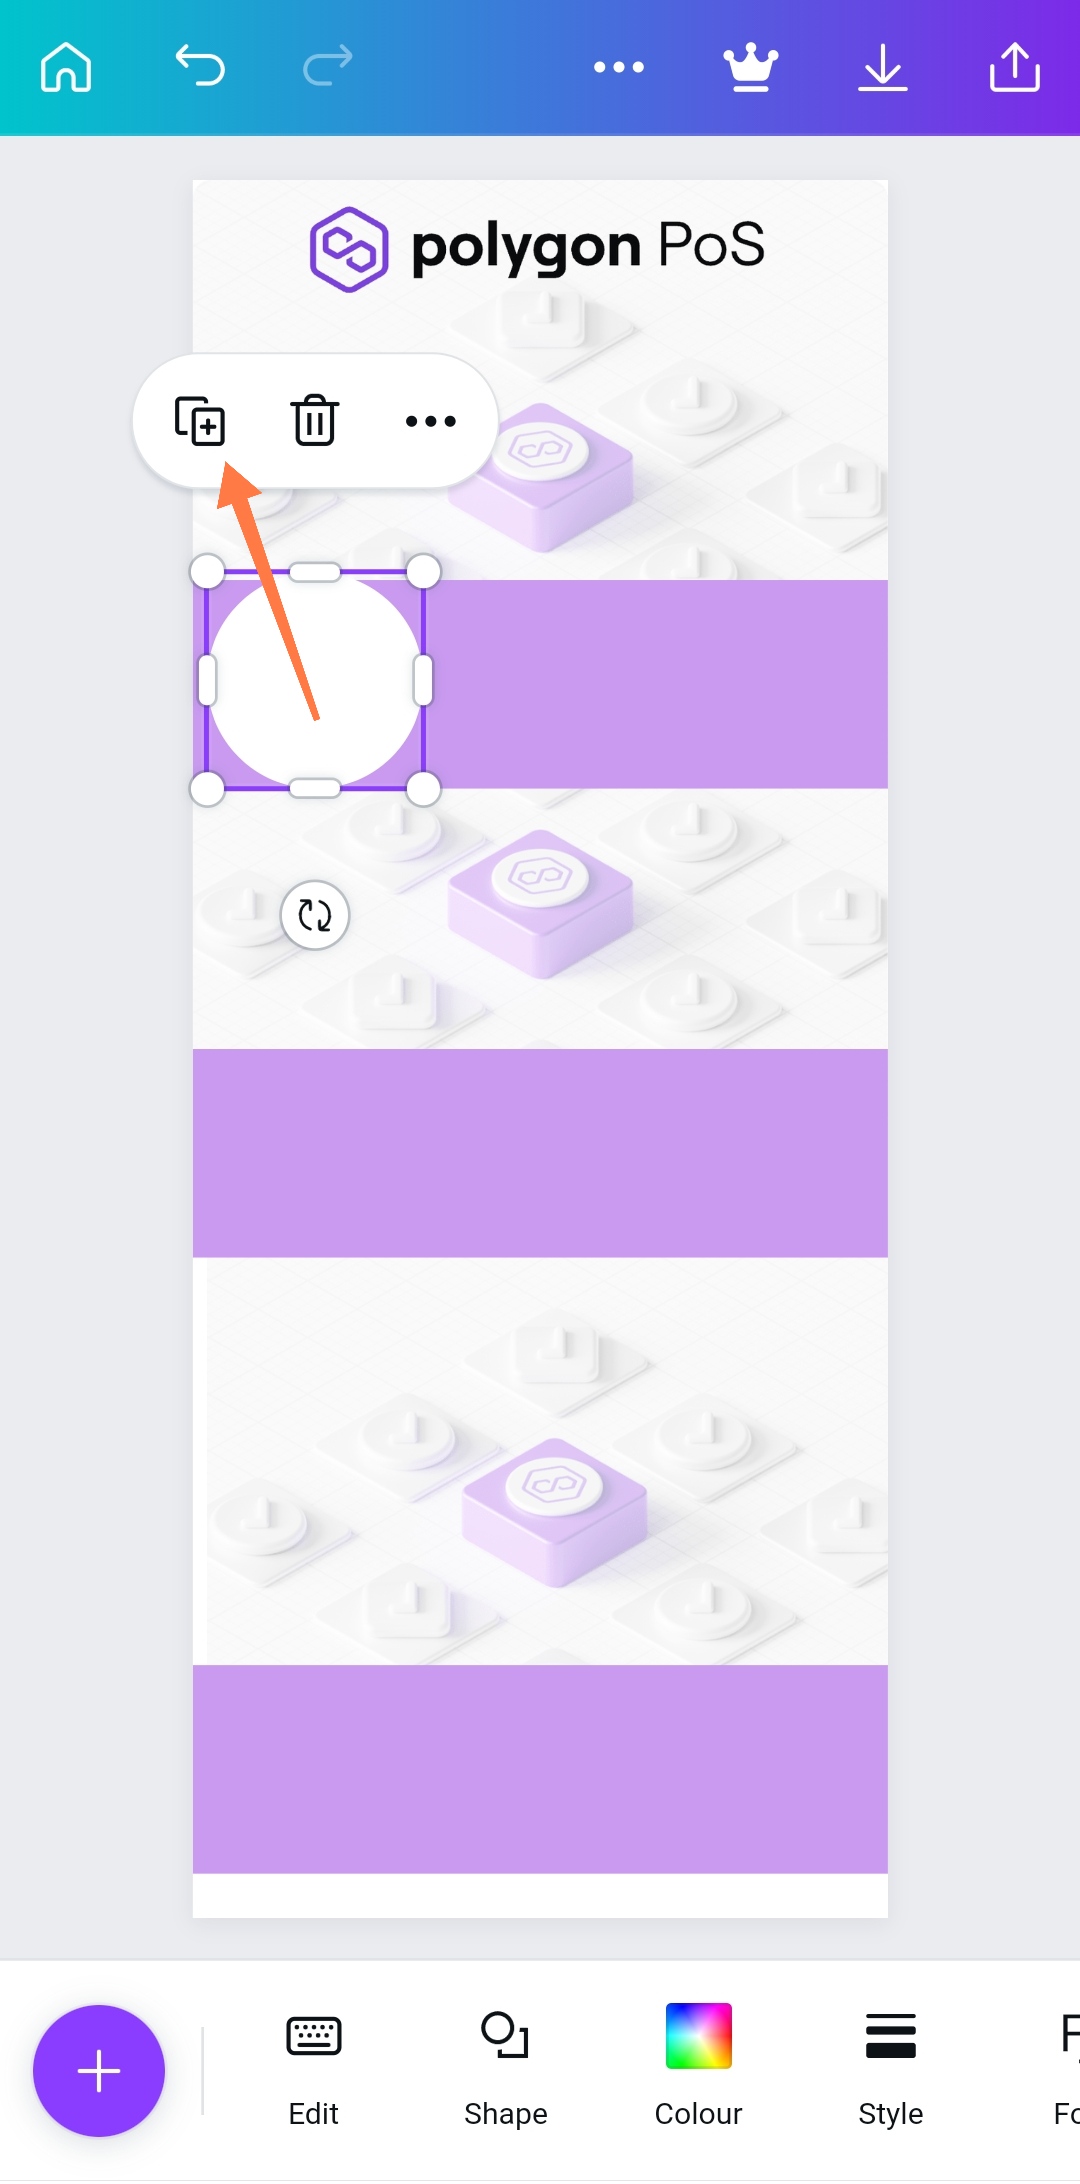
- Duplicate the circular shape and repeat this process for the remaining two rectangles.
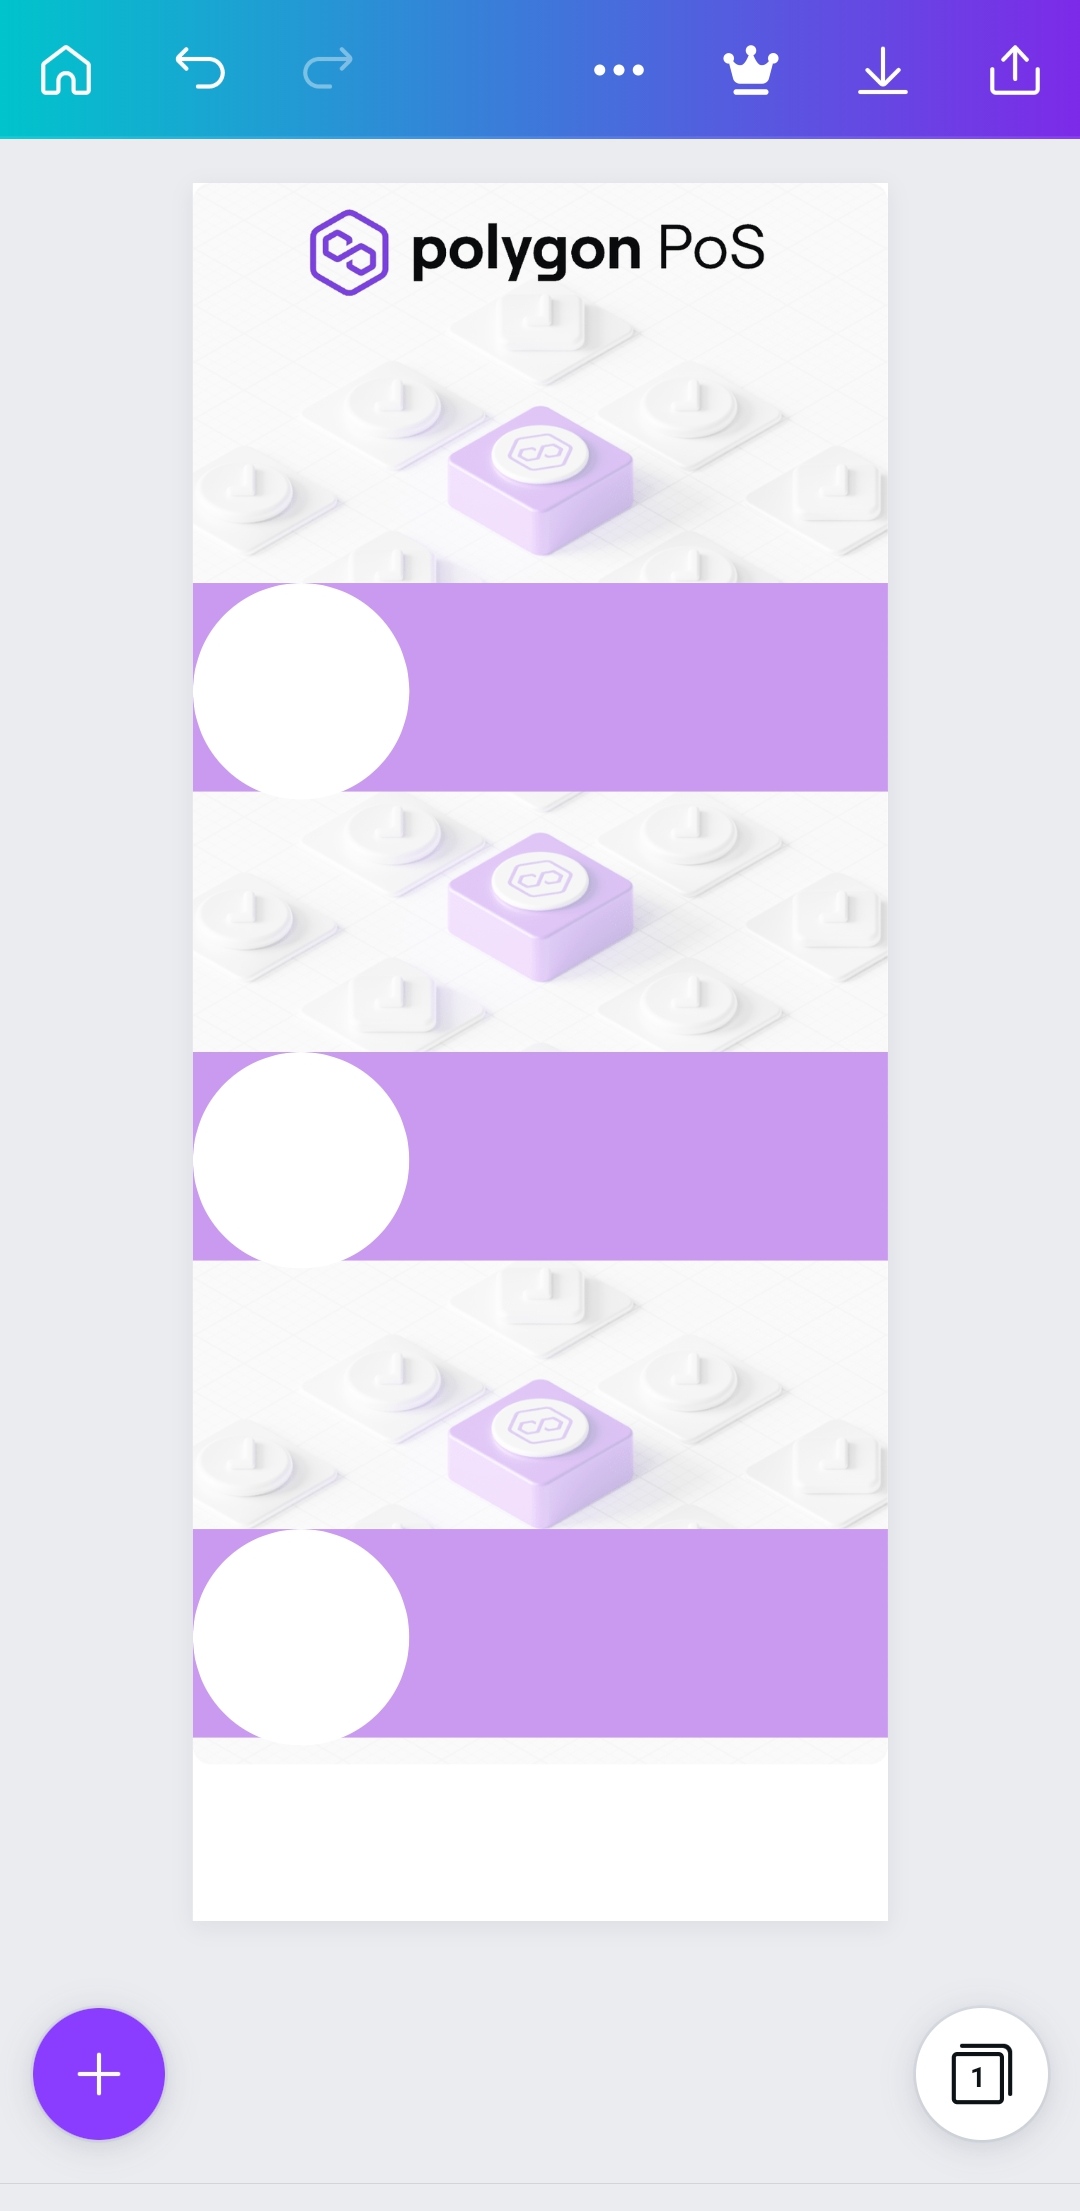
- You should have something like this if done correctly. The purpose of the circular shape is to add some icons depicting any statement or words we make on the Infographics.

- Click on the text text icon as shown in the above screenshot to add your text to the design.

- Change font style by clicking on the desired font you want. I prefer Anton in cases like this. Remember to repeat this for the remaining two available rectangles.
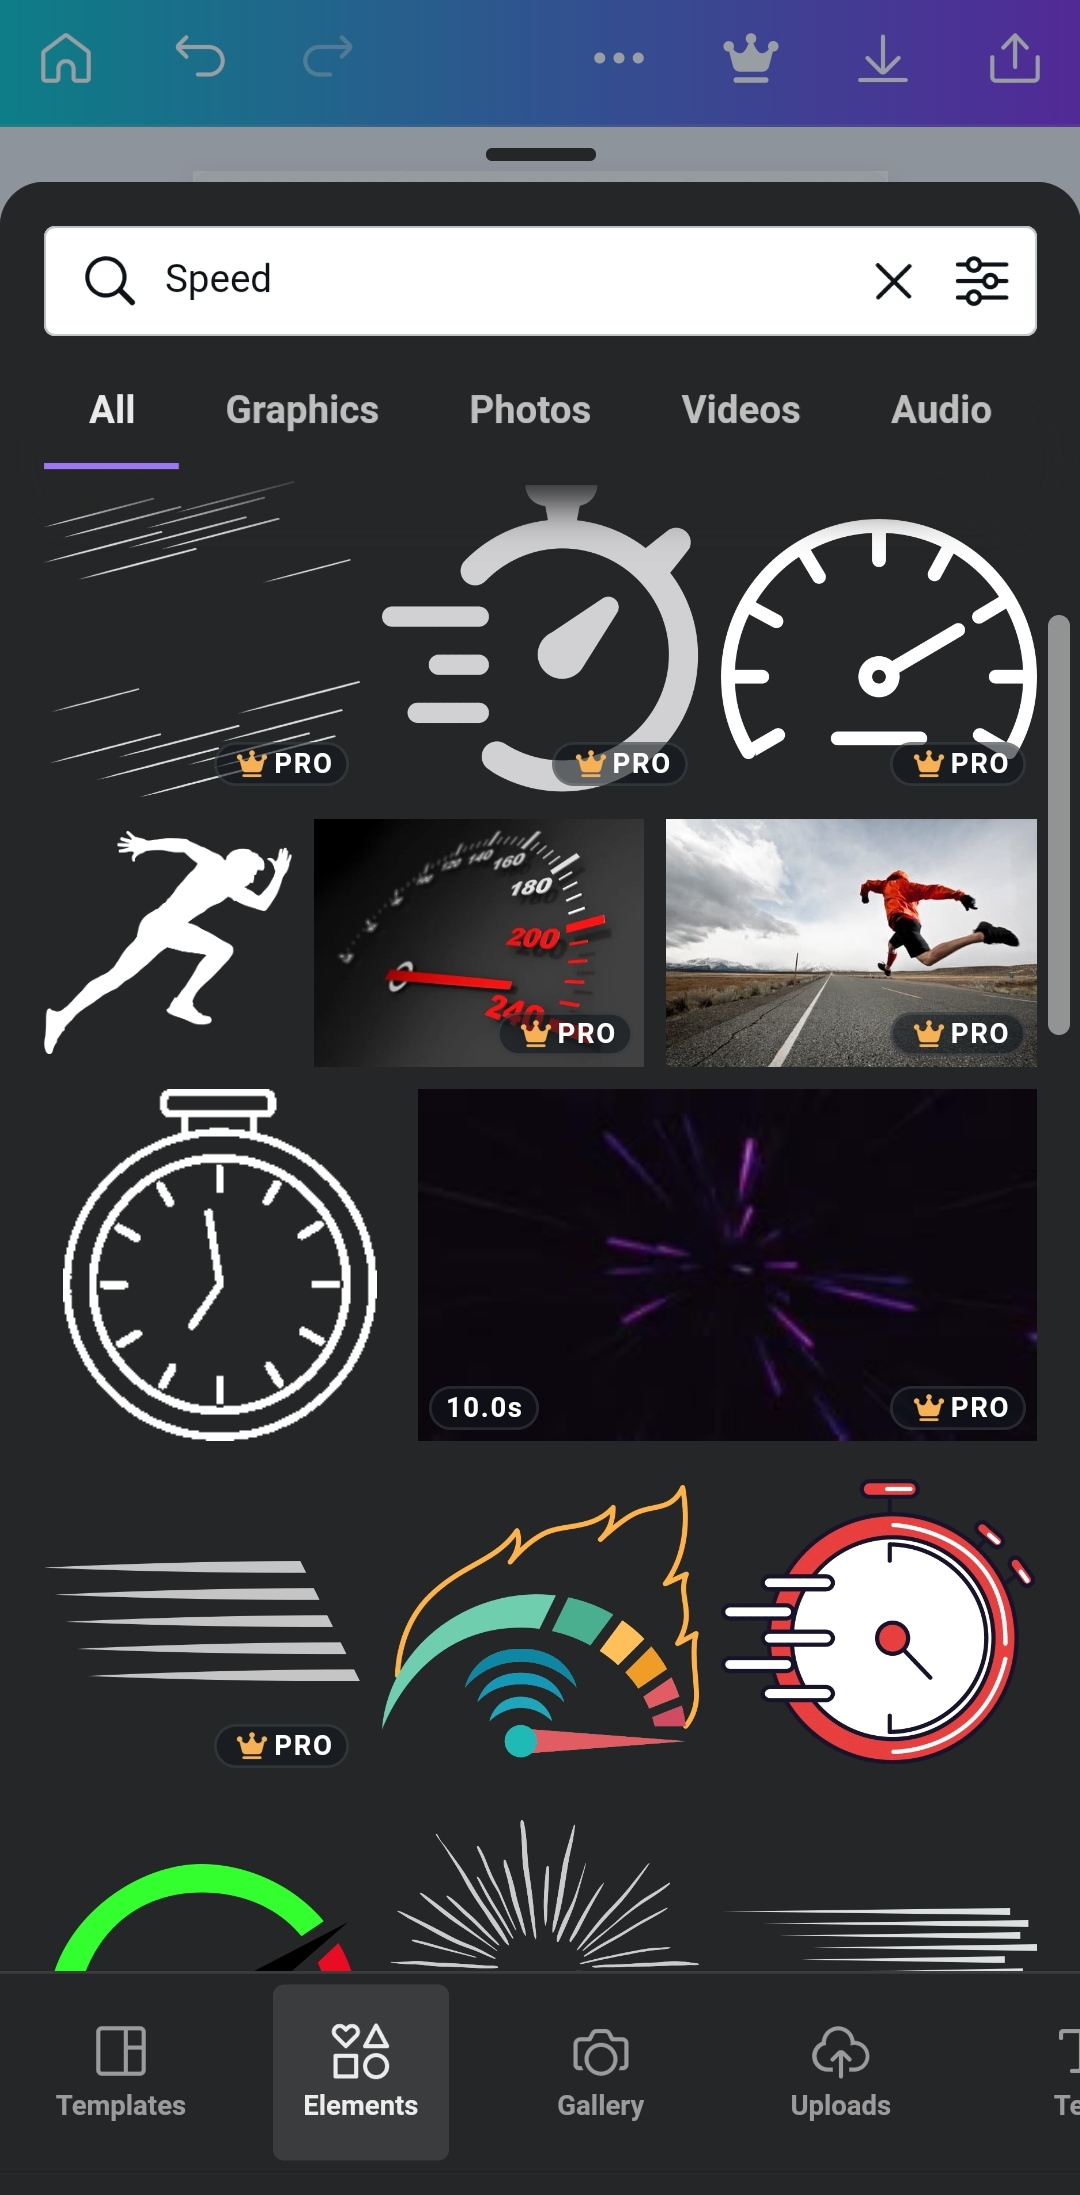
- Search for the required icon that best explains your words and include them into your Infographics design as shown below
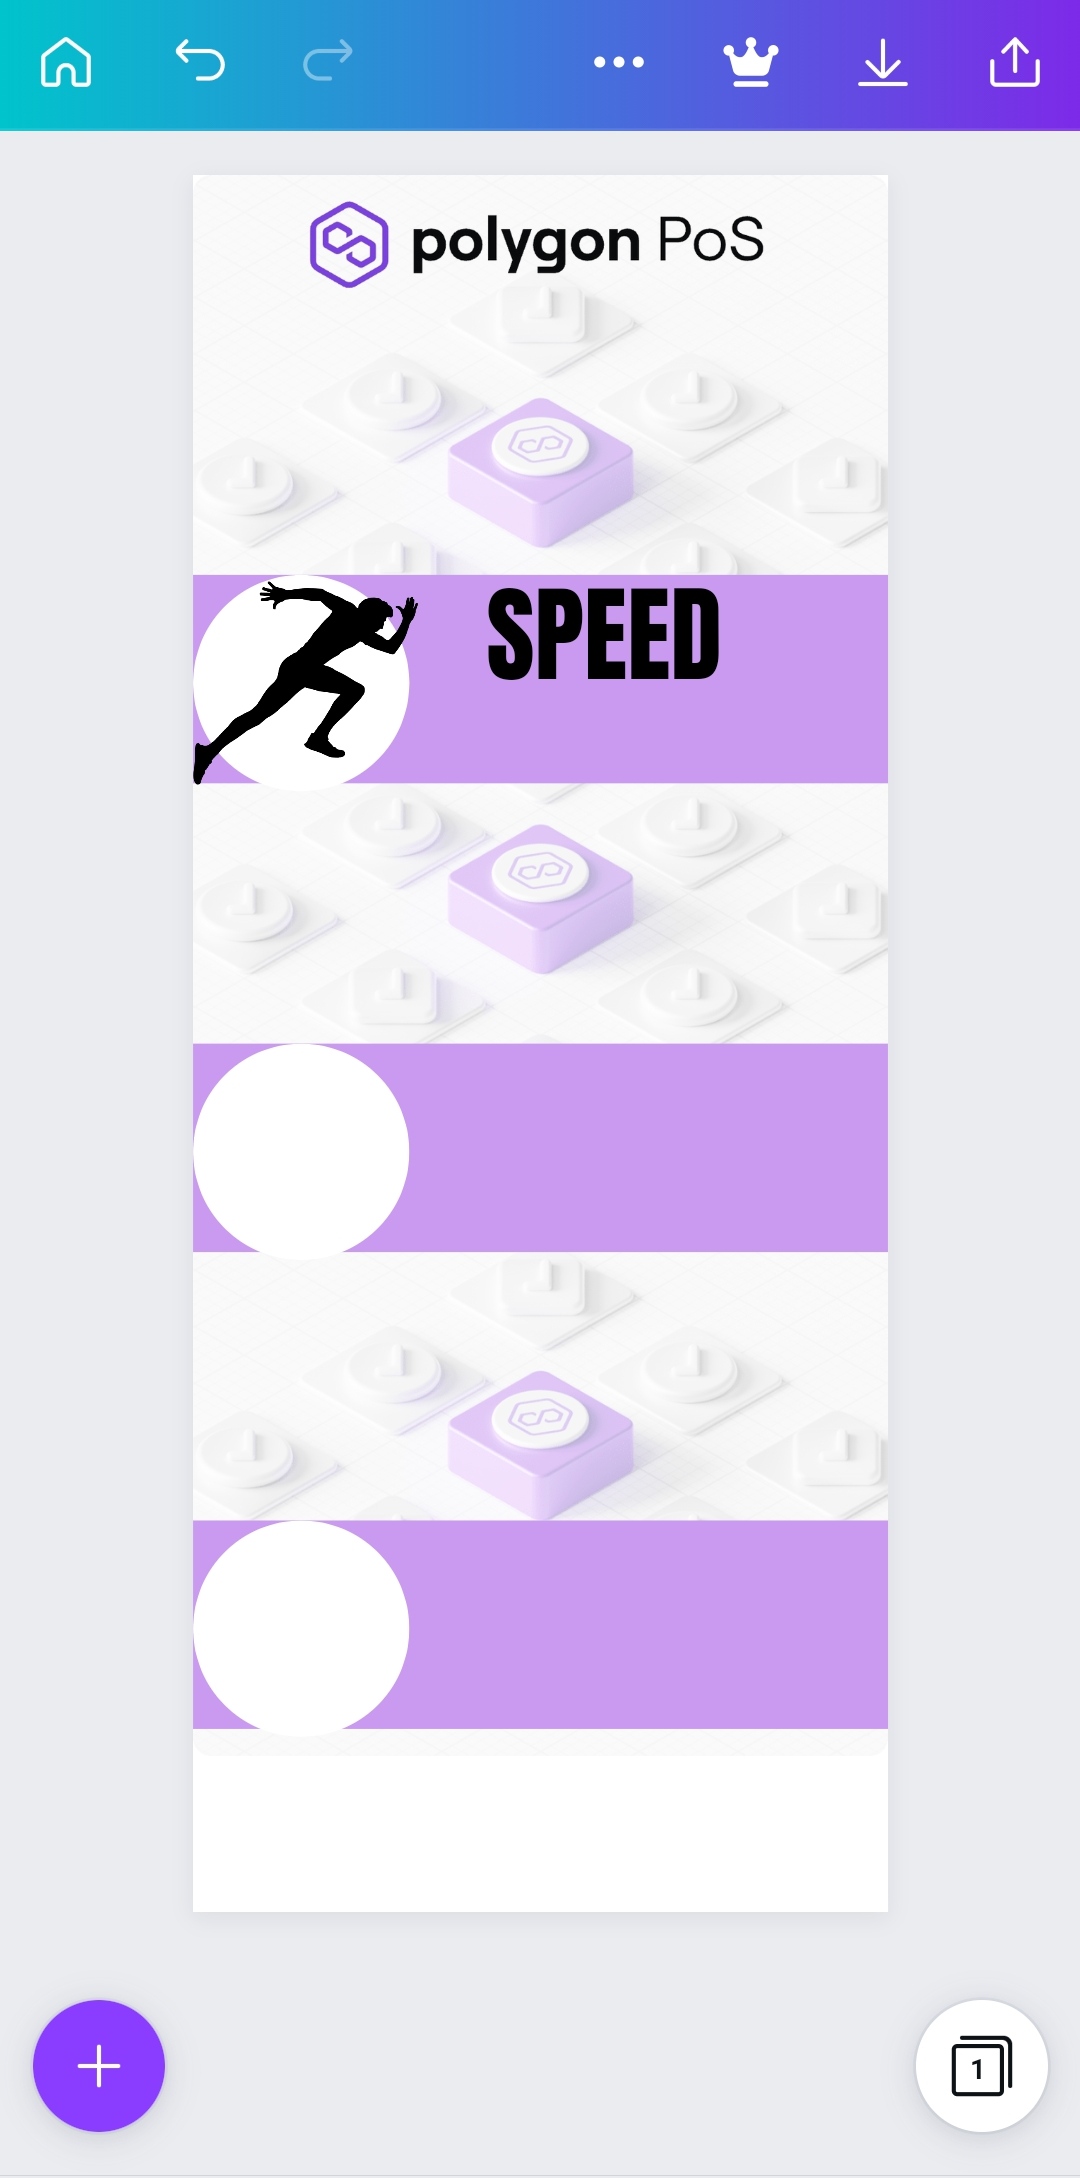
Repeat the step for the remaining two rectangles, then you are good to go.
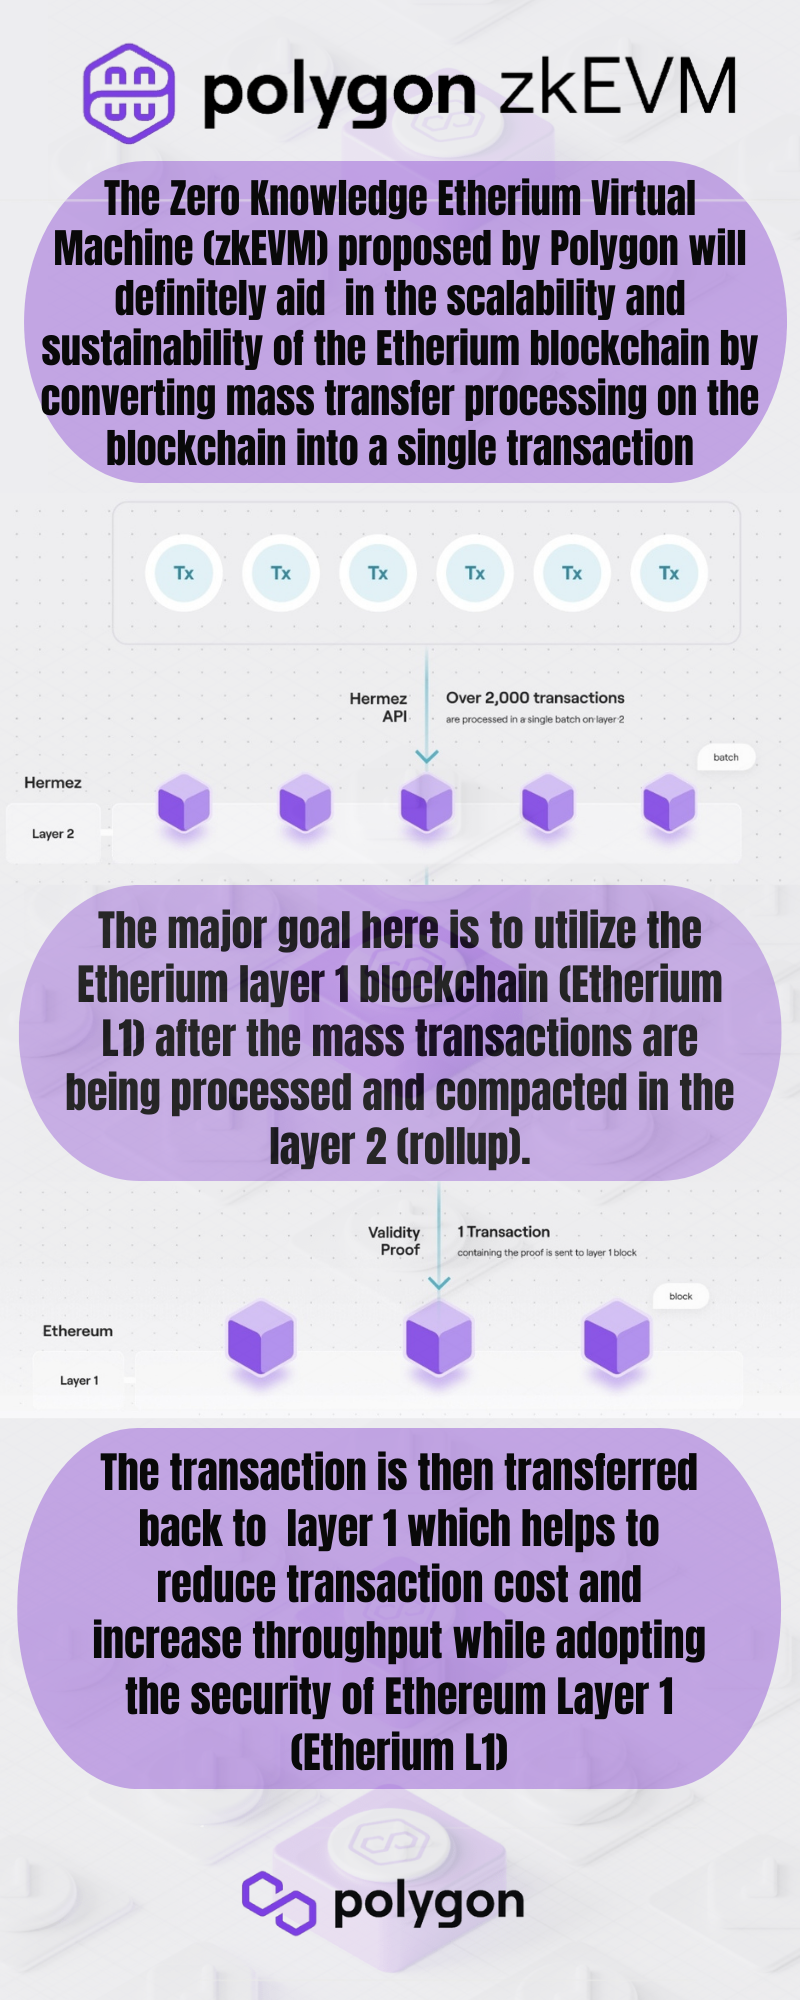
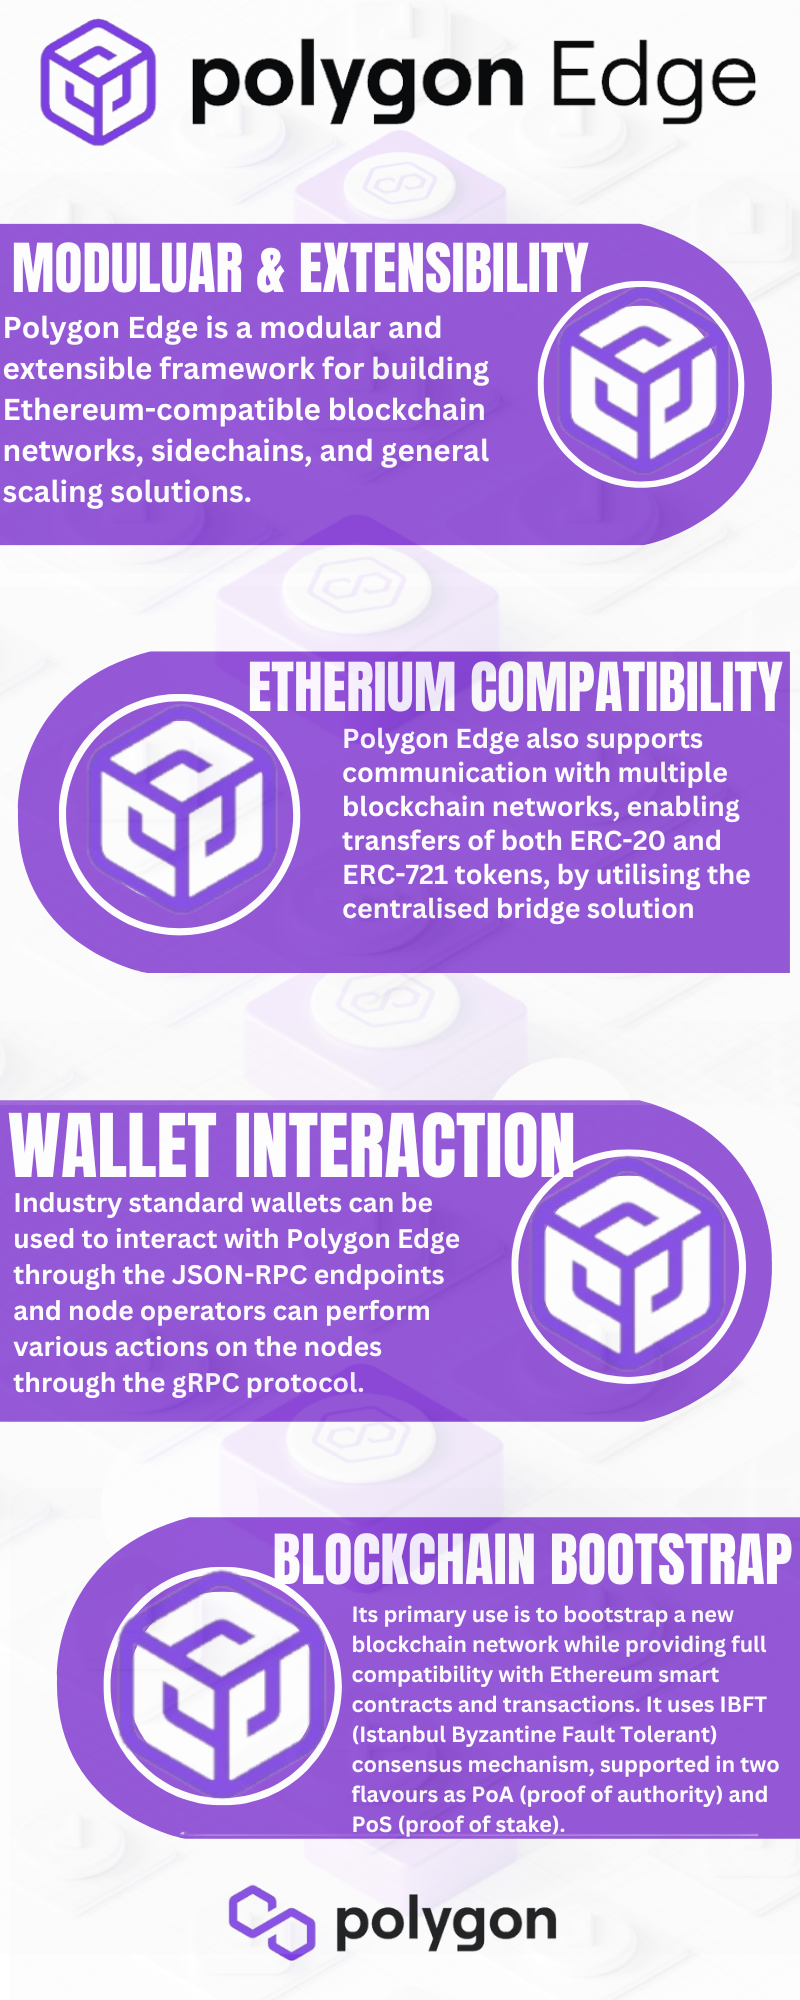
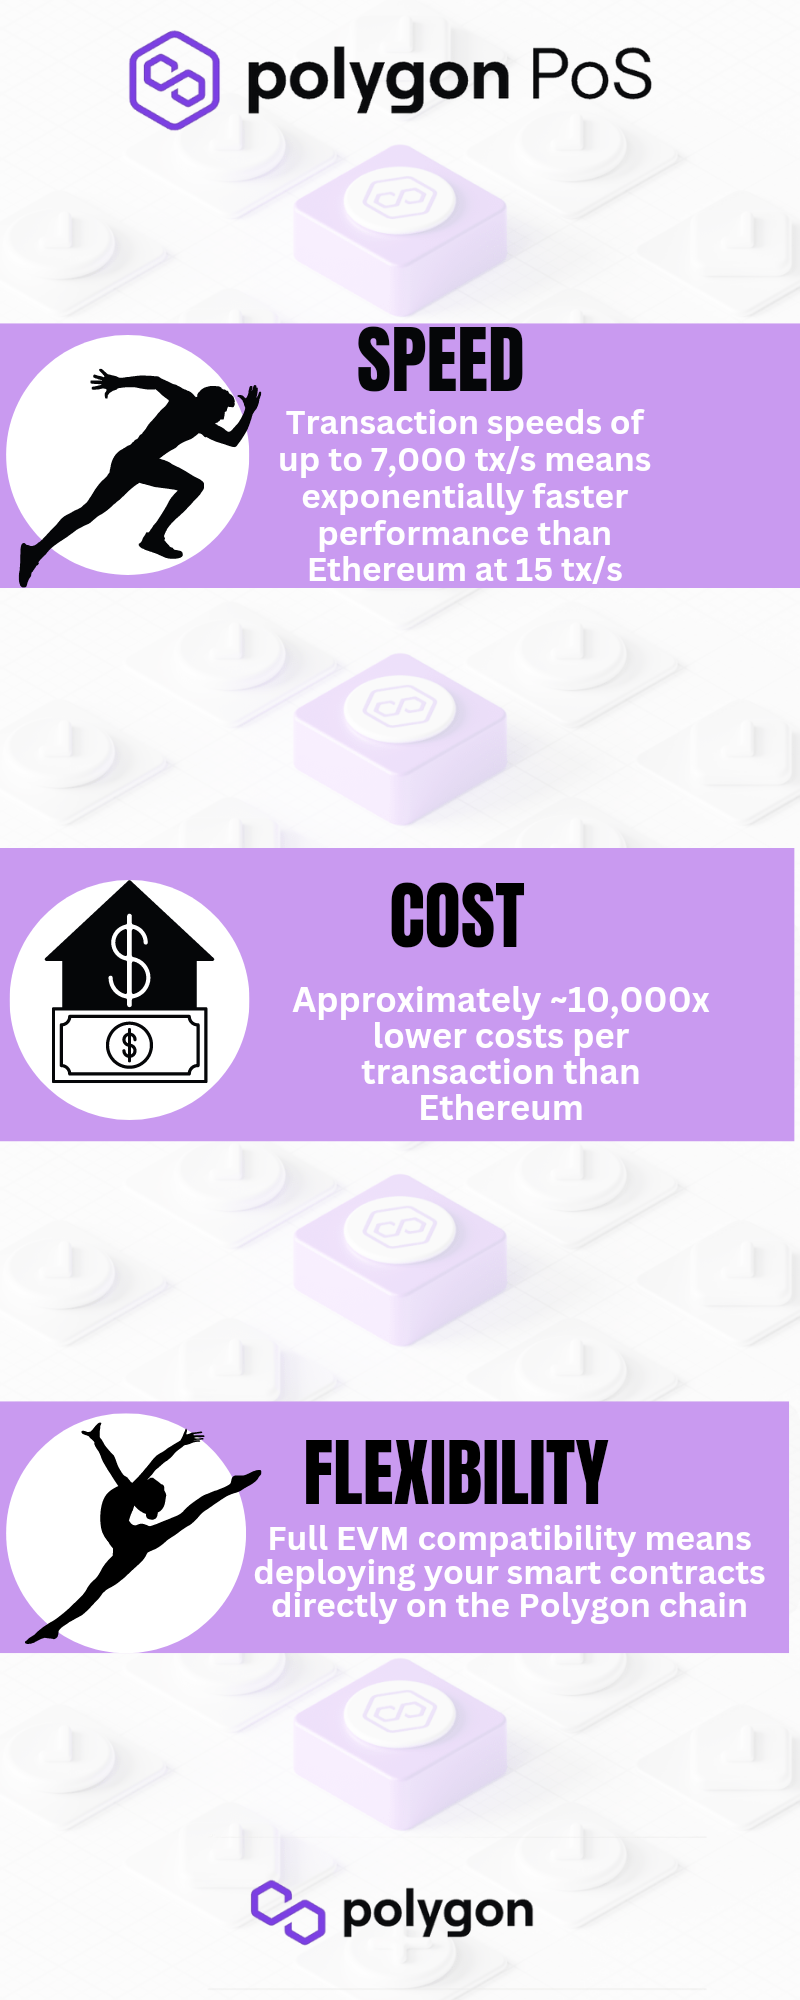
My Final Polygon Infographics Designs
It was really nice coming up with multiple Infographics Design for Polygon Network and I really had lot of fun creating these Infographics. You can check them below;
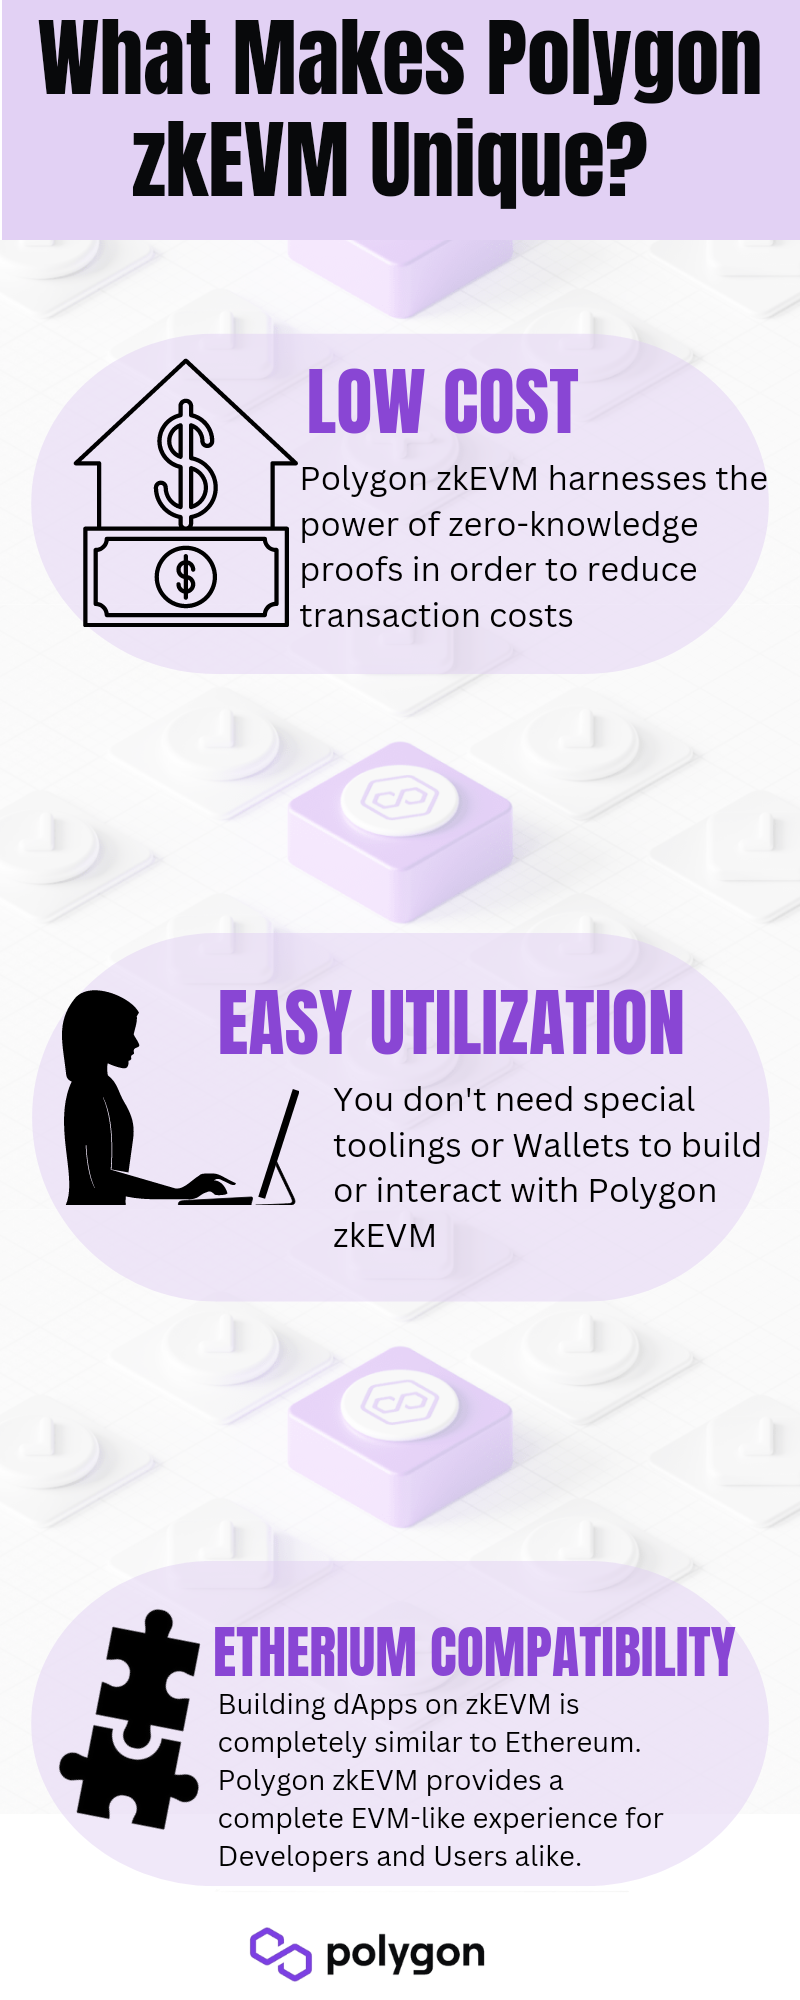
The first Design
The Second Design
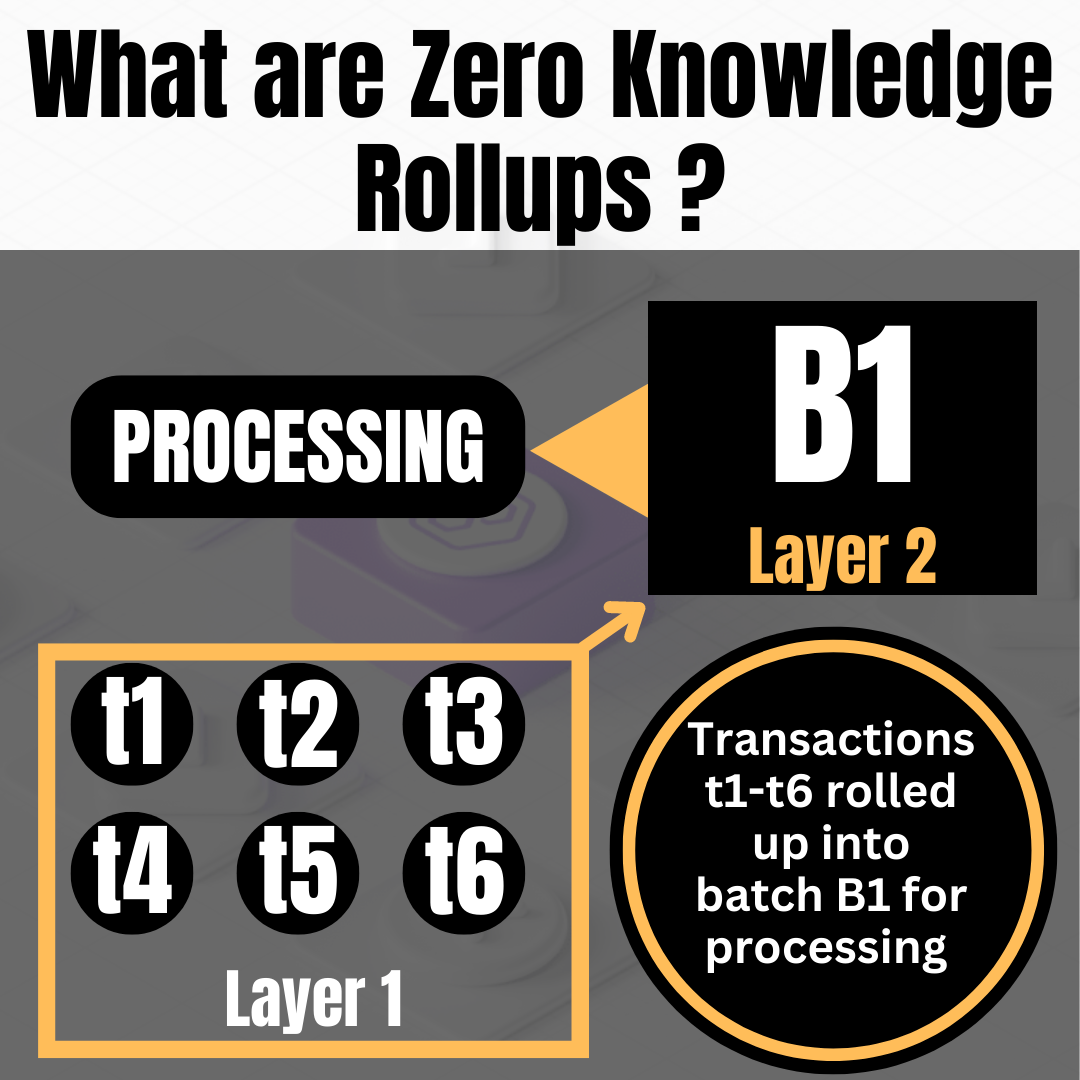
The third Design
The fourth Design
And finally the last design
It was really nice sharing my creative Sunday with you!! I definitely hope you found this helpful and I also hope I made an impact. Thank you for your time and I hope you have a great day ahead with love from @hardaeborla💞😊💞
My Canva Links to the Designs
About Me

I am Adebola by name and I'm also a graduate of Agricultural Engineering (BSC). I am someone who cherish self development and being productive is in my DNA, this is why I am always open to learning from anyone and I love making research. I have been in the crypto space for the past five years and my level of enthusiasm for cryptocurrency and blockchain technology keeps increasing day by day. My hobbies are reading, writing, eating, engaging in agricultural operations, travelling, designing and blogging. My skills include Content writing, Graphic Design, UI/UX (Product) Deisgn, Copywriting, Internet Marketing, Blogging, Research and Coding (Novice). Feel free to connect with me via;
Email
Telegram
Discod: Hardaeborla#103
Twitter
If its your first time here?? Start blogging on Hive and start earning free Hive tokens and HBD.
Hive : This is a native cryptocurrency used to reward Hive bloggers. Hive has a thriving ecosystem of over a hundred apps, communities & projects and is home to some of the most-used Web3 apps in the world, such as @splinterlands, @peakD, @HiveBlog, @leofinance and many others.
HBD : Hive Backed Dollar is the stable coin used on Hive blockchain. It is pegged to the price of one US dollar and users can earn 20% APR on HBD savings.
Learn more about Hive blockchain here
Thank You for your time and I hope you have a great day ahead with love from @hardaeborla
💕❤️💕❤️💕
💕❤️💕❤️💕

