MY DOOR HOOD.
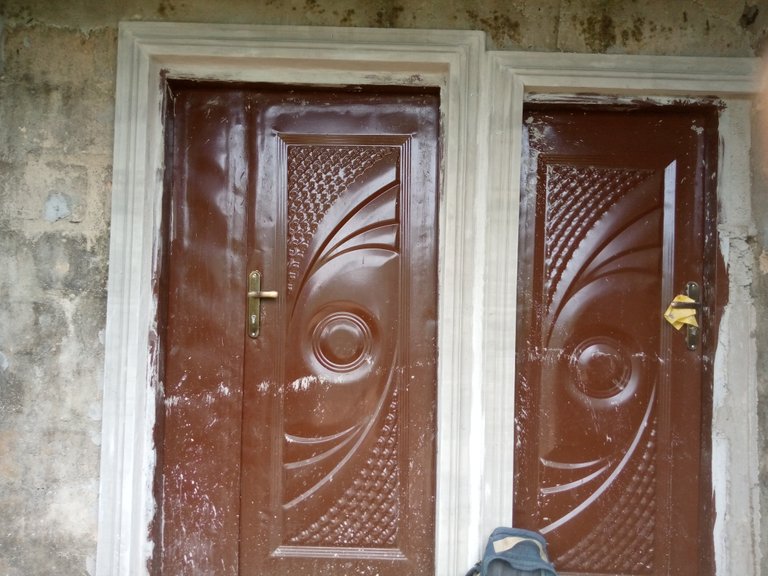
Goodday to all in this lovely community of diy,i consider it a opportunity to show to all my artwork.
What I display here is called doorhood.
PURPOSE:
It help in protecting the door flame from harm, like water ,and sun.it also help in beautifying the door and correcting any error made while mounting it.
TOOLS NEEDED:
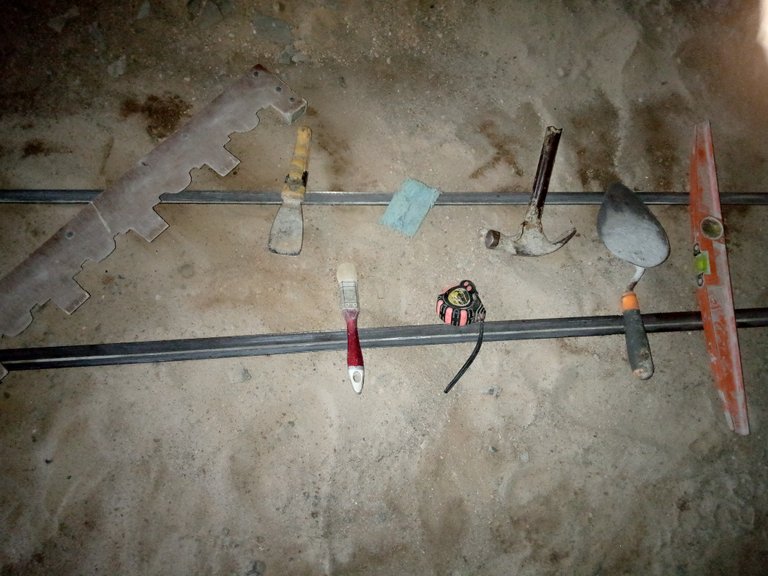
An angle iron is needed,trowel,tape, scraper for cutting,foam or brush for smoothing,the design made with wood, plume hammer and nails.
All this is important as they all played a vital role during the process.
NOW LET'S MOULD:
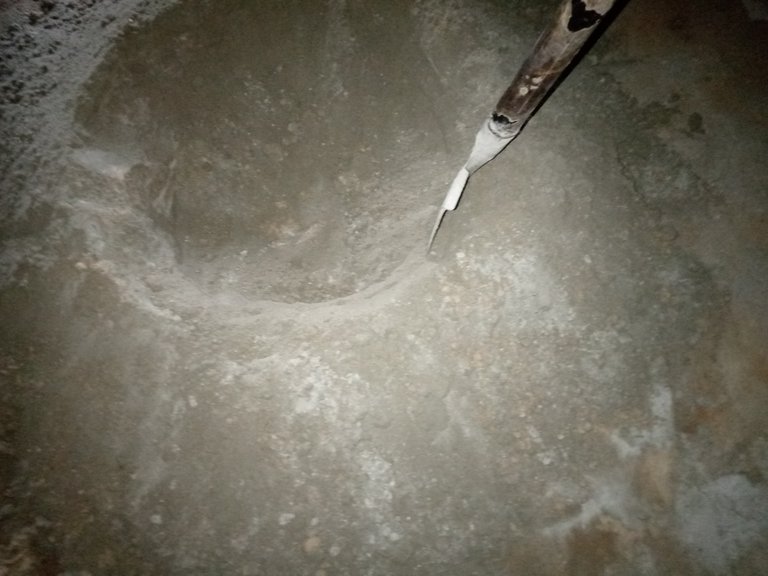
To commence moulding i neet to set the angle iron using the design to get my measurements.

After this i will put sand in the middle of the angle iron and spread it, this sand will help me get the thickness of what am about to moulds i will also help me pulled the design up when it have dried
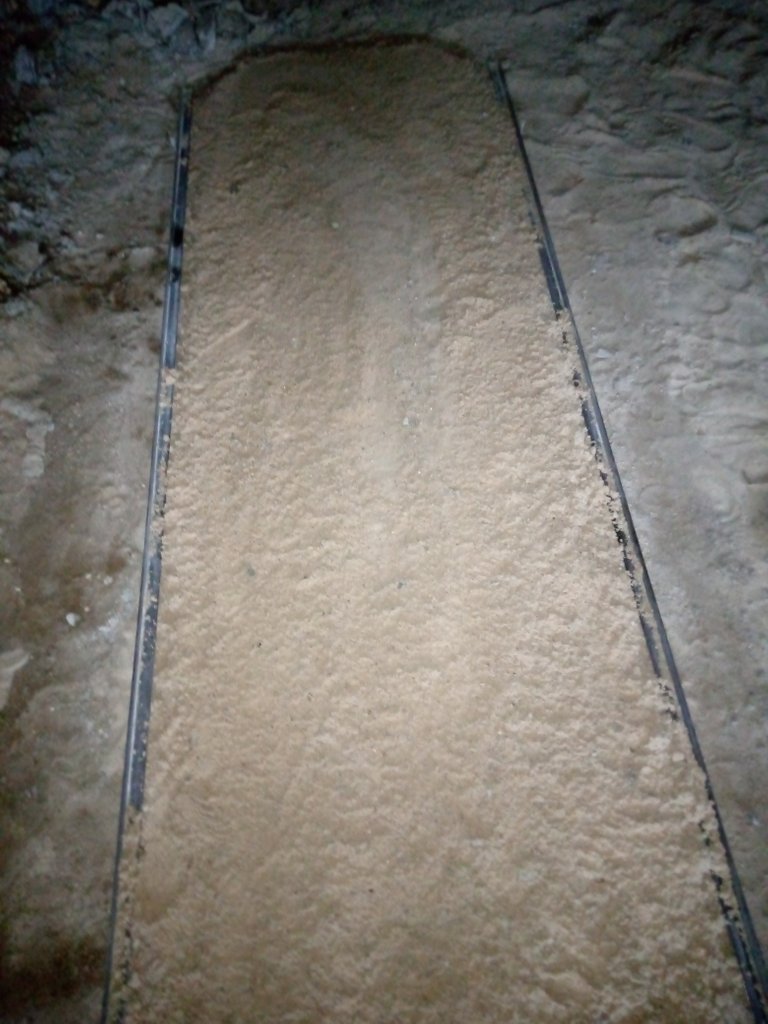
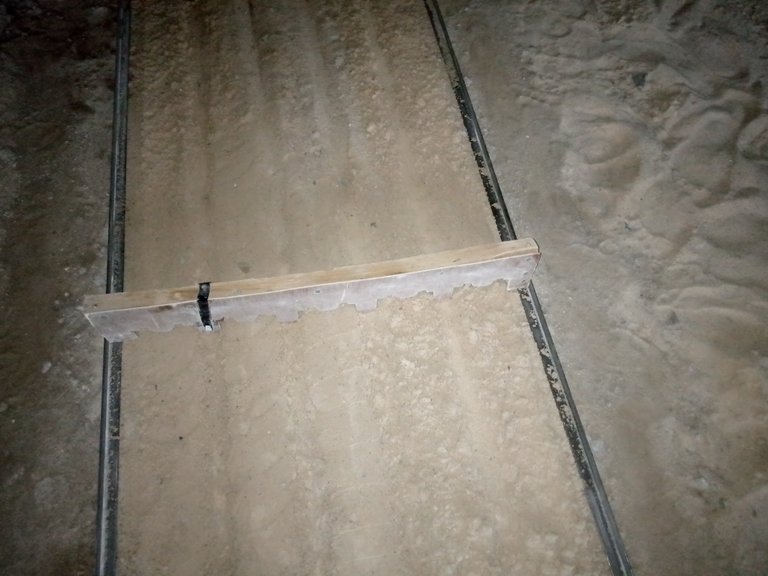
Next i will use the design and run through the already sprayed sand and get this lines
Next is a good white shape sand, i will measure the amount that will be enough for me
i will now add cement and this is not white cement as it dry faster rather i will use the other one, after adding the the desired amount i will now turn them together and add water inorder to get the needed mixture.
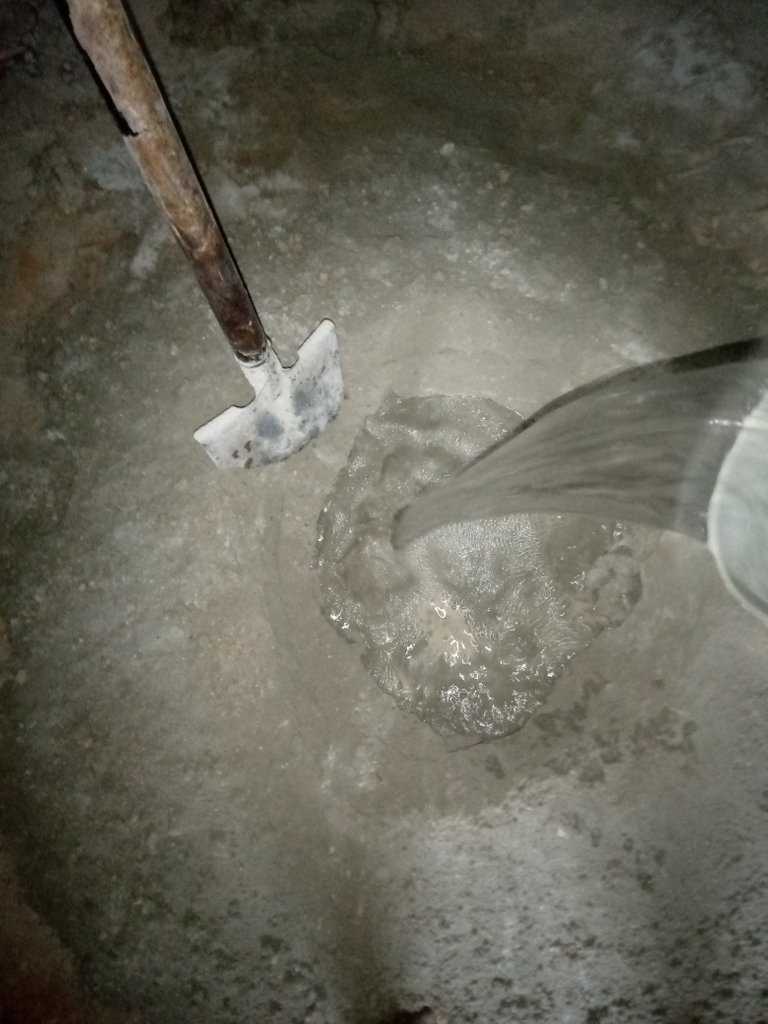
Now i will have to turn the three of them together till the mixture looks like this.
I will now put some into the headpan and start pouring them ontop of the sand with lines,i will have to run it with the design ad he first one will look like this
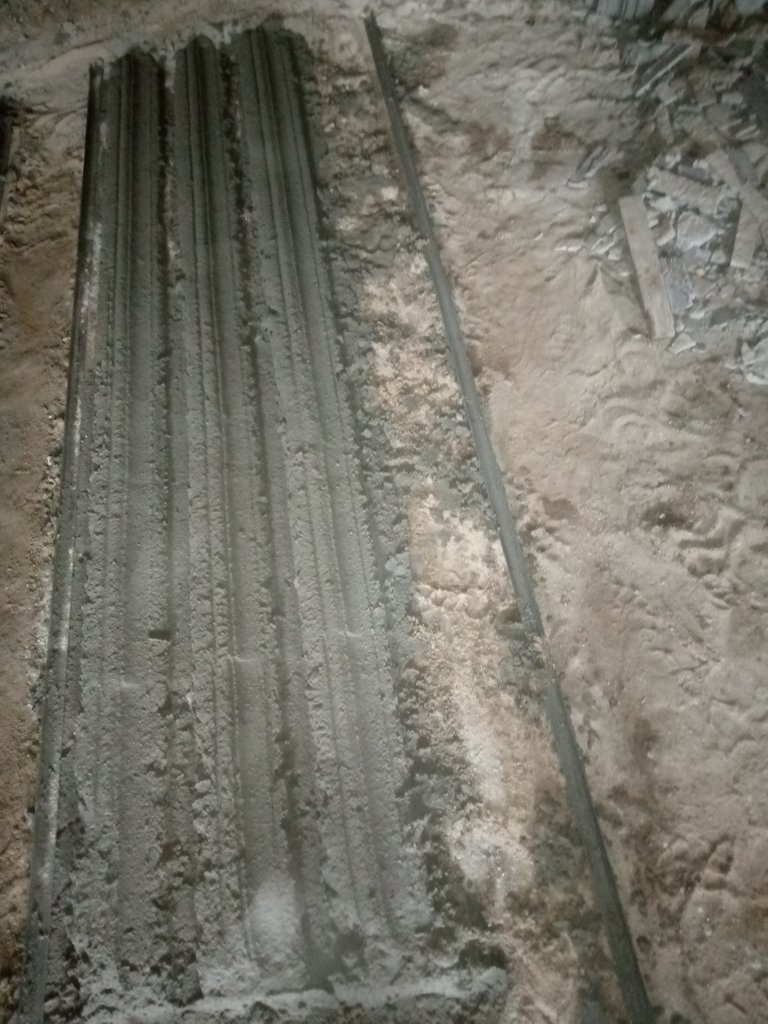
With the design showing on top of it though not visible yet but i will continue the process until it becomes like this
Very smooth and neat, i will now allow it to dry then i will cut them to sizes with my scraper
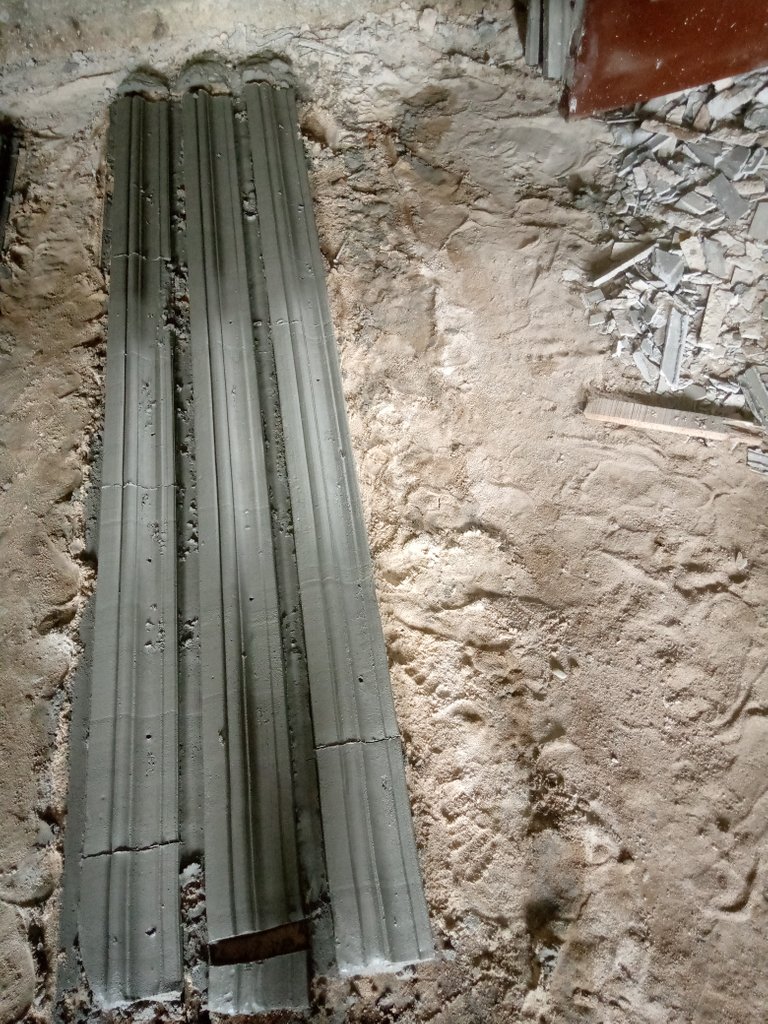
When dried i will now pull it up sweep the sands out and allow it to dry somemore before fixing.
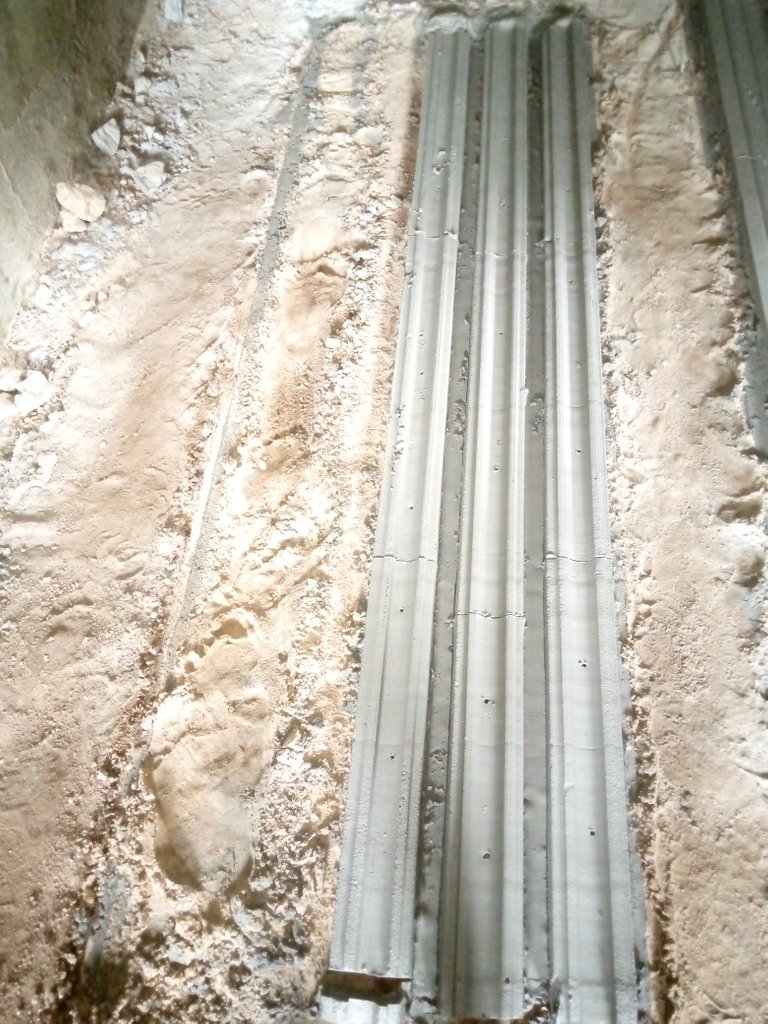
TIME TO FIX:
To mount it i will need nails and a well mixed cement,some of it will be on the wall while I will add some o the mould and pest it on the wall so that the one on the wall and the one on the mould will now join together forming a strongbond
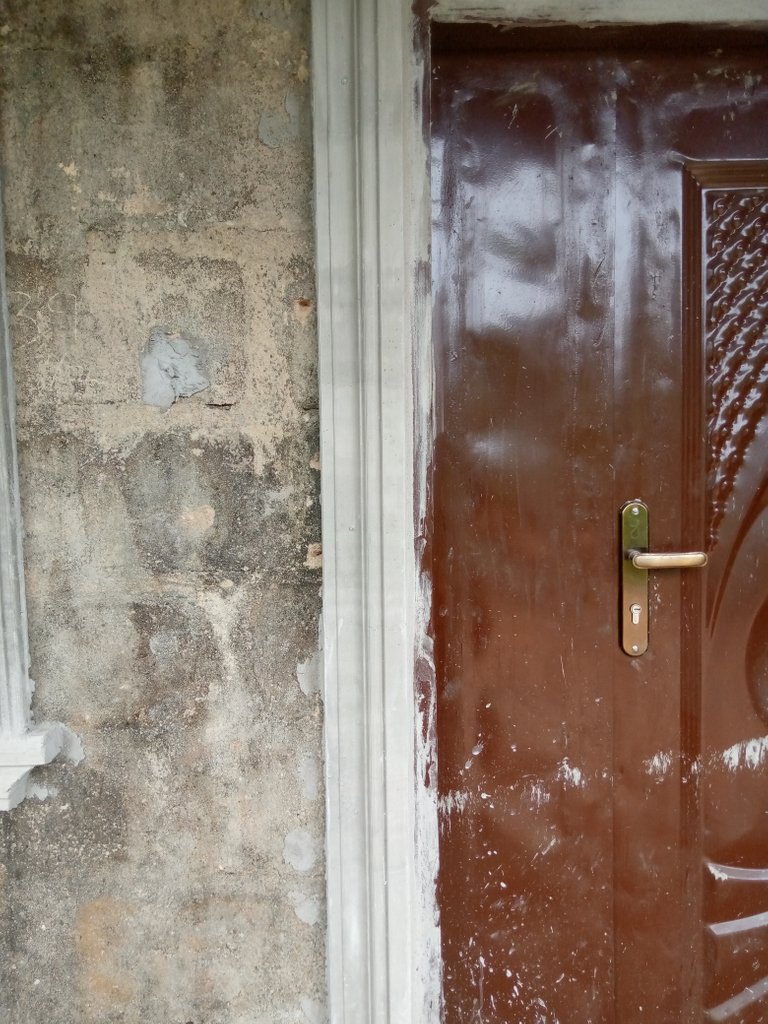
After fixing the two sides it's now time to put the top and in all the process 4inches concrete nail is needed to make it stronger and long lasting .
To fix the top i will repeat the process the cement on the wall and the one on the mould need to come together then the concrete nail will follow
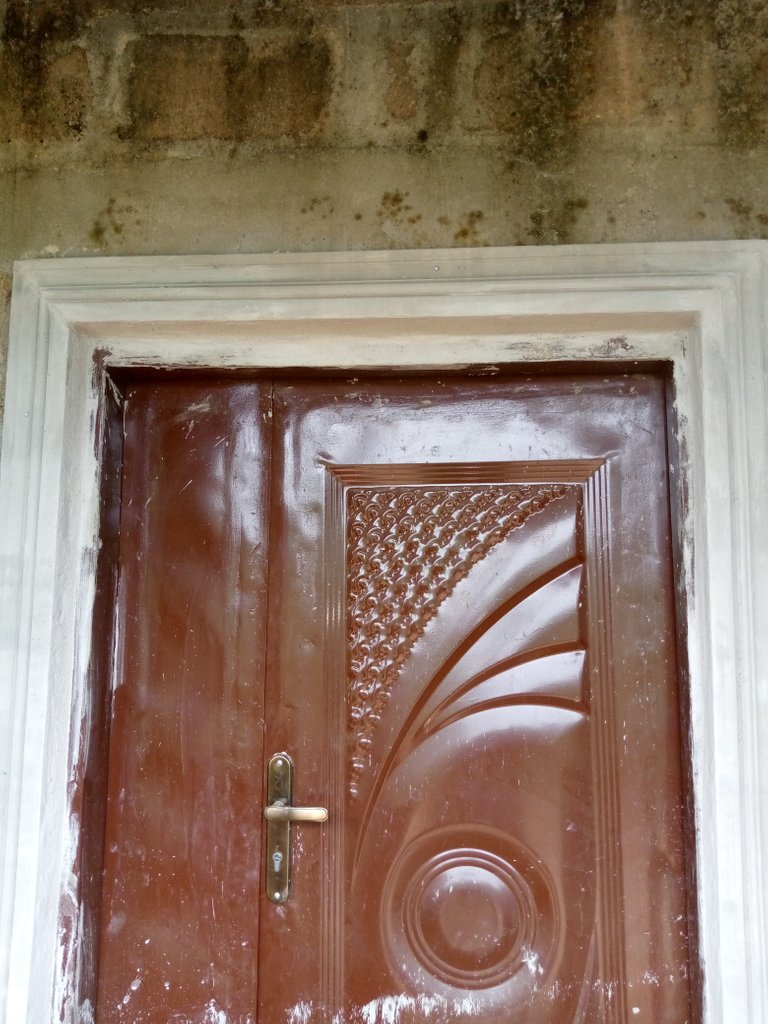
After that i will have to make use of my brush because I want the adges to look neat i will now brush of some unwanted cement and join the tiny lines so that the work can look attractive as can be seen.
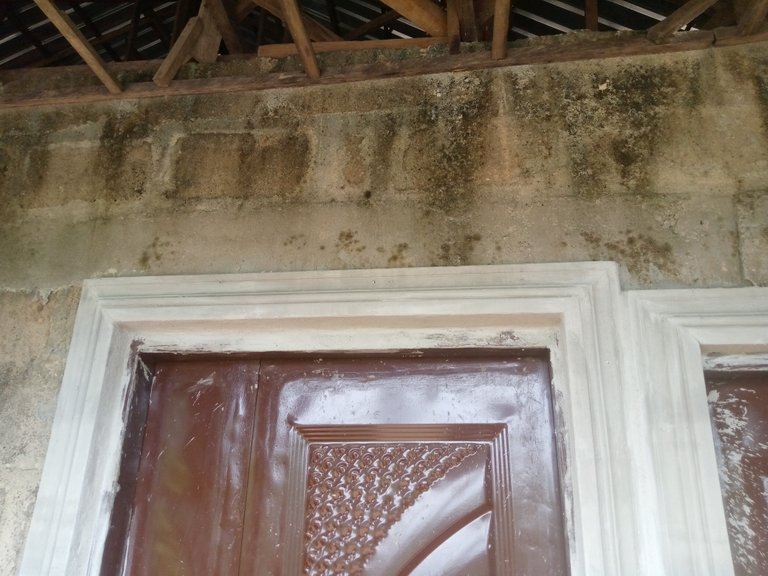

Now the work is done and the necessary dressings done also and it can stay like this for as long as the house remain.

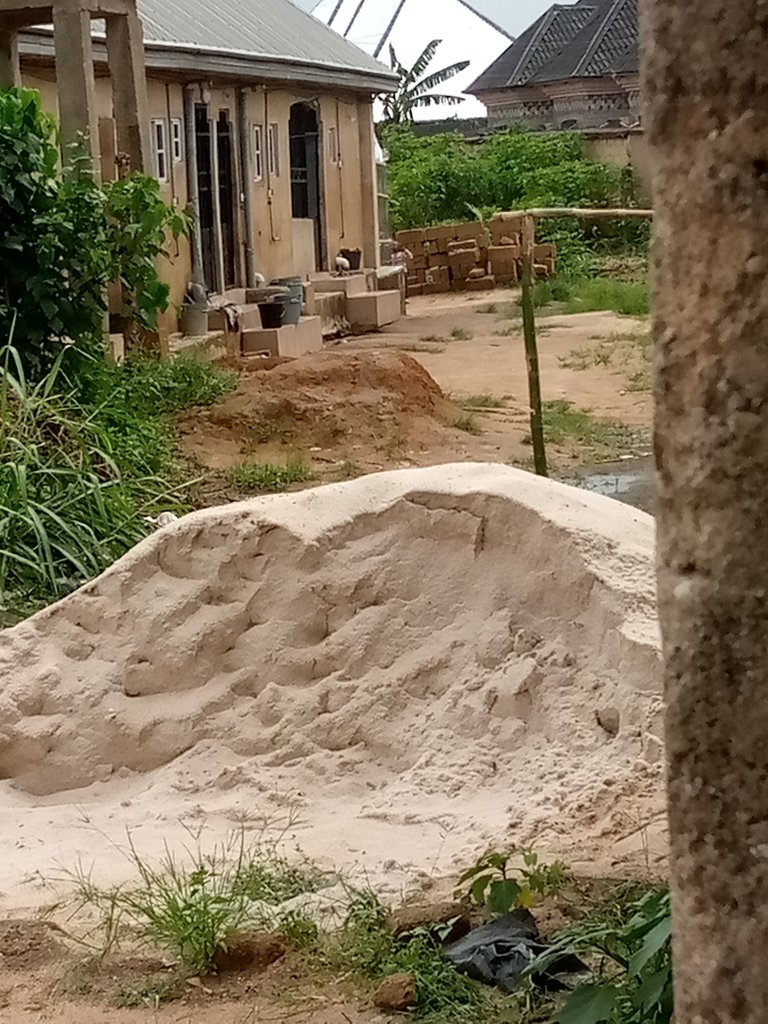
The environment and the sand i use
All this are entirely my creation and the pictures are from my Tecno spark 4.
Thank for taking a look into my work
On my next post i will show another design.