How to ferment carrots (or pretty well any vegetable)
If you haven’t tried it yet, fermenting some of your home grown veggies is a great wat to add some kick to your diet. Fermentation adds nutrients to the food and, best of all, introduces a whole range of new tastes!
The process of lacto-fermentation (the kind that uses brine) is dead easy. All you need is water, salt, veggies and a jar. It’s not an engineering project but is addictive and lets you build your diet and resilience.
The process is very simple. It consists of submerging vegetable pieces under salt water so that certain bacteria can have a field day and, while living it up, convert your vegetable pieces into super-nutritious powerhouses.
The process
Mix up a batch of brine. That’s just salt water to the non-initiated. Folks vary in the strength of brine that they like but the most common range is 5-10%. Don’t panic though, the process is pretty forgiving.
To work out your percentage, divide the amount of water you have by 10. Thats how many grams of salt that you use for a 10% solution. DIvide that in half for a 5% solution.
Use the best salt that you have available – you’ll be eating the stuff after all! Folks online make a big fuss about non-iodised salt, salt with no caking agents, rock salt, sea salt, Himalayan salt, Murray River salt – it all works, so don’t let them confuse you and don’t worry if you don’t have anything fancy, plain old table salt works just as well.
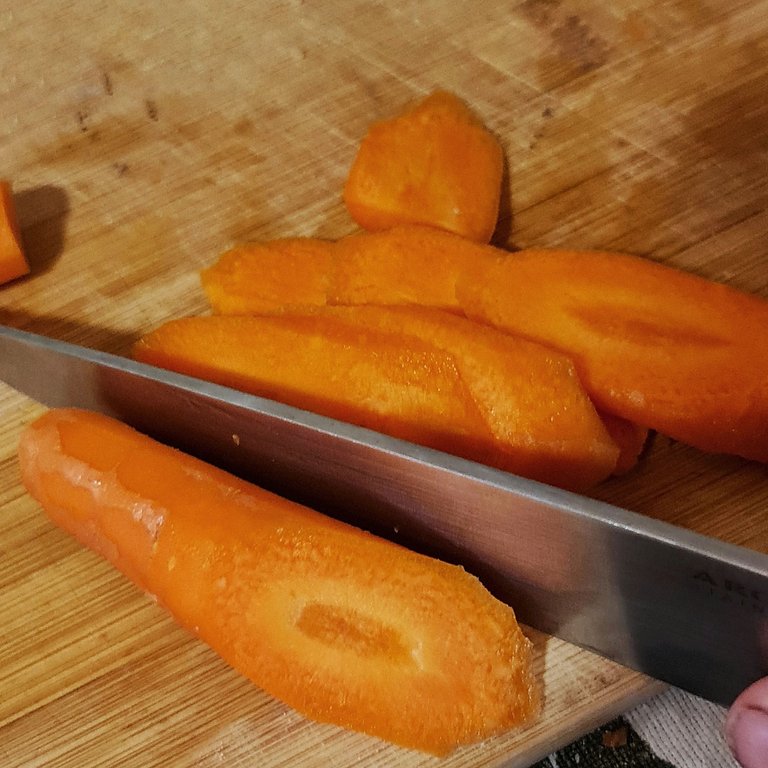
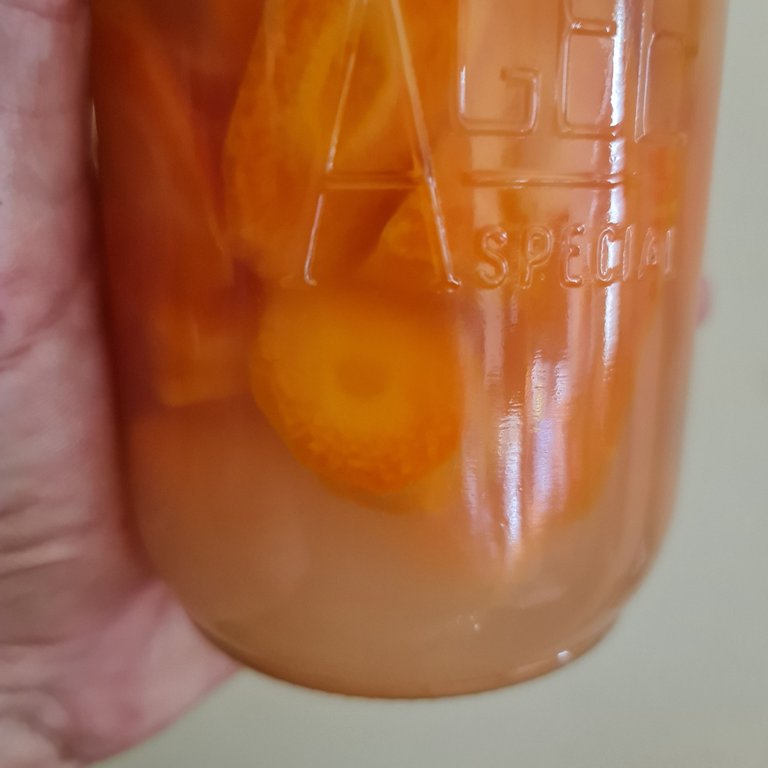
Wash and peel your veggies (I love fermented carrots, so the pics here are of me making those). Slice them into pieces that you’d like to eat. Not too thick though.
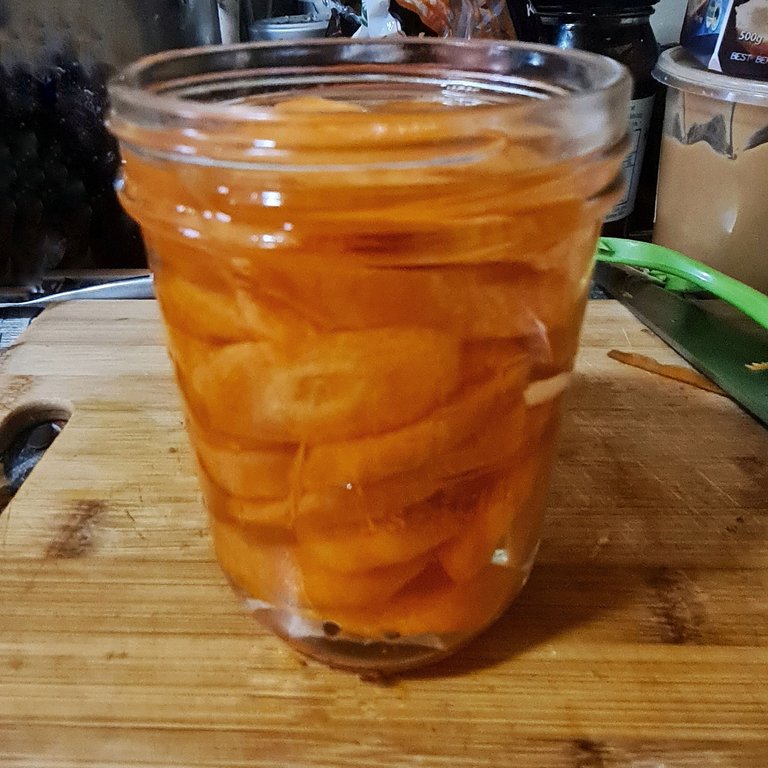
Pack the vegetable pieces loosely into your jar. Leave a little space so that the microbes and other goodies can move around in between the pieces.
Add your brine, then poke around to make sure there are no air bubbles in the jar. Fermentation is an anaerobic process, so the oxygen in the bubbles will slow it down or throw it right off, leading to spoilage.
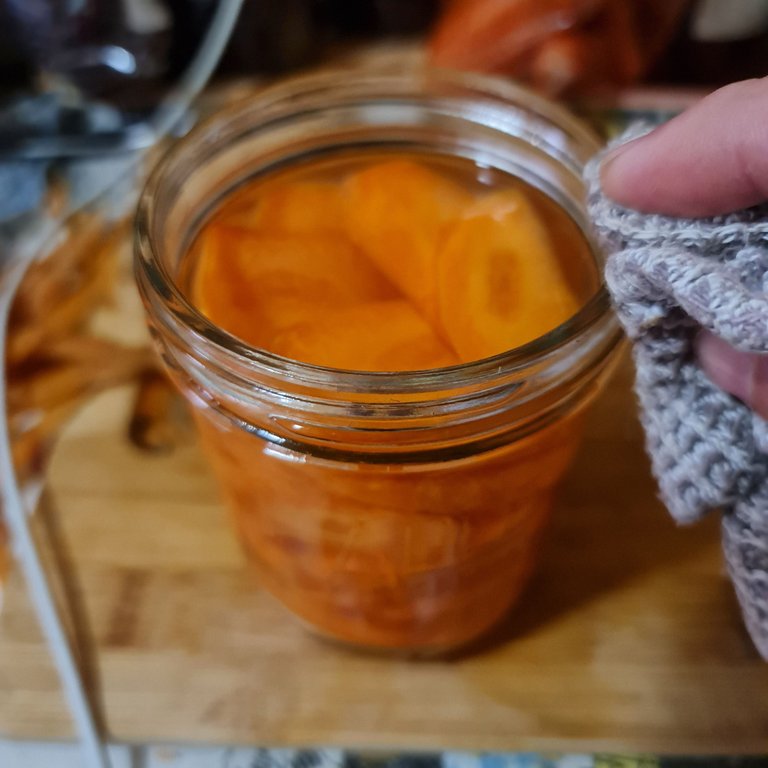
Make sure the vegetable pieces are fully submerged. You can put a little (clean) weight on top of them if you have something that will fit in the jar. Sometimes, I use a screwed up piece of Gladwrap (reused, of course, it’s plastic afterall) to fill the space.
Leave about 1 cm gap at the top of the jar. The process will produce Carbon Dioxide and the gap leaves a little breathing space. Clean around the rim of your jar and the lid that you are going to use, just in case you’ve spilled something.
If your carrots go missing…
Check your dog!
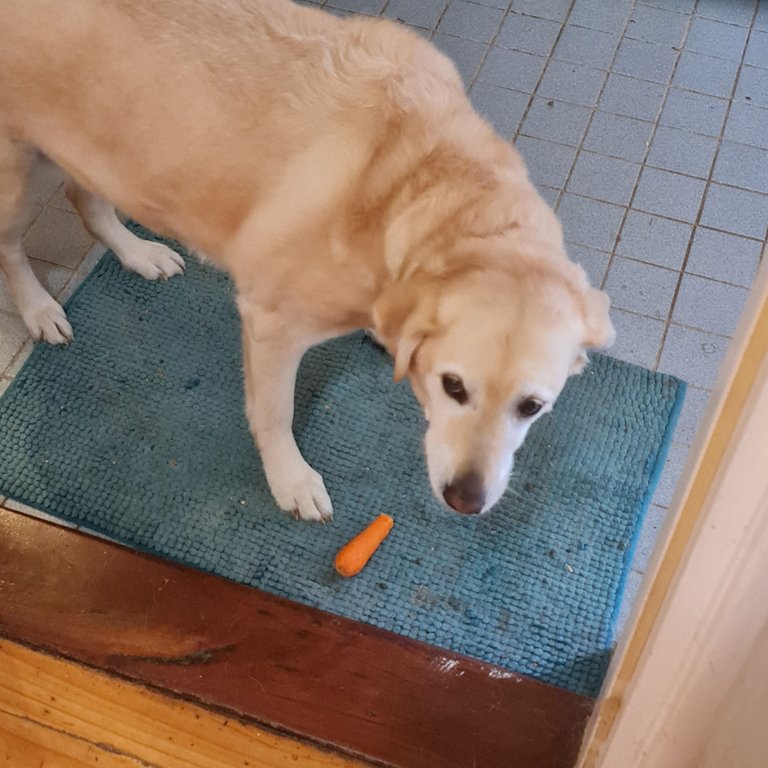
Athena has been known to sneak carrot pieces when the cook's not looking!
Here’s where you can get technical!
The microbes will produce carbon dioxide as they go about their activities and this will build up in your jar. It needs releasing from time to time otherwise it can pop or buckle your lid and that can make it hard to remove or even allow air to enter, ruining all your hard work! A jar with too much pressure can really give you and your kitchen a soaking when you finally remove the lid! All of that gas in solution is just like a shaken lemonade can waiting to spray!
There are two ways to deal with this. One is called ‘burping’. That is just slightly opening the lid for a second every day or two. You’ll hear a slight hiss and the gas will be released.
If you find burping the jar difficult (?), there are options available to release the gas for you.
Airlocks
Airlocks work by releasing some of the pressure that builds up in your jar but block fresh, oxygenated air from entering.
There are some expensive options, ranging from fermentation crocks that look beautiful but can cost hundreds of dollars. I’m on the other end of the scale, money wise and I only ferment tiny batches because none of the other family members eat this kind of stuff.
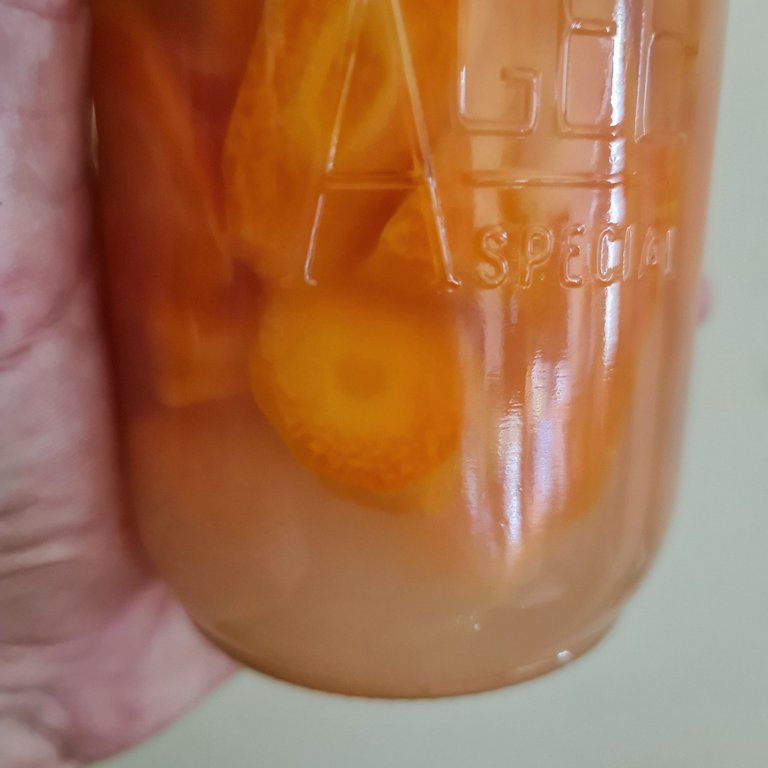
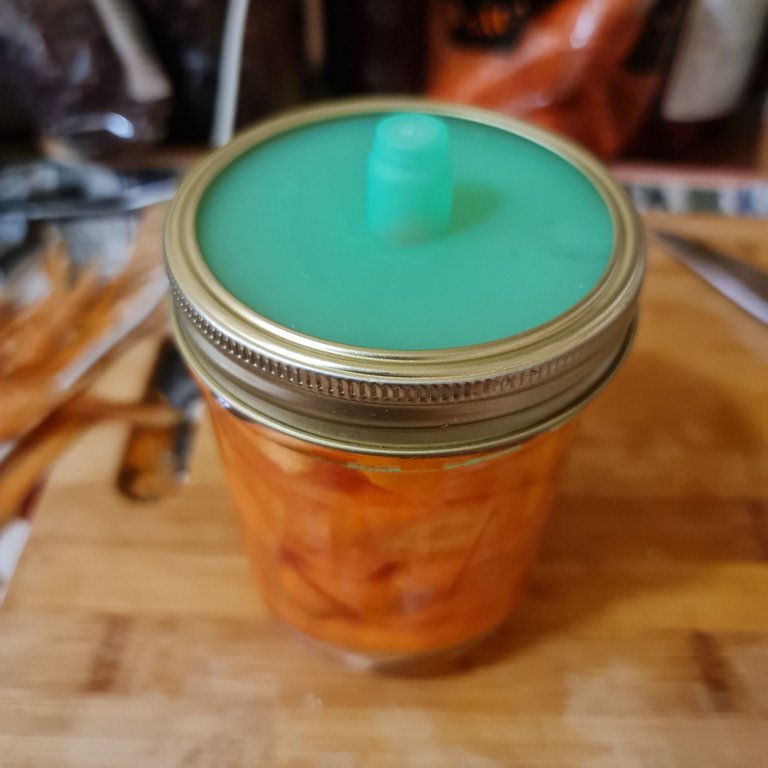
I use Mason style jars and have recently purchased some of these silicon caps that cover a wide mouth jar and ate held on by the metal ring that I use for other canning adventures. These have a nipple in the centre and in this nipple is a slit. With no pressure in the jar, the slit remains closed, but when gas builds up the silicon is pushed upwards and the slit opens, releasing the gas. Pressure relieved, the silicon settles again and the slit is sealed.
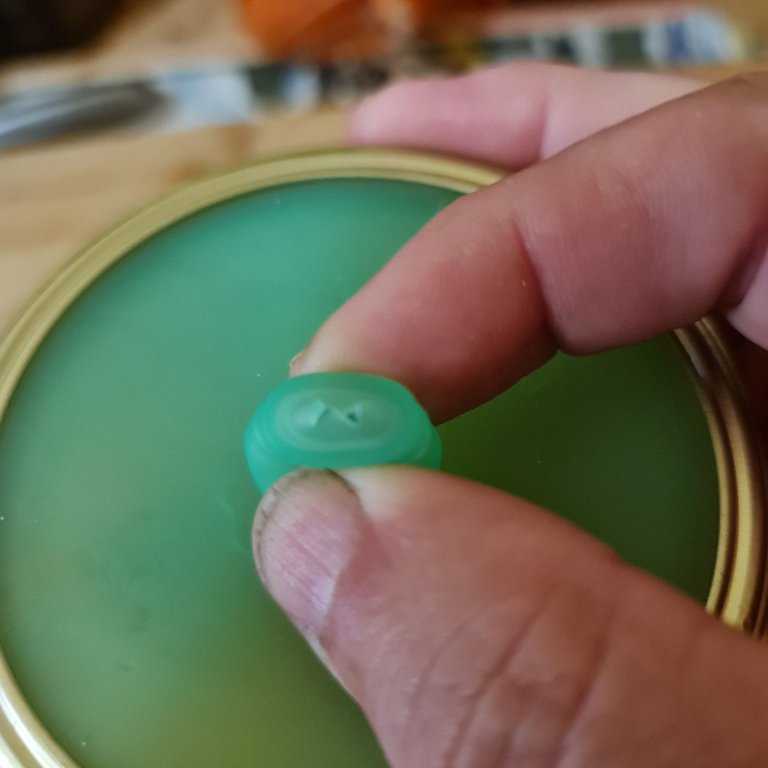
It’s my first try with these so we’ll see how they go.
The other kind is the more traditional fermentation airlock calle a ‘single piece bubbler airlock’ which fits into a special jar lid that has a hole and a seal into which the airlock fits. This style consists of a tube of plastic bent into an S-shape and has a small expansion section in each part of the S. You add some water to the tube and it blocks the gas flow through it until it has enough to force the water through the S-bend (sound familiar)?
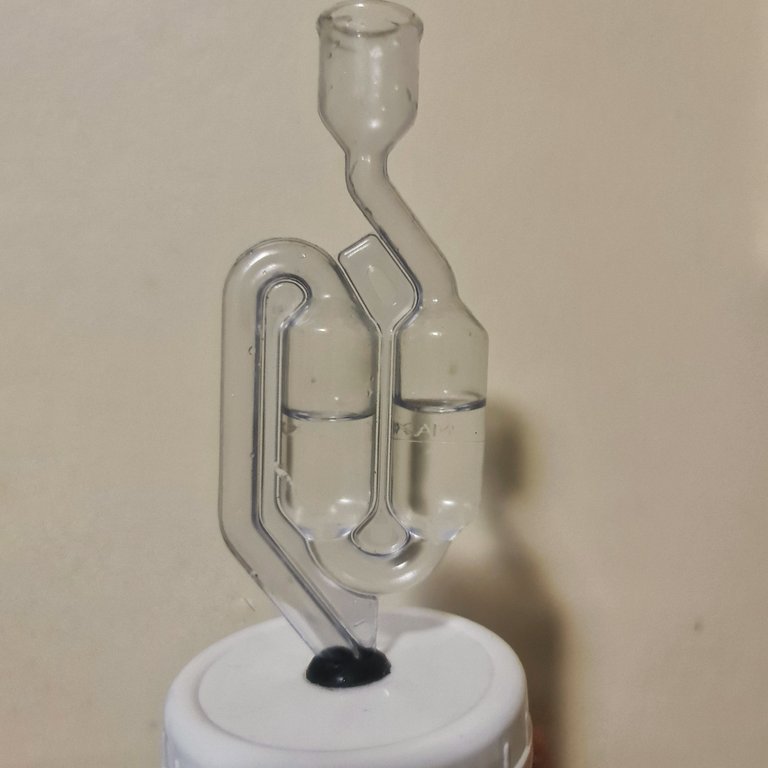
There is a wider area in each part of the bend which allows the gas out while still retaining the water. Once the pressure is released, the water settles back into the bend and again blocks air from passing and entering your jar.
Yes, it is just like how your toilet stops sewer gasses from rising uo through your throne but in reverse.
There are a lot of variations on this style of airlock but they all, essentially, use this method. You can get some details on making your own airlock lid in our post here.
What to expect –
The water will go a little cloudy after a day or so. You will see little bubbles let loose if you disturbed the jar.
After 3 days, open the jar and test the taste. If it’s tangy, that’s good. If you like it the way it is, put the jar in the fridge, that will slow down the fermentation and keep it as it is. If you want it tangier (is that the right spelling?), replace the lid on the jar for a couple more days.


I think your pet was not very happy with the piece of carrot you gave him. Pickling fresh food is an extraordinary way to preserve it, in my house we usually use this technique.
Athena comes running as soon as she hears the clunk of the knife on the chopping board
Curious how the green caps worked....
It's an interesting design and if it works well, one that will allow me to squeeze my fermentations into smaller spaces without the need for the overheads to accomodate airlocks.
love 💗 love 💗 love fermented foods! thanks for the latest instructions on how i can make my own (fermented veggies) 🥕
It's a skill I'm still mastering but I hope to make them a staple part of my diet
i am truly in-joying the preserved lemons 🍋 i made after seeing this post on how to do those! however, since the process you share here, for carrots 🥕 veggies, seems very similar… i am wondering why, here, you seem to be so adamant about the ”airlock” aspect in this process…
and, why the author, of the lemon fermenting process post, does emphasize it that much within that post for the lemons 🍋?
is keeping the container sealed, and not allowing air to get in, really that important, or affect the outcome? 🤔
I'm glad that you are enjoying fermentation. Fermented lemons are a tasty joy to eat with many dishes.
The fermentation process is an anaerobic one, it requires an oxygen free environment, that's why you need to exclude air. If you don't, the food just spoils.
The airlock or at least 'burping' the jar is essential because, during the fermentation process, the microbes give off a lot of carbon dioxide, which can build up to enormous pressure, even enough to buckle a lid.
When you open a jar where the co2 hasn't been released, it is like open a shaken up can of beer!
The other benefit of an airlock is that it is an automatic process and one that you don't have to worry about forgetting. An airlock also prevents oxygen and contaminants from getting in.
An easy to make airlock is a simple deflated balloon or condom stretched loosely over the mouth of the jar. As the gas is produced, it simply fills the balloon until you are ready to release it.
thanks for the further insights! 🙏
No worries. It's hard to cover all of the details in a post, lest the poor readers read on for page after page, That's why I appreciate questions such as yours,. They allow deeper explanations tat add to the value of the original.
👍🏼
Hi @ligayagardener, your post has been upvoted by @bdcommunity courtesy of @rem-steem!
Support us by voting as a Hive Witness and/or by delegating HIVE POWER.
JOIN US ON
Thanks @bdcommunity!
Thank you for sharing this recipe, fermented vegetables are really delicious.
Congratulations @ligayagardener! You have completed the following achievement on the Hive blockchain and have been rewarded with new badge(s):
Your next target is to reach 80000 upvotes.
You can view your badges on your board and compare yourself to others in the Ranking
If you no longer want to receive notifications, reply to this comment with the word
STOPCheck out the last post from @hivebuzz:
Your post has been chosen by @ligayagardener for the next edition of 'The Garden Shed', a collection of archived posts by @gardenhive that feature useful gardening advice, DIY tips, homesteading tips and inspiring gardens.