October Garden Update


Hello My Green Fingered Friends,
I am back with another garden update. The last time you saw how I dethatched my grass and fertilised it in preparation for the winter. Today I have been out in the garden doing the finishing touches to prepare things for the winter.
First up you can see how quickly the new grass seeds have shot up in the spaces that had totally died. Generally, the grass has grown a lot after I applied the fertiliser.
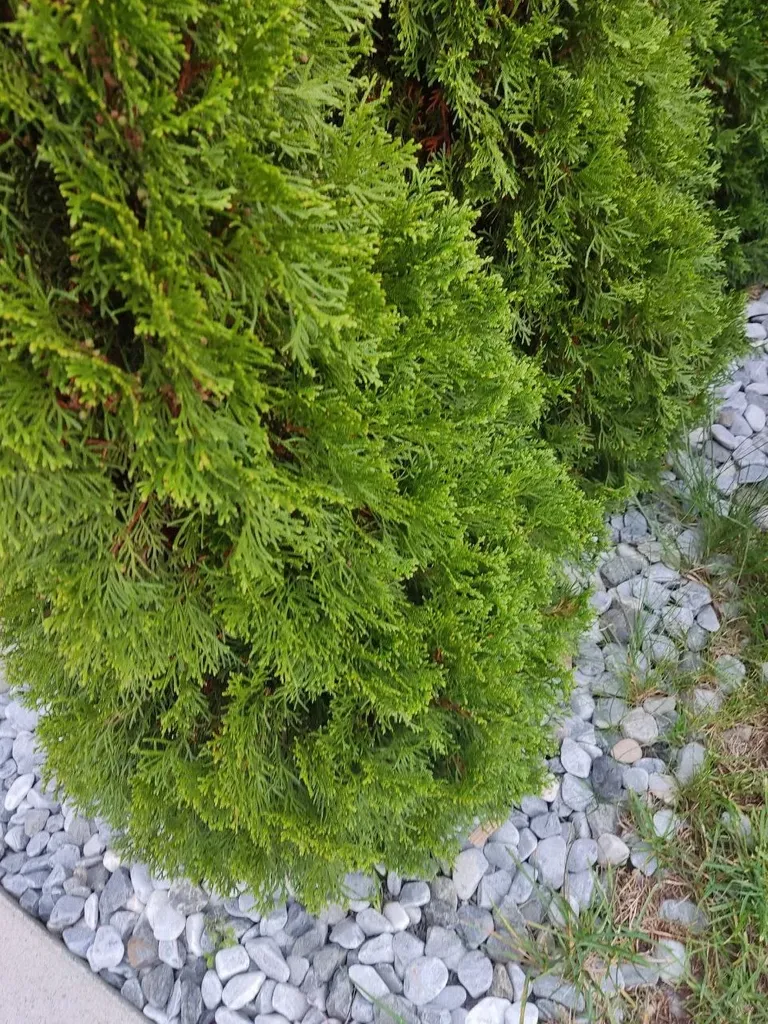
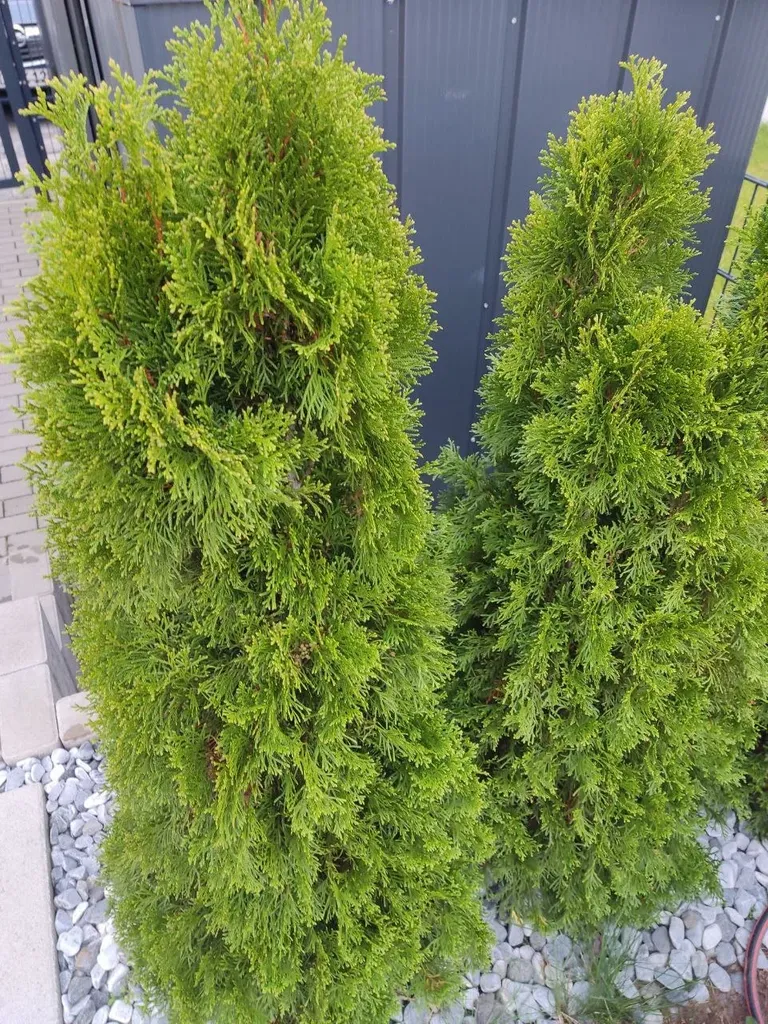
After putting the remaining parts for the sprinkler and the hose safely away in the shed for winter, I got out the special tree fertiliser for my mall hedge trees. I currently have four of these growing here and I use them for some privacy cover, decoration, and as a sort of wind block. They grow around 30cm each year and at some point, I will need to consider cutting them back.
What I also like about them is that they stay green over the winter. My thoughts are to get some similar ones to do along the sides of my garden next spring as they are quite low maintenance and grow really well.
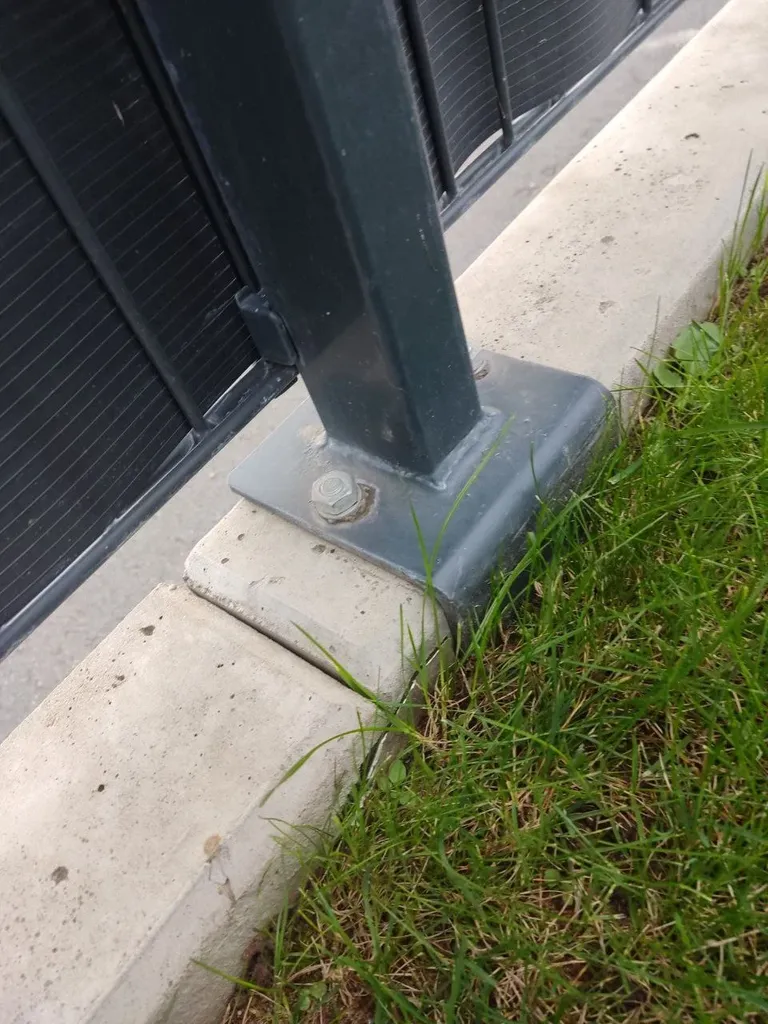
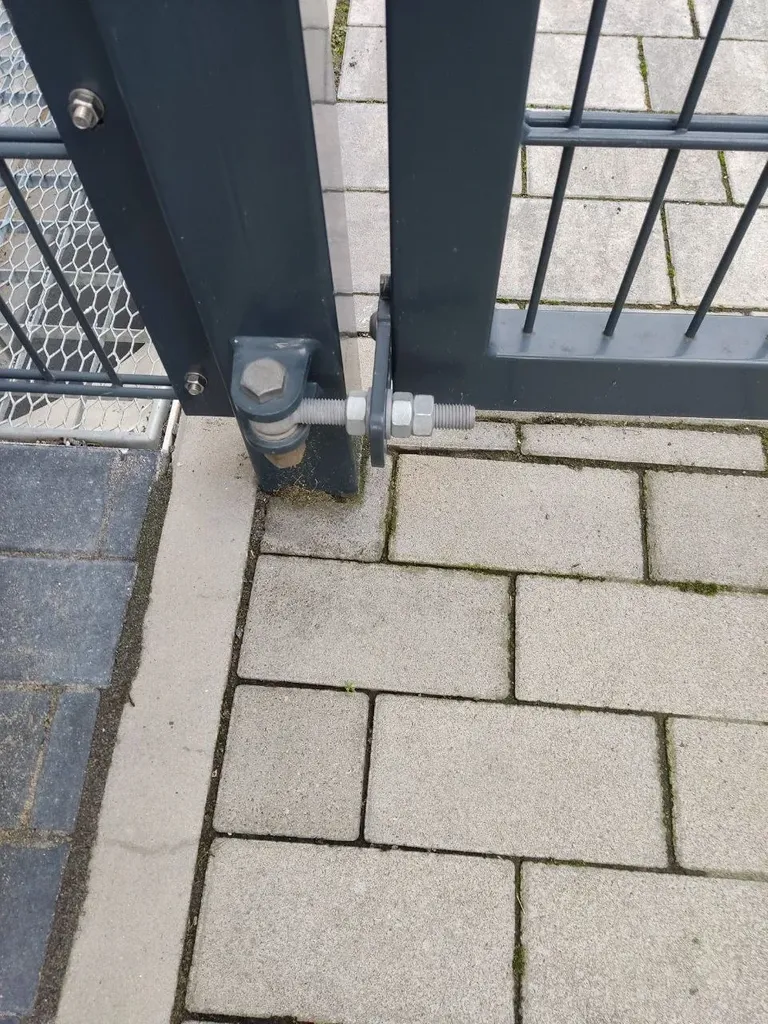
I also took some photos here of the fence that I put together. @zakludick was building a fence the other day and this is the one I put together. It was 30 years before this since I last put a fence up, so I needed to wrack my brain a bit. I will see if I can dig up some photos I made as I was doing it. But it is a simple job as mostly the poles are attached to the top of the retaining slabs that I have. Drill two holes and use some super strong glue with the screws and the job is done. For the regular fence poles, I just used some quick-drying cement. This one here I had to do this one twice as I didn't get it level the first time.
Until next time, thanks for reading.

Credits:
All photos are my own.
Let's connect : mypathtofire
For the best experience view this post on Liketu
Sieht total schön aus
!LOLZ
!LUV
@dragon-ti(1/1) gave you LUV. tools | wallet | discord | community | <>< daily
HiveBuzz.me NFT for Peace
lolztoken.com
That was a very fuelish thing to do.
Credit: reddit
@mypathtofire, I sent you an $LOLZ on behalf of @dragon-ti
Use the !LOL or !LOLZ command to share a joke and an $LOLZ
(2/2)
Danke !LOLZ !LUV
@mypathtofire(3/5) gave you LUV. tools | wallet | discord | community | <>< daily
HiveBuzz.me NFT for Peace
lolztoken.com
The trailers
Credit: reddit
@dragon-ti, I sent you an $LOLZ on behalf of @mypathtofire
Farm LOLZ tokens when you Delegate Hive or Hive Tokens.
Click to delegate: 10 - 20 - 50 - 100 HP
(1/8)
Very fancy! !PIZZA
I gifted $PIZZA slices here:
@zakludick(2/5) tipped @mypathtofire (x1)
Please vote for pizza.witness!
time being spent on the Good thing so the results will be.
Looks Good mate.
!PIZZA