Textile doll Kira with his own hands
Textile doll Kira with his own hands.
Hi, Hive!
Most recently, I faced a very difficult task, I had to think of something to give my niece, who turns 4 years old. The task is complicated by the fact that she has everything her heart desires and books, and dolls, and dollhouses, and board games, in general, everything.
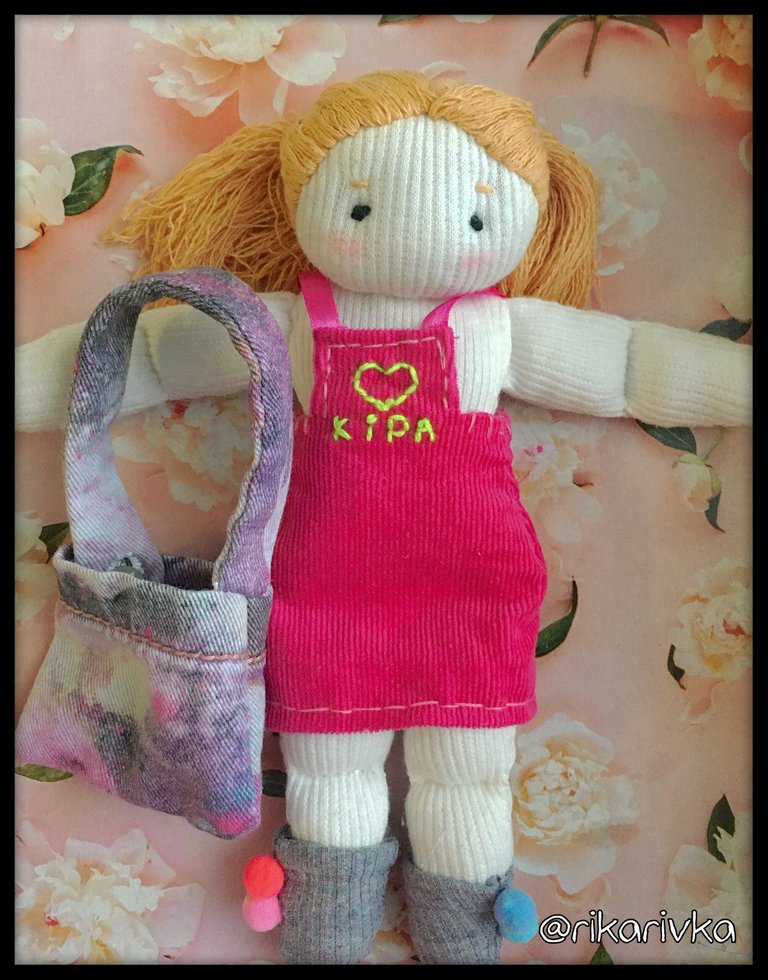
And so I decided to create something unique, which she will not meet on the shelves and will be the sole owner of this unique gift. I present to you the original named doll Kira, who fell in love with my spoiled niece.
In this post I will show in detail and tell how I created this cute toy.
Step 1: First I worked on the pattern. She drew some details on a sheet of paper with a simple pencil. It worked for me the first time, so I didn't have to adjust anything more.

Step 2: Chalk transferred the details to the fabric and cut, leaving room for stitching.
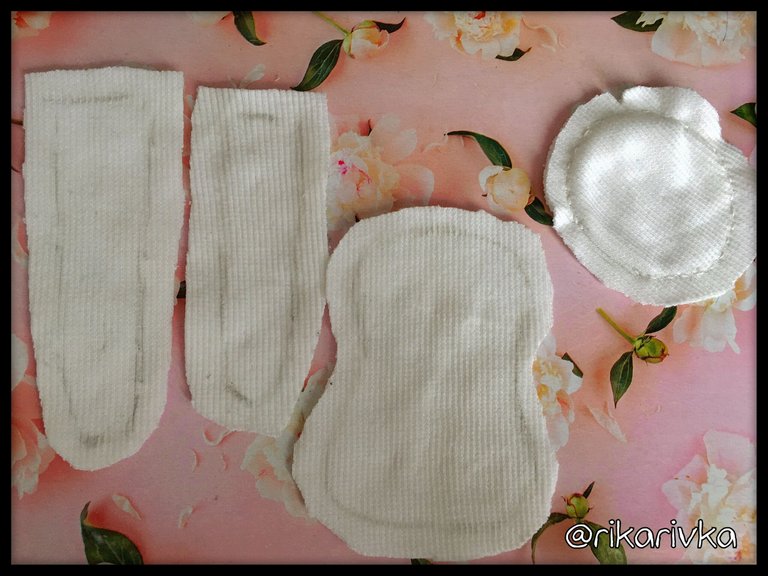
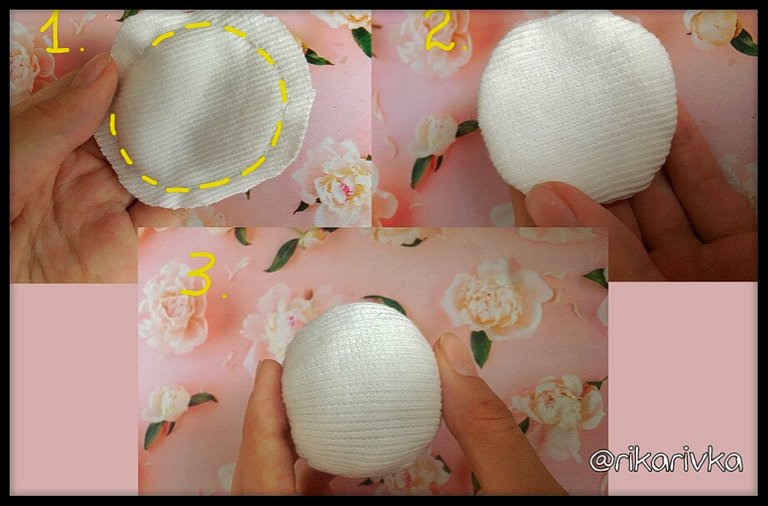
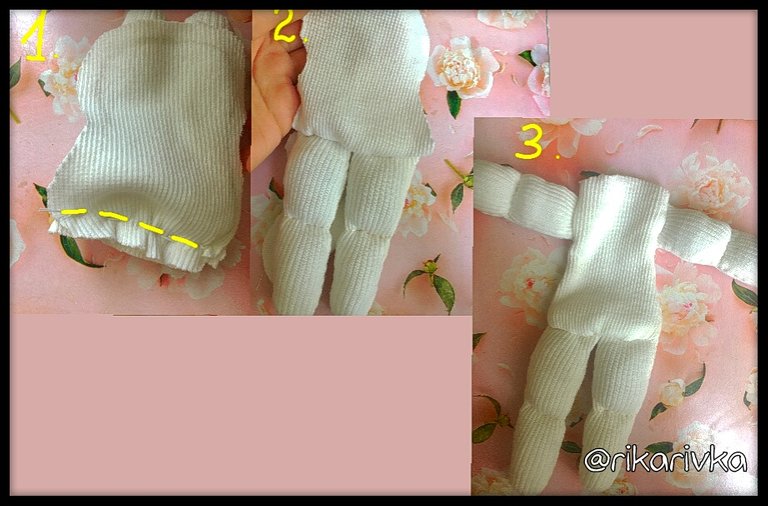
Step 3: I start to sew the details of the head, but not to the end. You need to leave a hole to turn them out and fill them with synthetic filler.
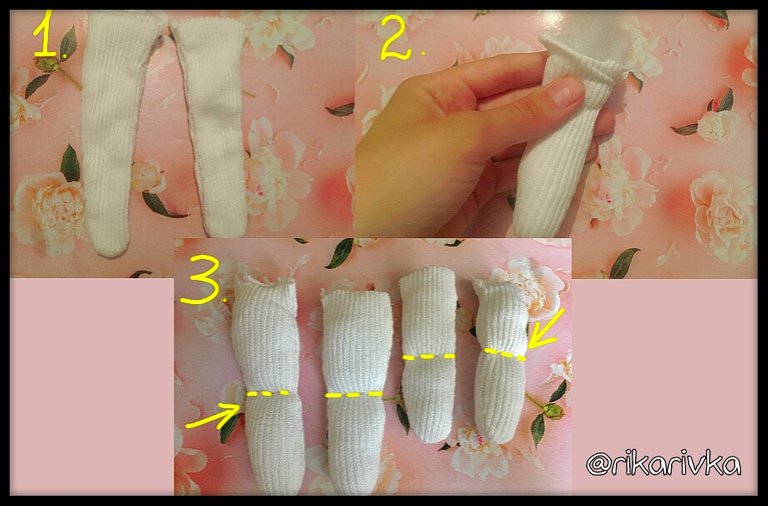
Step 4: The legs are also sewn, twisted and filled. I do the same with my hands. To make the doll more mobile, I separate the legs with "knees" and the arms with "elbows". I do this with a few stitches.
Step 5: The details of the torso are more difficult to sew, because it is necessary to sew together with the legs and then the hands, given their location. The usual hairpins, with which I previously fastened my legs and arms, helped me a lot. The seam with which I connected the details of the "seam back". I left the hole, turned the torso to the front and filled.
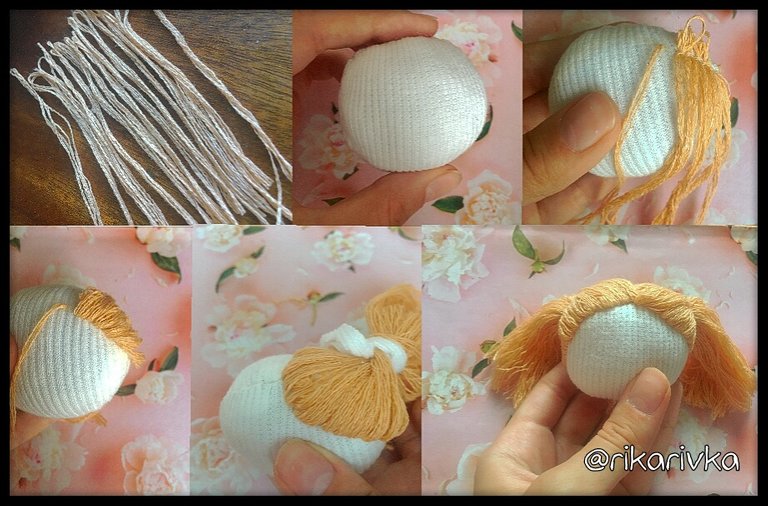
Step 6: Next, I did the design of the doll's hair. I needed thin threads. I form small bunches which I will sew to a head. Conditionally I divide a head into two parts and I sew up bunches, next to each other on a contour of two circles. So I got two tails.
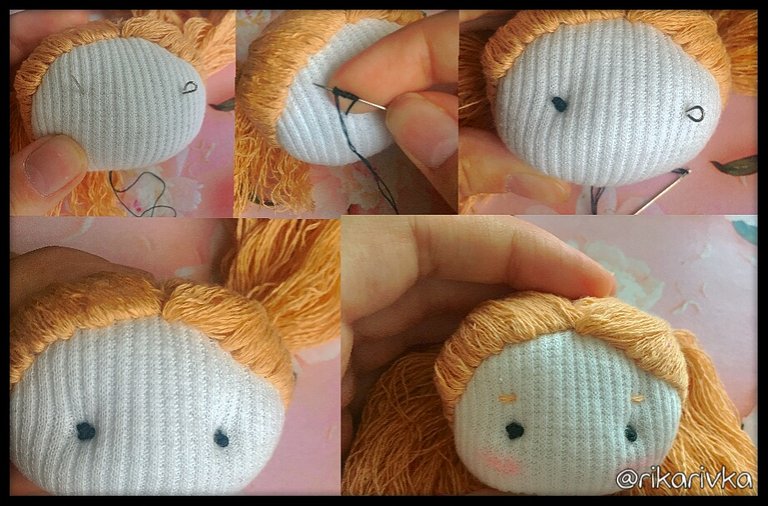
Step 7: You can use beads for the eyes, but I made them knots of black thread. Then I embroider my eyebrows and draw a blush on my cheeks with a pink pencil.
Step 8: I sew the head to the torso with a secret seam.
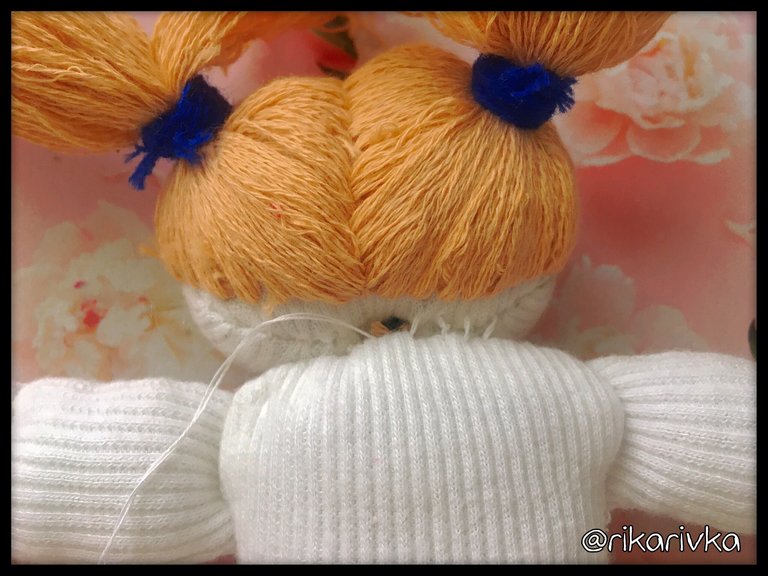
Cyrus doll is ready!
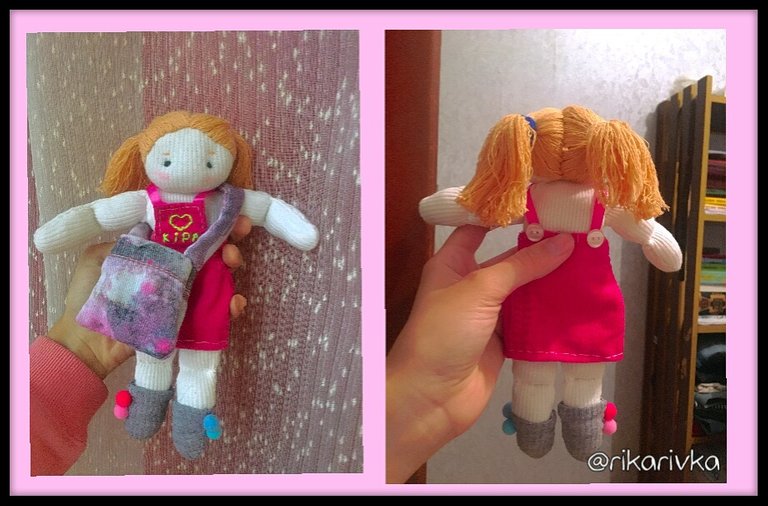
I also sewed a pink corduroy sundress for her, on which I embroidered her name, a bag in which I put a homemade mini-notebook and a teddy bear, and of course I sewed cozy socks on her. This doll can not help but like, I just wanted to go back to childhood and play with it. I didn't even want to part with her, but my niece's sunny smile and loud laughter are worth it.
By @rikarivka.
I am glad you were able to make a item for your niece that is unique. I am not that talented or creative to even thing of something like that.
Congratulations @rikarivka! You have completed the following achievement on the Hive blockchain and have been rewarded with new badge(s) :
Your next target is to reach 2750 upvotes.
You can view your badges on your board and compare yourself to others in the Ranking
If you no longer want to receive notifications, reply to this comment with the word
STOP