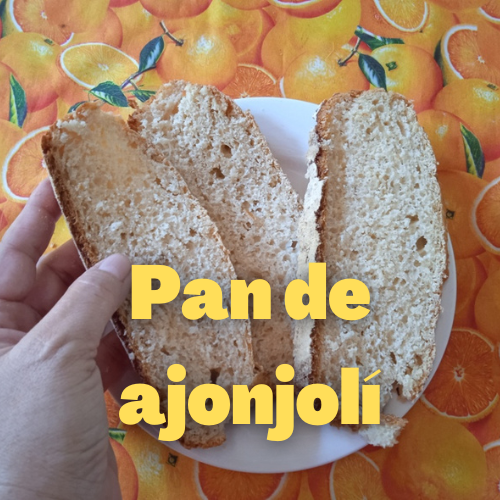
(Eng / Esp] Sesame bread

Feliz inicio de semana, feliz lunes a todos los amigos de la comunidad Plant Power (Vegan), espero que esta semana les sea propicia para todos sus proyectos. En el día de hoy he traído una receta de pan. Generalmente yo trabajaba el pan con masa madre, ya que mi esposo le sienta mejor en el estómago este tipo de pan; sin embargo, perdí mi masa madre hace más de un año y no volví a cultivarla. También, en honor a la verdad el pan no me queda muy prolijo en aspecto, aunque en sabor queda muy bien, por lo que es algo de consumo doméstico, no para la venta; sin embargo, me gusta conocer distintas recetas de pan, pues hay un sinnúmero de ellas de acuerdo a la cultura. Y en esta oportunidad quise practicar esta receta de PAN DE AJONJOLÍ, así que es la primera vez que la hago, y creo que el resultado es aceptable; la cual es una adaptación veganizada, de una receta de pan de lino que ví hace tiempo.
Estaba indecisa en hacer o no el pan, pues no conseguía harina de fuerza de calidad en el mercado, sólo ví una amarillenta, con poco gluten, que de acuerdo al panadero cercano a mi casa, no permitía que el pan levara; sin embargo, un buen amigo me recomendó utilizar una harina de repostería, que aún siendo 0000 ofrece suficiente proteína para que el pan leve, y siguiendo su consejo, pues me decidí a elaborar mi pan.

THE RECIPE / LA RECETA
Time, ingredients and equipment
Preparation time: This recipe is made in two stages, the first part is to mix and knead the ingredients, leaving them to rest for 12 hours until the next day, and if you have all the ingredients on hand, 10 minutes of mixing are required and knead. The next day it would take about 3 hours, while the dough reaches room temperature, kneads and forms the bread, let it rest again and bake, so it will be 20 minutes of work, while the rest is rest and baking of the dough.
Servings: From this amount of ingredients I obtained a loaf of bread weighing approximately 650 grams.
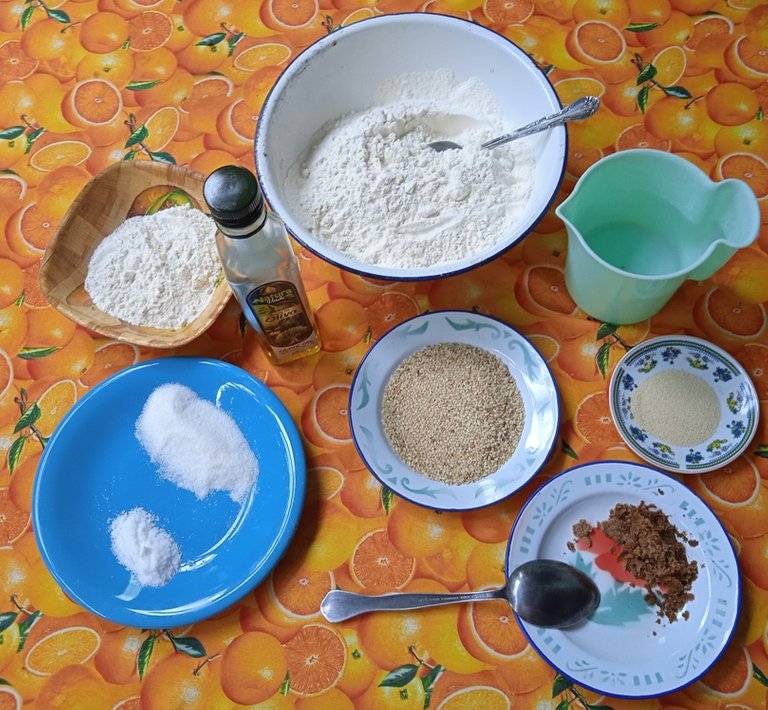
500 grams of pastry wheat flour (four zeros), sifted.
60 additional grams of flour, to prevent the dough from sticking to the surfaces.
5 grams of granulated dry yeast.
50 grams of sesame.
1 heaped tablespoon of white sugar (better if you use brown sugar).
1 ½ teaspoons of salt.
350 ml of warm water.
30 ml of olive oil (if you don't have olive oil, you can use any other vegetable oil).
20 g of piloncillo or cane sugar, grated (brown sugar also works).
2 tablespoons of water (to dilute the piloncillo).
Large mixing bowl, spoons, baking pan, measuring cups, fine mesh strainer, knife, cutting board, etc.
If you have wax paper or baking paper you can use it too, although it is not essential, it just protects the preparation more from the direct heat of the oven.
Tiempo, ingredientes y equipo
Tiempo de preparación: Esta receta se hace en dos tiempos, la primera parte es para mezclar y amasar los ingredientes, dejándolos reposar 12 horas hasta el siguiente día, y si se tienen todos los ingredientes a la mano, se requieren 10 minutos de mezclar y amasar. Al siguiente día se tomarían unas 3 horas, mientras la masa adquiere temperatura ambiente, se amasa y forma el pan, se deja reposar nuevamente y se hornea, así que de trabajo serán 20 minutos, mientras el resto es reposo y horneado de la masa.
Raciones: De esta cantidad de ingredientes obtuve una hogaza de pan de aproximadamente 650 gramos de peso.
500 gramos de harina de trigo de repostería (cuatro ceros), tamizada.
60 gramos adicionales de harina, para evitar que la masa se pegue a las superficies.
5 gramos de levadura seca granulada.
50 gramos de ajonjolí.
1 cucharada colmada de azúcar blanca (mejor si utilizas azúcar morena).
1 ½ cucharadita de sal.
350 ml de agua tibia.
30 ml de aceite de oliva, (si no tienes aceite de oliva, puedes emplear cualquier otro aceite vegetal).
20 g de papelón o azúcar de caña, rallado (también sirve azúcar morena).
2 cucharadas de agua (para diluir el papelón).
Bol grande para amasar, cucharilla, molde para hornear, tazas medidoras, colador de malla fina, cuchillo, tabla para picar, etc.
Si tienes papel encerado o de hornear puedes usarlo también, aunque no es indispensable, sólo que protege más a la preparación del calor directo del horno.
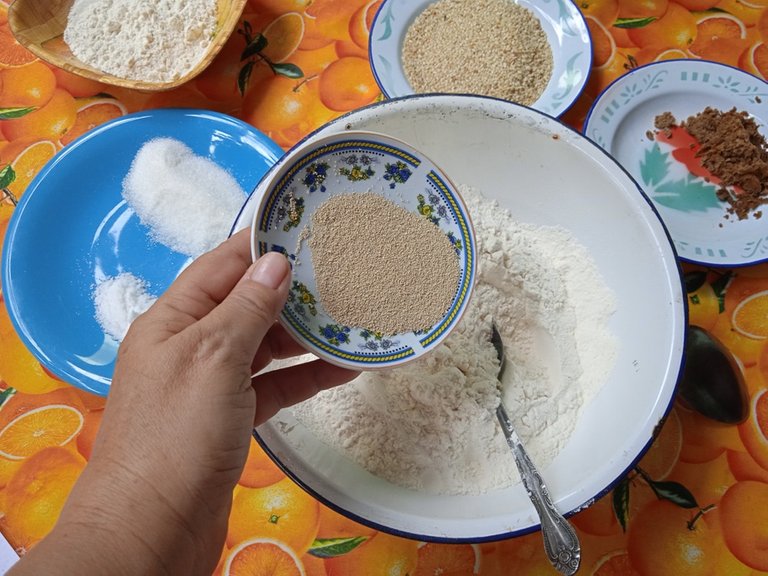
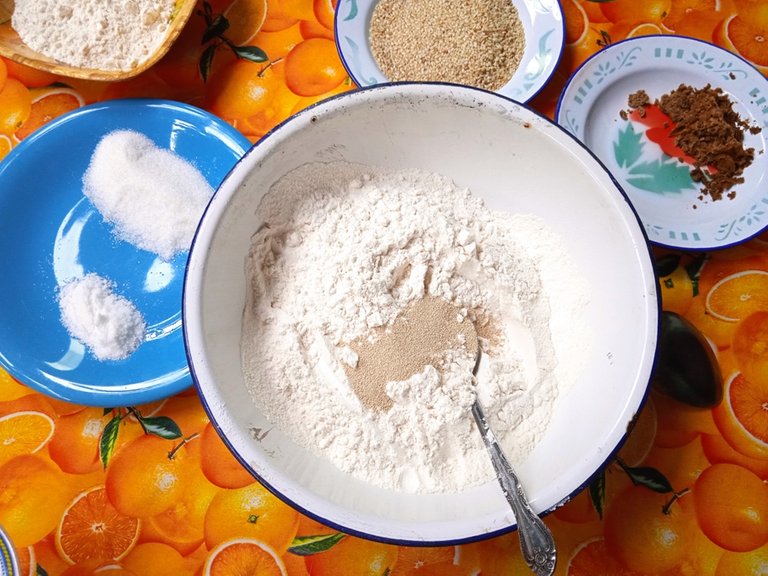
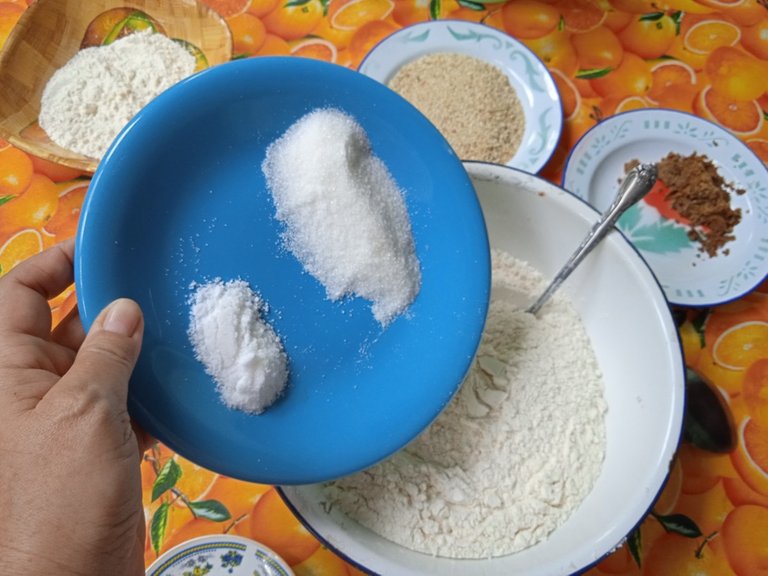
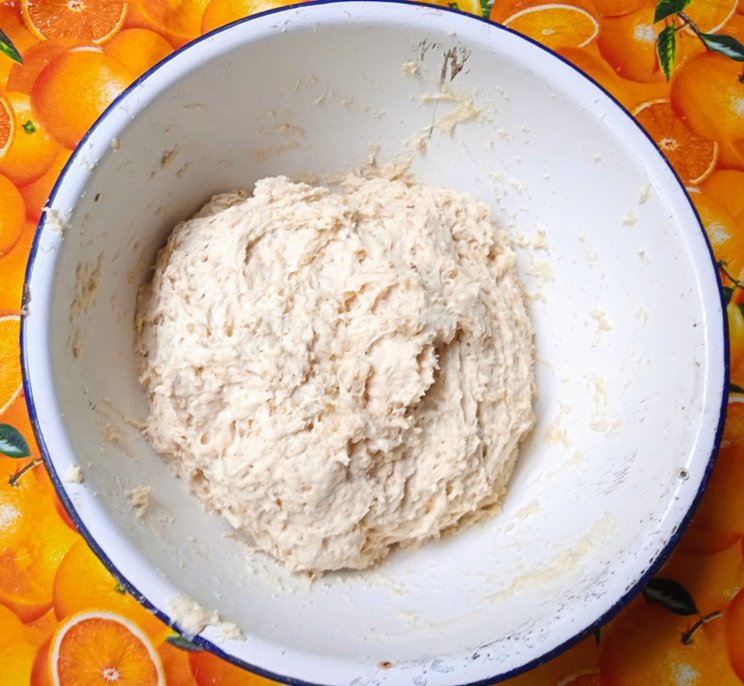
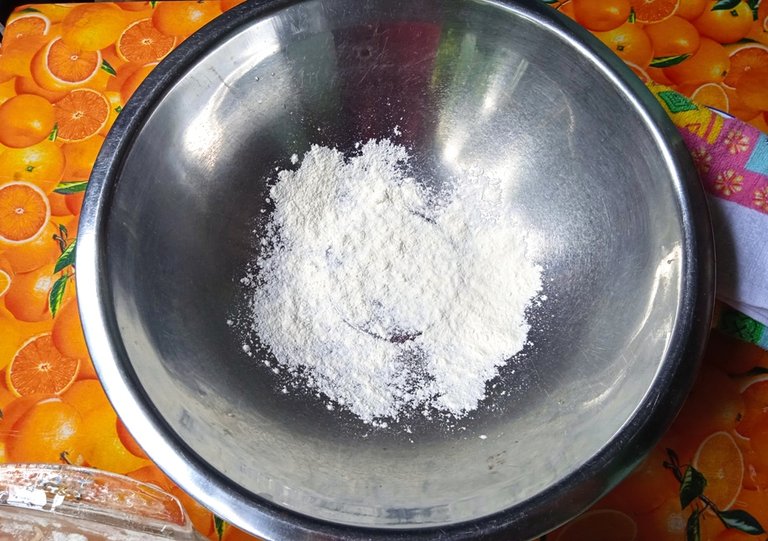
Como siempre les comento, es prudente tener todos los ingredientes medidos, pesados, a temperatura ambiente (salvo excepciones), así como el equipo y materiales a mano, para agilizar el proceso de elaboración de nuestras recetas. Lo primero que haremos será tamizar la harina. Aquí no tengo fotos de este proceso, pues realmente se me olvidó hacerlas, pero es importante este paso, porque la masa quedará aireada, la malla de gluten se formará de mejor manera y el resto de los ingredientes quedará mejor distribuido. Iniciamos añadiendo la levadura, la sal, el azúcar y las semillas de sésamo a la harina. Cabe señalar que al añadir cada ingrediente, vamos mezclando en seco con una cuchara.

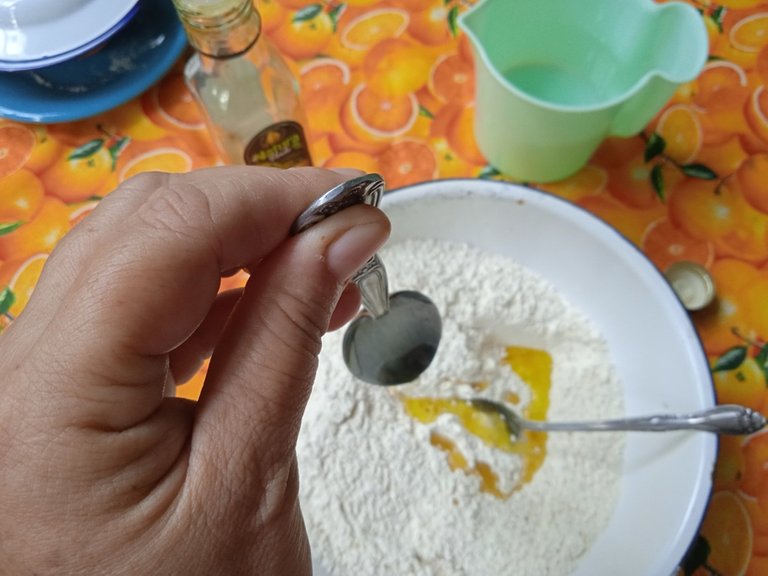
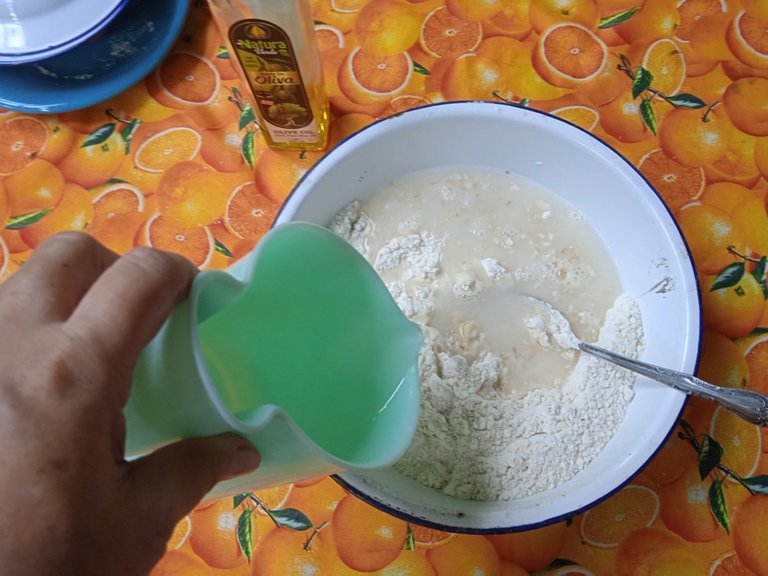
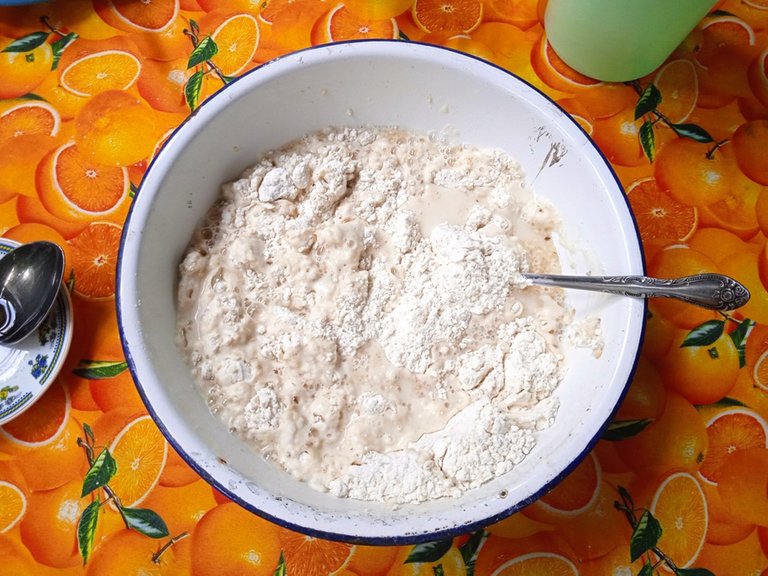
Seguidamente yo adicioné el aceite de oliva, y creo que fue un error, porque se formaron pequeñas bolitas, así que lo recomendable es añadir primero el agua tibia y luego de mezclarlo bien, colocarle el aceite. Mezclar con la cucharilla, tapar con papel plástico o meter el recipiente con la masa dentro de una bolsa plástica cerrada, y dejar reposar en lugar cálido por una hora. Luego de ello, llevar a la parte baja de la nevera hasta el siguiente día (mínimo 12 horas).
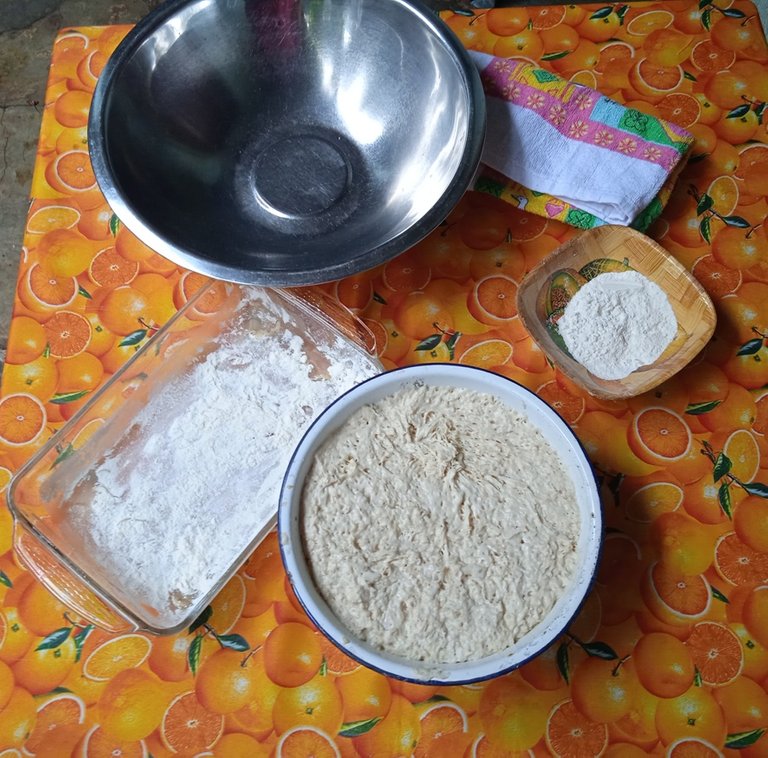
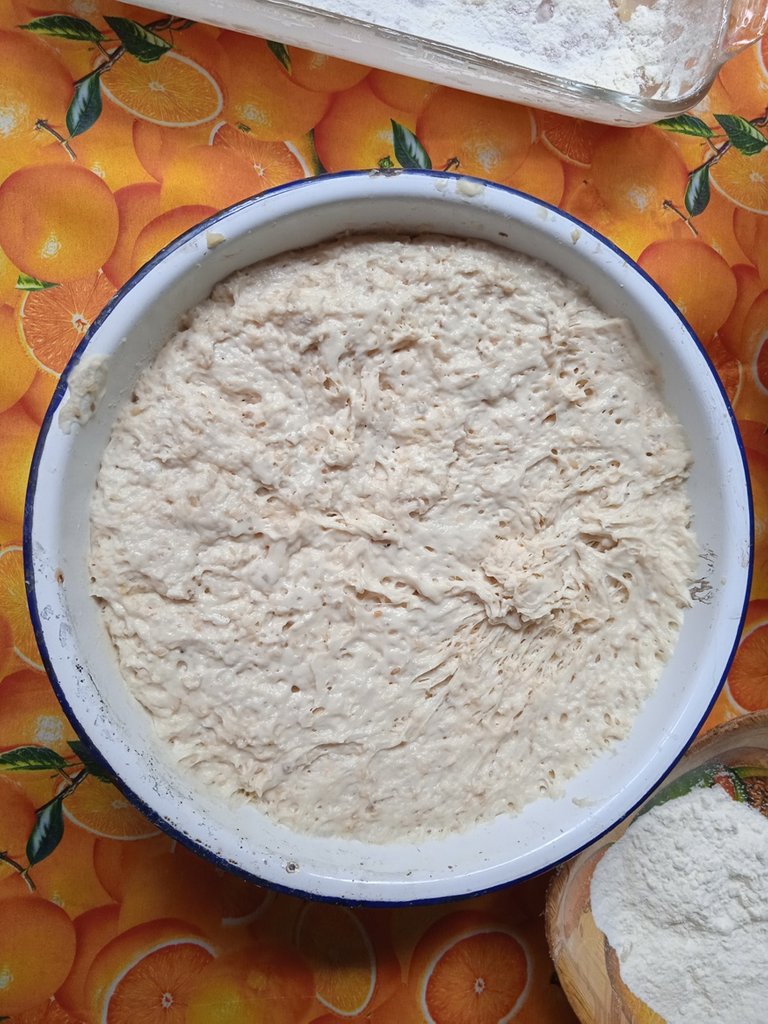
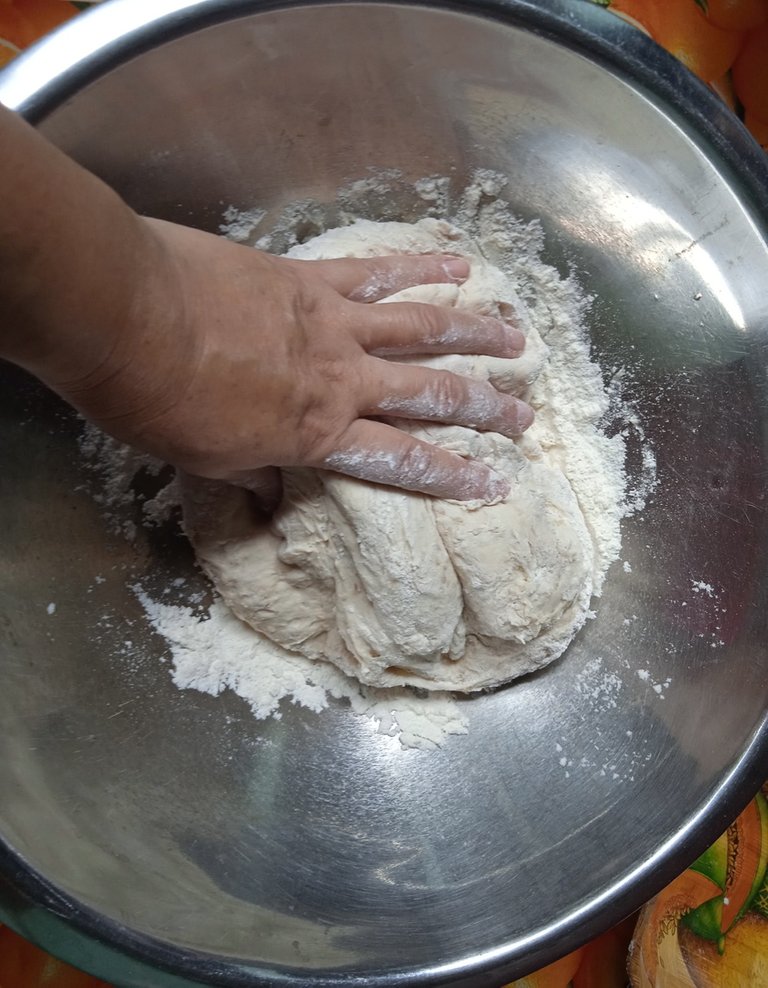
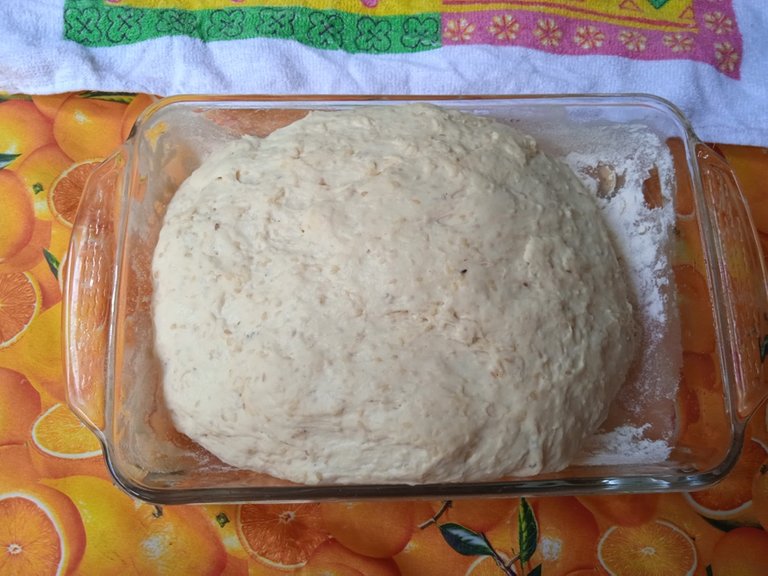
Al día siguiente, sacar la masa de la nevera y dejarla reposar una hora. Ya en este punto la masa ha duplicado e incluso, triplicado su volumen. Pasarla a un bol grande al cual le hemos añadido harina y amasar vigorosamente por unos 5 minutos. La textura de la masa en este punto es muy pegajosa, por lo que es recomendable añadir porciones pequeñas de harina para trabajarla mejor.


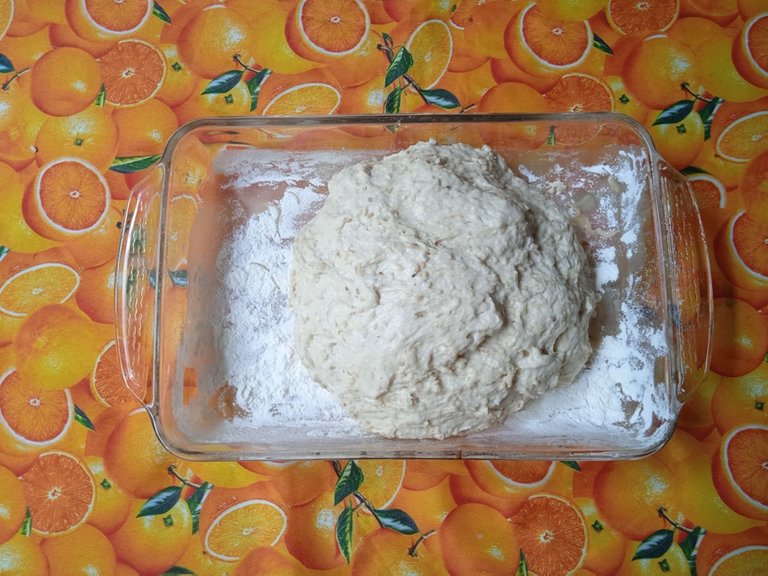
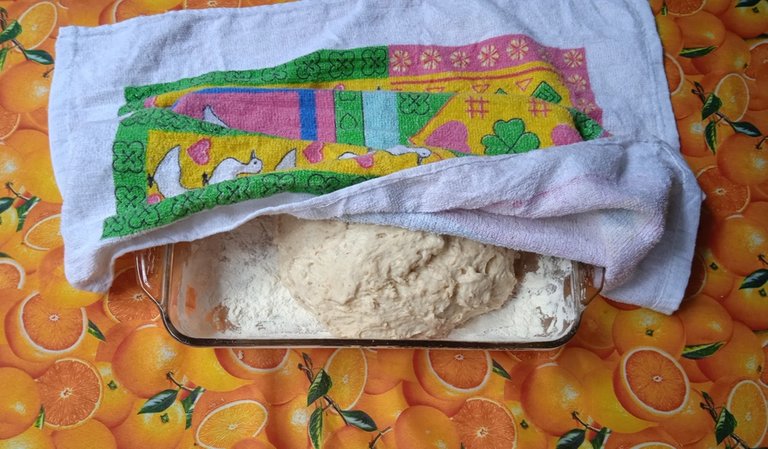
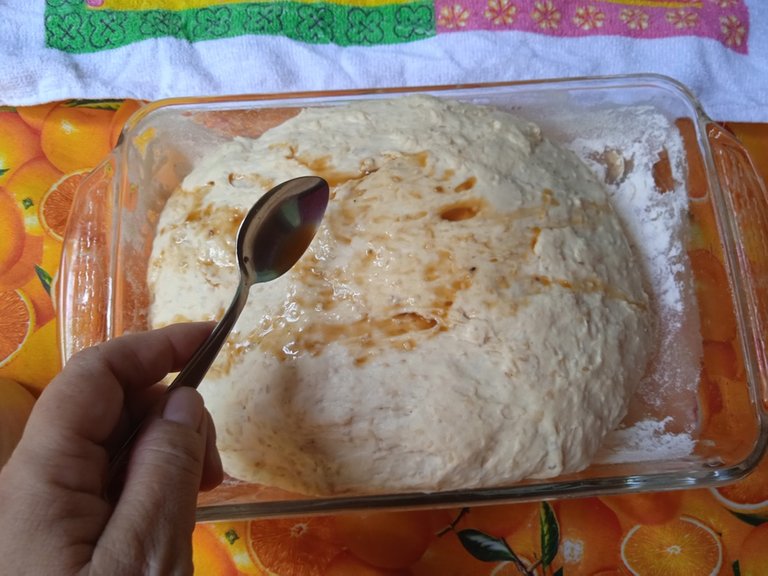
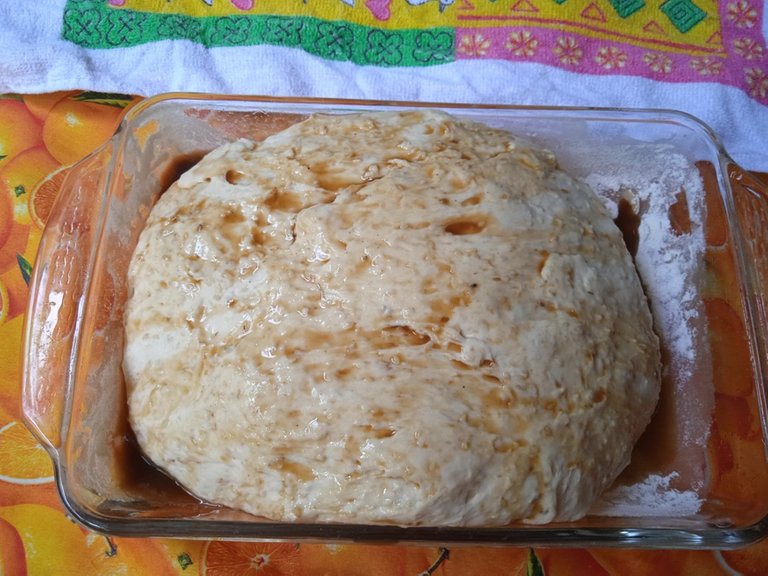
Tratar de formar una hogaza con la masa, lo más redonda posible, (a mí no me quedó así, jajajajaja), colocarla en un molde aceitado y enharinado, (si tienes papel de hornear, añade una capa de harina encima de éste), y cubrir con un paño o liencillo. Dejar reposar dos horas. Transcurrido este tiempo, destapar y bañar la hogaza (que ha duplicado su volumen), con el papelón disuelto en agua. Hornear por una hora a 180 ºC, (dependerá de tu horno). Durante el horneado, la masa aumentará aún más su tamaño.
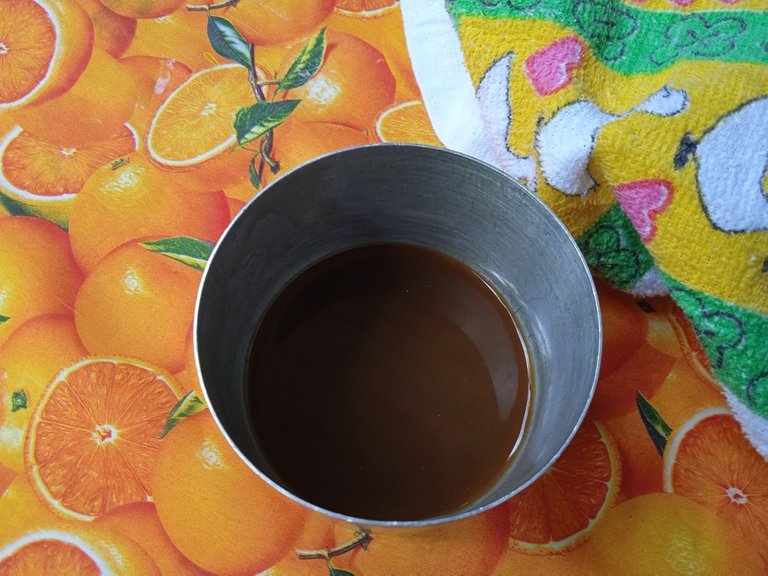
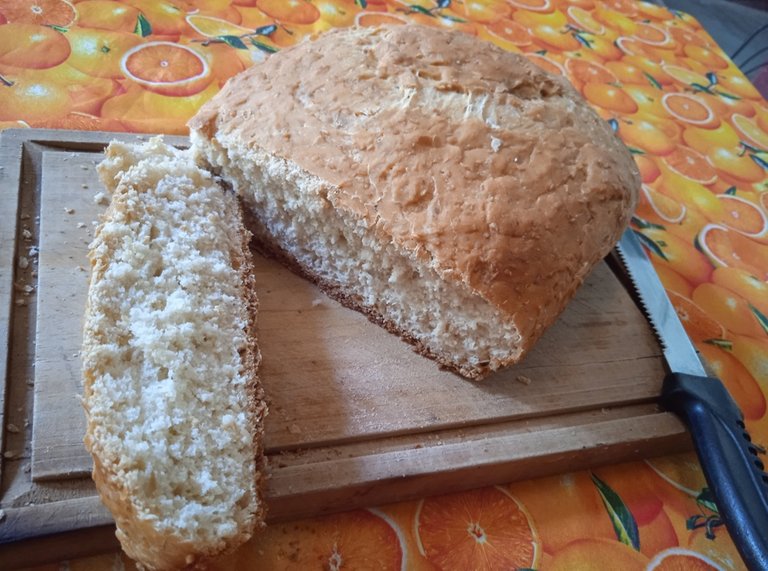
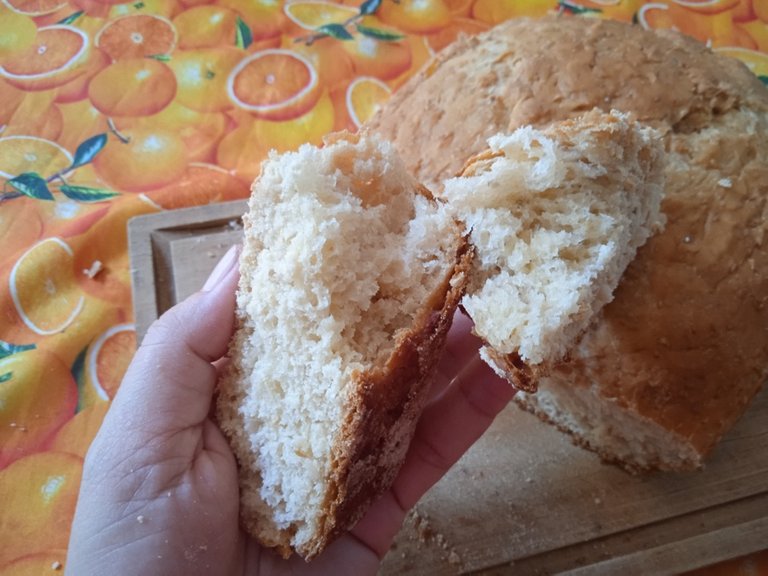
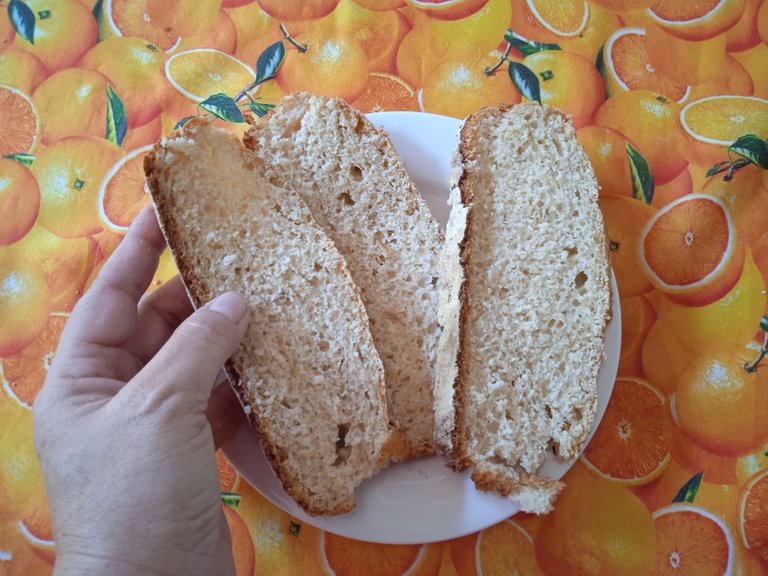
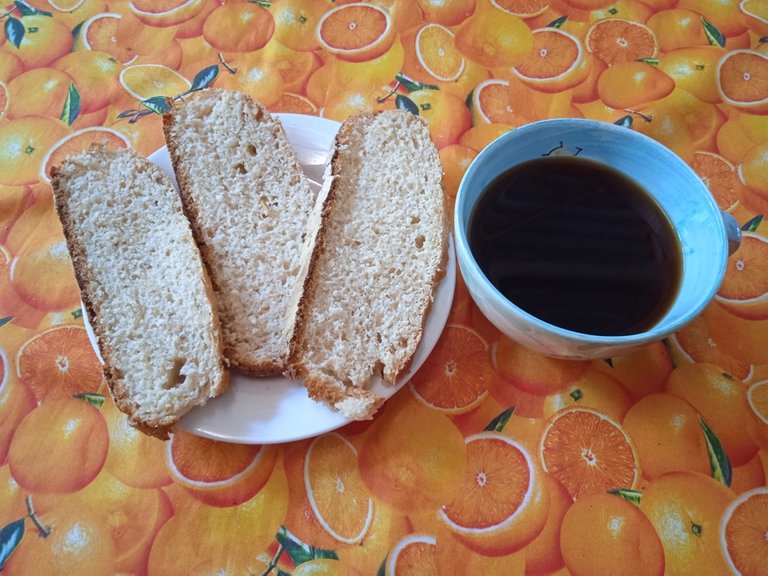
Transcurrida la hora en el horno, ya el pan tendrá un bonito color dorado. Extraer el molde y esperar a que enfríe un poco para extraerlo. Saldrá fácilmente si has aceitado y enharinado bien la bandeja o molde. Esperar a que tome temperatura ambiente y proceder a rebanar. Es importante que la hogaza esté fría al cortarla, ya que si no se despedaza. Como verán, la miga es suave y muy esponjosa, la corteza es dorada y algo crujiente, y el sabor es muy bueno, si te gusta el ajonjolí, claro. Es un pan fácil de digerir, que no cae pesado a aquellas personas que se les dificulta digerir el gluten. En esta oportunidad yo lo acompañé con una taza de café, pero también puedes untarle mermelada de tu preferencia, (yo me comí luego unas rebanadas con mermelada de cerezas estrelladas y sabía delicioso). Este es un pan sencillo, práctico, económico, nutritivo. Yo recomiendo que si no lo van a consumir durante las siguientes 24 horas, lo refrigeren, pues al no tener conservantes, tiende a deteriorarse pronto.


Aquí termino mi post de hoy, que ha sido prácticamente un experimento. Espero que se animen a seguir haciendo recetas veganas, que son deliciosas, nutritivas y compasivas con la Madre Tierra.

These photos are my own, and were taken with a Xiomi REDMI 8 A phone
The dividers used are courtesy of @eve66 who shares beautiful designs that embellish the layout of our post.
In case it is required to use the content or images of this post and of my other publications, I would appreciate if you could refer to my authorship (Fabiola Martínez) and cite the corresponding link. Thanks.

 Delegations welcome!
Find our community here IICuration Trail

https://twitter.com/PlantPowerVega1/status/1564340635812904960
https://twitter.com/oscarpsaa/status/1564340729643671552
The rewards earned on this comment will go directly to the people( @plantpoweronhive, @oscarps ) sharing the post on Twitter as long as they are registered with @poshtoken. Sign up at https://hiveposh.com.
It looks delicious! I love the taste of sesame. 😍🤤🤤
!LUV
@mariya36(1/10) gave you LUV. tools | wallet | discord | community | <>< daily
HiveBuzz.me NFT for Peace
Hi @mariya36! Thanks for your comment. Greetings!
Your step by step tutorial is excellent. I am not the best baker but I may give your recipe a shot if I can muster up the patience. I love how fluffy it looks and the bathing of it with sugar water is a nice tip. I have only made bread a few times but it never looks fluffy like this. I also didn't know you can use pastry flour. Interesting. If I can manage a loaf like this I'll owe it to you.
Have a wonderful week and all the best from Canada!😊❤️
Hello @carolynstahl , thank you very much for your visit and comment, you flatter me with your words, because you are a great chef.
Sometimes I don't have much patience with bread either, hahahaha. I will tell you that using a good pastry flour works for this preparation. I used one that they bring to my country from Brazil, which is of great quality, since the one made in Venezuela has almost no gluten, so I opted for that one. I also think that giving it time to do several fermentations helps it to set well. I was analyzing and there are really four batches of fermentation: The first, after mixing the ingredients, is out of the fridge for an hour; the second, inside the refrigerator, a minimum of 12 hours; the third, when the dough is taken out of the fridge and waited for it to lose its cold; and the fourth, after kneading the bread and making the loaf, which is an additional hour or two, before baking. Those fermentations are what help it acquire that texture. Greetings.
That is great to know. If I start the process today, then in a few days I will be having a nice loaf of bread. I appreciate the tutorial. Have a great day!
I'm sure that bread will be delicious. Same to you, @carolynstahl
Que rico, se mira muy provocativo. Gracias por compartir con nosotros, increíble preparación.
Gracias a tí por tu visita @carmary, realmente quedó de buen sabor y es muy fácil de digerir, especialmente para aquellas personas que les cae mal el trigo.
Hola amiga en mi experiencia con las masas madre de verdad que es algo complejo el trabajo y más mantenerlas vivas si uno no hace pan constantemente, yo cuando hago de alta hidratación con masa madre uso un caldero de molde así queda más alto otra cosa es que he utilizado cerveza en vez de levadura y da un sabor similar a la masa madre.
Por las fotos que muestras los alveolos que te dió la fermentación quedaron espectaculares te felicito
Este es un súper comentario @soychalbed, tan bonito y tan completo, lo agradezco mucho porque sé que sabes de elaboración de panes. Sí, mantener la masa madre viva, es una tarea que requiere disciplina y lamentablemente no pude atenderla y la perdí, quizás luego la vuelva a criar. Están geniales los tips del caldero y de la cerveza, el próximo pan que haga creo que lo hornearé en un caldero antiguo que tengo en casa.
Una vez más gracias por tu visita. Un gran saludo.
Hay una técnica para deshidratar la masa madre pero no la domino si se que cuando hice el curso de masa madre el maestro panadero activo una que es la masa madre más antigua en Venezuela y data de los 1930, el dice que para trabajar así es otro proceso y que lo menos que hay que tener es prisa 😁
¡Que interesante! No sabía eso, y sí, la masa madre requiere paciencia.
Congratulations @sirenahippie! You have completed the following achievement on the Hive blockchain and have been rewarded with new badge(s):
Your next target is to reach 50000 upvotes.
You can view your badges on your board and compare yourself to others in the Ranking
If you no longer want to receive notifications, reply to this comment with the word
STOPCheck out the last post from @hivebuzz:
Support the HiveBuzz project. Vote for our proposal!
Hola @sirenahippie, gracias por la explicación tan detallada de tu receta, aún no he hecho pan a ese nivel; tal como lo señalas es importante tener los ingredientes a la mano para evitar contratiempos en la preparación, debo decir que el pan se ve delicioso y acompañado con una taza de chocolate mucho mejor.
Bendiciones!
Hola @belkyscabrera, gracias por la visita. Realmente es muy sencillo, es un pan básico, (hay otros mucho más elaborados). Te invito a que alguna vez lo intentes, el resultado es muy bueno, y sí, combina con chocolate, ¡yummy! Saludos.
I always thought eggless bread was hard to make, but you prove it in the vegan world everything looks easy and real.
This is awesome @sirenahippie thanks for sharing this with us :)
Cakes, breads, everything can be made without eggs or with a vegan substitute, and it's just as tasty. Thanks for stopping by to read and comment. Happy afternoon @nurfay
Nice tutorial step by step and the bread looks very delicious sure it is very tasty also. Hug ❤️😊
Thanks @hindavi, for your nice comment! Yes, this bread is really delicious and very healthy. A hug for you too!
Hola @sirenahippie, tiene un precioso color y la miga del pan se ve espectacular, los panes caseros son muy ricos. Gracias por compartir la receta.
¡Hola @jessiencasa! Gracias por la visita y hermoso comentario. Sí, los panes caseros son deliciosos, y nos permiten experimentar más con los ingredientes. Saludos.