A customized fixing flap, only on @smilestitches ☺
Hello my beautiful people on "hive", I trust we are all doing great,am not doing bad either by God's grace.
Okey today is a bright day and am so excited to be alive, I mean am always happy to be alive. So guy let be a little bit creative today 😂 😂 there's this cloth i just finish sewing few minutes ago so guys fasten your sit belt because your all in for a long adventure 🤗 with your number one favourite brand @smilestitches☺ 👇
Items used:
My Material
Black material
Threads
Soft gum
Paper gum
Hard gum
Sewing processes:
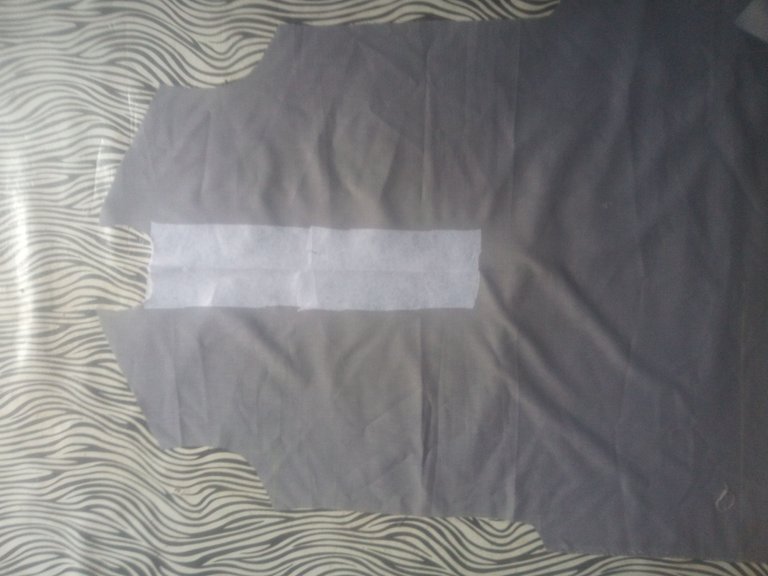
First step, after the cutting, I ironed out a straight line in the middle, then I add the soft gum to the front to make it strong for the pattern I want to sew 👇
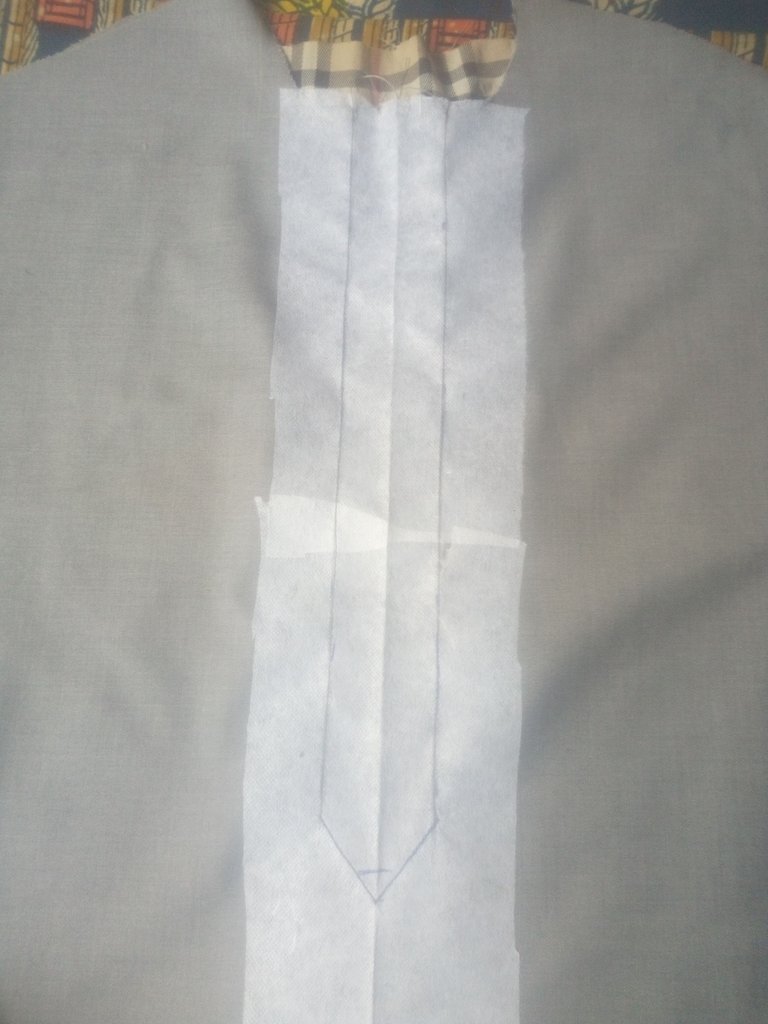
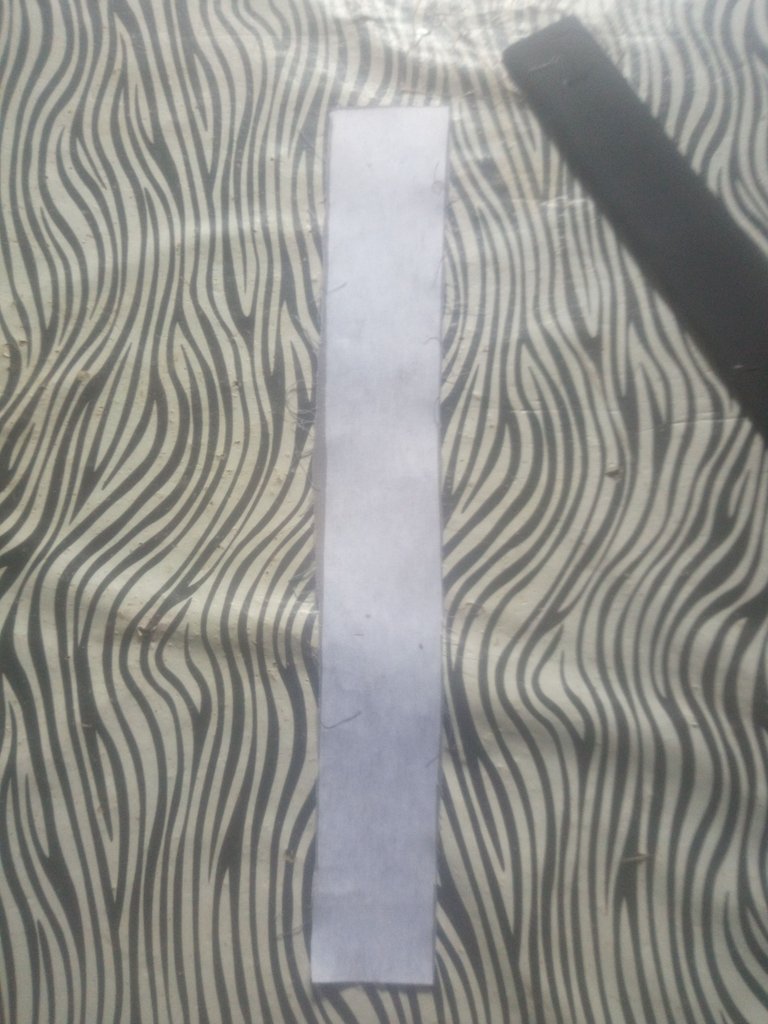
Second step, i cut out 4inches Size and 16 inches length of the black material,then I cut 2inches size and 16inches length of the other material and I cut the paper gum the same size and gum on them👇
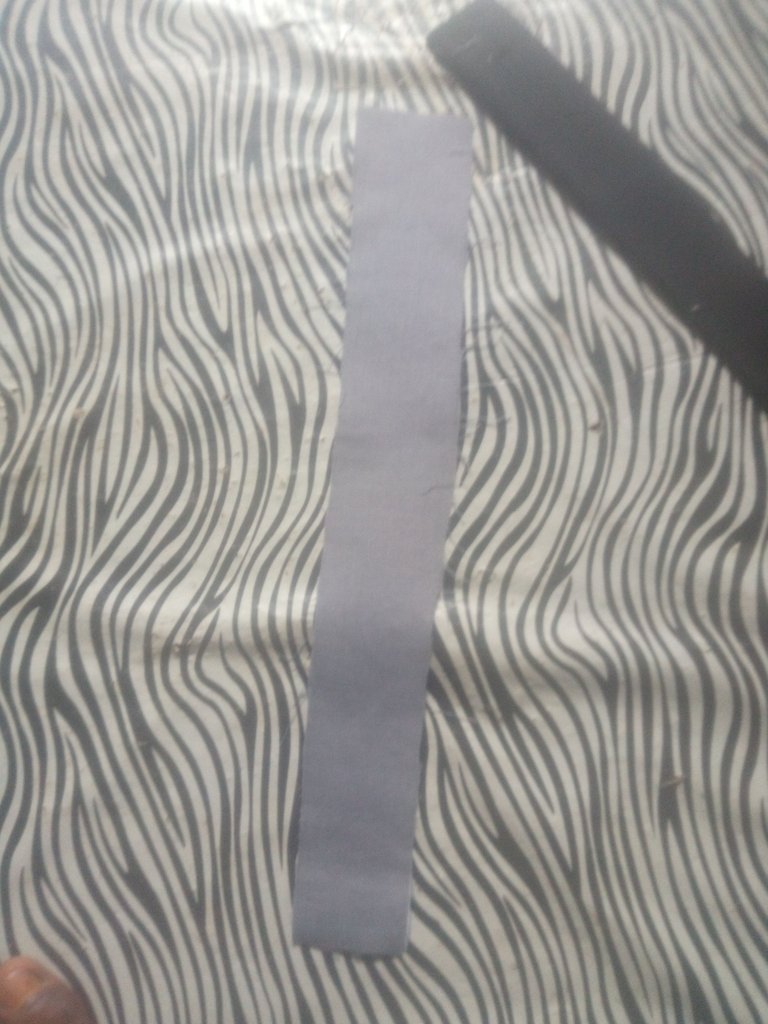

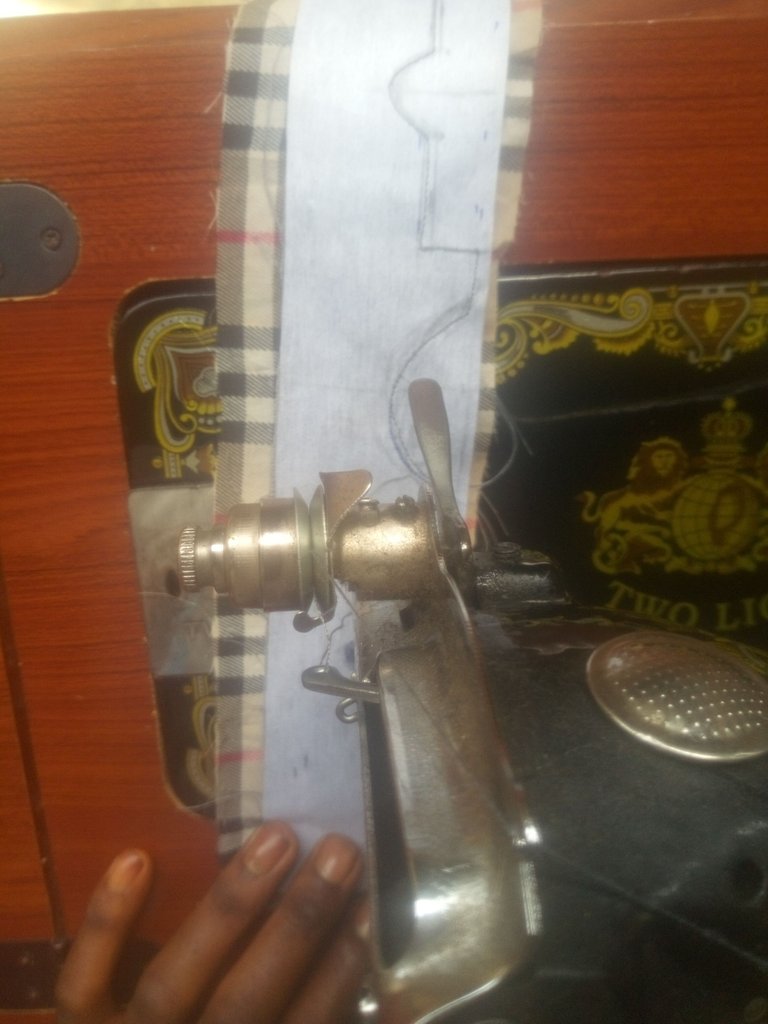
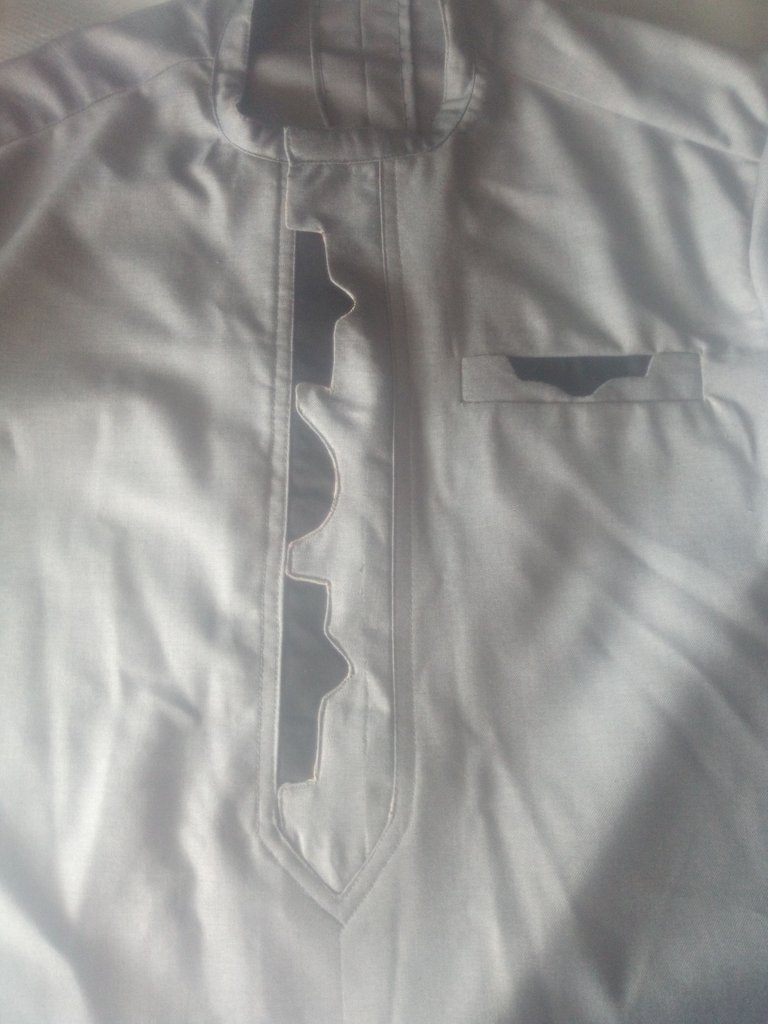
Third step, after the gumming of the both material, I then took that other material I gummed 2inches size and I sketch with a pen how I want my design to look like and I lay another pieces under the skatch amd i sewed it according to the pen lines👇
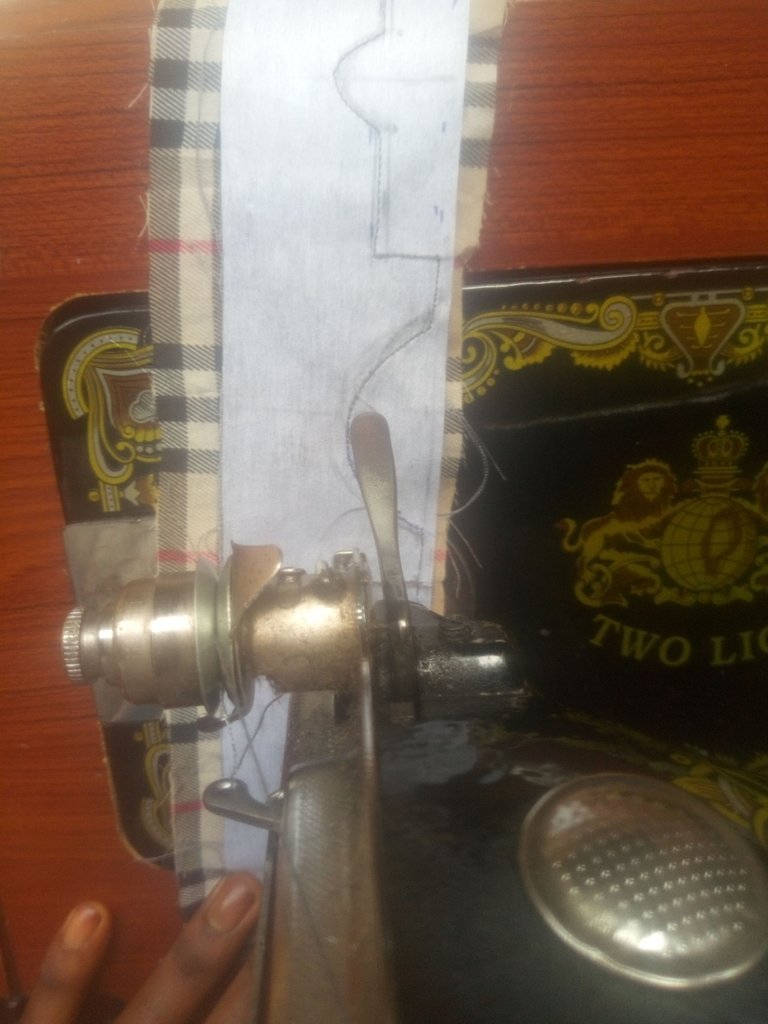
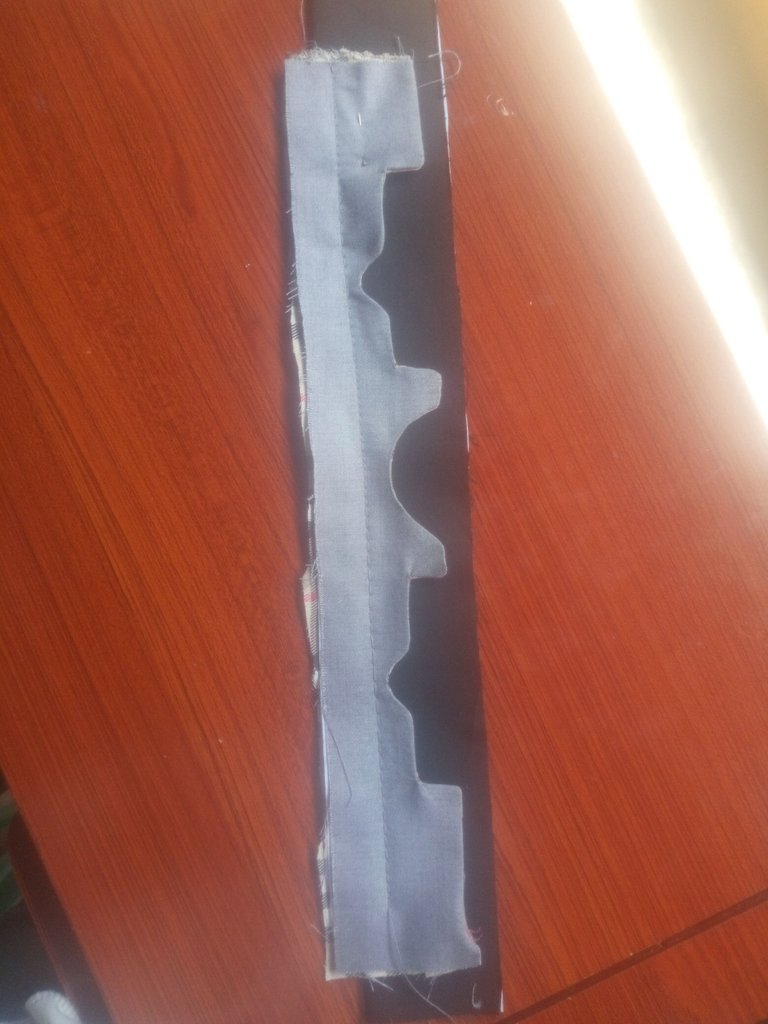
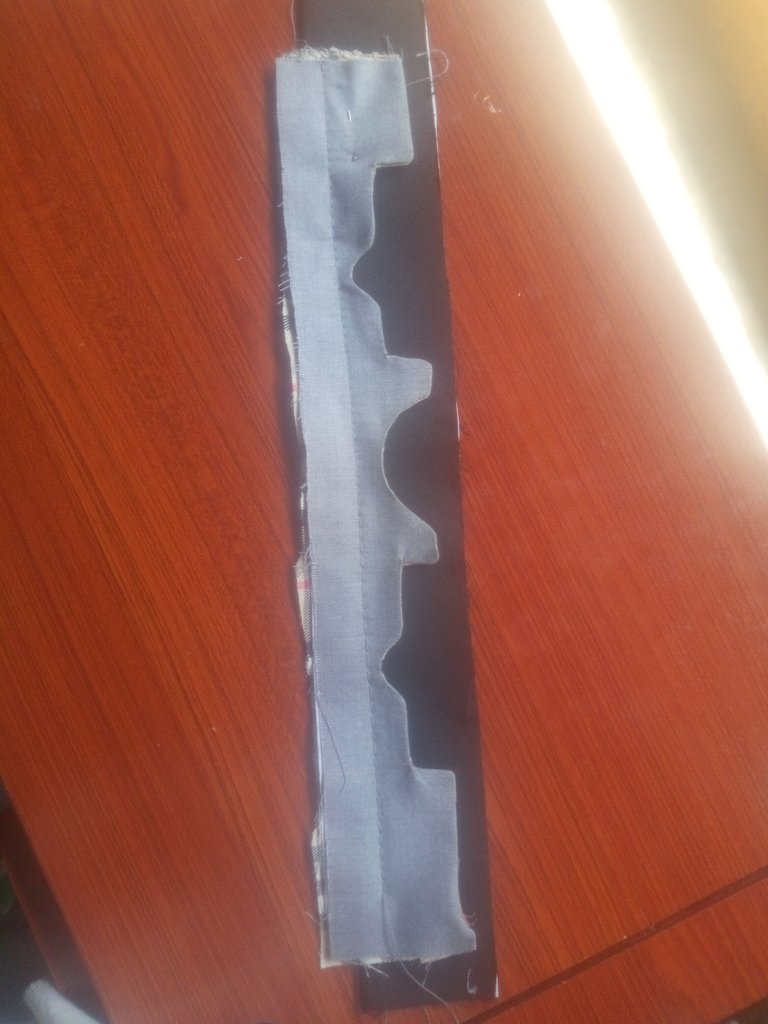
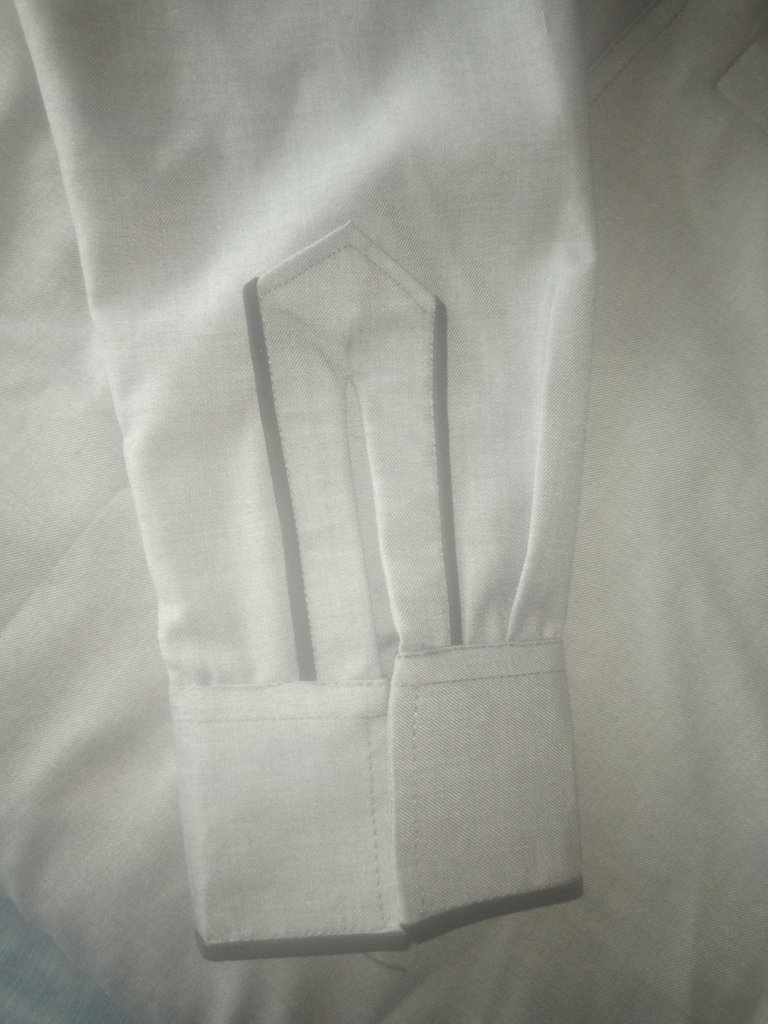
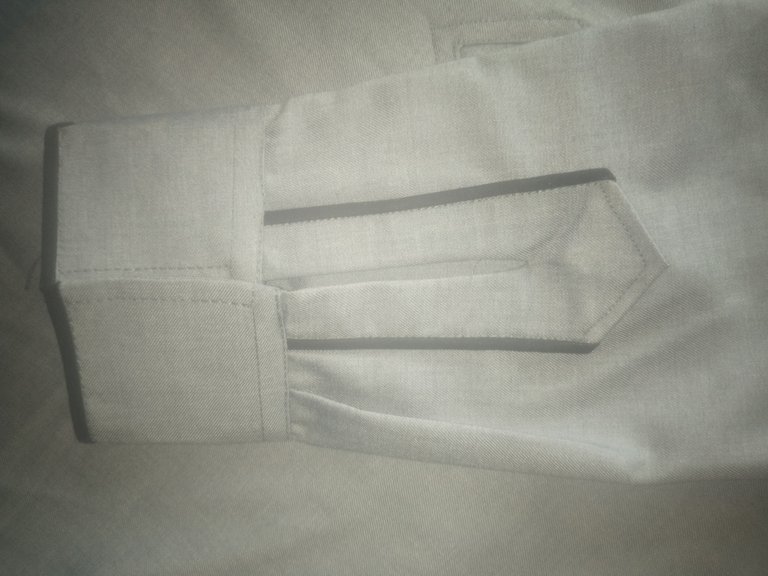
Fourth step, now after that I ironed out the style properly and I laid it on top the black and stitched it now my front flap is ready👇
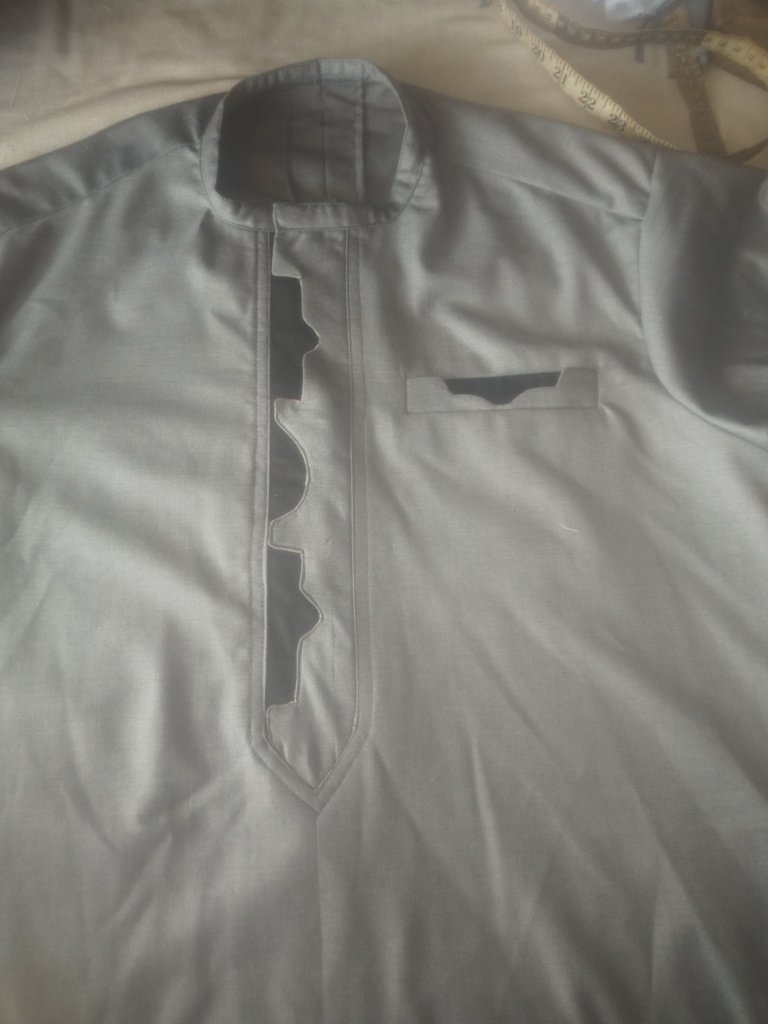
Fifth step: now the front view, I then lay a pieces under the front and I sewed and turned it, to get rid of the rough edge, when the opening was ready I inserted the flap I just finish 👇
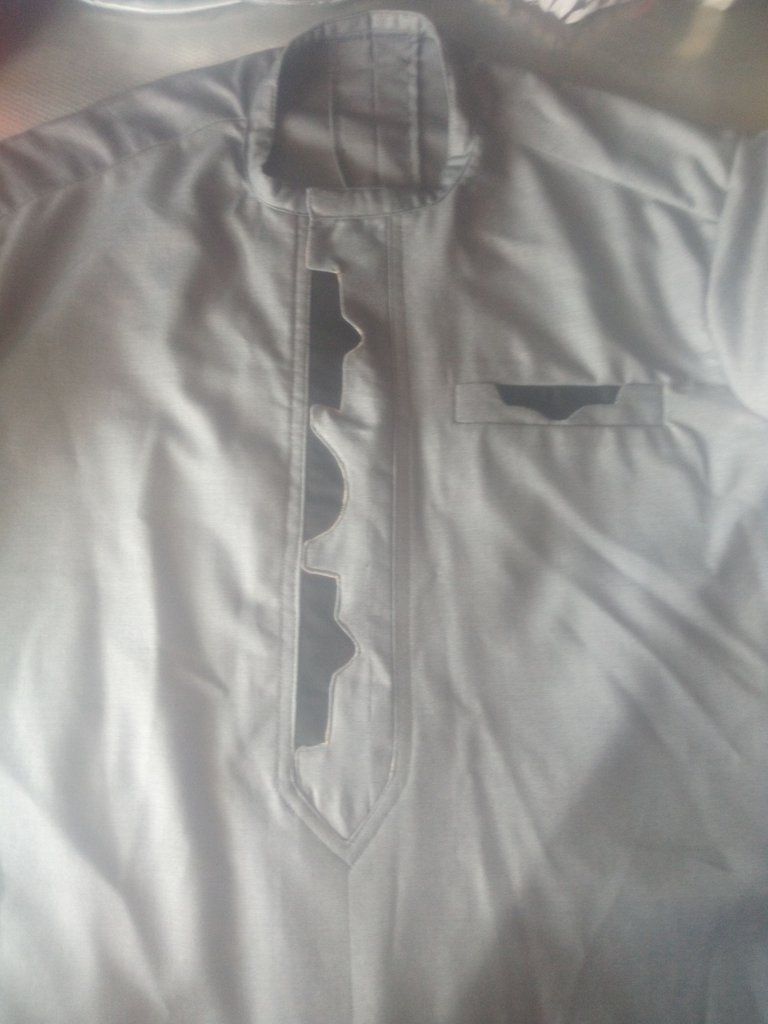
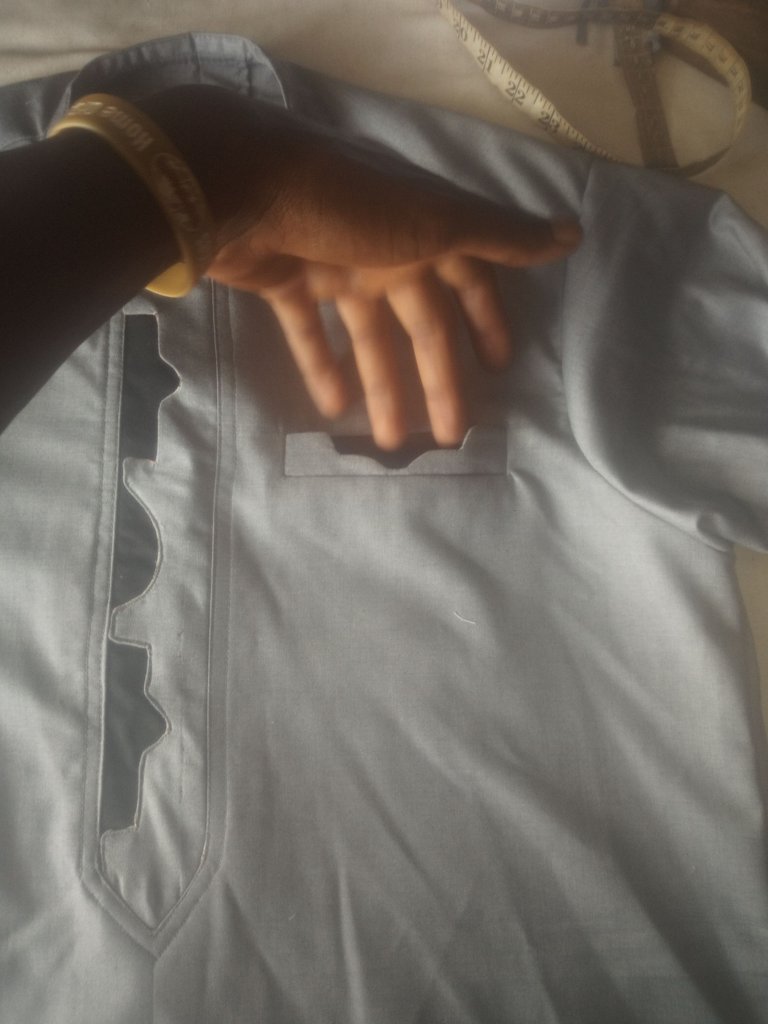
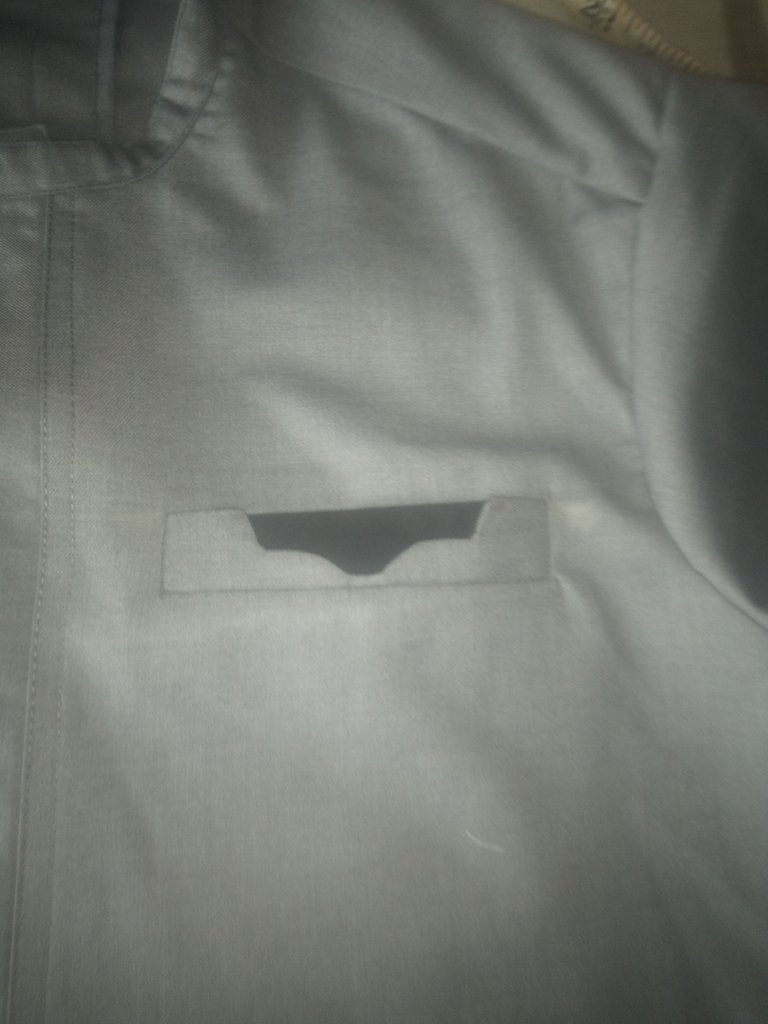
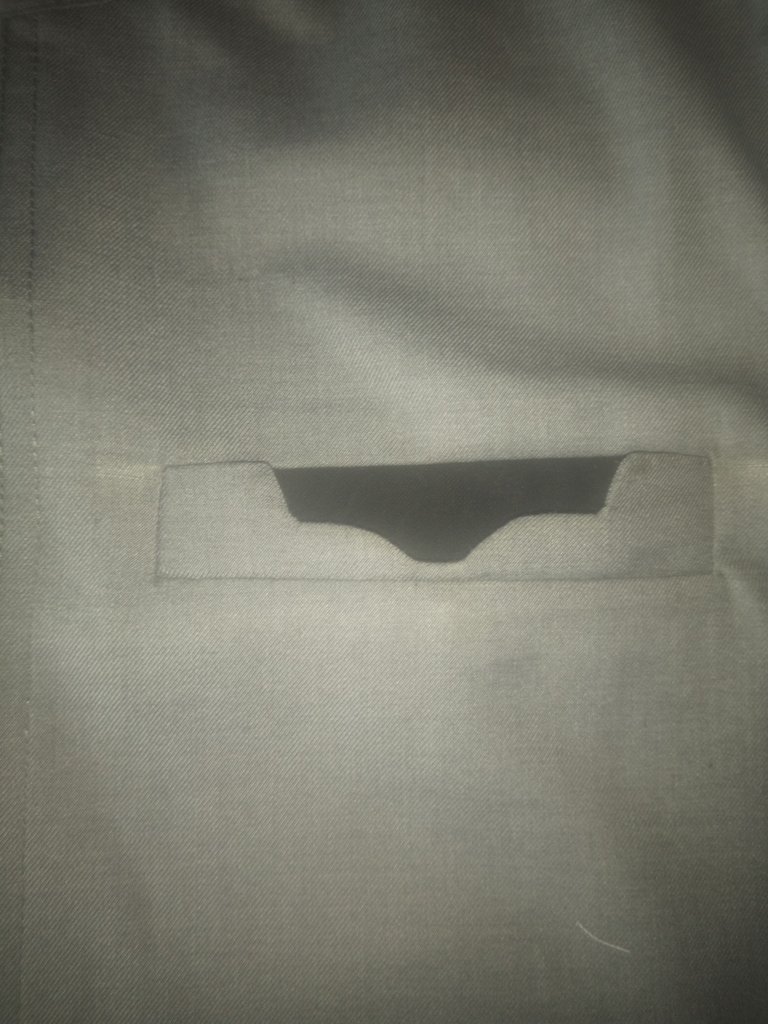
Sixth step, now for the pocket I used the same paper gum, and sketched out the pattern I want and I lay it by the side of the front and sew it and it came out like this 👇
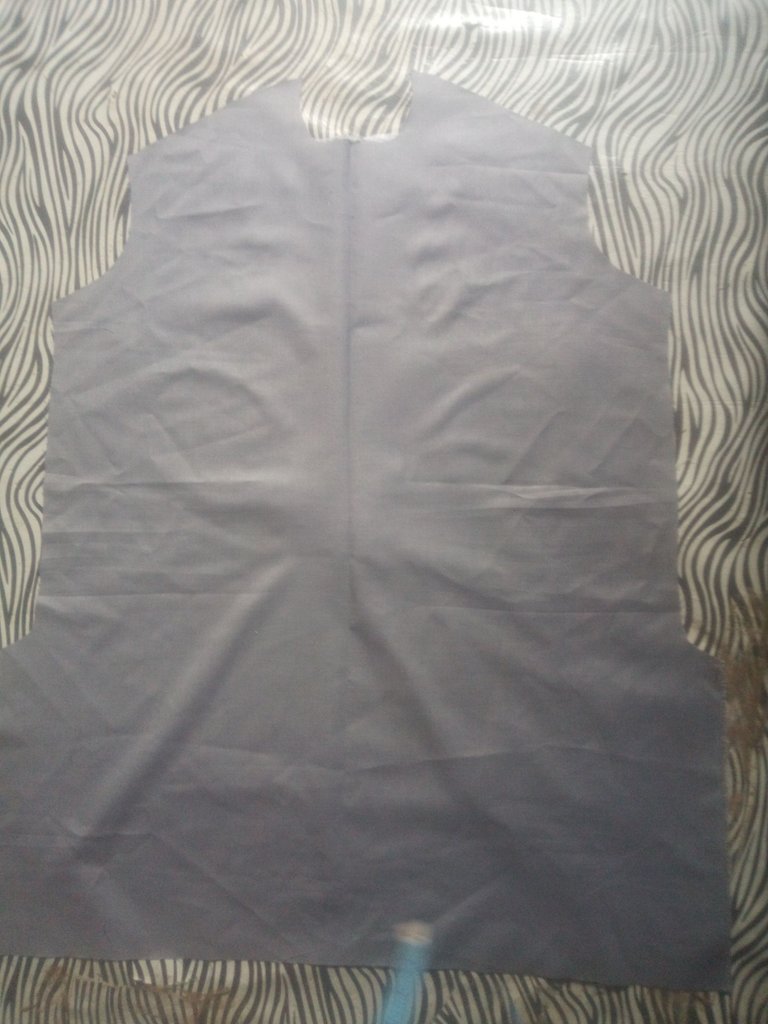
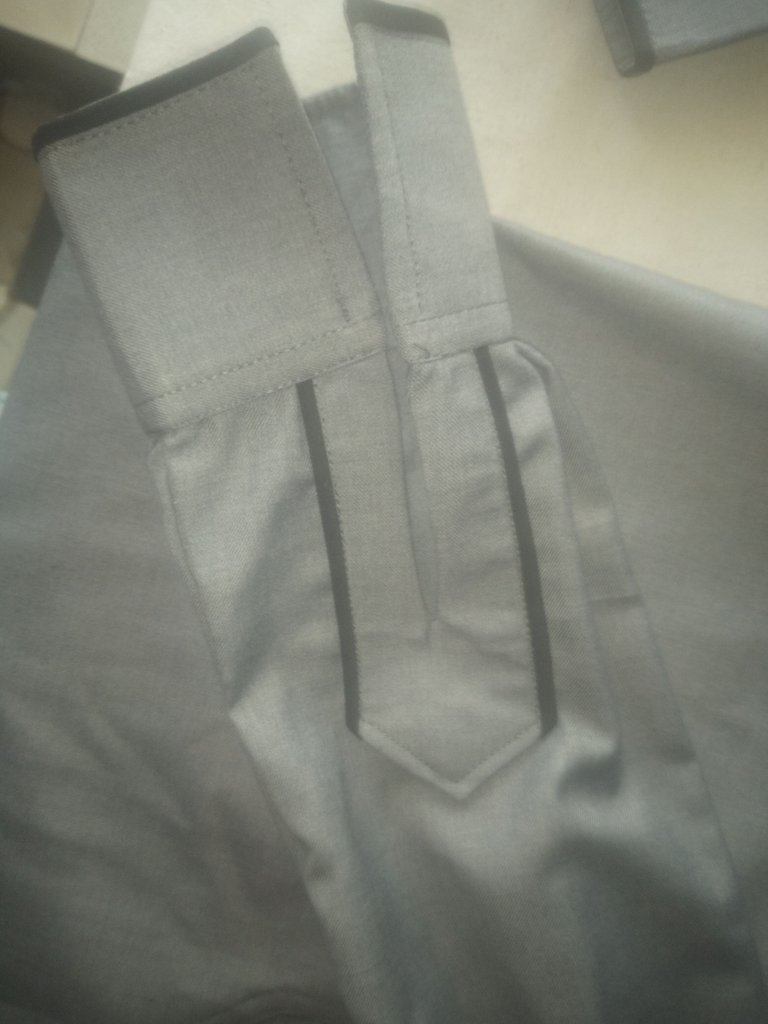
Now the front was ready and I joined the rest of the parts and I piped the neck and its was a long sleeve with band, this was how m band looked like👇
With does steps, I finished the design I was making. Thanks guys for viewing my blog see you in my next post soon!!! Keep smiling with your favorite brand @smilestitches☺
Beautiful work ☺️
Thanks dear so much, I appreciate
Congratulations @smilestitches! You have completed the following achievement on the Hive blockchain and have been rewarded with new badge(s) :
Your next target is to reach 1500 upvotes.
You can view your badges on your board and compare yourself to others in the Ranking
If you no longer want to receive notifications, reply to this comment with the word
STOPCheck out the last post from @hivebuzz:
Support the HiveBuzz project. Vote for our proposal!
Thanks so much for finding me worthy for this rewards, I really appreciate 😁😊
You're welcome @smilestitches
Support us back and vote for our witness.
You will get one more badge and bigger upvotes from us when we notify you.