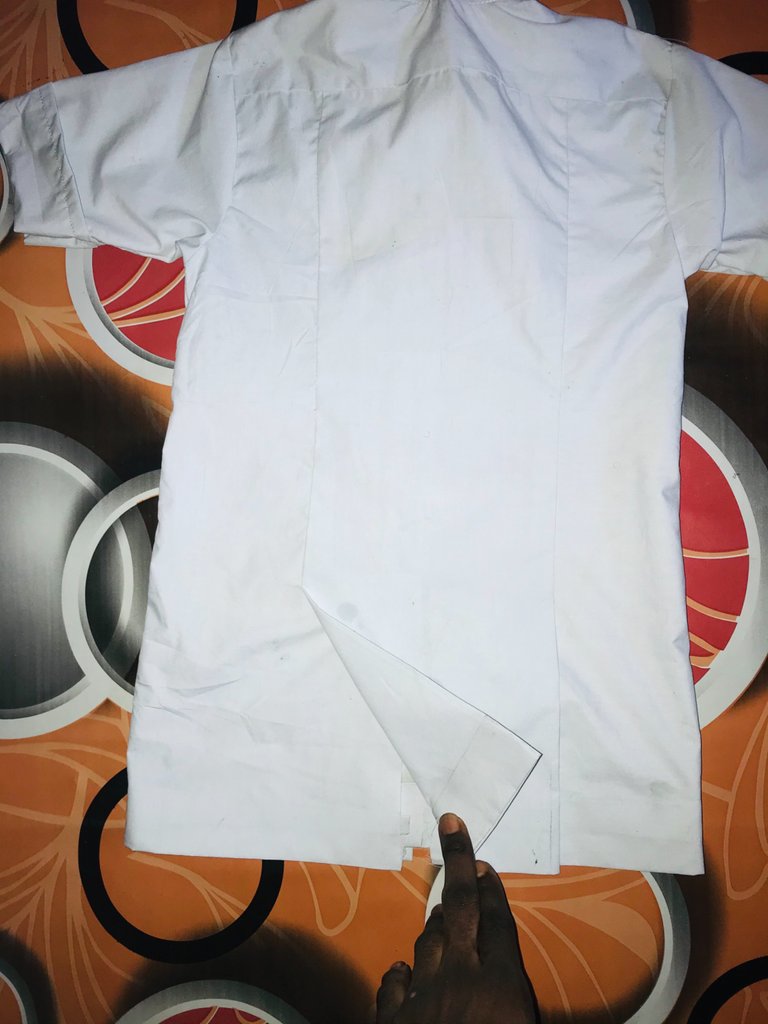
Making the back of my safari like a suit that’s the little twist I added to spice up my safari outfit this time. @smilestitches😊
Hi 🙋 my beautiful needleworkers, I trust you’ll are doing amazingly well? Cause am not doing bad either, thank God for his grace towards my life and family and I also thank God for preserving you all my friends and love ones, it’s always exciting to talk with you all as well as to share my creativity with everyone here.
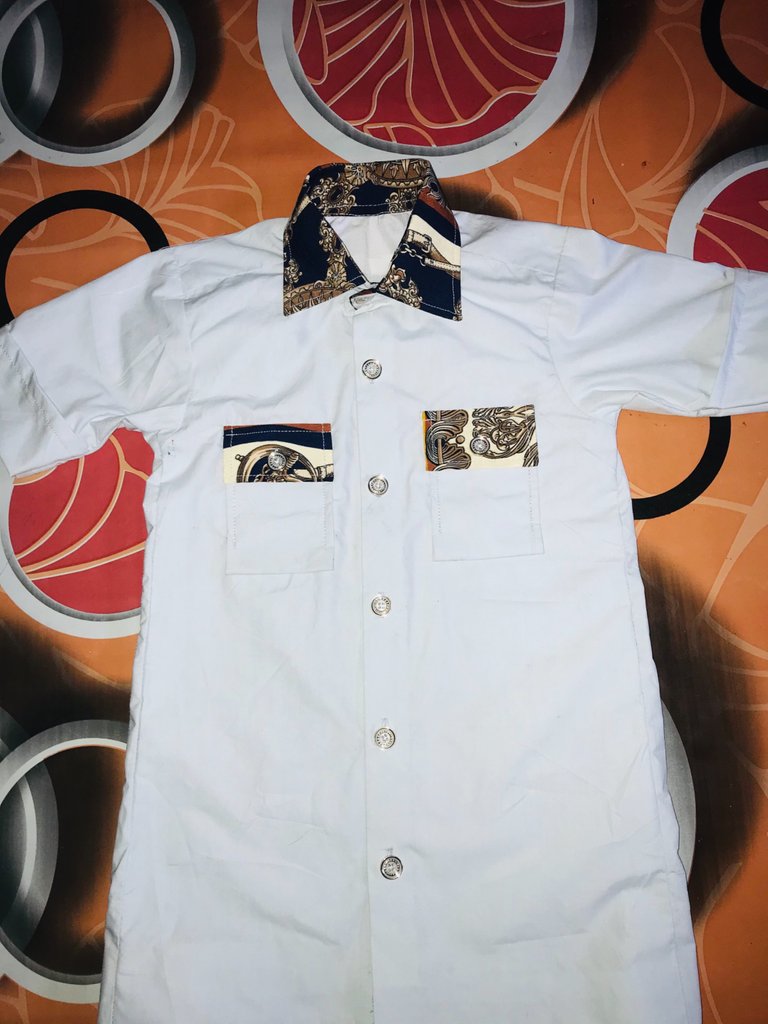
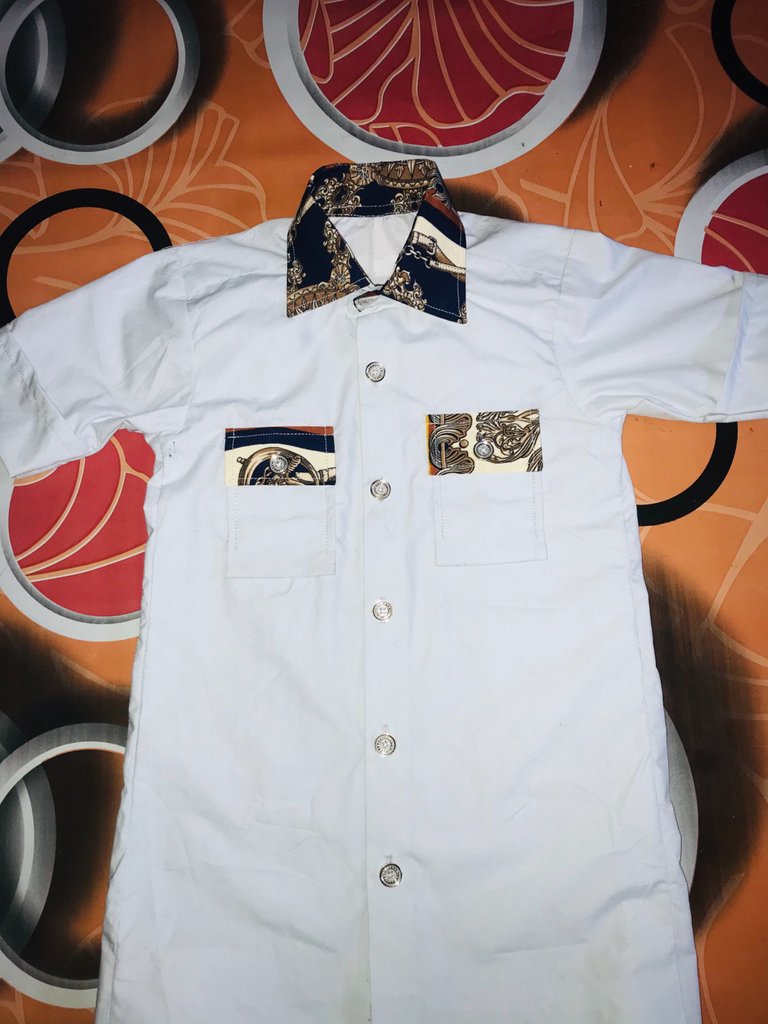
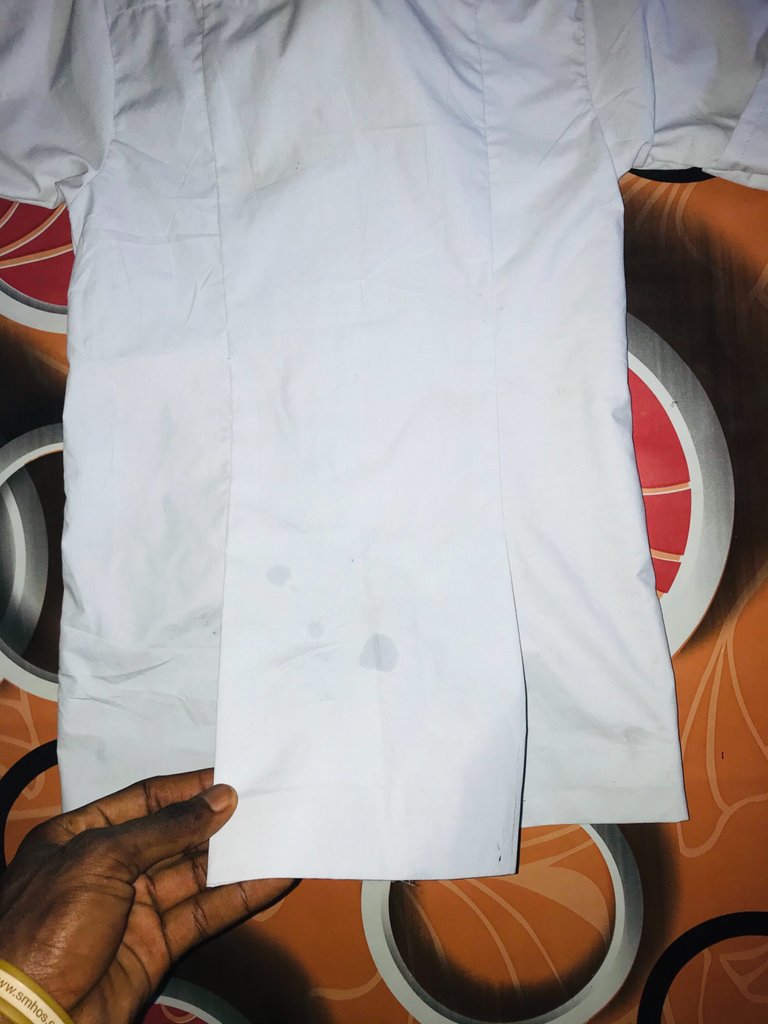
This out fit am about sharing with you all is the well know safari. Those that do follow my posts each time I drop them can tell that have posted a similar style before but just that this one is a little bit deferent from the last safari pattern I posted few days ago , this one has an opening at the back like a suit so stay active and focused while I grace your screen with my creativity 😊.
Like I said previously today l’ll be sharing with you all how I made this safari with a little twist at the back view 😂
My sewing items;
*White fabric
*A suitable vintage fabric for combining
- collar gum
- paper gum
- matching buttons
*matching thread
My Sewing processes,
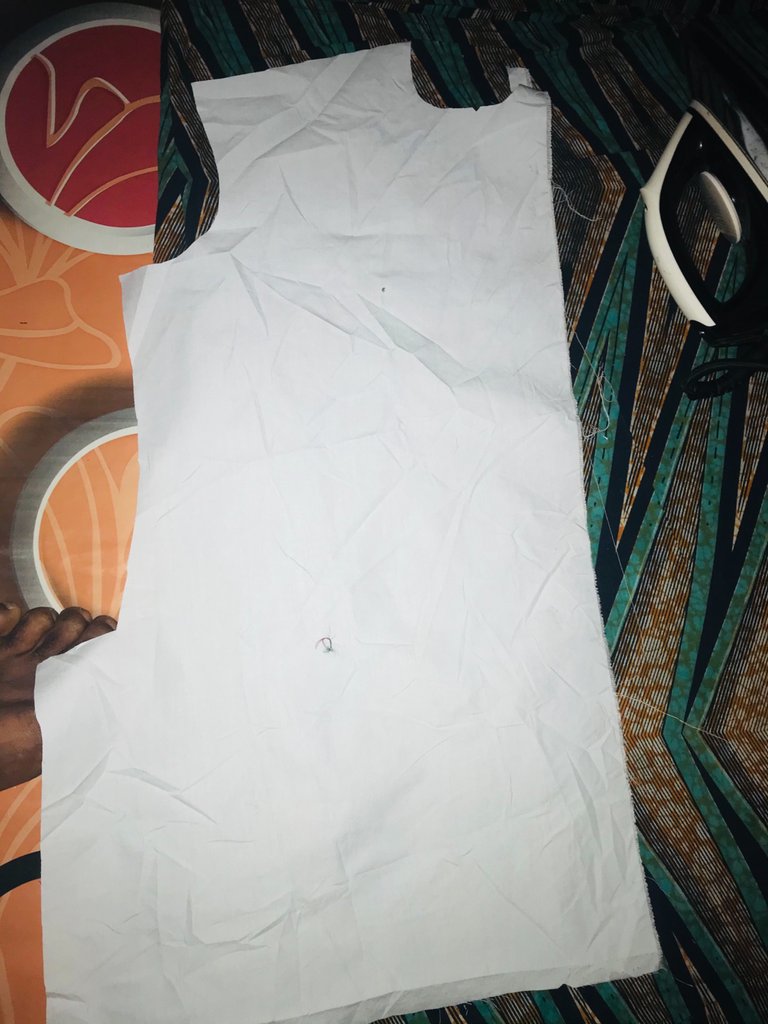
First step (front Cutting): - As we all know that when giving a fabric to work on first thing after capturing the style your making in your head first thing or next thing to be done is to cut the fabric as per the pattern or style you’ve pictured or was asked to sew so since I already know what am to sew which is safari and safari I told you guy that the cutting of it is similar to that of a shirt the only deference is the style which is the two pocket at the front, most people make there’s 4 pocket with is 2 at the top and 2 at the down part of the front. Another thing that make it’s looks deferent from shirt is the back view which is always like the back of a suit with 2 slits or opening at the back view just like suit is, and I also told you guy the origin and how the name safari came about in the last safari post I made. for those who are interested, you can go check it out here’s the link to that post.👇🏼
https://peakd.com/hive-127911/@smilestitches/how-to-sew-a-safari-with-less-stress-smilestitches
Moving forward guys, like I said since it a safari and safari’s are like shirts so I used the pattern in which I used in cutting my customized shirts to cut this outfit. Since the plain white fabric was to be the body of the cloth, I took it and I lay it down, fold it into two and I bend in 2inches for the button and the button holes and from that 2inches I bend in I started my measurement from there and I cut it out actually this outfit is for a little boy that’s why it’s this small 😂 after I had finished cutting the front I proceeded to the back cutting.
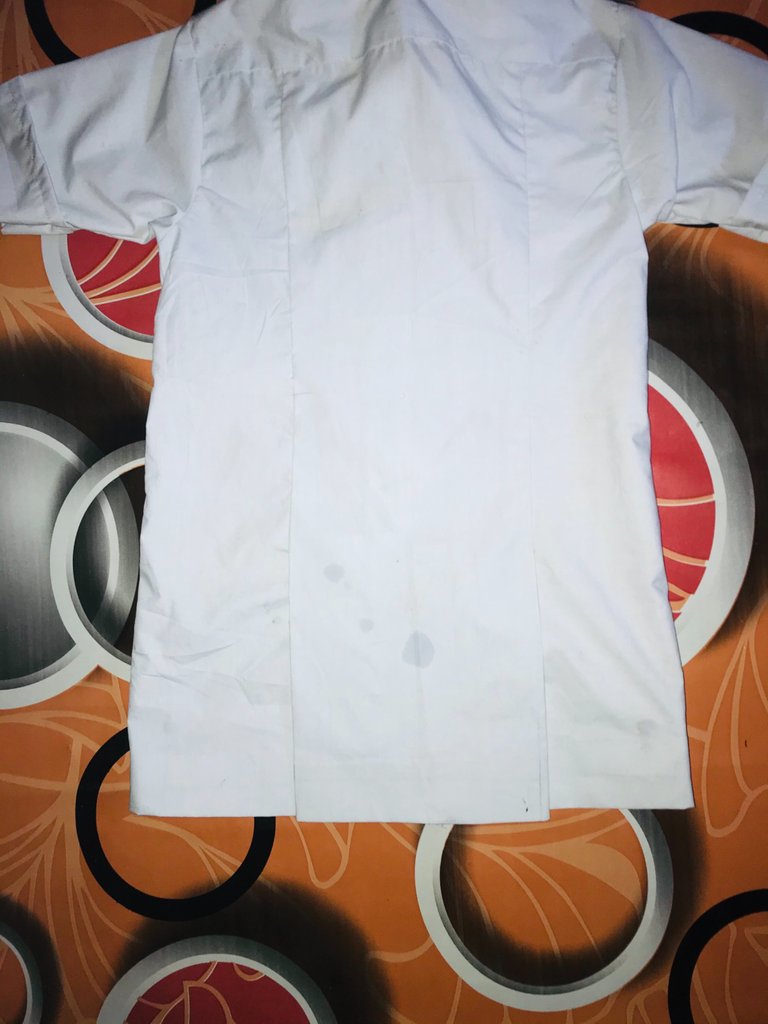
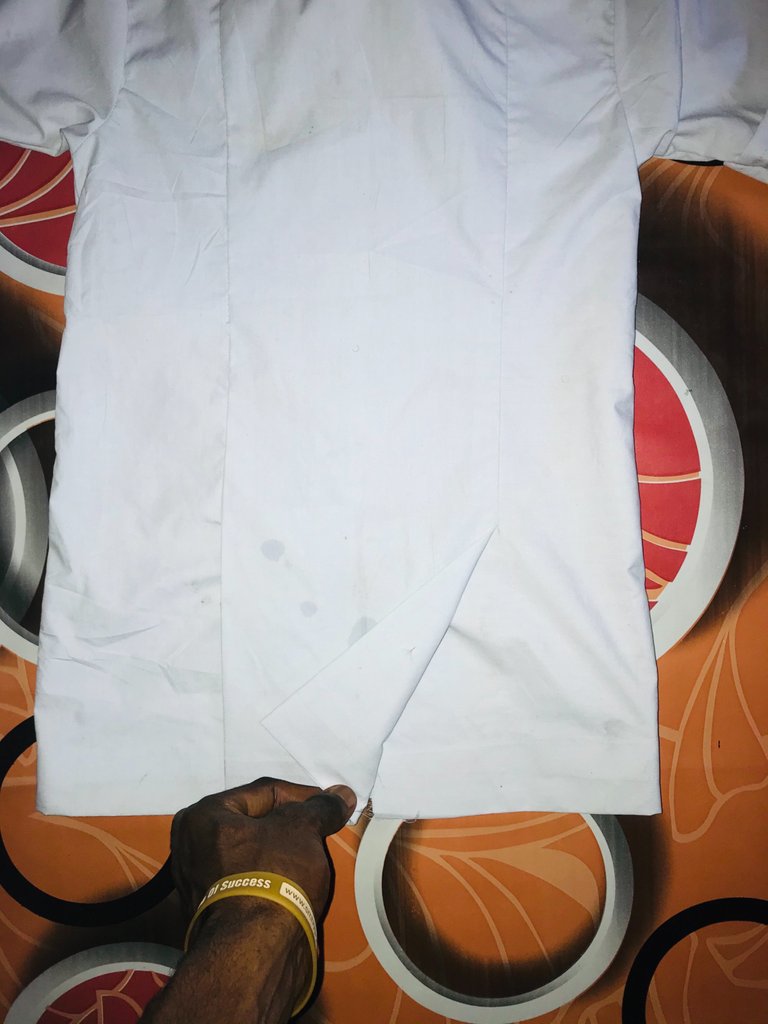
Second step (Cutting of the back view):
- After cutting out the front part I opened it and I made a full measurement of the size and it was 27inches with sewing allowing inside so now the back must be bigger than the front in some inches so I thought of making the back view 30inches in full so I thought of the number that could divide 30 into 3 part, I knew 10 multiples 3 will be 30 but I didn’t want all sizes to be equal cause the middle one is supposed to be the smallest not to be at same size like the two ones at the sides so I thought of using 6 for the middle and 12 each for the sides so I used (6+12+12) and it gave me same 30 so I used this other measurement to cut and join the back view and while joining the back to each other I didn’t sew to the end length of the top, I left about 11inches from the top to the down and i stopped at 11inches for the opening for the back.( just hope this is understandable).

Third step (front designing):
- After I was done with the back, I went to the front, I bend in the 2inches I had left for the buttons and the button holes while cutting, I bend and sewed it inside.
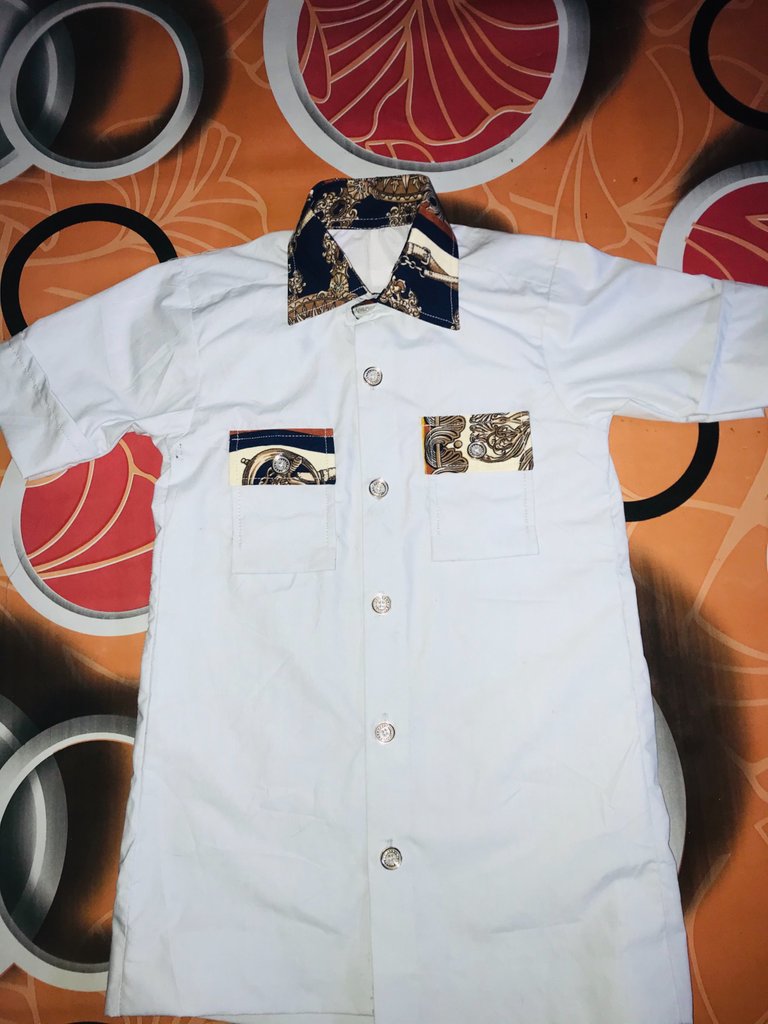
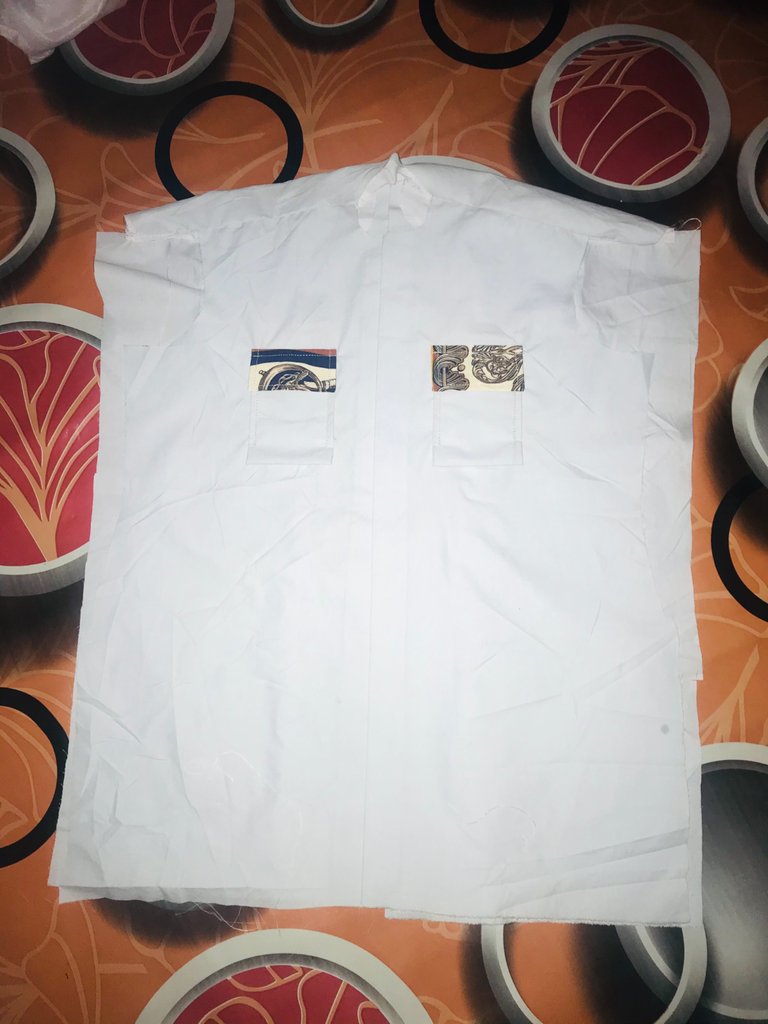
Fourth step ( front pocket)
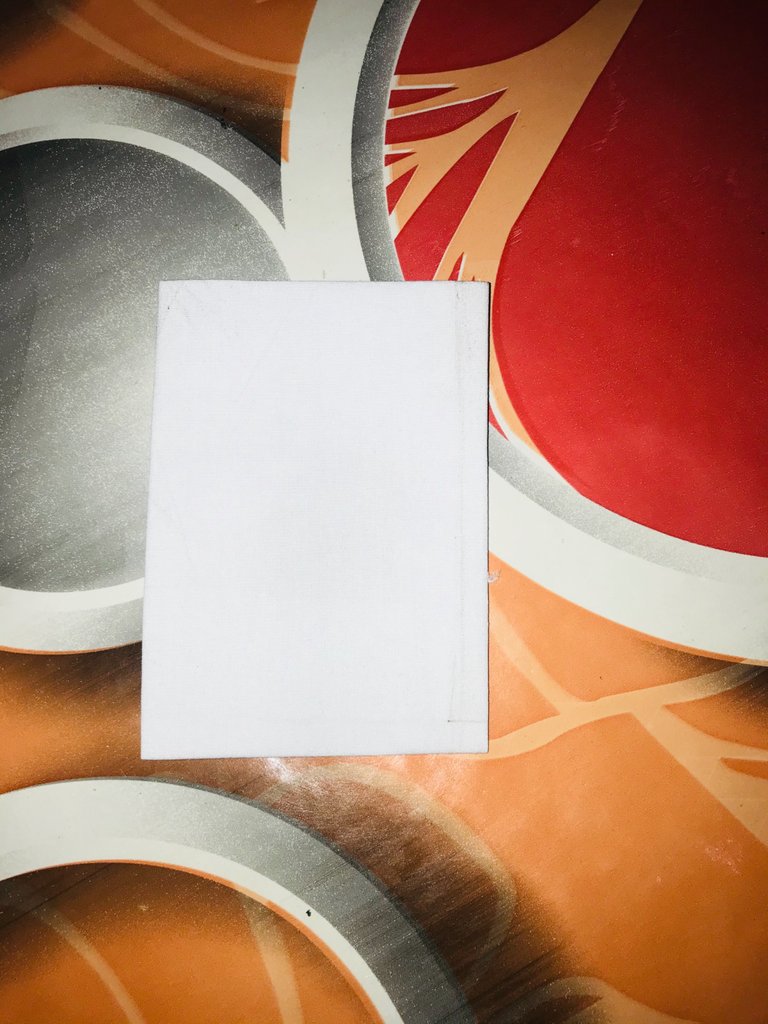
- I took the plain white fabrics, I then cut out size of 4inches and length of 6inches I cut them out in pair for the two sides, so I bend the both sides in and bend the length too in to get 3inches sizes and 5inches length so I then sew it to the front.
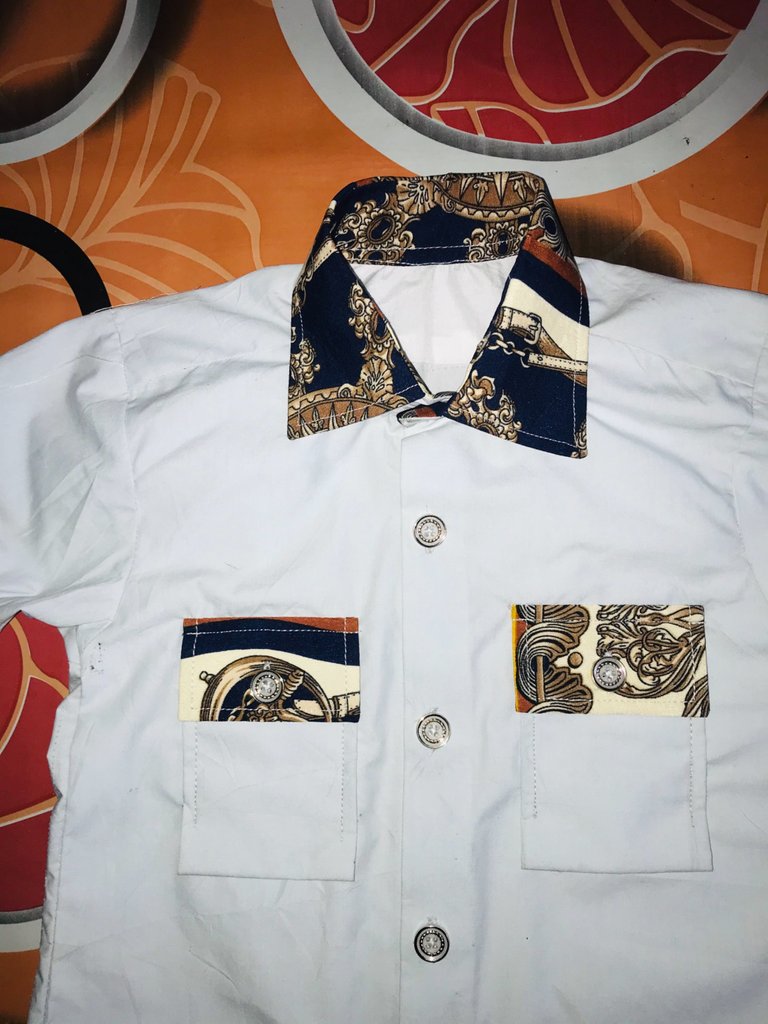
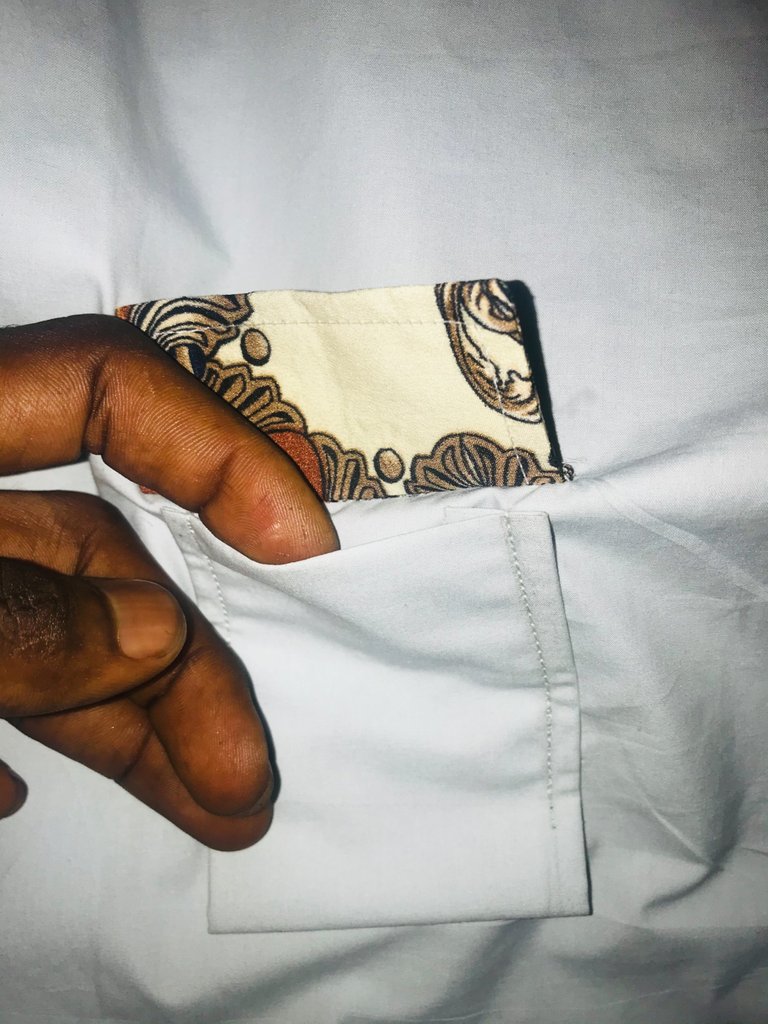
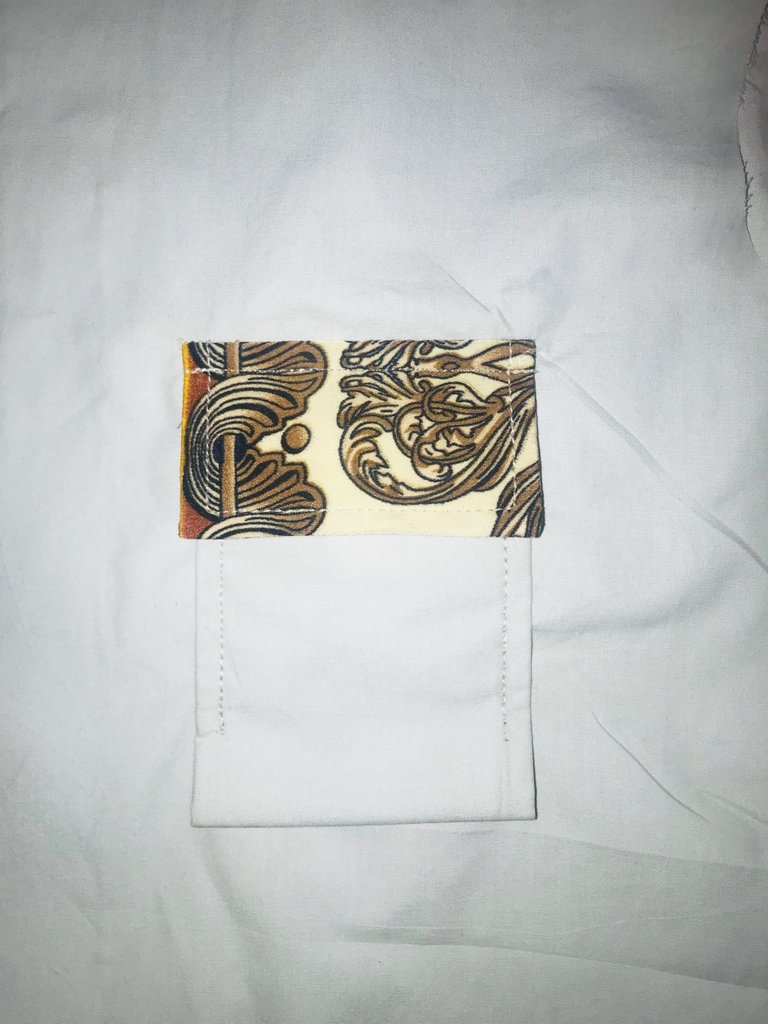
Fifth step (pocket cover)
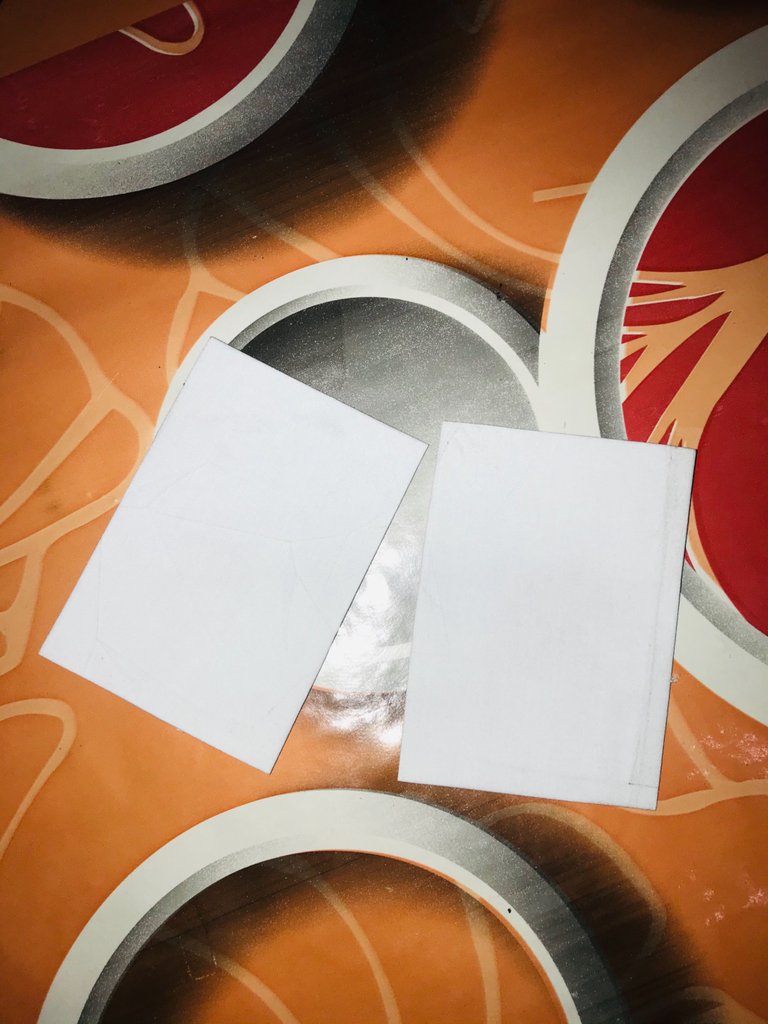
- After I had sewed the pocket to the front, I then took the paper gum and I cut out same size as the pocket and I sewed and turn it to the front. I then sewed it at the top of the pocket to give the pocket a cover.
Sixth step ( full joining )
- After the pocket and the cover, I then join the shoulder as well as the back to the front, and I join the shoulder too and trimmed the it then inserted the sleeves.
Last step (collar)
- The neck was 11inches, so I made the up one 11inches and the down one, I added 2inches to make it 14inches then I prepared it and I inserted it to the neck and with that, the little boy’s cloth was done and dusted.
My sincere thanks to everyone who has been with me all the way, supporting me all the way thanks so much guys I love you all so much 😁
Good work sir
Thanks brother
Hola mi amigo, haces buenos trabajos, vas muy bien, sigue adelante que pronto te ira mejor. un saludo desde venezuela.
Thanks ma🙏🏽
Hola amigo @smilestitches, quedó muy linda tu safari, muy buena idea, felicitaciones.
Kpk. Na to wear this one go catch girls ni o. I love that
😂 😂 see ya life @mayorkeys 😂
No time na😁😁
😂 😂 see ya life @mayorkeys
We only have one life so we must enjoy to the fullest
😂 😂 you’re actually right tho
😂 😂
Congratulations @smilestitches! You have completed the following achievement on the Hive blockchain and have been rewarded with new badge(s) :
Your next target is to reach 3250 upvotes.
You can view your badges on your board and compare yourself to others in the Ranking
If you no longer want to receive notifications, reply to this comment with the word
STOP