Haciendo el pico de Minecraft para César [ENG][ESP]
Haciendo el pico de Minecraft para César
Hola Hola
Vengo por aquí a contarles cómo hice un pico de diamante de Minecraft para César, dado que este era su disfraz para Halloween, él quería otra cosa y yo lo persuadí para que hiciera este disfraz más sencillo, sin embargo me tocó hacerle el pico en tiempo record, desde el mediodía hasta las 6:00pm del mismo día. O sea, hoy.
Para empezar hay que mencionar que ni sabía por donde comenzar, y a medida que fue surgiendo la musa, me iban llegando ideas. Primero que si con tempera y al final utilice los siguientes implementos:

- Hoja blanca
- Lapíz
- Regla
- Tijera
- Cartón
- Pega
- Agua
- Papel lustrillo
- Envase de anime
- Cuchara
Entonces, comenzamos buscando la imagen referencial por google de dicho pico de diamante, para tener una guía de cómo hacerlo, sobretodo porque tiene varios colores y tonos que hacen la diferencia.
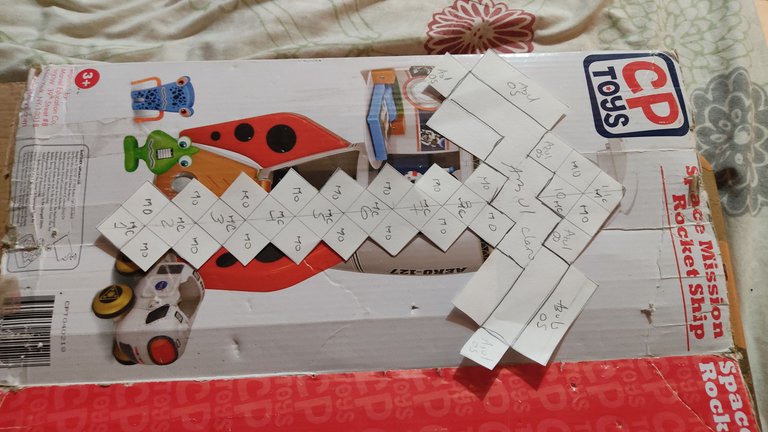
Al tener eso, comenzamos a medir y sacar una proporción que sea de un tamaño adecuado para el César, tiene que ser algo grande porque el niño es grande. Se dibuja en el papel y se corta con la tijera para tener la forma del pico en papel, es decir, el molde.
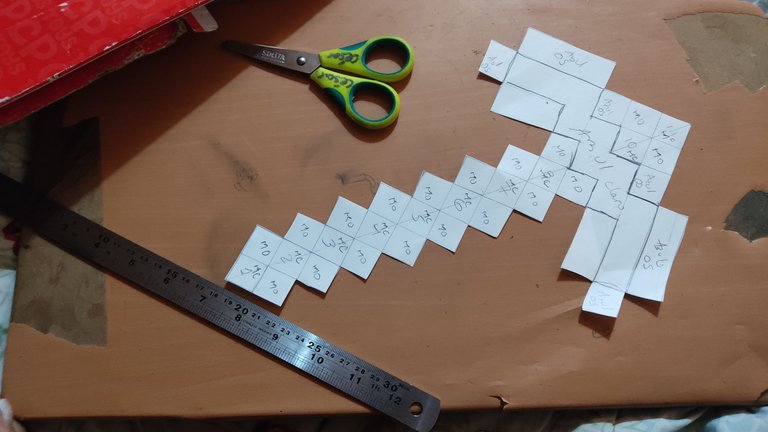
En el molde, le coloque en cada cuadrito el color que corresponde, para así contar y tener a la mano los colores que necesitábamos.
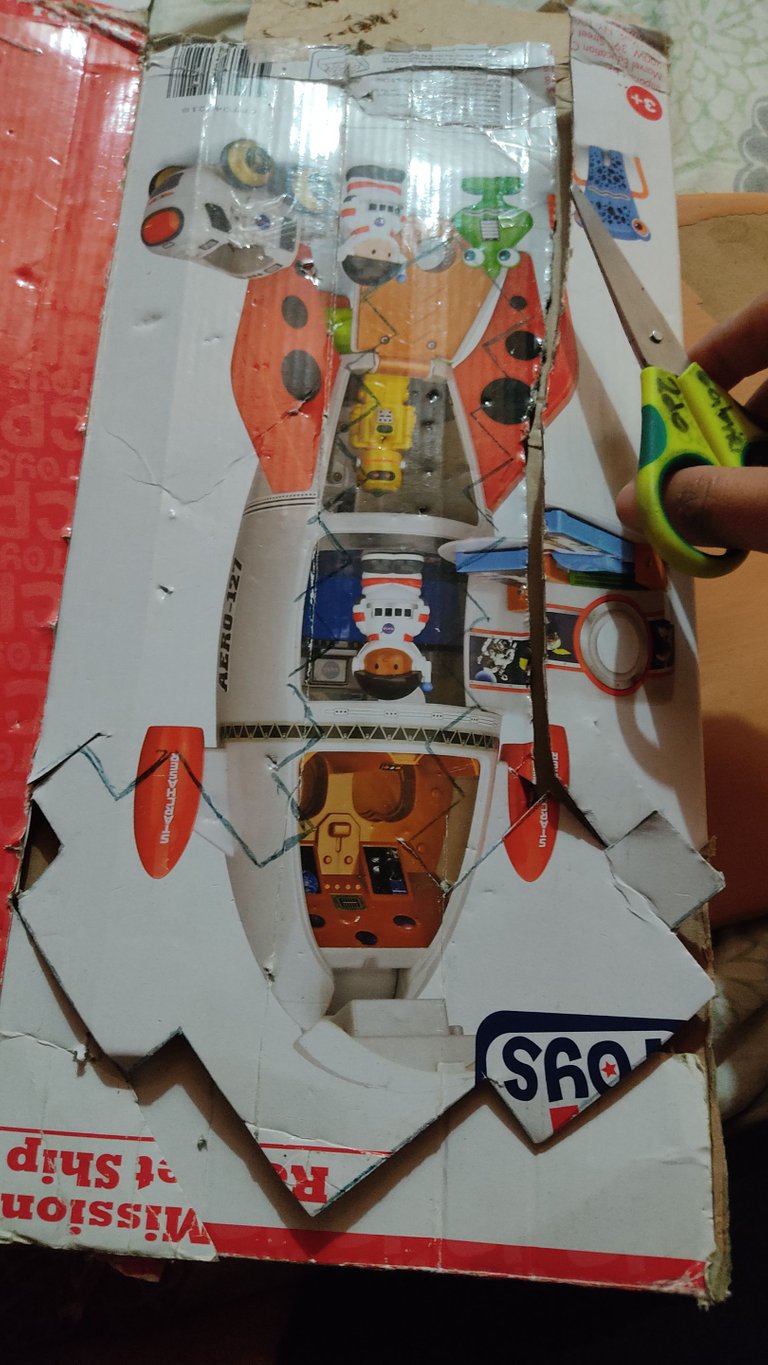
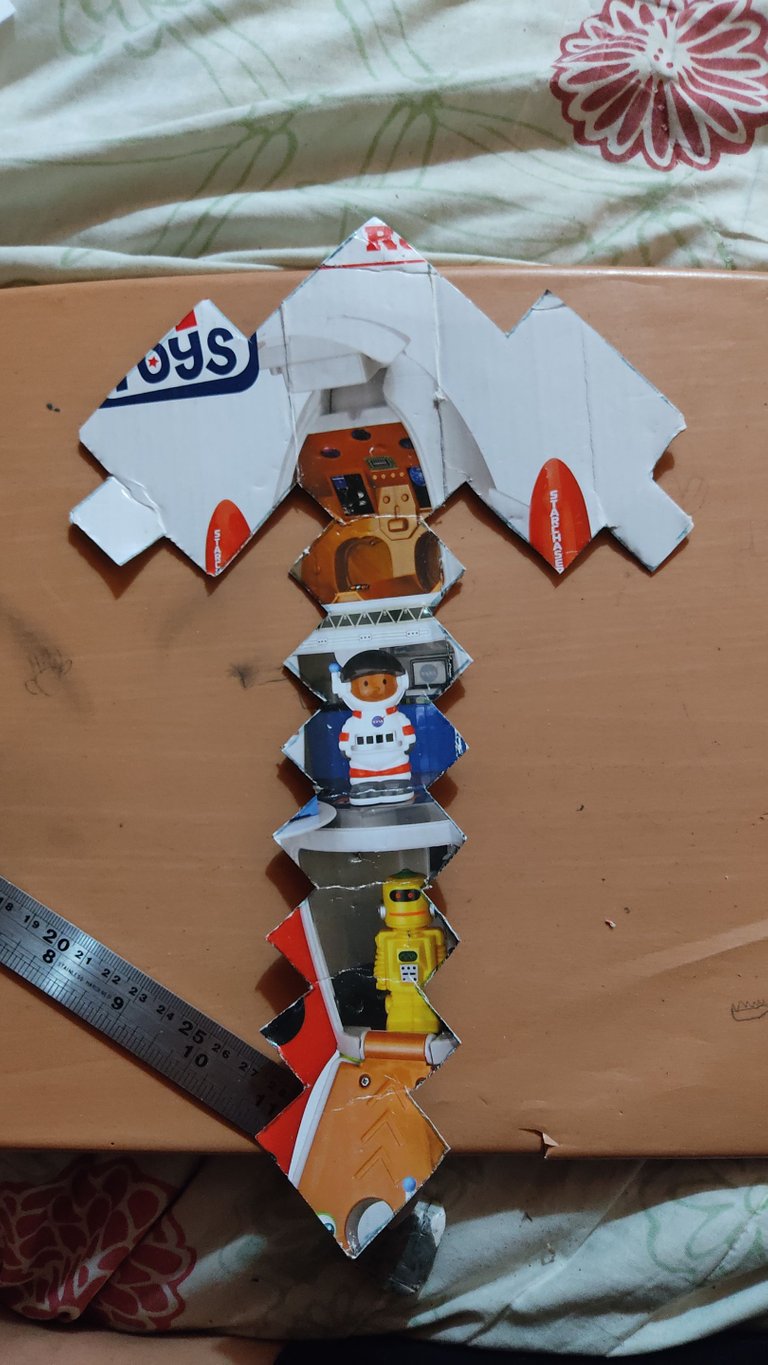
Lo dibuje en el cartón y corte con la tijera, luego me di cuenta que era muy débil y decidí cortar otro pico igual y pegarlo uno al otro. Para eso, usé la pega y busque un libro pesado para que no perdiera la forma.
 |  |
|---|
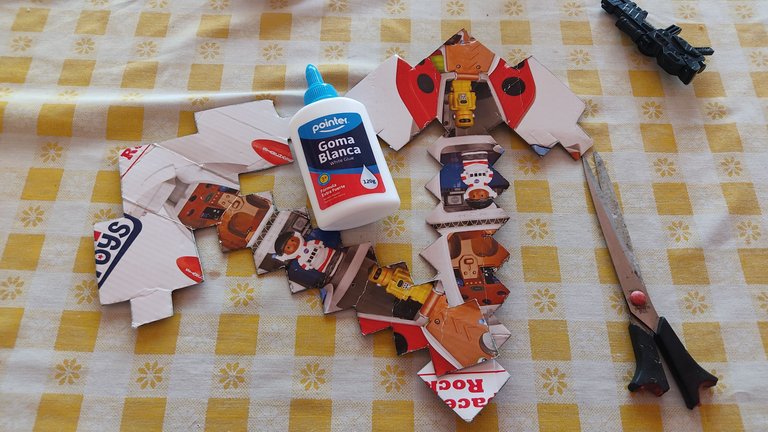
Al secarse, busqué hojas de papel recicladas, las corte en cuadritos y utilicé la misma cantidad de pegamento y agua. Es decir, una cucharada de pegamento, una cucharada de agua. Lo mezclé y queda una pega aguada, eso con el fin de mojar el papel e ir pegándolo en el cartón. Esto se hace para darle fuerza a la pieza y sea más resistente.
 |  |
|---|
La verdad trabajé rápido porque estaba corta de tiempo, es algo que no me pasa pero con una cosa y otra, me dispuse a hacer el pico al mediodía y era para la noche.
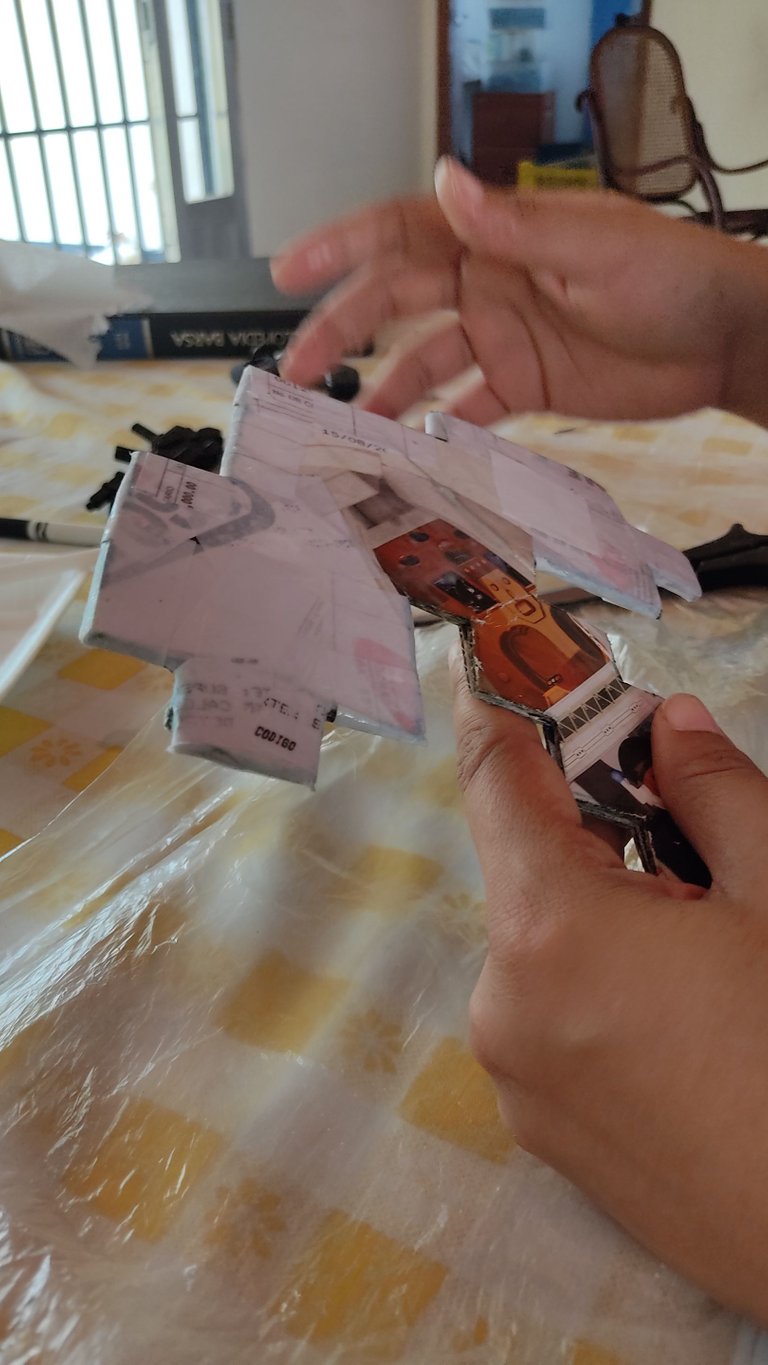
Con las manos llenas de pega fui llenando todo el pico, por los bordes, si tenía que poner otro pedazo de hoja porque no me cubría bien, lo hacía, incluso me quedó muy bien para el desorden que tenía.
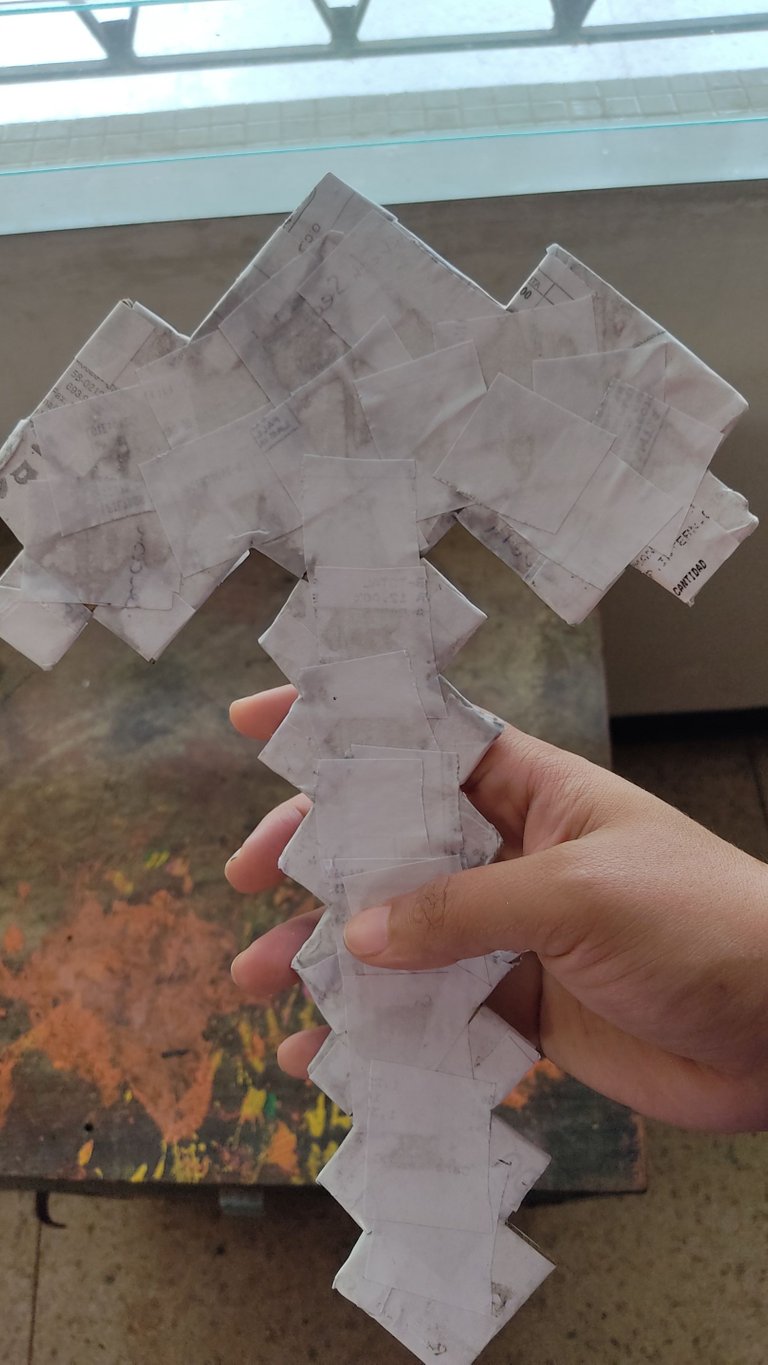
Al terminar esa parte, la dejé secar y me fui a almorzar, y cuando regrese ya estaba menos húmedo y más manejable. Así que lo volví a dejar secando con el ventilador al frente y comencé a picar los cuadros de colores.
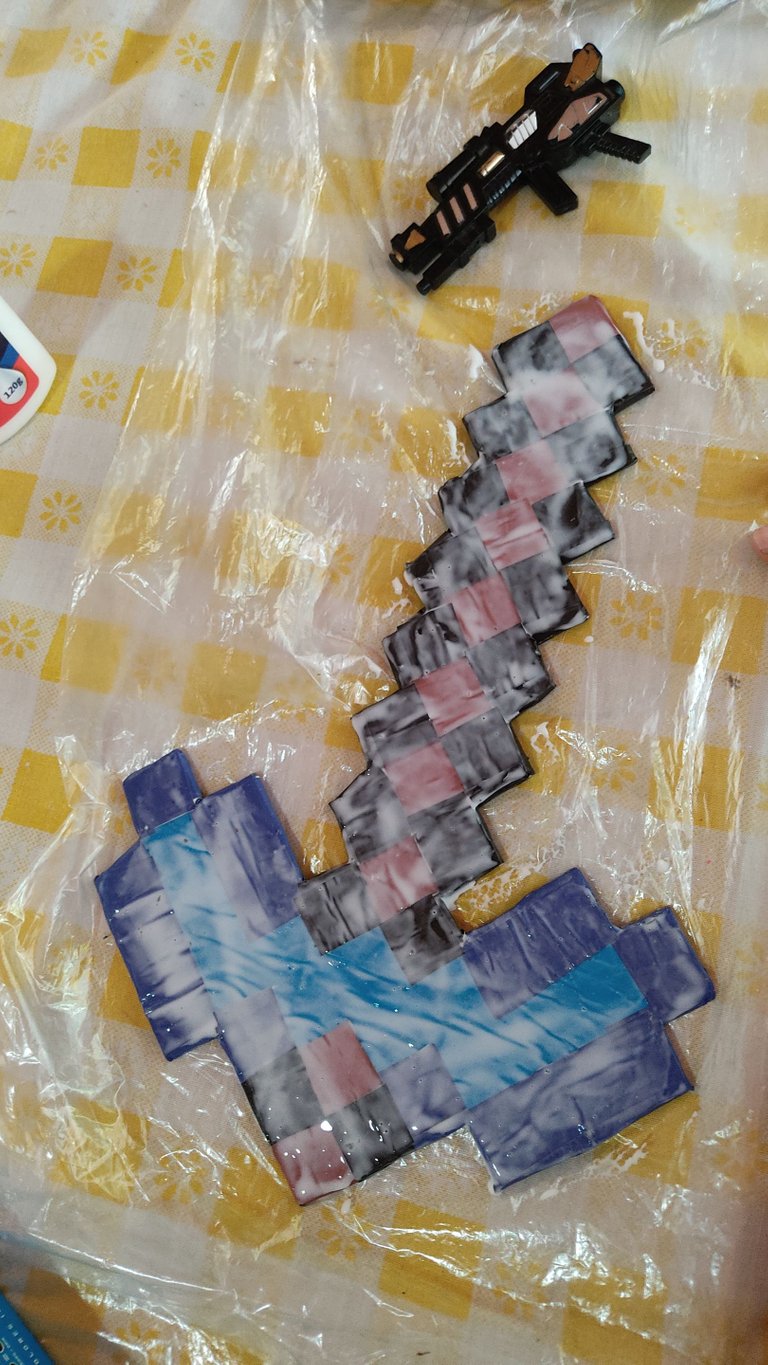
Para hacer la parte azul clara, tuve que descarmar el pico de papel y así tener el molde exacto, sin embargo me salió mal porque por un lado la medida era buena, pero del otro lado era un espejo, es decir, tenía que hacer el molde al revés, no me importó porque tampoco quería perder material y la ecología y esas cosas hippies.
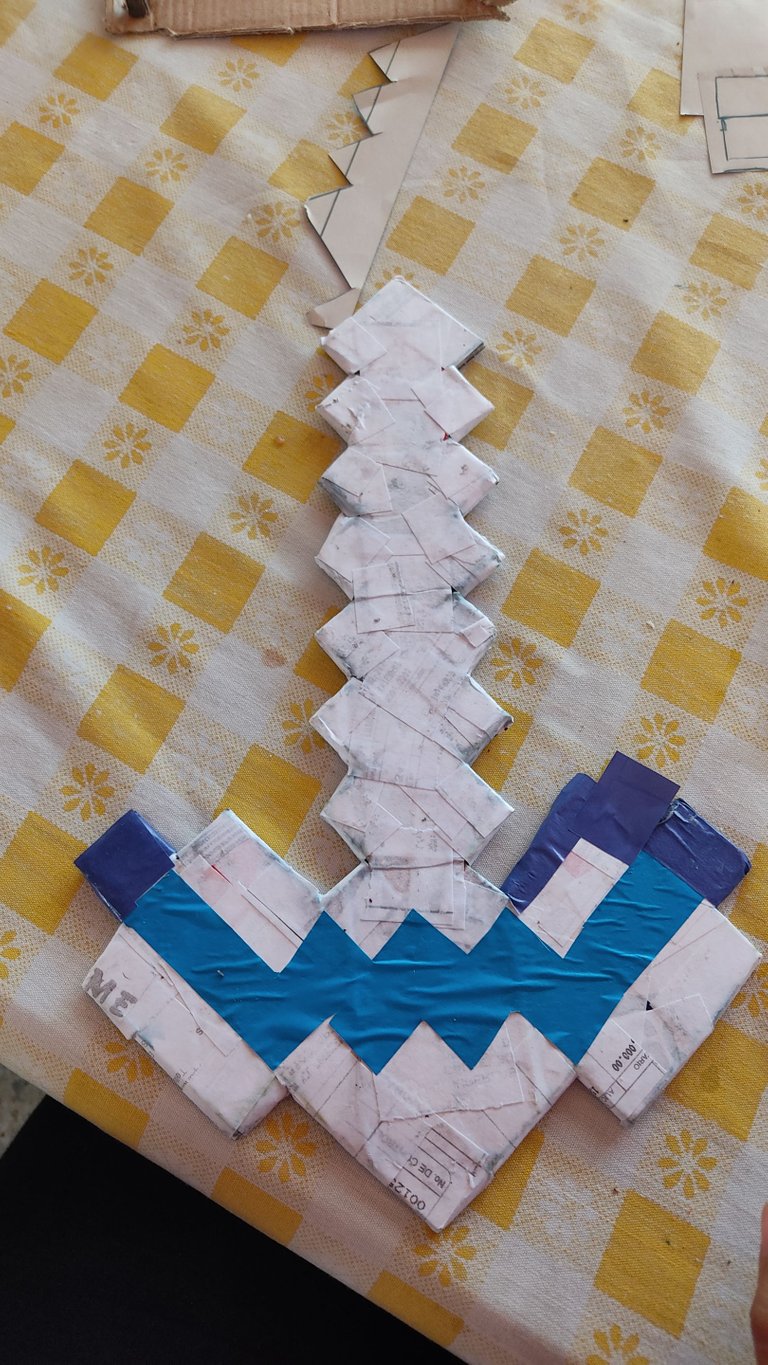
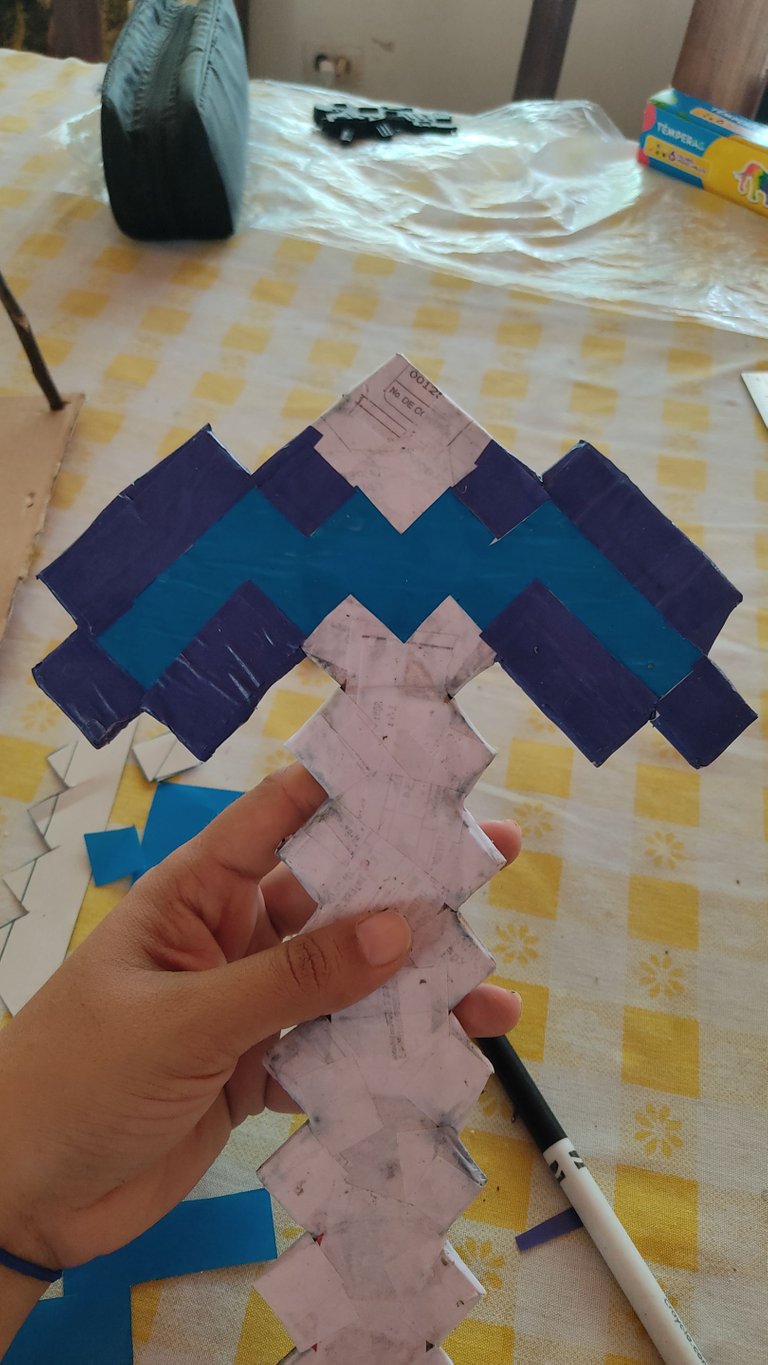
La primera parte que pegué fue la del azul claro, luego el azul oscuro y para que fuera agarrando forma, hice toda la parte de arriba, ahí le comencé a ver la forma y comenzó a gustarme. Aunque no estén exactamente las medidas, yo fui rellenando con papeles del color que tuviera la falla y si se notan los detalles, solo que no me importó.
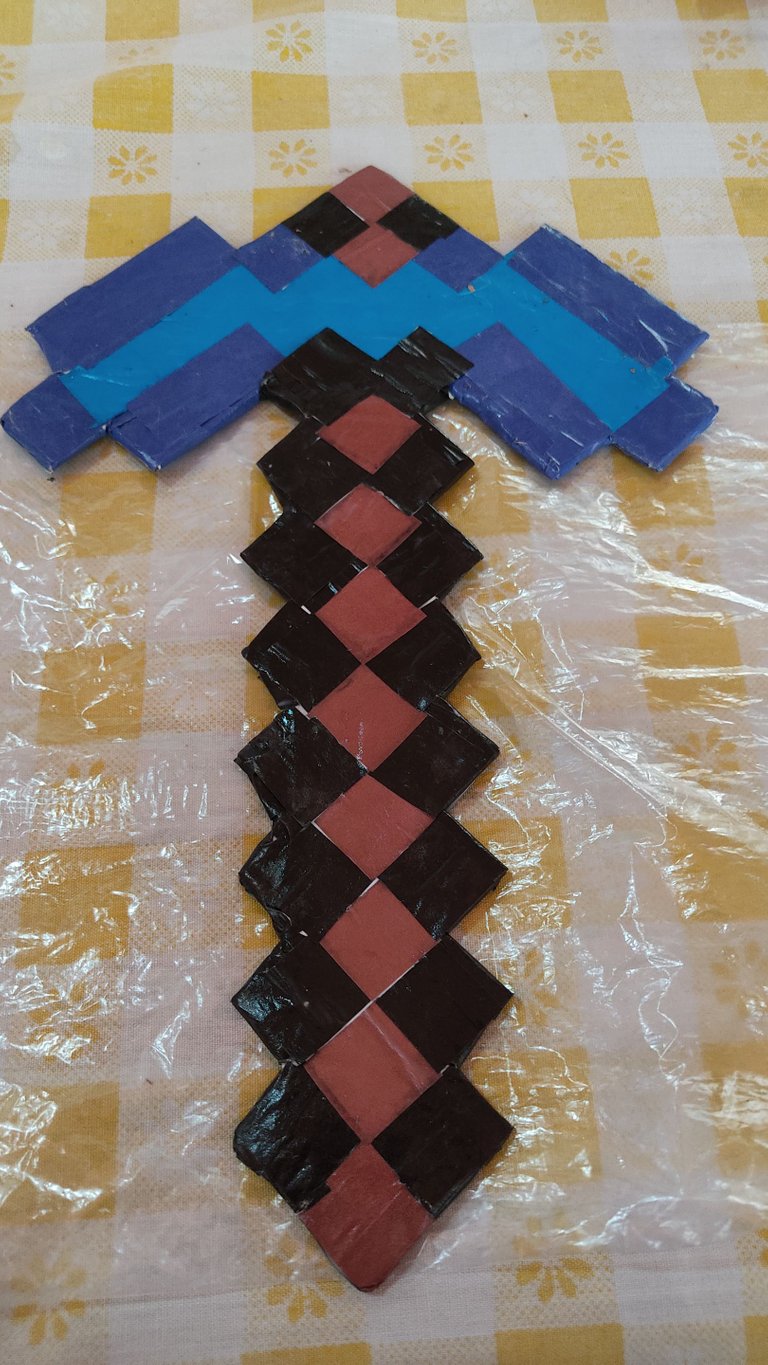
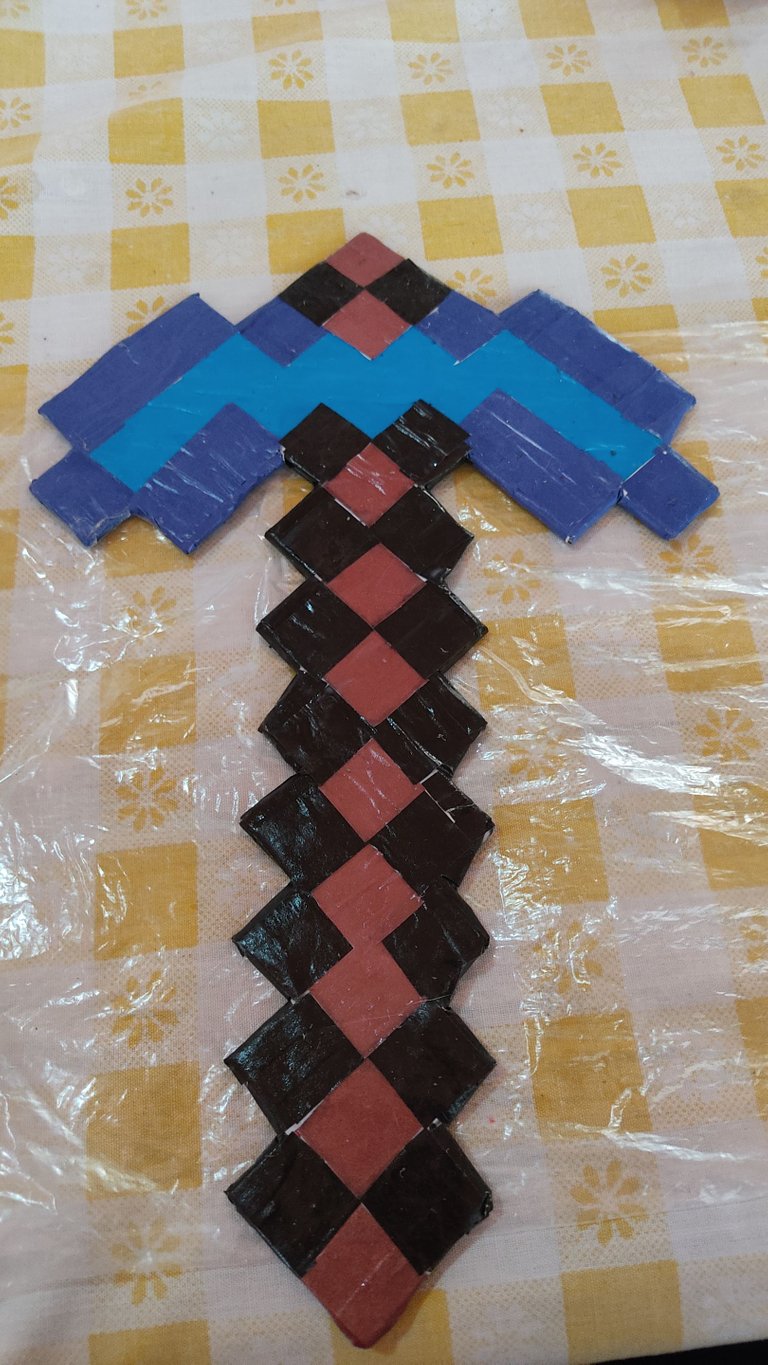
Para hacer la parte marrón oscuro y marrón claro, empecé desde abajo hacia arriba y fui pegando cuadrito con cuadrito, incluso en los bordes para que cubriera todo, a todos los bordes le puse su papel del color que correspondía.
Para adelantar, iba pegando ambas caras del pico y increíblemente, terminé más rápido y no se dañó el papel. Las pegaba con el mismo pegamento con agua. Humedecía y pegaba el papel, cosa de que le diera más fuerza y cuidara que no se dañaran los colores.
 |  |
|---|
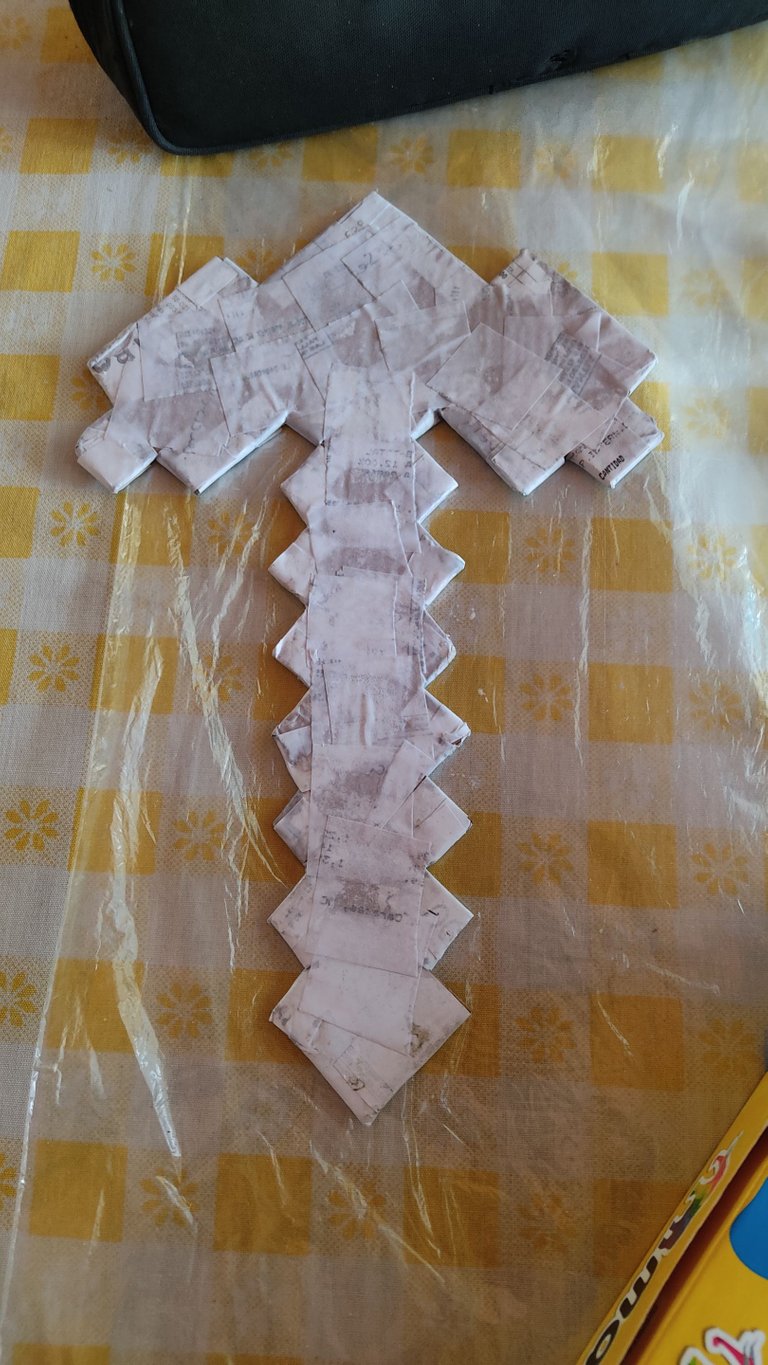
Al terminar de pegar todo el papel, hacer una capa de pegamento con agua por todo el pico, lo puse a secar; luego me acordé que si le echas pega por encima, se pone brillante y protege mucho más la pieza que se está haciendo.
Así lo hice y el resultado fue extraordinario. A mí me encantó porque lo hice con mucho amor y aparte que apurada porque mi hijo me lo había pedido con anterioridad y yo no me había dispuesto a hacérselo.
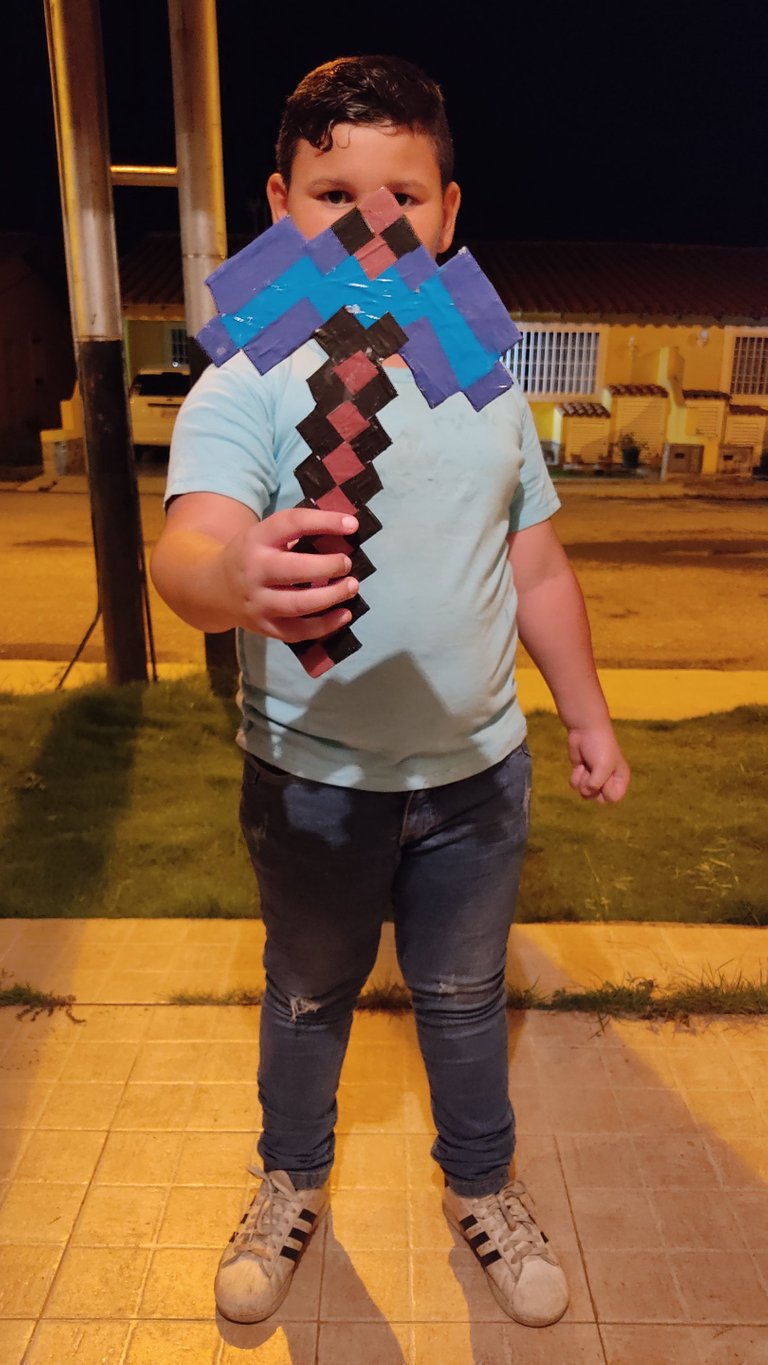
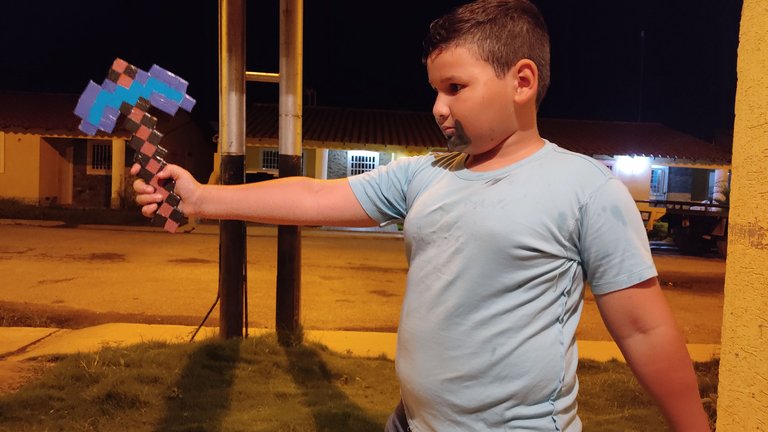
El niño está contento con su nuevo juguete y yo estoy contenta porque él está contento.
English
Making the Minecraft Pickaxe for César
Hello hello
I come here to tell you how I made a Minecraft diamond pickaxe for Caesar, since this was his costume for Halloween, he wanted something else and I persuaded him to make this simpler costume, however I had to make the pickaxe in time record, from noon to 6:00 pm on the same day. I mean, today.
To begin with, it should be mentioned that I didn't even know where to start, and as the muse emerged, ideas kept coming to me. First yes with tempera and at the end use the following implements:
- White papper
- Pencil
- Rule
- Scissors
- Paperboard
- Job
- Water
- Luster paper
- Anime packaging
- Spoon
So, we started looking for the reference image on google of said diamond pick, to have a guide on how to do it, especially since it has several colors and tones that make a difference.
Having that, we start to measure and get a proportion that is a suitable size for the Cesar, it has to be something big because the boy is big. It is drawn on the paper and cut with scissors to have the shape of the beak on paper, that is, the mold.
In the mold, I placed the corresponding color in each square, in order to count and have at hand the colors we needed.
I drew it on the cardboard and cut it with scissors, then I realized that it was very weak and I decided to cut another beak just like it and glue it to each other. For that, I used the glue and found a heavy book so it wouldn't lose its shape.
| |
|---|
When dry, I found recycled paper sheets, cut them into small squares and used the same amount of glue and water. That is, a tablespoon of glue, a tablespoon of water. I mixed it up and there is a watery paste, this in order to wet the paper and stick it to the cardboard. This is done to give the piece strength and make it more resistant.
| |
|---|
The truth is that I worked fast because I was short of time, it's something that doesn't happen to me but with one thing and another, I prepared to make the peak at noon and it was for the night.
With my hands full of glue I filled the entire beak, along the edges, the entire beak, if I had to put another piece of sheet because it didn't cover me well, I did it, it even came out very well for the mess I had.
When I finished that part, I let it dry and went to lunch, and when I got back it was less wet and more manageable. So I let it dry again with the fan in front and started to chop the colored squares.
To make the light blue part, I had to remove the paper beak and thus have the exact mold, however it went wrong because on one side the measurement was good, but on the other side it was a mirror, that is, I had to make the upside down mold, I didn't care because I didn't want to lose material and ecology and those hippie things either.
The first part I glued was the light blue one, then the dark blue one and so that it would take shape, I made the entire upper part, that's when I began to see the shape and I began to like it. Although the measurements are not exactly there, I filled in with papers of the color that had the fault and if the details are noticeable, it just didn't matter to me.
To make the dark brown and light brown part, I started from the bottom up and I was gluing square to square, even on the edges so that it covered everything, I put the paper of the corresponding color on all the edges.
To advance, I was hitting both sides of the peak and incredibly, I finished faster and the paper was not damaged. I stuck them with the same glue with water. He moistened and glued the paper, something that gave it more strength and took care that the colors were not damaged.
| |
|---|
When I finished gluing all the paper, make a layer of glue with water all over the beak, I put it to dry; then I remembered that if you put glue on top, it becomes shiny and protects the piece being made much more.
So I did and the result was extraordinary. I loved it because I did it with a lot of love and apart from that I was in a hurry because my son had asked me before and I hadn't been willing to do it to him.
The boy is happy with his new toy and I am happy because he is happy.
Soy Ana Fuentes💜💜
-Fotos Redmi Note 9S
-Banners Canva
https://twitter.com/72596951/status/1587273869219532802
The rewards earned on this comment will go directly to the people( @soyanafuentes ) sharing the post on Twitter as long as they are registered with @poshtoken. Sign up at https://hiveposh.com.
Quedó genial ✌️😃👍
Eres muy buena con las manos, se te da muy bien, el resultado está 100/100. Bueno yo no soy experto en manualidades pero desde mi humilde opinión te la comiste. Y lo importante sobre todo, es que a César le gustara, tu sabes llevando esto a otros términos hay que pensar en la satisfacción del cliente jajaj y seguro que César no es de los que se conforma 😉
Suerte que tiene tener a alguien que se dedica y le complace en sus cosas 🥰
Un abrazo 🤗
Al cliente siempre hay que atenderlo lo mejor que se pueda.
La verdad esta bastante contento. No ha soltado el pico desde que se lo di.
Amiga @soyanafuentes te quedo genial. Excelente paso a paso y muy buen acabado y lo mejor es que a tu bebe le encanto. Felicidades... ✨
¿Viste que si puedo hacer trabajos con las manos?
Jeje
Gracias. 💜