[ESP-ENG] Flores Navideñas de Foami - Muy Fáciles de hacer ♡✨| Christmas Foami Flowers - Very Easy to Make♥️🎄
Hello, hello! I hope you are wonderful, I am pleased to be once again in this corner of creativity sharing with you with my creative and beautiful people of Hive Diy! Today we are already in the last day of the year, but I had several ideas in mind that I did a little late, with which I managed to decorate my home and of course I want to share with you every little thing, because I know it can serve you as well as me, even for next year.♡
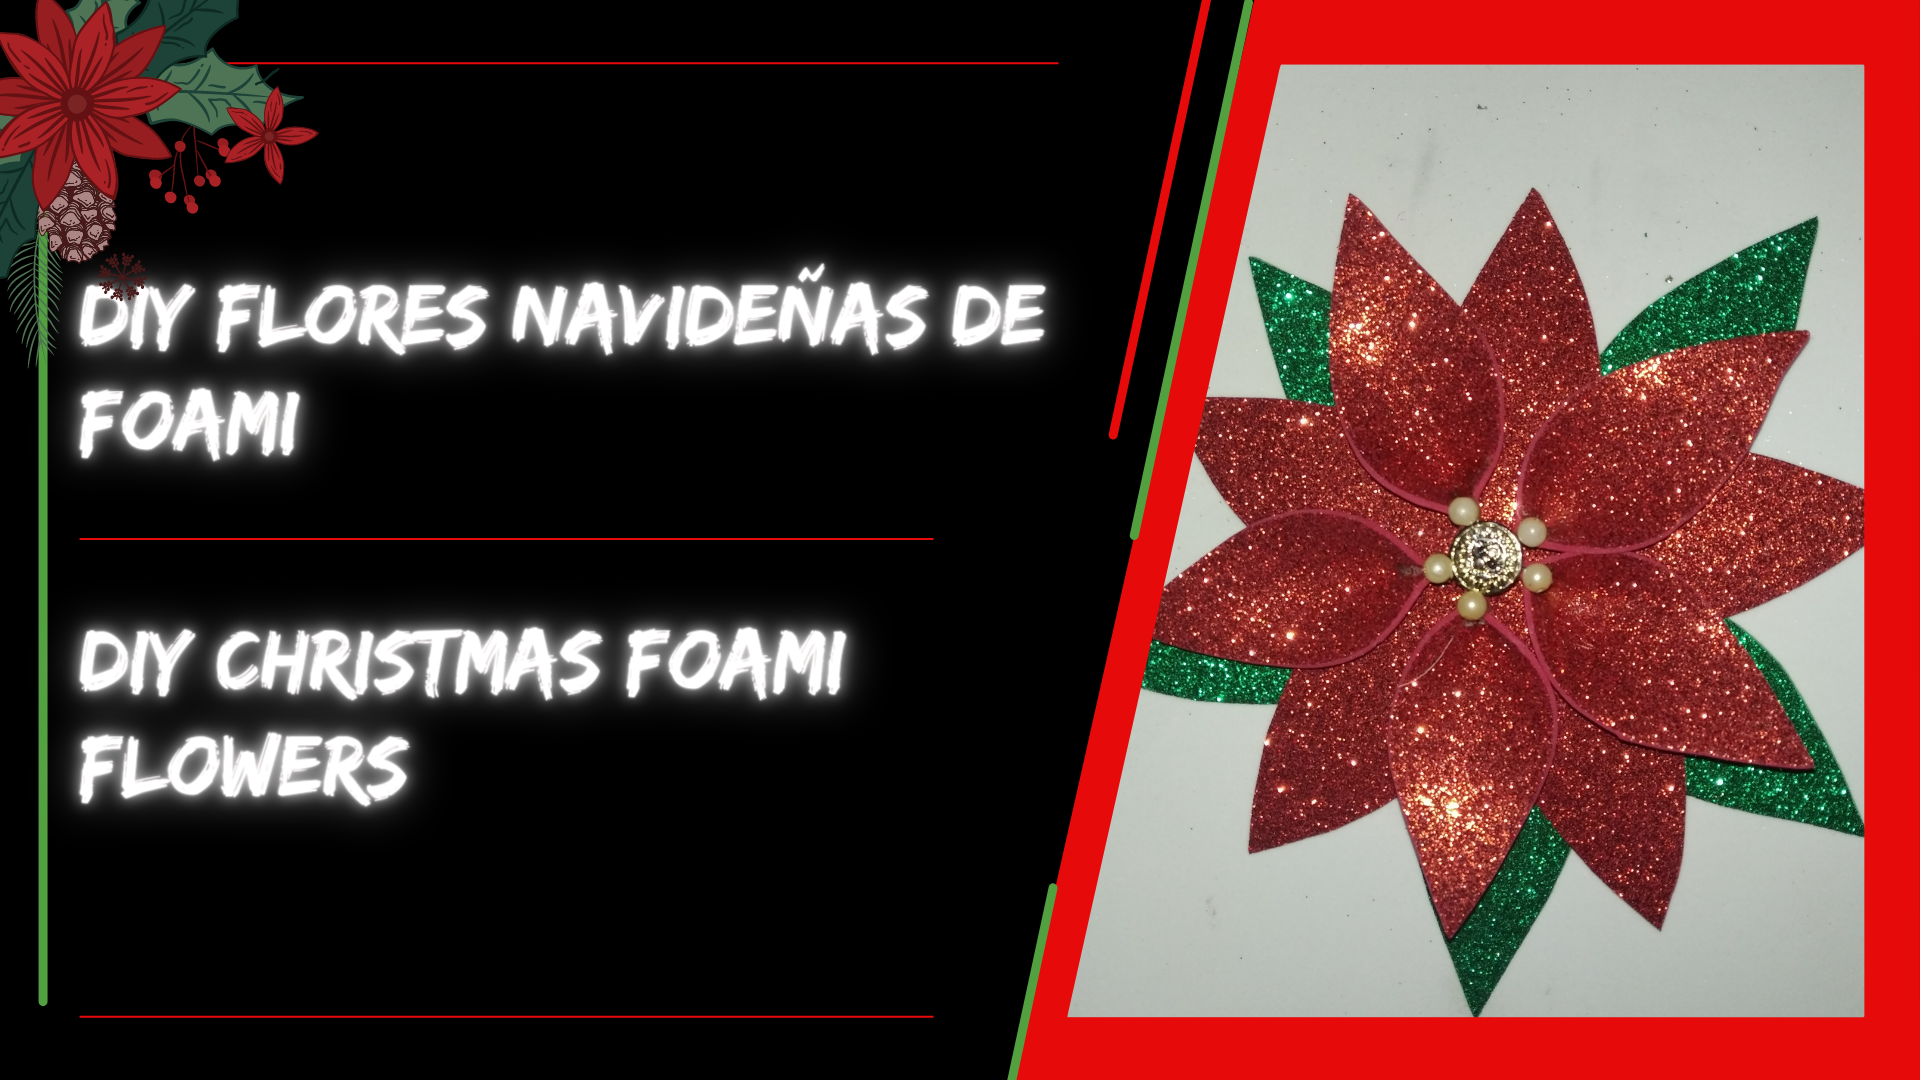
Ya que en estás fechas se trata de decorar con la temática navideña, decidí hacer algo para dar un pequeño toque navideño a mi hogar, así, realicé unas flores de nochebuena para colocarlas en un pequeño muro, acompañada de guirnaldas y luces, así, les puedo contar que me encanto el resultado, al igual que el proceso, ya que es muy fácil y termina siendo hermoso.♡
Since these dates are all about decorating with the Christmas theme, I decided to do something to give a little Christmas touch to my home, so, I made some Christmas Eve flowers to place them on a small wall, accompanied by garlands and lights, so, I can tell you that I love the result, as well as the process, as it is very easy and ends up being beautiful.♡.
For this craft we will only need the following materials:
- Foami escarchado rojo
- Foami escarchado verde
- Silicón
- Algunas perlas
- Tijeras
- Lápiz
- Red frosted foami
- Green frosted Foami
- Silicone
- Some beads
- Scissors
- Pencil
Fuente
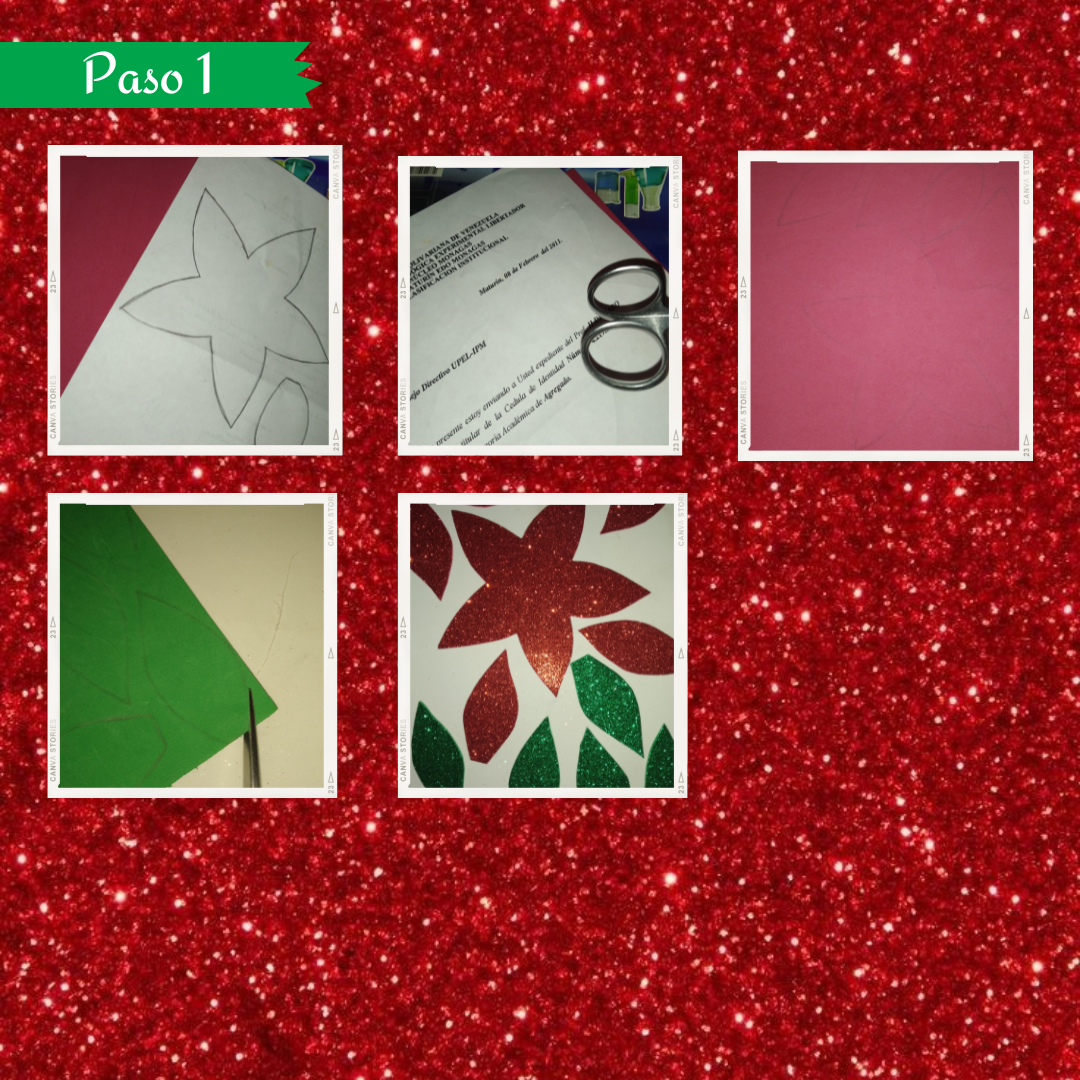
Paso 1:
Step 1:
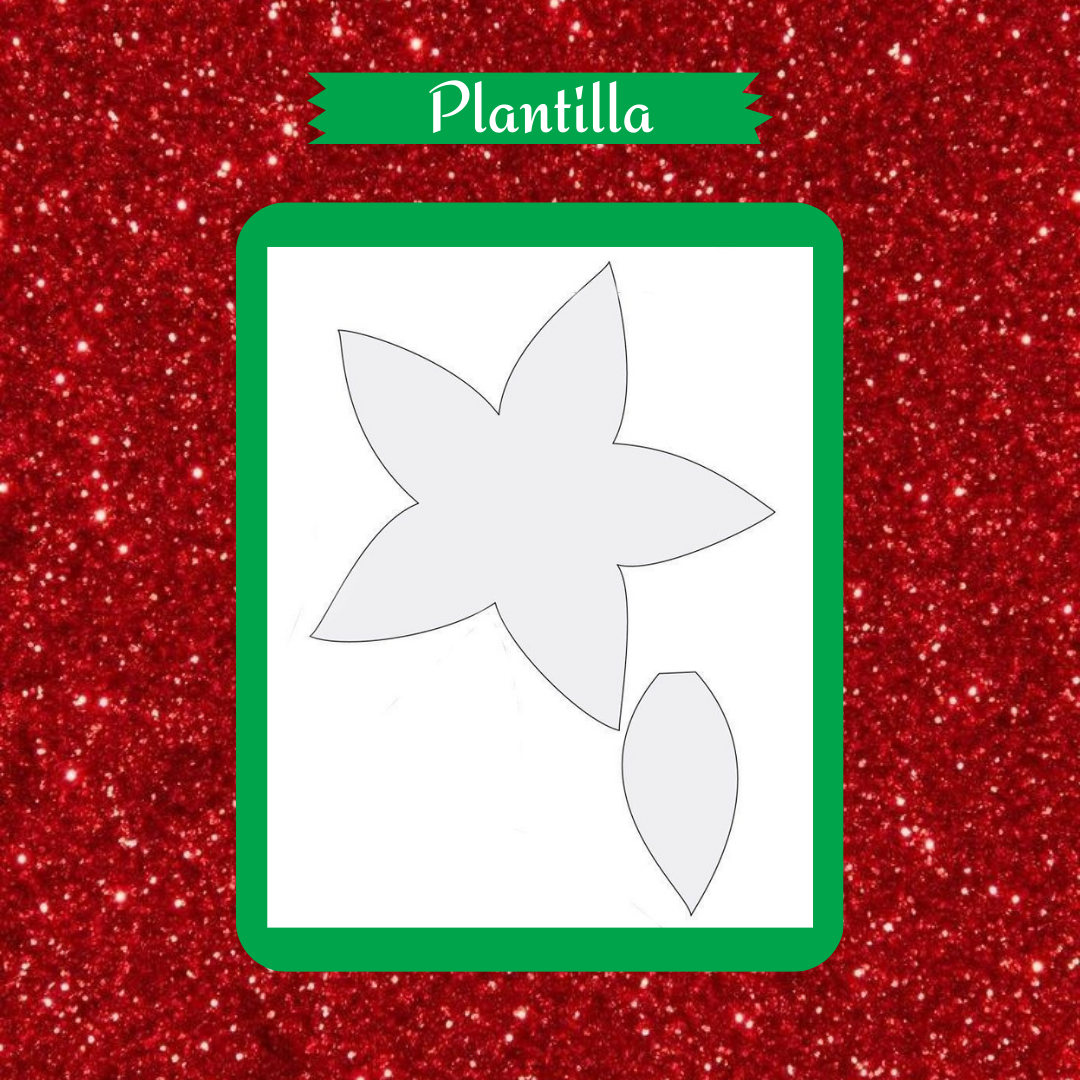
Para empezar todo va a partir de nuestro molde (se los dejó allí arriba), yo lo paso a una hoja de reciclaje y luego con la ayuda de un lápiz remarcó las figuras completamente, para después tomar el foami escarchado de color rojo, darle la vuelta al contrario del lado escarchado, tomó la hoja del molde ya previamente remarcada, darle la vuelta y acomodar muy bien, así, con la parte de dónde se sostiene la tijera, vamos a pasar por todo el espacio cuidadosamente, haciendo que la figura se transfiera al foami. De está manera, con el molde del pétalo vamos a trazar de la misma manera cinco pétalos en el foami escarchado y los recortaremos.
To start everything will start from our mold (I left them up there), I pass it to a sheet of recycling and then with the help of a pencil remarked the figures completely, and then take the red frosted foami, turn it around on the opposite side of the frosted side, took the sheet of the mold and previously remarked, turn it over and arrange it very well, so, with the part where the scissors are held, we will go through all the space carefully, making the figure is transferred to the foami. In this way, with the petal mold we will trace in the same way five petals on the frosted foami and we will cut them out.
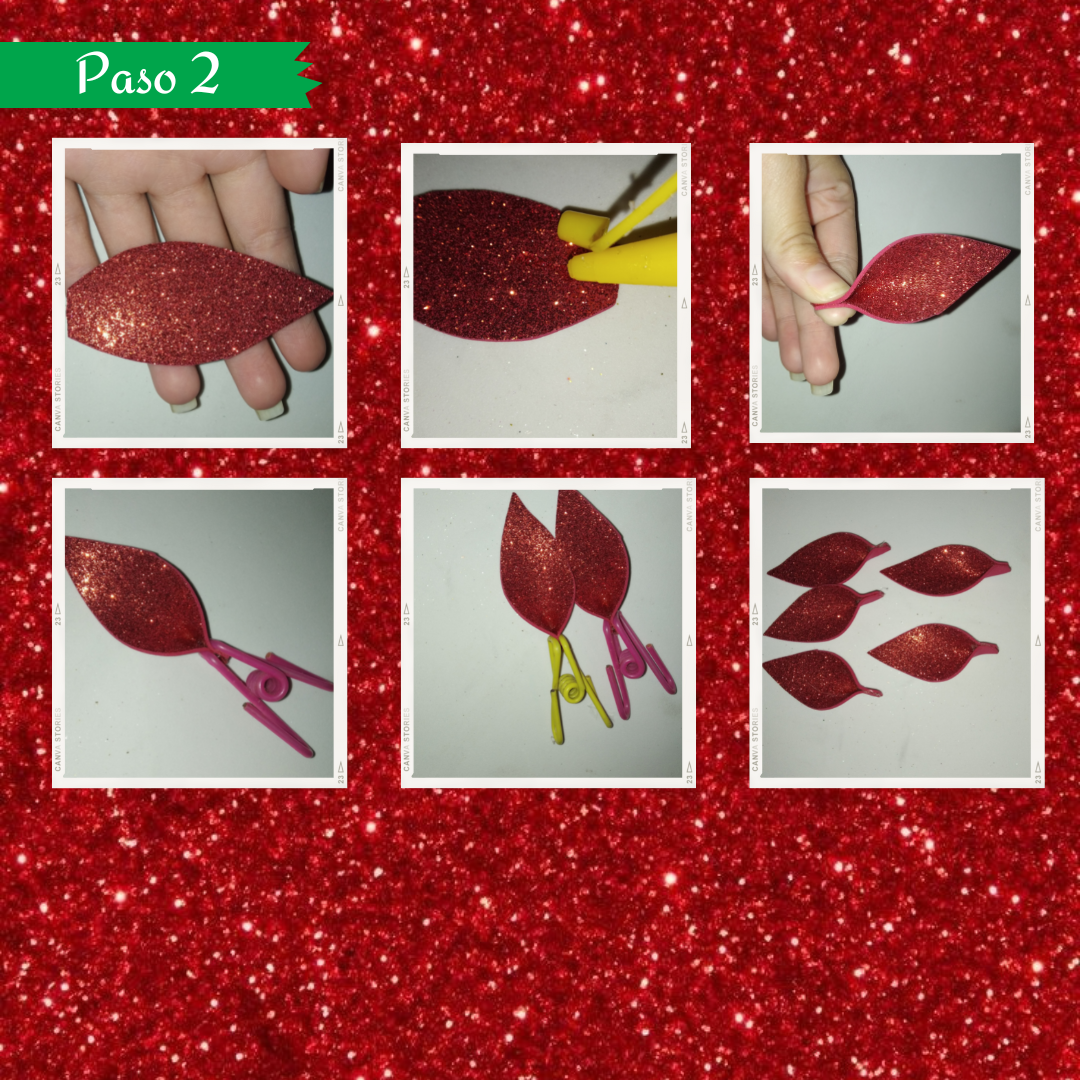
Paso 2:
Step 2:
Seguidamente al tener marcada nuestra figura tomamos la tijera y recortamos cada pieza siguiendo el borde del lápiz de manera cuidadosa. Al culminar de recortar cada pieza, vamos a tomar un pétalo y con el silicón frío o caliente de preferencia (no tengo pistola de silicón, por eso utilizo frío), vamos a colocar en la parte de abajo del pétalo una pequeña línea, justo a la mitad, para proseguir a presionar sutilmente unos pocos segundos, también nos podemos ayudar de una pinza que lo sostenga, de esta forma haremos con cada uno de los cinco pétalos que tenemos.
Next, once we have marked our figure, we take the scissors and cut out each piece carefully following the edge of the pencil. When we finish cutting out each piece, we are going to take a petal and with the cold or hot silicone preferably (I don't have a silicone gun, so I use cold), we are going to place a small line at the bottom of the petal, right in the middle, to continue to press subtly for a few seconds, we can also use a clamp to hold it, in this way we will do with each of the five petals that we have.
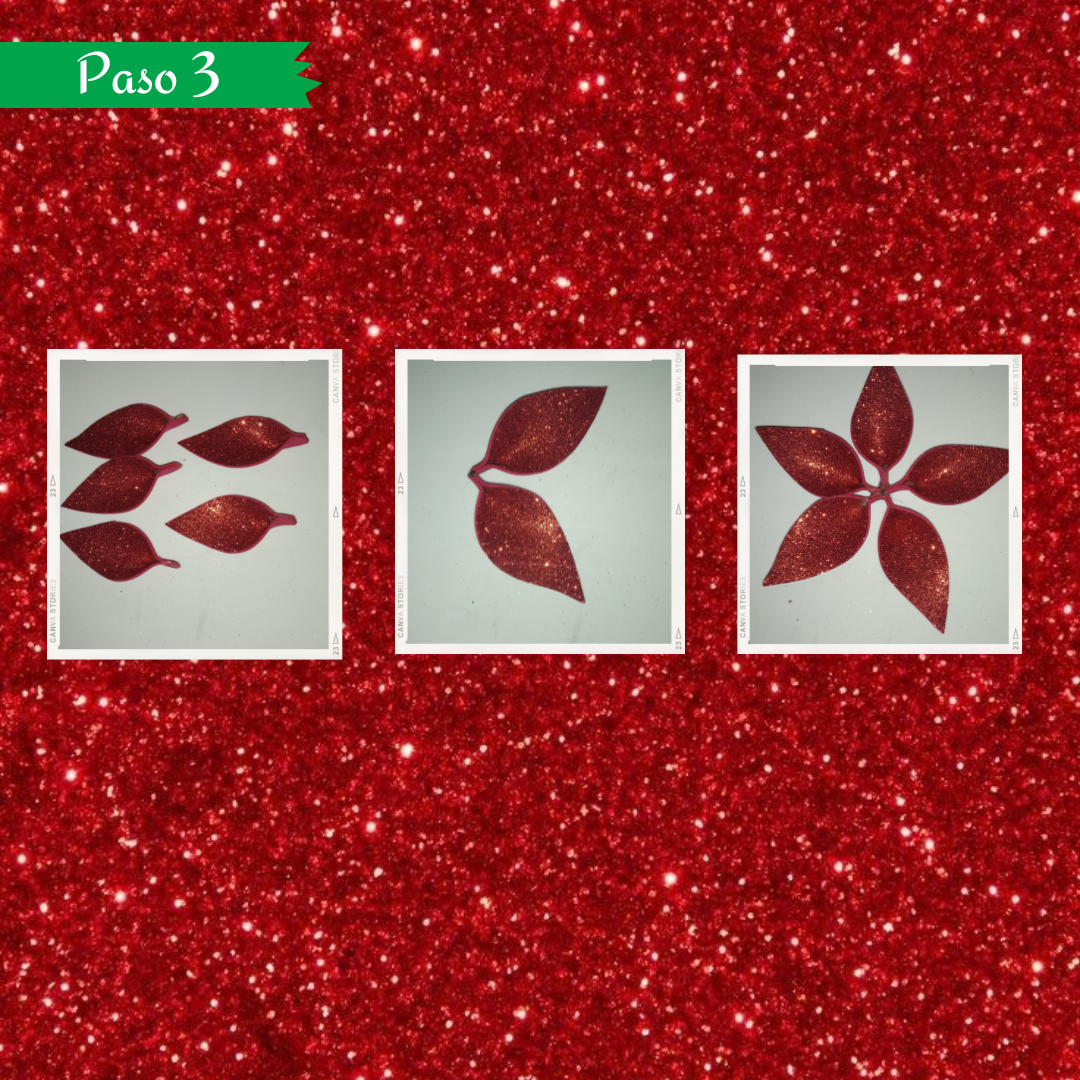
Paso 3:
Step 3:
Después de tener cada pétalo listo, vamos a tomar dos de estos, así con una gota de silicón en el centro las vamos a unir y agregaremos otro de la misma manera, seguiremos así sucesivamente acomodando y pegando uno por uno, hasta armar está flor de cinco pétalos.
After having each petal ready, we will take two of these, and with a drop of silicone in the center we will join them and add another in the same way, we will continue successively arranging and gluing one by one, until we assemble this flower of five petals.
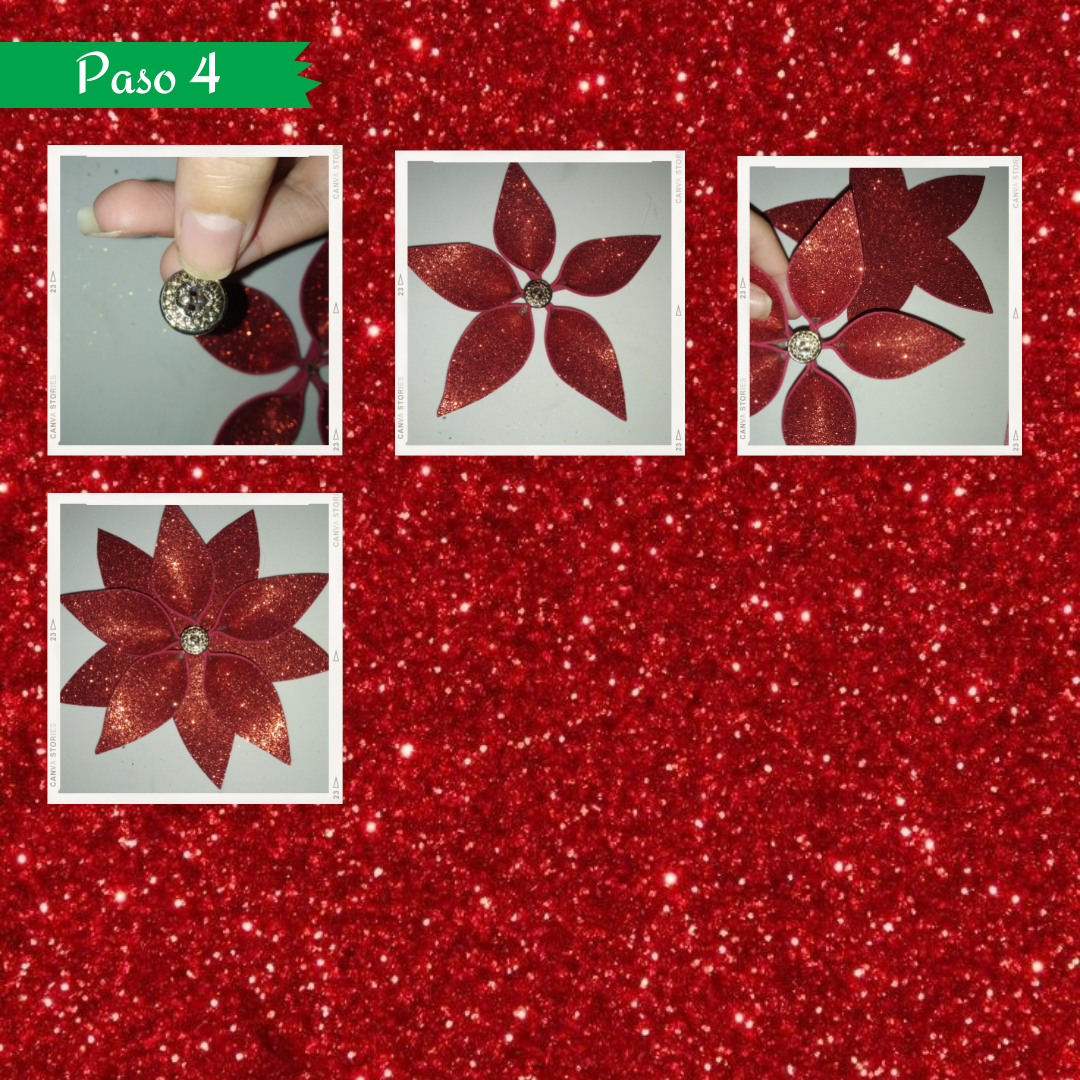
Paso 4:
Step 4:
Teniendo nuestras dos piezas, vamos a tomar la figura armada de los pétalos y le agregaremos una perla o en este caso un botón, centrada porsupuesto, después tomaremos está pieza y agregaremos silicón en en medio de la parte de abajo y la pegamos acomodando uno encima de otro, de manera que queden los pétalos llenando los espacios.
Having our two pieces, we will take the assembled figure of the petals and add a pearl or in this case a button, centered of course, then we will take this piece and add silicone in the middle of the bottom and glue it by placing one on top of the other, so that the petals are filling the spaces.

Paso 5:
Step 5:
Ahora bien, agarramos las cinco hojas de color verde y en la parte de abajo de la flor, detrás de los pétalos rojos vamos a pegar estos con el silicón, acomodando bien todo esto. Luego tome perlas y las ubique alrededor del botón justo donde están los pétalos.
Now, take the five green leaves and on the bottom of the flower, behind the red petals, we are going to glue them with the silicone, arranging everything well. Then take pearls and place them around the button just where the petals are.
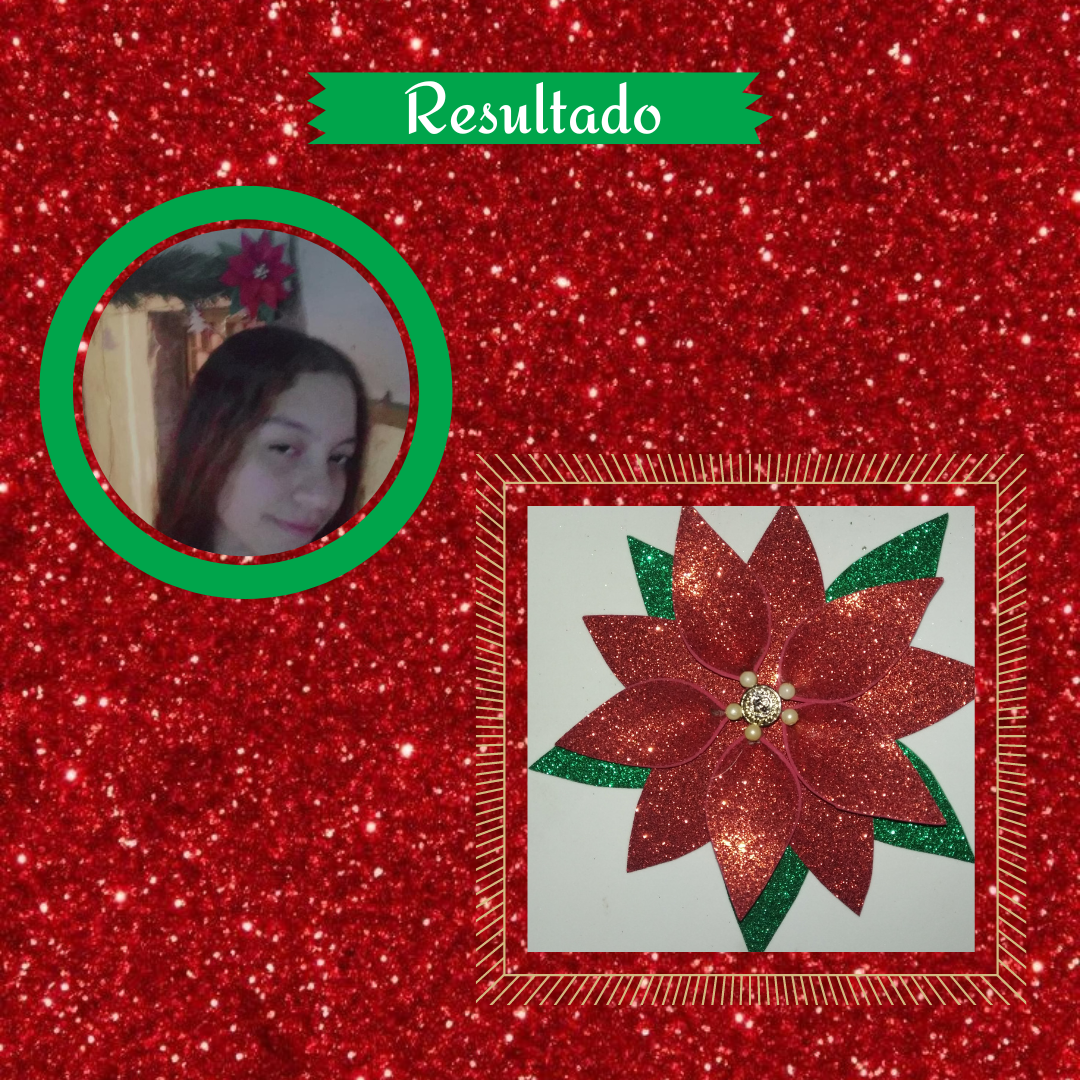
¡Y ya está! Tenemos lista nuestra flor de navidad, perfecta para decorar cualquier espacio a nuestra elección, quedan divinas y dan ese toque navideño, perfecto para la ocasión.♡
And that's it! We have ready our Christmas flower, perfect for decorating any space of our choice, they look divine and give that Christmas touch, perfect for the occasion.
Me despido cordialmente de todos, deseándoles un próspero año nuevo, que el año que viene este lleno de bendiciones y de cosas buenas, pero sobre todo de ¡muchas manualidades y creatividad! Los quiero mucho, cuídense.✨💚
I bid you all a hearty farewell, wishing you a prosperous new year, may the coming year be full of blessings and good things, but most of all lots of crafts and creativity! I love you all very much, take care.✨💚
¡Gracias por leer una vez más! Hasta el año que viene.♡
Thank you for reading once again! See you next year.♡
Photos of my authorship taken from my Xiaomi Redmi phone, edited in the free version of Canva.
This is very creative . So i share this post 🤩
Thank you so much! Happy New Year.✨🤍
https://twitter.com/1602924208522203137/status/1609052506428145671
The rewards earned on this comment will go directly to the people( @nishani9 ) sharing the post on Twitter as long as they are registered with @poshtoken. Sign up at https://hiveposh.com.
💗
Has sido votado por
PROYECTO ENLACE
'Conectando Ideas y Comunidades'
PROYECTO ENLACE es un proyecto de curación de habla hispana enfocado en recompensar contenido de calidad y apoyar autores en su proceso de crecimiento en HIVE.
Creemos y apostamos por el futuro de esta gran plataforma, y estamos muy emocionados de poder hacerla crecer junto a esta comunidad. Así que te invitamos a usar nuestra etiqueta ENLACE y estar atento a todas las actividades que tenemos preparadas y que estaremos publicando en breve.
¿QUIERES AUTOMATIZAR TUS GANANCIAS DE CURACIÓN? SE PARTE DEL PROYECTO ENLACE APOYANDO A NUESTRO TRAIL EN HIVE.VOTE INGRESA AQUÍ PARA CONOCER LOS DETALLES.
¿QUIERES INVERTIR ENLACE? DESCUBRE COMO HACERLO Y GENERAR INGRESOS DE FORMA SEMANAL MEDIANTE TU DELEGACIÓN DE HP AQUÍ TE EXPLICAMOS COMO.
Te invitamos a participar en nuestro servidor de Discord: https://discord.gg/3S9y7BbWfS
Atentamente
EQUIPO ENLACE 2022
¡Muchas gracias! ✨
Está muy bonita y llamativa. Seguramente luce muy bien en casi cualquier adorno y me gusta mucho el detalle de las perlitas también😍🌼
Muchas gracias amiga, sii, se puede adaptar a varios lugares, de maravilla, gracias, feliz año✨🤍
Congratulations @stefania16! You have completed the following achievement on the Hive blockchain And have been rewarded with New badge(s)
Your next target is to reach 4750 upvotes.
You can view your badges on your board and compare yourself to others in the Ranking
If you no longer want to receive notifications, reply to this comment with the word
STOPCheck out our last posts:
Support the HiveBuzz project. Vote for our proposal!
Quedan muy lindas las flores navideñas, me gusta mucho todo lo que se puede crear con el foami y si es escarchado mejor, gracias por compartir El Paso a paso, espero pases un feliz año nuevo 🤗🙏
Sí la verdad el resultado es increíble, gracias a ti por tu valioso comentario, igualmentemente, feliz año nuevo.💗