Homemade Coconut Milk - A Simple Method - Seaview, Lower Puna, Far East Big Island, Hawai'i - May 4, 2022
Warm greetings all. 🙏 💚
Today I made another batch of coconut milk, and I decided to take photos of the process to share with y'all here. There are a few different ways to make coconut milk. If you have a good juicer, such as a Green Star (or similar models) turbine juicer, the you can simply run coconut meat from older coconuts or coconut sprouts through it and you have coconut milk. If you don't have a turbine juicer, however, there are still methods for making yummy coconut milk, quite easily, and I'm going to show you one of them today. 🥥
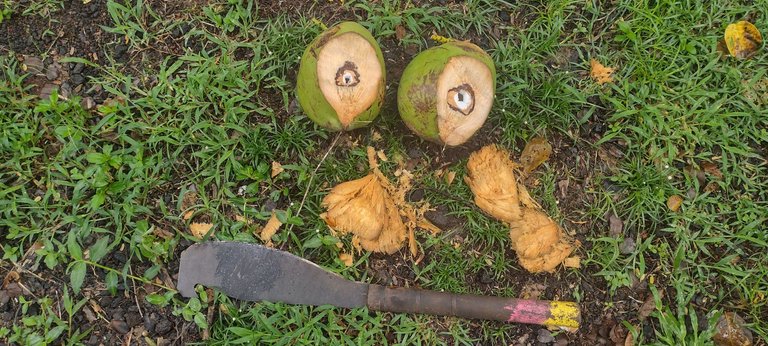
The first step is to cut the coconuts open to drain out the coconut water inside. I use my trusty Fijian machete. The coconut water from older coconuts, while still good, is not the best for drinking, as much of the natural sugars have been used up already. It can be drunk straight, used to make coconut milk (I used the coconut water from these coconuts to make smoothies yesterday), or put in smoothies.
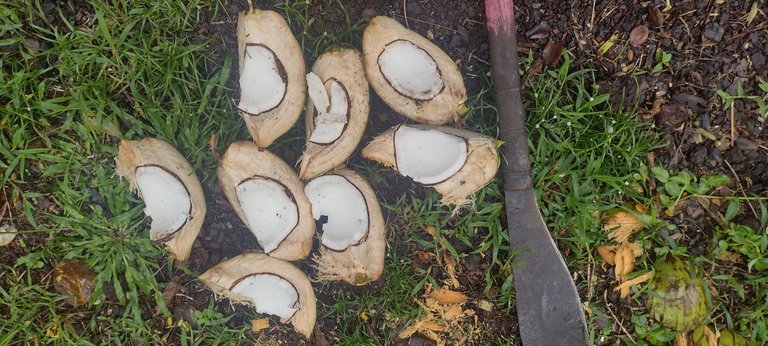
The second step is to chop the coconuts into smaller sections, to more easily extract the coconut meat. The older a coconut the harder and thicker the coconut meat. The meat I'm using is mid-age, from coconuts that we call shakers, so while it is quite firm, it's also still very pliable.
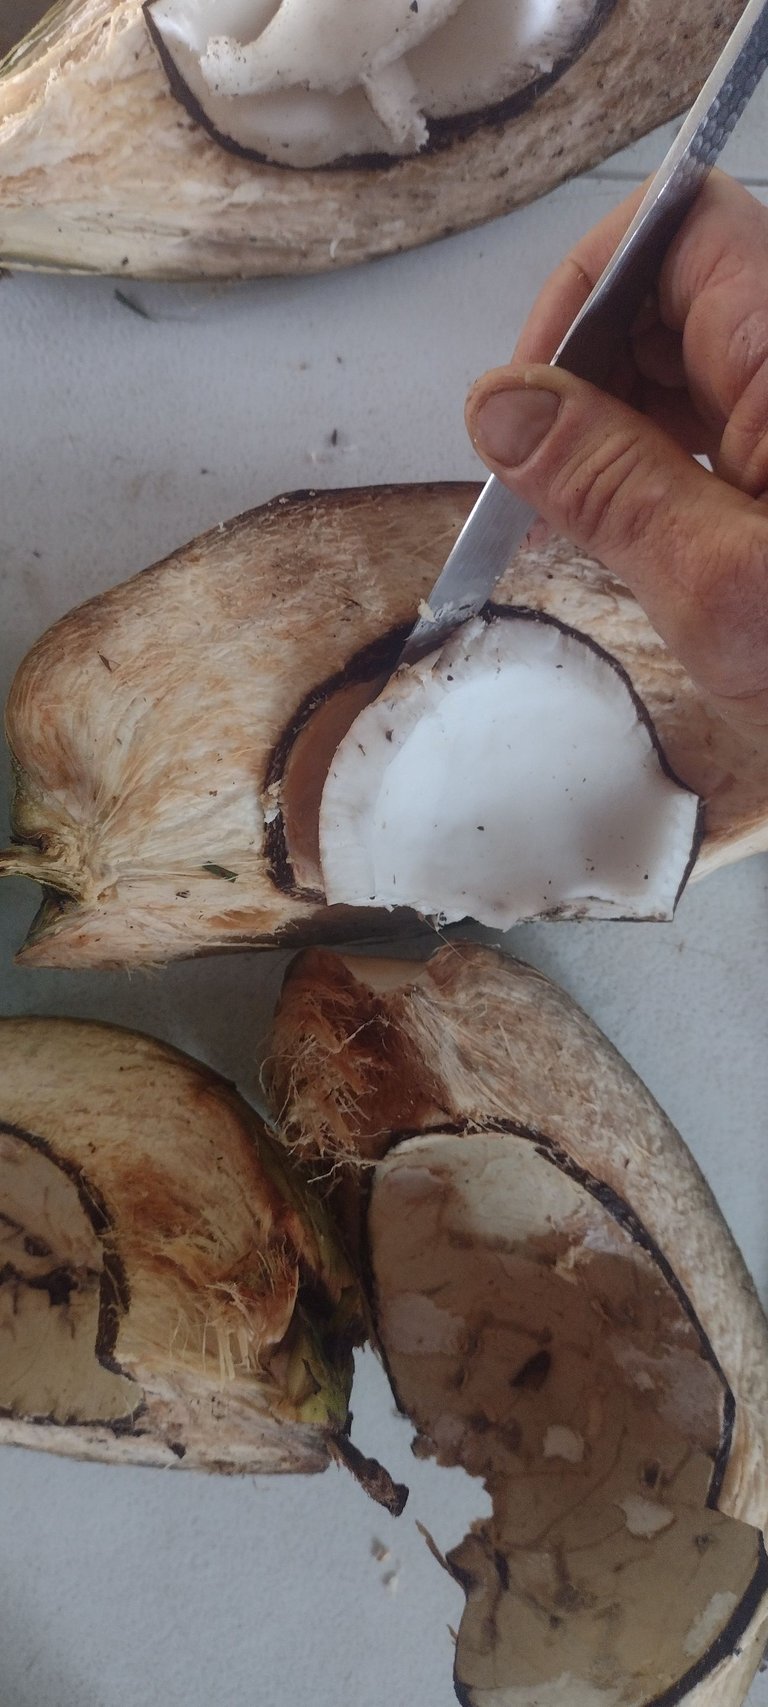
The third step is to remove the coconut meat from the coconuts. A strong spoon, butter knife, a chisel, or a specialized coconut popper could all be used, though depending on how hard the coconut meat is, one or the other may be more useful and easier. A strong butter knife worked great for me this time.
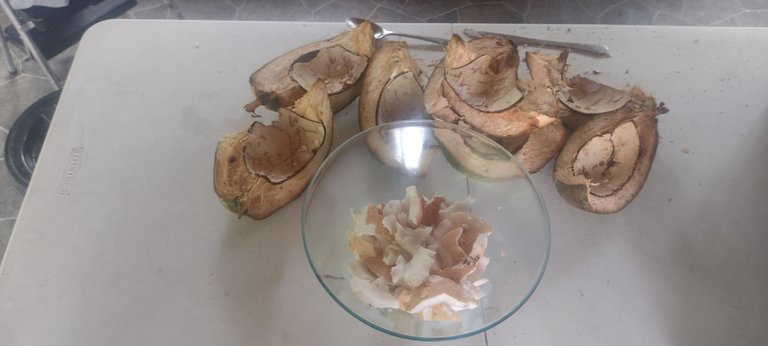
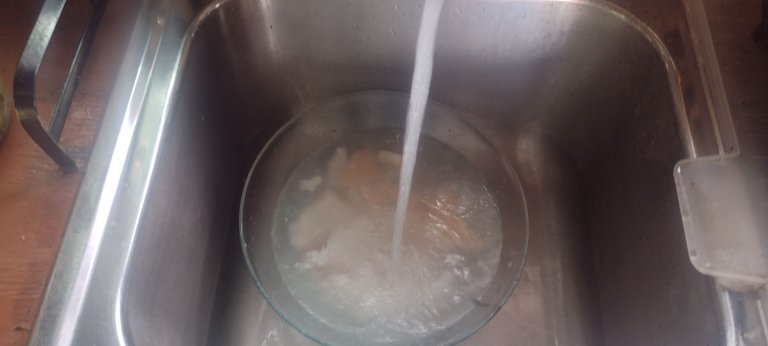
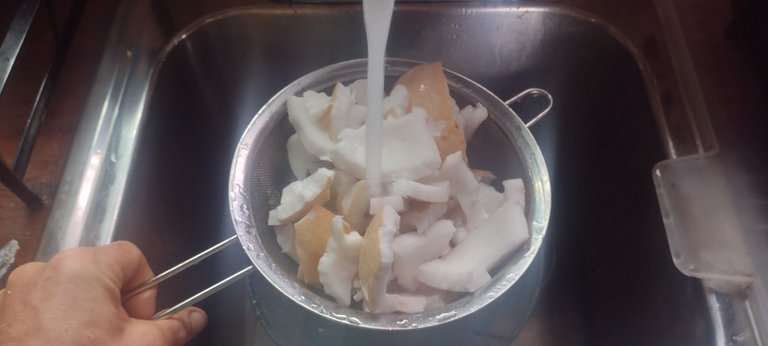
The fourth step is to wash the coconut meat. Since I chopped the coconuts on the ground, I had to wash some dirt off, along with smaller bits of coconut husk and nut.
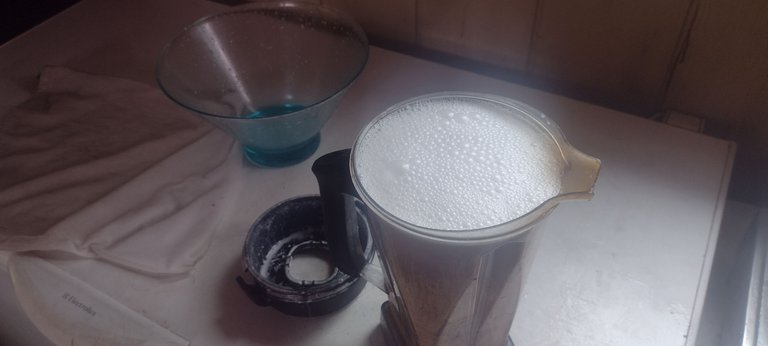
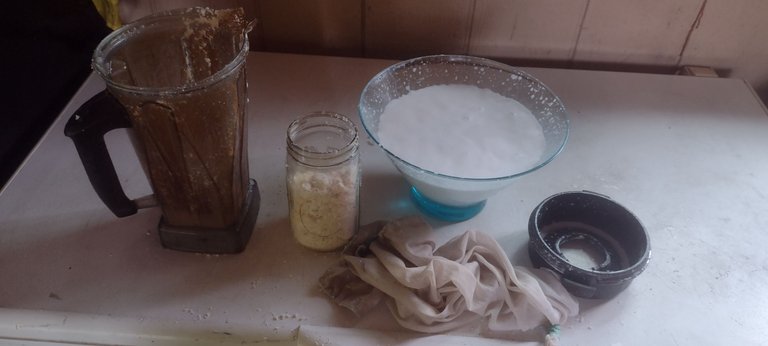
The fifth step is to put the cleaned coconut meat into a blender, fill it with water or the coconut water from the coconuts (though in older coconuts there is usually not enough water to be very useful for this purpose), then blend it until smooth. This is a VitaMix blender, a very powerful and efficient blender, which makes the process quicker.
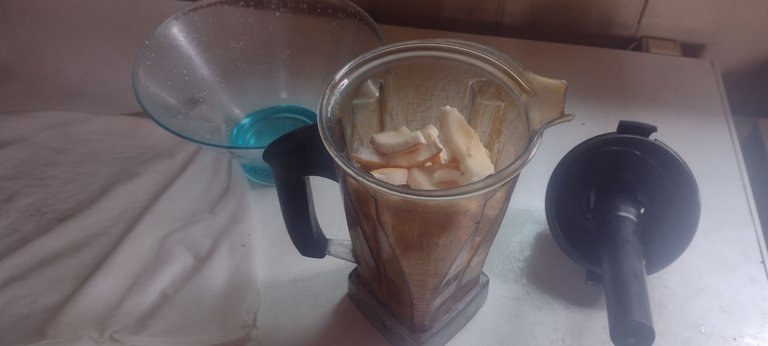
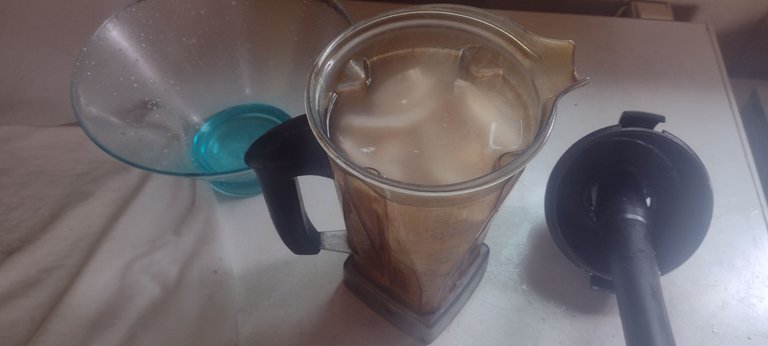
With the VitaMix I blended it for one minute. If you're using a less powerful blender, you'll likely have to do it in smaller rounds, and it will take longer, but should still work fine.
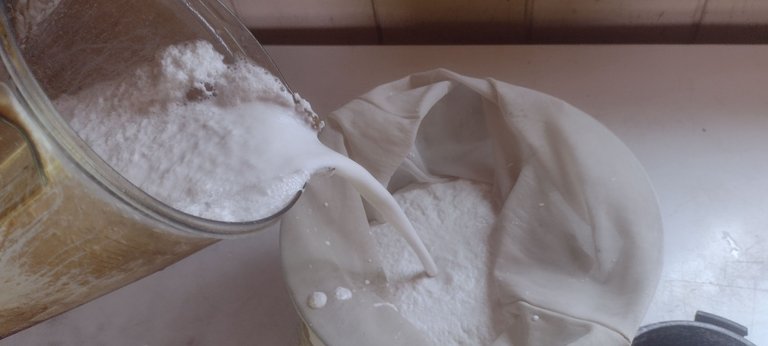
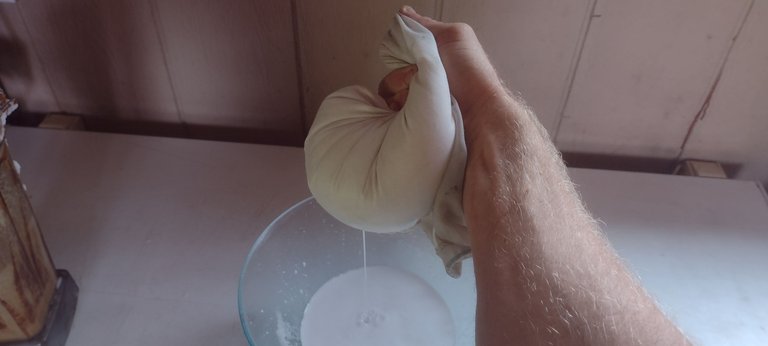
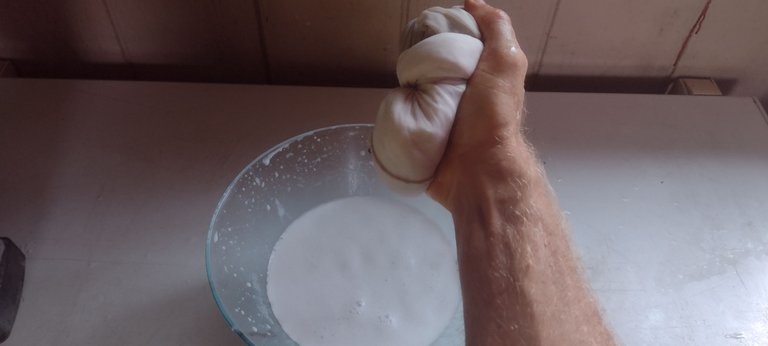
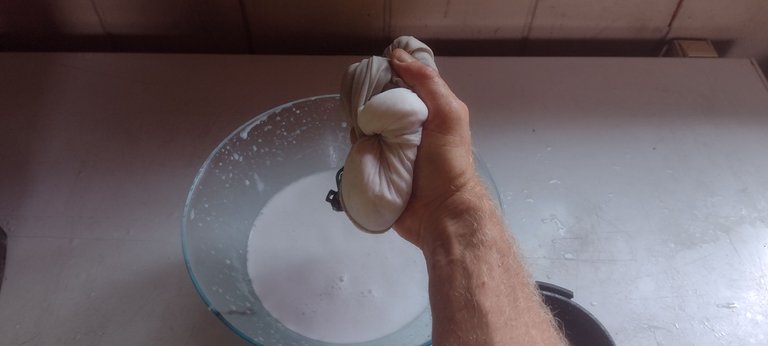
The sixth step is to pour the blended coconut meat and water into a strainer bag and then gently squeeze and wring it out, until there is no more (or very little) coconut milk coming out of the bag. With a full blender, I had to do this two times.


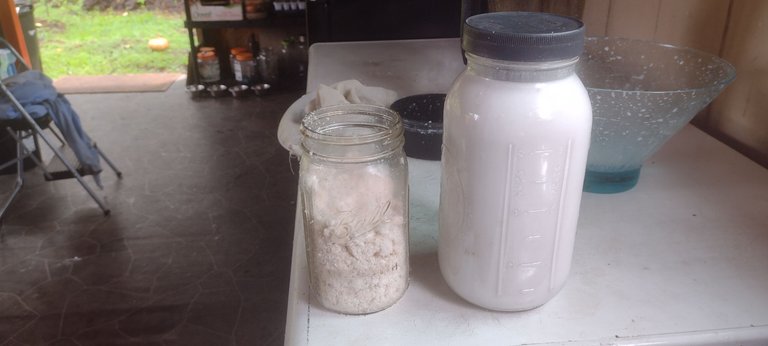
Step seven is to pour the newly made coconut milk into a jar or jars, depending on how much is made. Today I made a half gallon (two quarts). The squeezed out coconut meat can be seen in the quart jar next to the half gallon of new coconut milk. Coconut meat and milk spoil quite quickly, so put it in the refrigerator unless it is going to be used right away.

There you have it! A simple, quick way to make coconut milk. Of course, you do need to have enough coconuts of the proper age, so while I agree this may not be easy for those that don't live in tropical or subtropical locations without coconuts, if there are coconuts available, it's not difficult at all. 🥥
I hope y'all enjoyed this tutorial! Thank you all so much for allowing me to share more of the beauty and magic from my life and world, and for your continued appreciation and support! 🙏 💚
This is more like a guide on making coconut milk. Doing it yourself makes everything fun and worth practicing. I hope to do so one day in my own.
Thanks for sharing this tutorial section.
Made in Canva
!ALIVE
This post has been curated by the Alive And Thriving Team, we curate
good content in the We Are Alive Tribe
that is on topic for #AliveAndThriving, and it's included in our daily
curation report on @aliveandthriving.
@tydynrain! You Are Alive so I just staked 0.1 $ALIVE to your account on behalf of @aliveandthriving. (4/30)
The tip has been paid for by the We Are Alive Tribe through the earnings on @alive.chat, feel free to swing by our daily chat any time you want.

Yes, I wanted to show people, in very simple steps, just how easy it is to make. I agree about making stuff for ourselves. It's fun and very useful to know how to make things for ourselves. It's my pleasure to share what I know. Thank you! 🙏 💚
Yay! 🤗
Your content has been boosted with Ecency Points, by @tydynrain.
Use Ecency daily to boost your growth on platform!
Support Ecency
Vote for new Proposal
Delegate HP and earn more
Love it @tydynrain thanks for sharing your tutorial
Great work my friend Have the best day 😎
!ALIVE
!PIZZA
@tydynrain! You Are Alive so I just staked 0.1 $ALIVE to your account on behalf of @benthomaswwd. (11/20)
The tip has been paid for by the We Are Alive Tribe through the earnings on @alive.chat, feel free to swing by our daily chat any time you want.

Thank you so much brother! I'm grateful that it was so appreciated! I love making guides and tutorials! Have a day filled with marvel and wonder! 🙏 💚
You are most welcome @tydynrain have a wonderful day😎
!ALIVE
!CTP
!PIZZA
@tydynrain! You Are Alive so I just staked 0.1 $ALIVE to your account on behalf of @benthomaswwd. (4/20)
The tip has been paid for by the We Are Alive Tribe through the earnings on @alive.chat, feel free to swing by our daily chat any time you want.

PIZZA Holders sent $PIZZA tips in this post's comments:
@benthomaswwd(4/5) tipped @tydynrain (x2)
Learn more at https://hive.pizza.
Thank you for sharing this amazing post on HIVE!
Your content got selected by our fellow curator @priyanarc & you just received a little thank you via an upvote from our non-profit curation initiative!
You will be featured in one of our recurring curation compilations and on our pinterest boards! Both are aiming to offer you a stage to widen your audience within and outside of the DIY scene of hive.
Join the official DIYHub community on HIVE and show us more of your amazing work and feel free to connect with us and other DIYers via our discord server: https://discord.gg/mY5uCfQ !
If you want to support our goal to motivate other DIY/art/music/homesteading/... creators just delegate to us and earn 100% of your curation rewards!
Stay creative & hive on!
Thank you so much! I'm very grateful that it was so appreciated!