[ESP-ENG] Haciendo un divertido tren de colores| Making a fun color train
A big greeting to everyone, I want to share with you on this day, a fun train full of colors for the little ones, made with toilet paper tubes, children love trains, I remember when I was little and I was invited to parties there was always a train ride full of music that took us out to go around, it was great, we had a lot of fun. Here is the step by step.

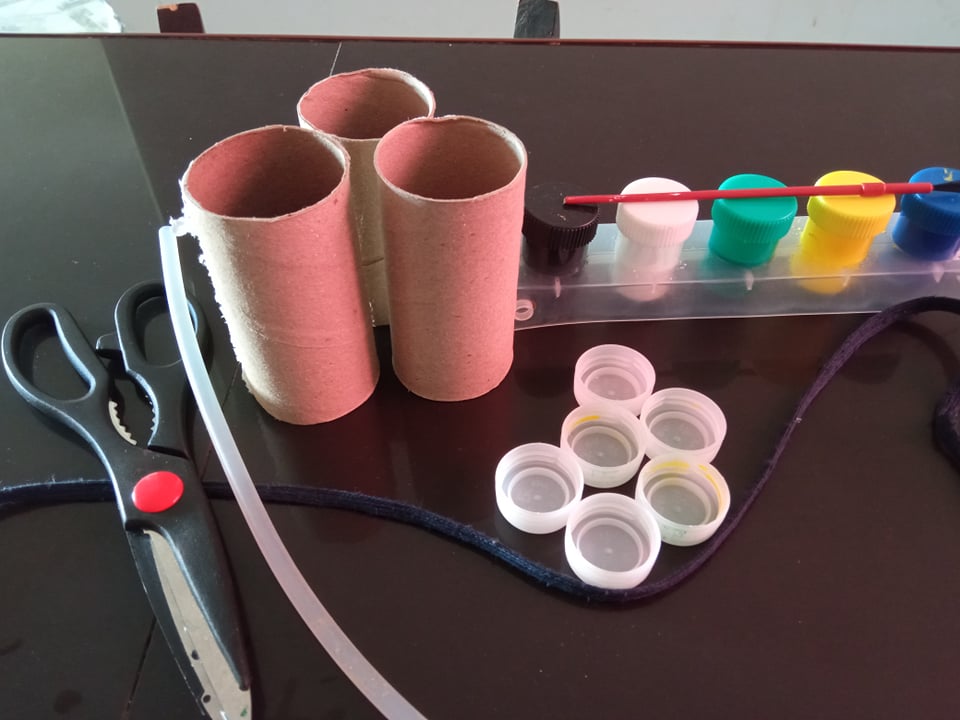
- Los materiales a utilizar son:
- Tijera.
- Silicón en barra.
- Trenza de zapato.
- Temperas.
- Pincel.
- 8 Tapas desechables (plástico).
- 3 Tubitos de papel higiénicos.
- The materials to be used are:
- Scissors.
- Silicone stick.
- Shoe braid.
- Tempera.
- Brush.
- 8 disposable lids (plastic).
- 3 Tubes of toilet paper.
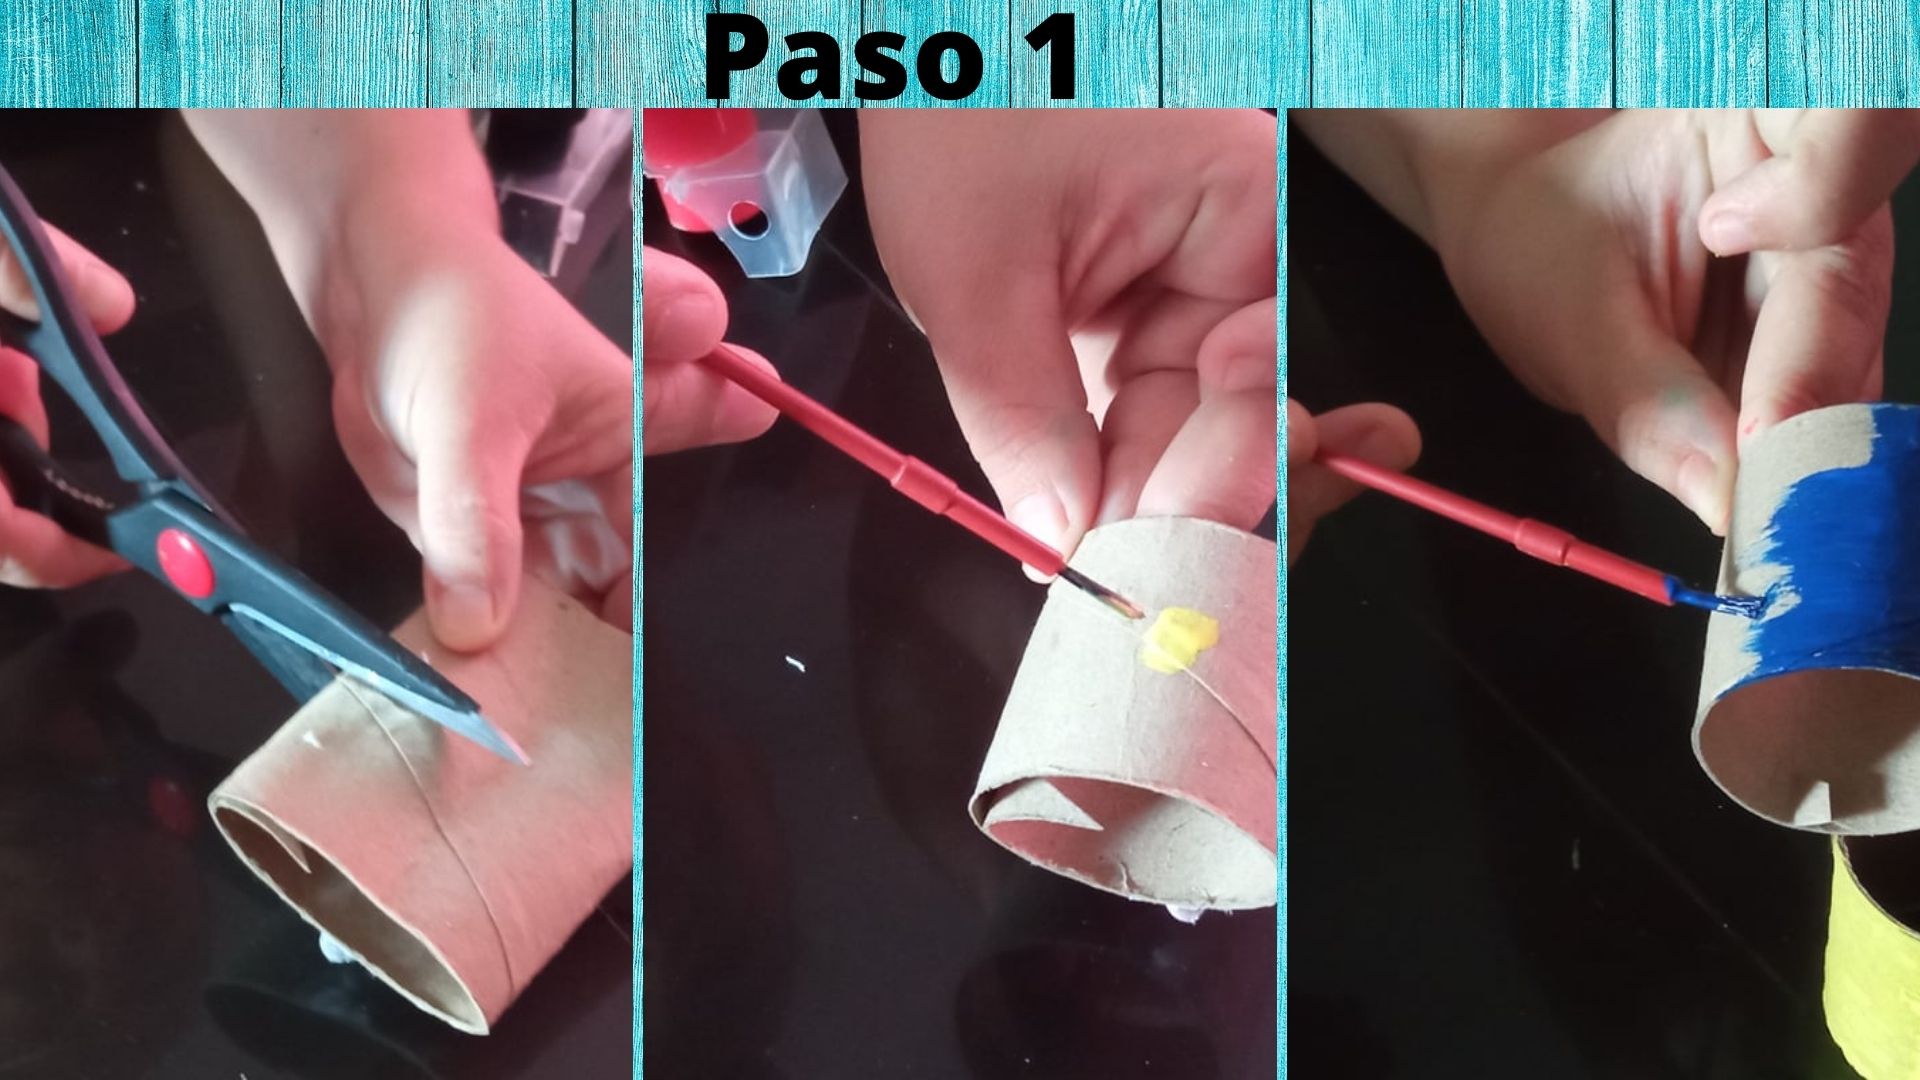
- Paso 1: Cortamos 2 tubitos de papel higiénico a la mitad, dejando uno completo, luego procedemos a pintar del color que usted prefiera cada parte ya cortada
- Step 1: Cut 2 small tubes of toilet paper in half, leaving one complete, then proceed to paint each cut part in the color of your choice.
.jpg)
- Paso 2: Mientras los tubitos ya pintados se van secando, pegamos una parte sobre el tubito que quedó completo tal cual como muestra la imagen, y comenzamos a pintar.
- Step 2: While the painted tubes are drying, we glue a part on the tube that is complete as shown in the picture, and start painting.
.jpg)
- Paso 3: Una vez que las piezas entén secas por completo, pegamos las tapas desechables en cada parte ya pintada, lo que servirá de rueda de nuestro tren.
- Step 3: Once the pieces are completely dry, we glue the disposable caps on each part already painted, which will serve as the wheel of our train.
.jpg)
- Paso 4: Con el lápiz procedemos a marcar justo al lado de la rueda, para luego abrir el orificio con la tijera, esto servirá para pasar la trenza de zapato para unir las partes a la parte delantera del tren.
- Step 4: With the pencil we proceed to mark right next to the wheel, to then open the hole with the scissors, this will serve to pass the shoe braid to join the parts to the front of the train.
.jpg)
- Paso 5: Con la tijera cortamos la trenza de zapato a la mitad y a lo largo, y procedemos a introducirla por cada orificio que hicimos con la tijera, esto es, para ir uniendo cada parte del tren.
- Step 5: With the scissors we cut the shoe braid in half and lengthwise, and proceed to introduce it through each hole we made with the scissors, that is, to join each part of the braid.
.jpg)
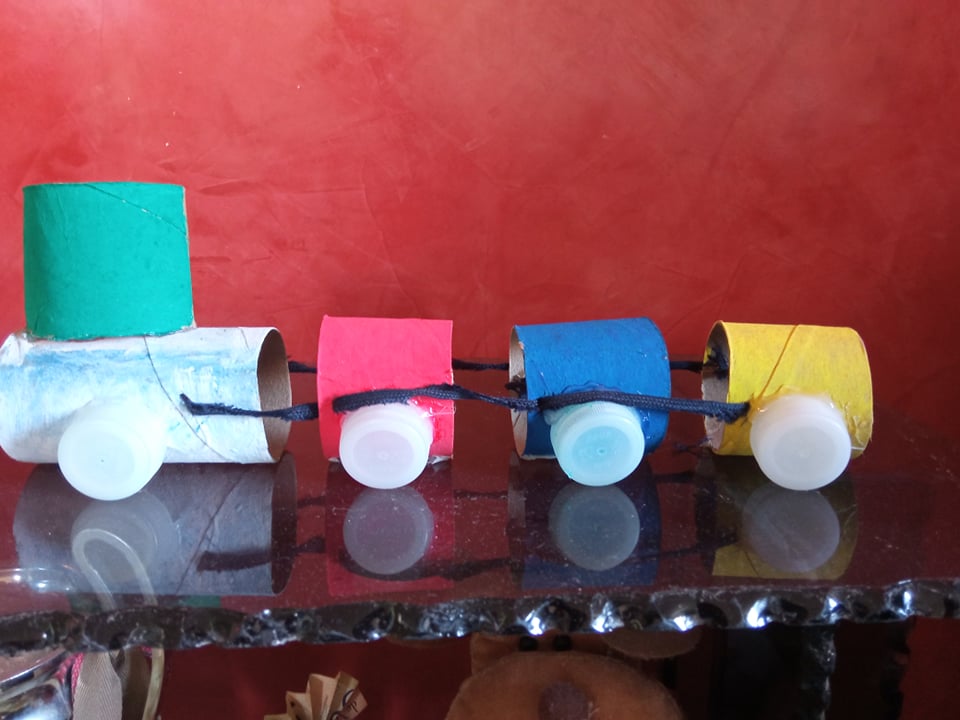
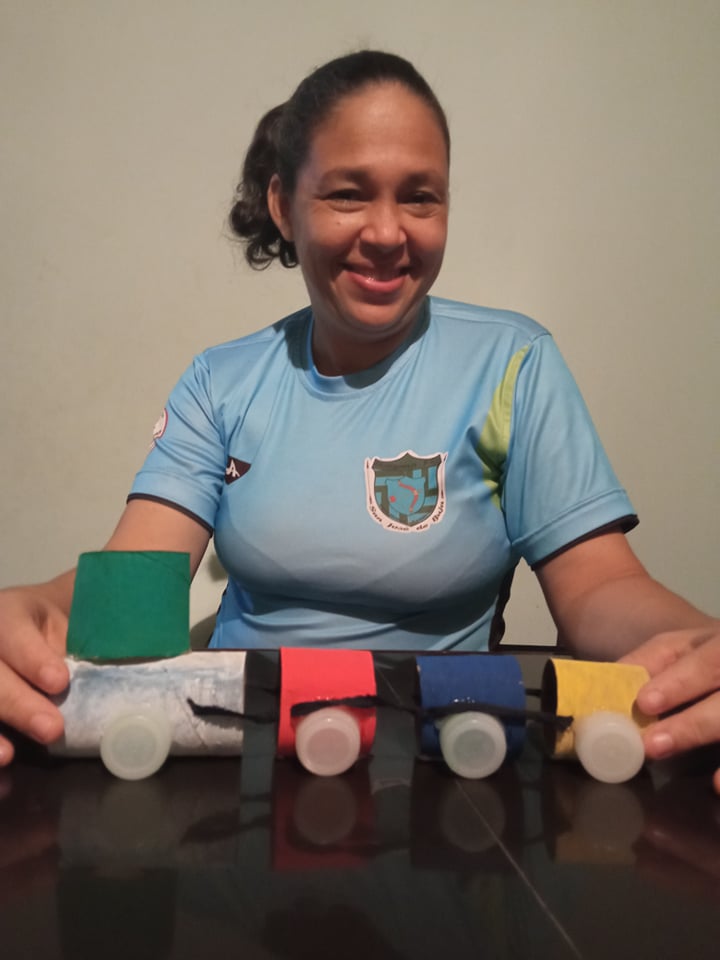
- Paso 6: Cada pieza nos debe ir quedando como muestra la imágen, debemos introducir la trenza por cada uno de los orificios hasta llegar a la parte delantera del tren, y luego hacerle un pequeño nudo para que la trenza no se pueda salir.
- Step 6: Each piece should be as shown in the picture, we must introduce the braid through each of the holes until you reach the front of the train, and then tie a small knot so that the braid can not get out.

0
0
0.000
Congratulations @yannet80! You have completed the following achievement on the Hive blockchain and have been rewarded with new badge(s) :
Your next target is to reach 40 posts.
Your next target is to reach 1500 upvotes.
You can view your badges on your board and compare yourself to others in the Ranking
If you no longer want to receive notifications, reply to this comment with the word
STOPCheck out the last post from @hivebuzz:
Support the HiveBuzz project. Vote for our proposal!
Thank you very much
De nada @yannet80 😊🌹
Apóyenos también y vote por nuestro testigo.
Recibirá una insignia adicional y un voto más fuerte de nuestra parte cuando le notifiquemos.