[ESP-ING] DIY Arreglo con dulces y globos muy fácil de hacer. || DIY Arrangement with candies and balloons very easy to make.
¡Hola comunidad de Hive!
Hello Hive community!
Hola gente linda de hive blog, espero se encuentren genial. Después de varios días ausente en la plataforma me incorporo con esta publicación donde te enseño a como realizar una hermoso arreglo con dulces, un arreglo muy especial pues se lo hice con mucho amor a mi bebé para el día de su cumpleaños, está inspirado en las estrellas, para la base utilice una cartulina escarchada hermosísima que compré hace un tiempo. Espero este proyecto sea de su agrado y me puedas dejar en los comentarios que te pareció.
Hello beautiful people of hive blog, I hope you are great. After several days absent on the platform I join with this publication where I teach you how to make a beautiful arrangement with candy, a very special arrangement because I did it with love to my baby for her birthday, is inspired by the stars, for the base I used a beautiful frosted cardboard that I bought some time ago. I hope you like this project and you can let me know in the comments what you thought of it.
Necesitaremos || We will need
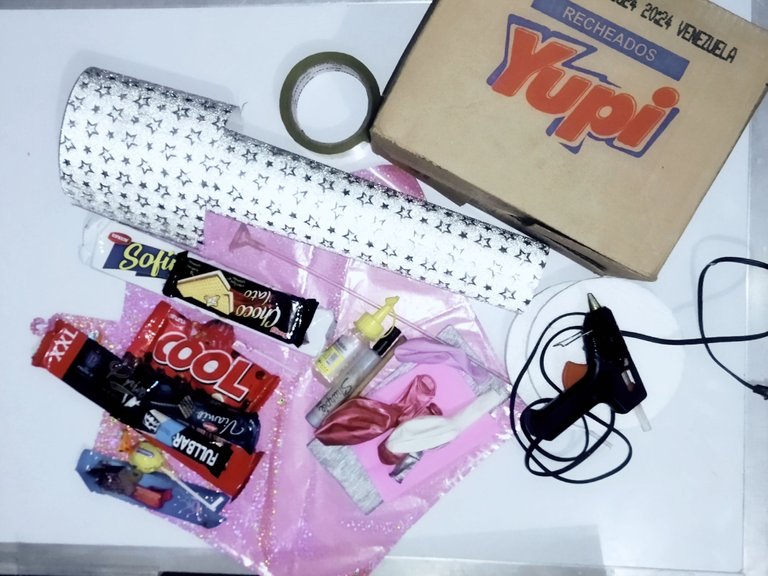
- Cartón reciclado
- Cartulina escarchada
- Silicón al frio y caliente
- papel crepé rosado y plateado
- palitos de altura
- Tijera
- Lápiz
- Chuchería
- Globo burbuja transparente
- Globo rosado
- Anime
- Cinta adhesiva
- Recycled cardboard
- Frosted cardboard
- Hot and cold glue
- pink and silver crepe paper
- tall sticks
- Scissors
- Pencil
- Trinket
- Transparent bubble balloon
- Pink balloon
- Anime
- Adhesive tape
Paso 1 || Step 1
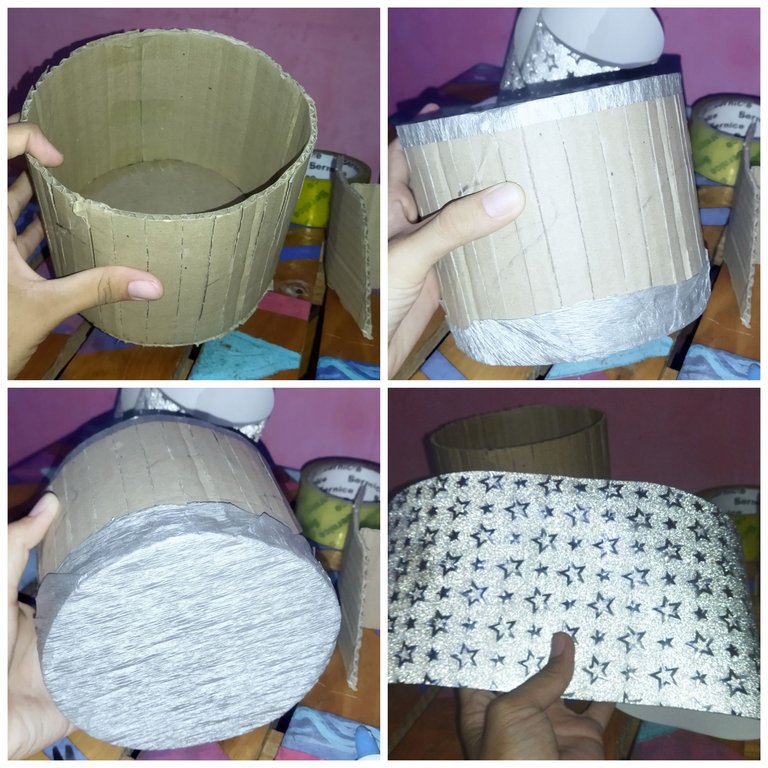
El primer paso es hacer un cilindro con el cartón, yo hice uno con una base de 10 cm de ancho, de alto tiene 12 cm y todo el contorno son 35 cm.
Corte todo con estas medidas y armé el cilindro, utilicé silicón caliente para pegar. Con papel crepé cubrí la parte de abajo de el cilindro y también por todo el borde del contorno como te muestro en la imagen.
Luego corte de la cartulina utilizando las medidas del cilindro tanto de alto como del contorno.
The first step is to make a cylinder with the cardboard, I made one with a base of 10 cm wide, 12 cm high and all the contour is 35 cm.
I cut everything with these measures and assembled the cylinder, I used hot silicone to glue. With crepe paper I covered the bottom of the cylinder and also all around the edge of the contour as shown in the image.
Then I cut the cardboard using the measurements of the cylinder both in height and contour.
Paso 2 || Step 2
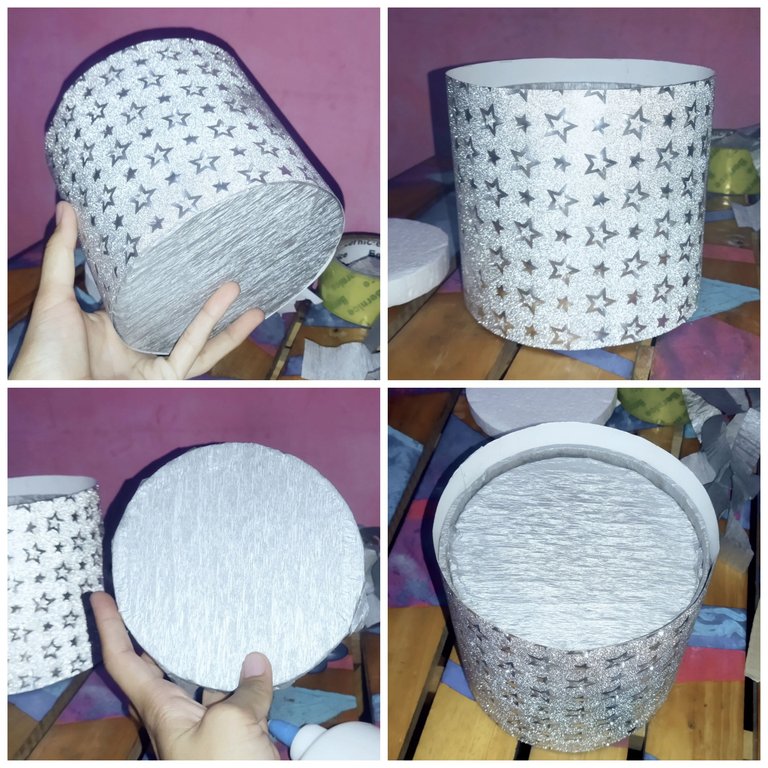
Para pegar la cartulina al cilindro utilicé silicón caliente.
Tomamos el anime y cortamos un círculo que podamos introducir el el cilindro, luego lo forramos con papel crepé en mi caso utilice plateado. Solo nos queda introducirlo al cilindro y colocar un poco de silicón caliente.
To glue the cardboard to the cylinder I used hot silicone.
We take the anime and cut a circle that we can insert into the cylinder, then we line it with crepe paper, in my case I used silver. All we have to do is insert it into the cylinder and put some hot silicone.
Paso 3 || Step 3
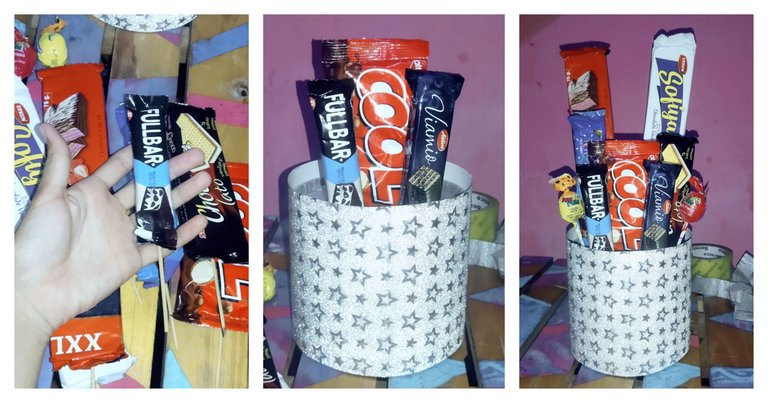
Con la cinta adhesiva pegamos los palitos de altura a los dulces, y vamos introduciendo el el anime que pegamos anteriormente al cilindro, debemos de jugar un poco con los tamaños de los dulces, en mi caso primero coloque los más pequeños y luego los más grandes.
With the adhesive tape we stick the sticks of height to the candy, and we introduce the anime that we stuck previously to the cylinder, we must play a little with the sizes of the candy, in my case first place the smallest and then the largest.
Paso 4 || Step 4
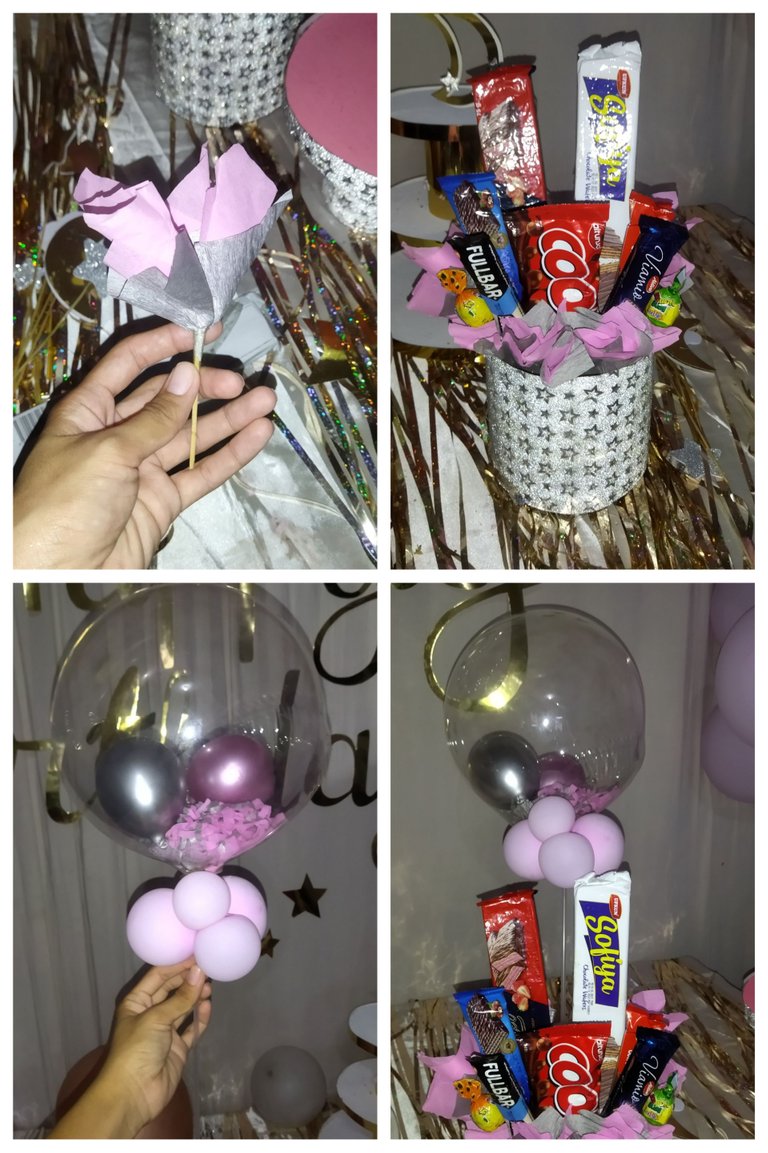
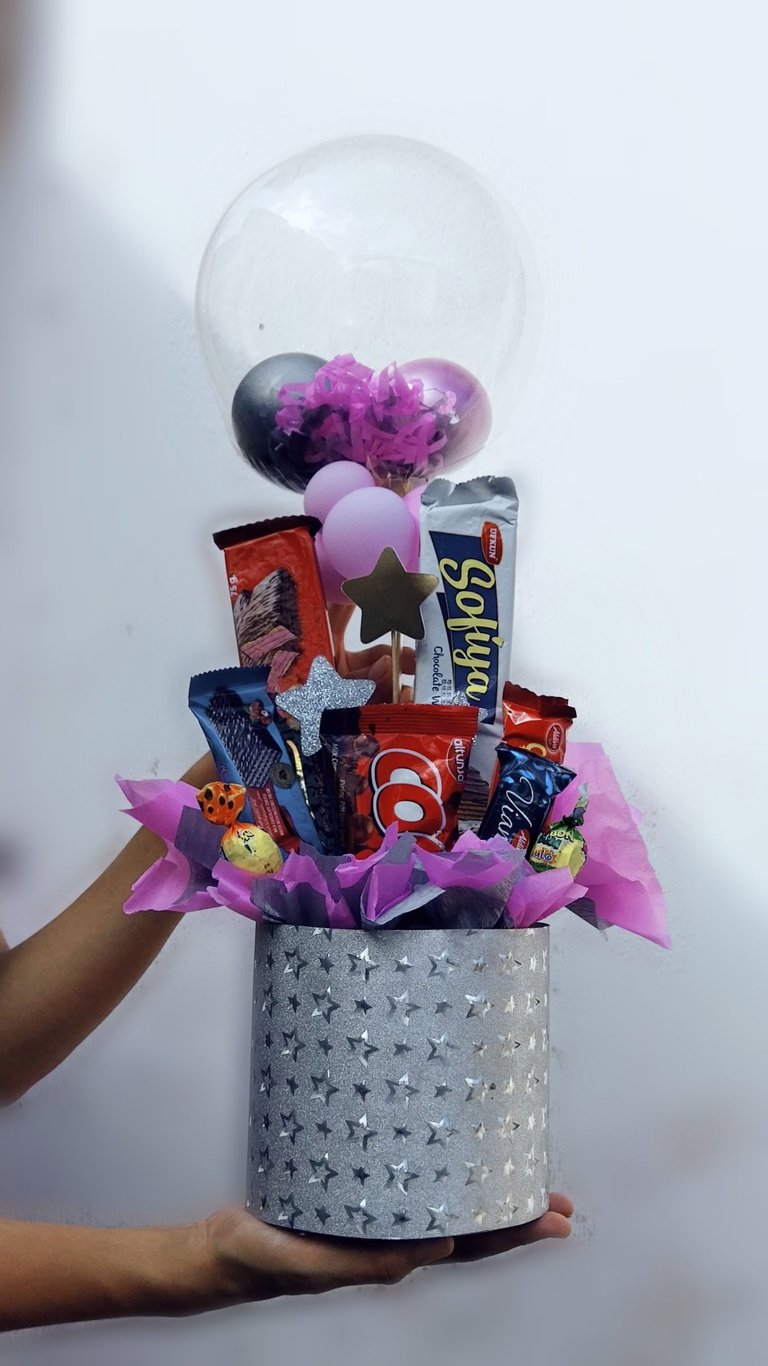
Hice pompones con el papel crepé para rellenar los lugares vacíos del arreglo. Llené el globo transparente y dentro de el introduje globos más pequeños y algunos papelillos, utilicé un palillo plástico para sujetar el globo y los coloque en el medio del arreglo.
I made pom poms with the crepe paper to fill in the empty places of the arrangement. I filled the clear balloon and inside it I inserted smaller balloons and some paper balloons, used a plastic stick to hold the balloon and placed them in the middle of the arrangement.
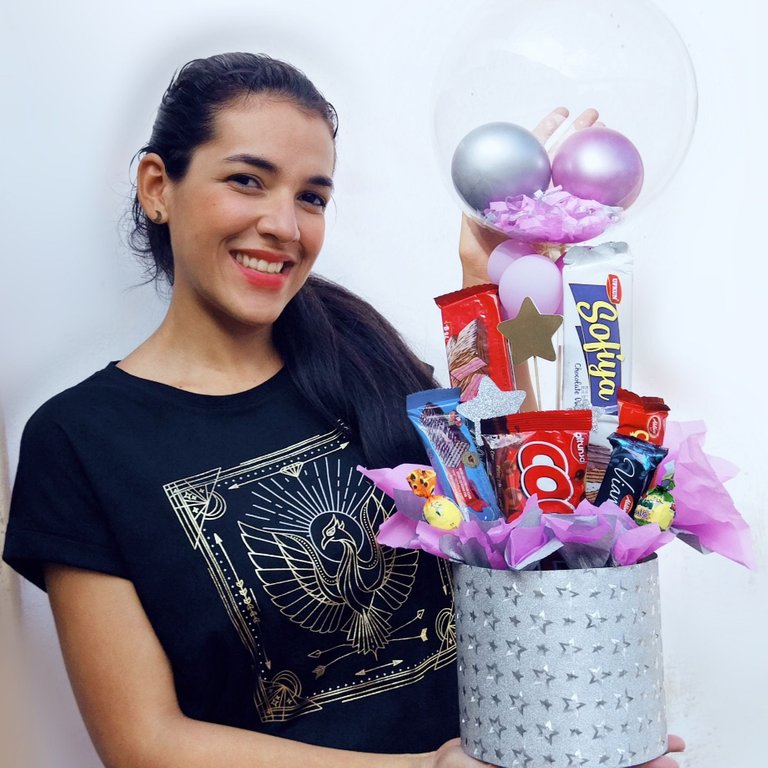
Resultado final.
Final result.
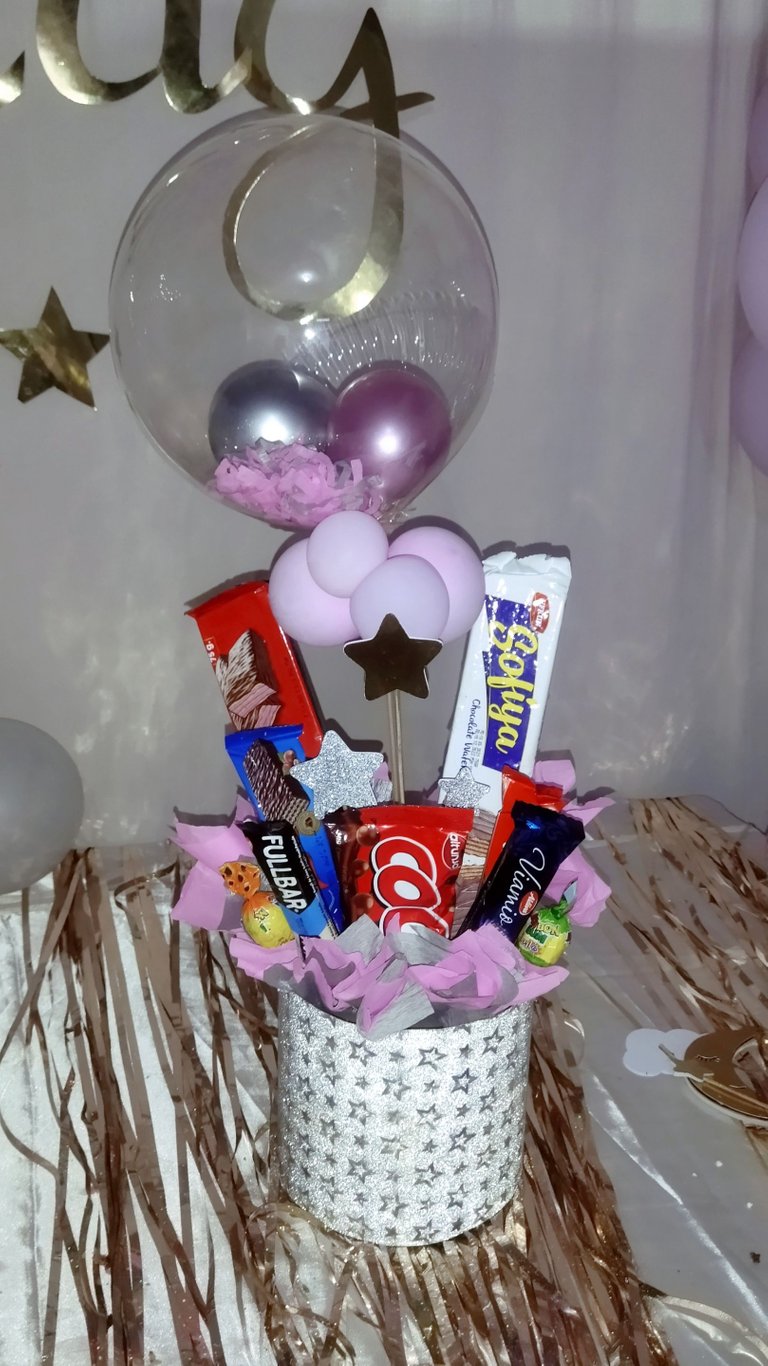
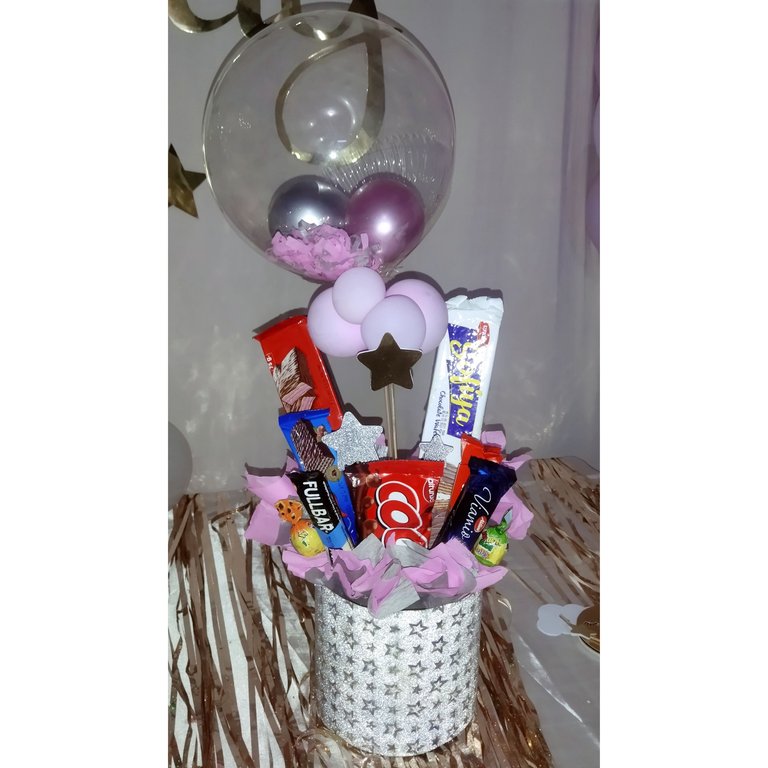
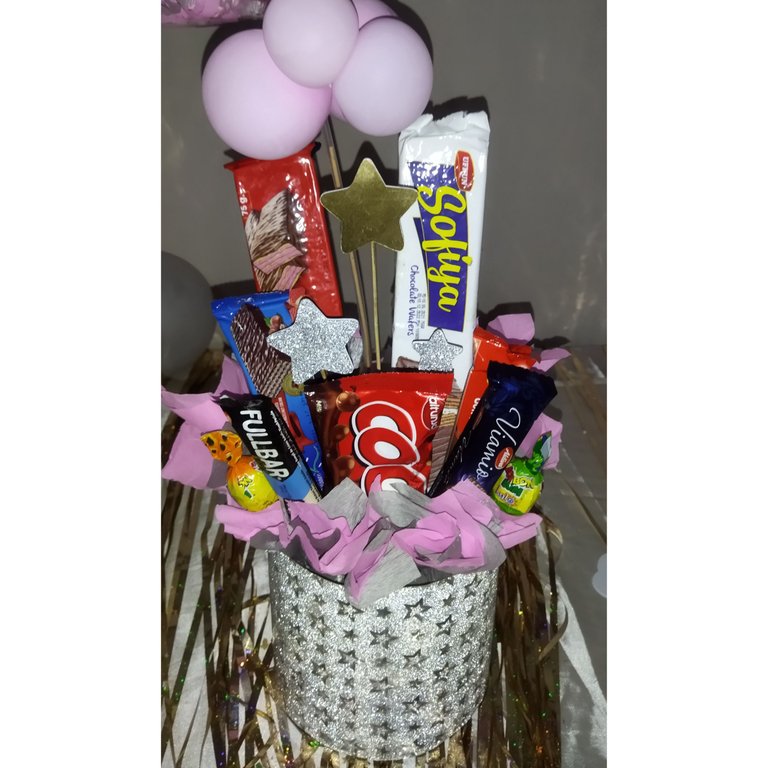
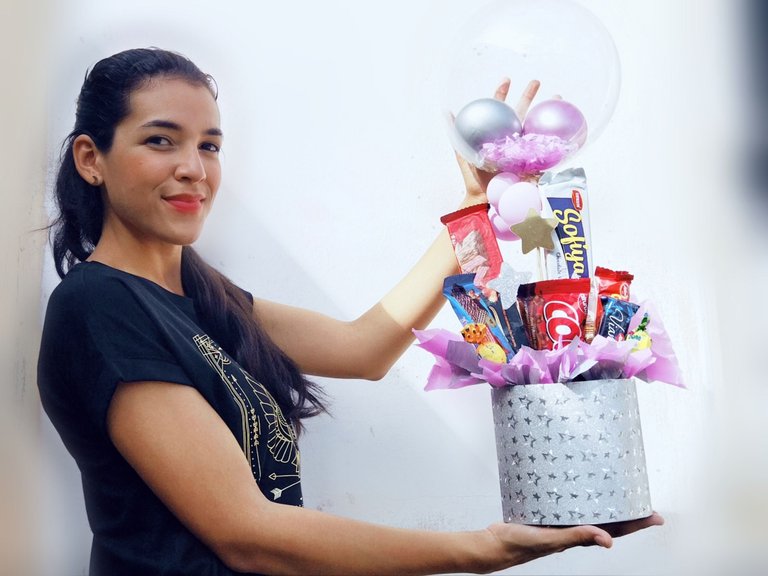
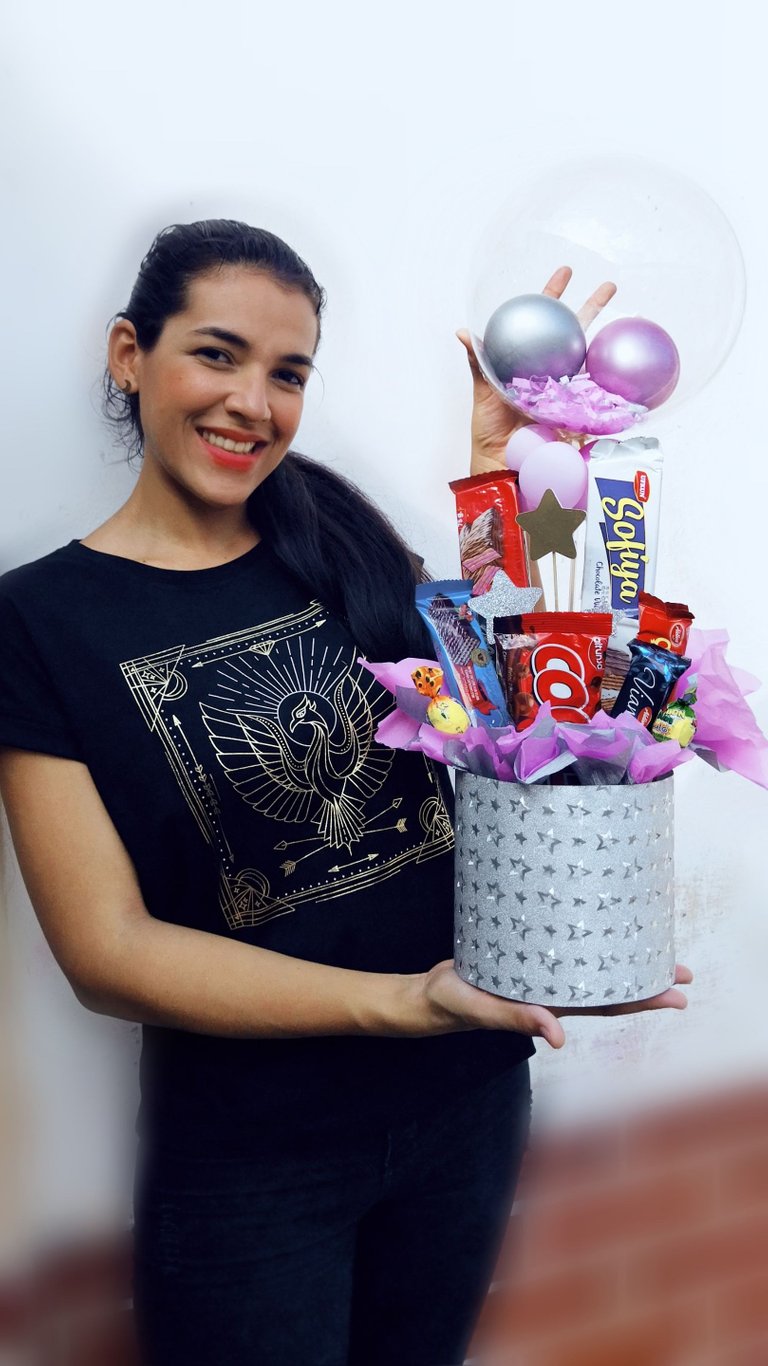
Espero les haya gustado el resultado final de este arreglo, este tipo de arreglos son perfectos para regalar a una persona muy especial en su día. Yo lo hice para mí bebé y me siento muy feliz de como me quedo. Si llegaste hasta acá muchísimas gracias por leer mi post. Besos 😘😘😘
I hope you liked the final result of this arrangement, this kind of arrangements are perfect to give to a very special person on their day. I made it for my baby and I am very happy with how it turned out. If you made it this far thank you very much for reading my post. kisses 😘😘😘
All images are my property / Todas las imágenes son de mi propiedad
Camera: Xiaomi Redmi 9T.
Translation: Deepl.com
Your content has been voted as a part of Encouragement program. Keep up the good work!
Use Ecency daily to boost your growth on platform!
Support Ecency
Vote for Proposal
Delegate HP and earn more