[ESP-ING] 👑 Tutorial: como hacer una número 1 con cartón para decoración, inspirado en la realeza. 👑 || 👑 Tutorial: how to make a number 1 with cardboard for decoration, inspired by royalty.👑
¡Hola comunidad de Hive!
Hello Hive community!
Saludos gente linda de Hive Blog, espero su día haya sido muy productivo. Hoy realicé les comparto este tutorial de como realizar un número 1 de cartón inspirado en la corona, este tipo se han vuelto muy populares en las fiestas usandolos como decoración en la mesas, se coloca dependiendo de cuántos años se estén cumpliendo, pero también este tutorial puede servirles para realizar una piñata solo se le realiza el orificio por dónde vamos a meter los dulces y se le coloca alguna cuerda para colgarlo, pero bueno comencemos con este tutorial.
Greetings beautiful people of Hive Blog, I hope your day has been very productive. Today I share with you this tutorial on how to make a cardboard number 1 inspired by the crown, this type has become very popular at parties using them as decoration on the tables, it is placed depending on how many years are being fulfilled, but this tutorial can also serve to make a piñata only the hole is made where we are going to put the candy and some rope is placed to hang it, but well let's start with this tutorial.
Necesitaremos || We will need
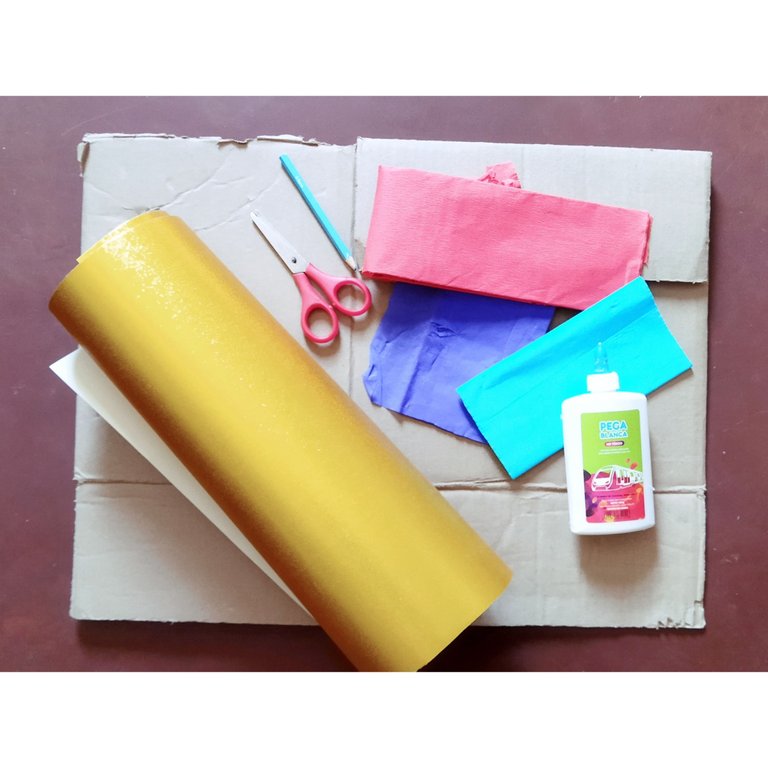
- Cartón
- Papel crepé azul marino y azul claro
- Pega blanca
- Tijera
- Lápiz
- Tiras de papel
- Cartulina dorada
- Cardboard
- Navy blue and light blue crepe paper
- White glue
- Scissors
- Pencil
- Strips of paper
- Gold cardboard
Paso 1 || Step 1
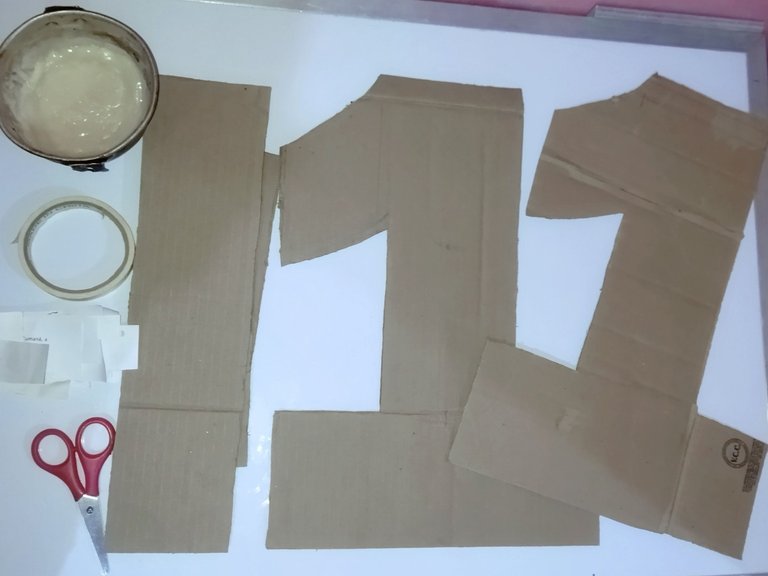
El primer paso es sacar las piezas para armar el uno, entonces sacamos dos siluetas de número 1 con unas medidas de 40 cm de alto y de grosor 10cm también necesitaremos tiras de 8cm de ancho estás también deben ser de cartón.
The first step is to take out the pieces to assemble the one, then we take out two silhouettes of number 1 with measures of 40 cm high and 10cm thick, we will also need strips of 8cm wide, these must also be of cardboard.
Paso 2 || Step 2
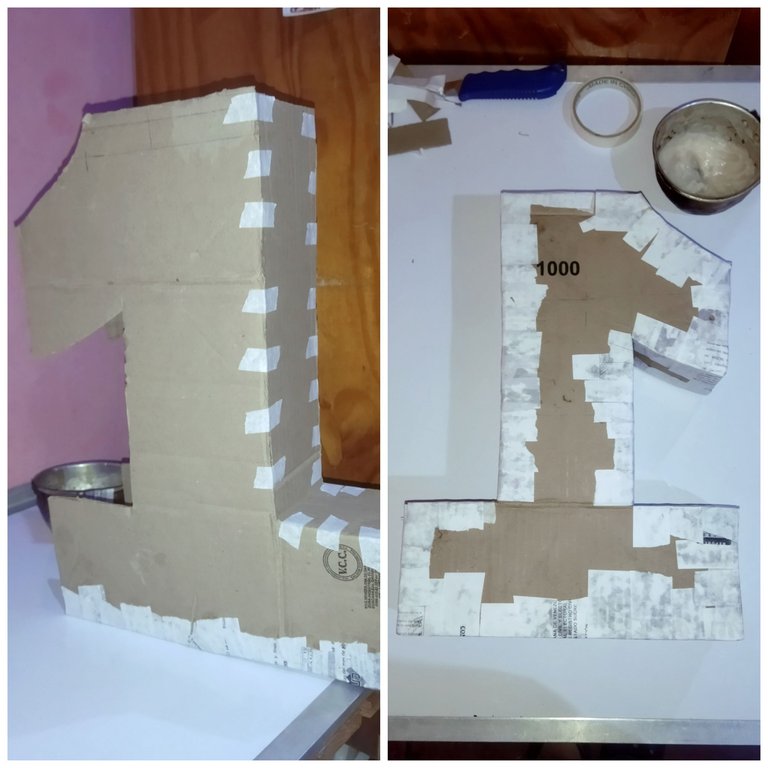
Comenzamos a unir las piezas con tiras de papel, para pegarlas utilice engrudo es una mezcla que hago con harina de trigo, luego de tener todas las piezas pegadas dejamos secar muy bien.
We begin to join the pieces with strips of paper, to glue them I use engrudo, a mixture I make with wheat flour, after having all the pieces glued we let them dry very well.
Paso 3 || Step 3
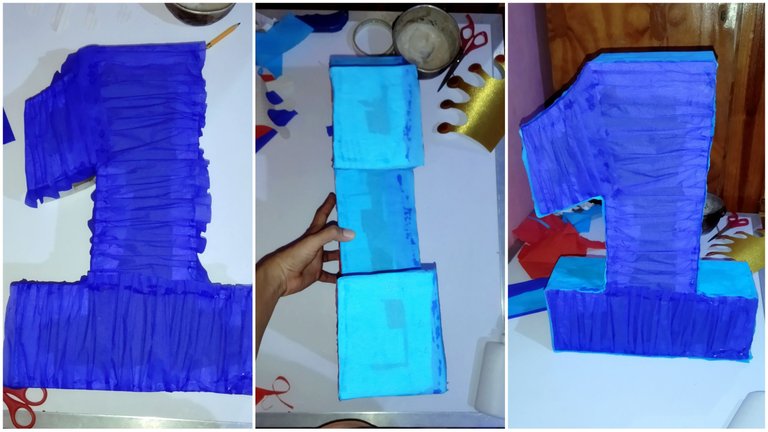
Ahora vamos a forrar con papel crepé, utilicé azul rey para la parte frontal, para esta parte fruncí el papel sobre el cartón, para los laterales pegué el azul más claro.
Now we are going to line it with crepe paper, I used royal blue for the front part, for this part I ruffled the paper over the cardboard, for the sides I glued the lighter blue.
Paso 4 || Step 4
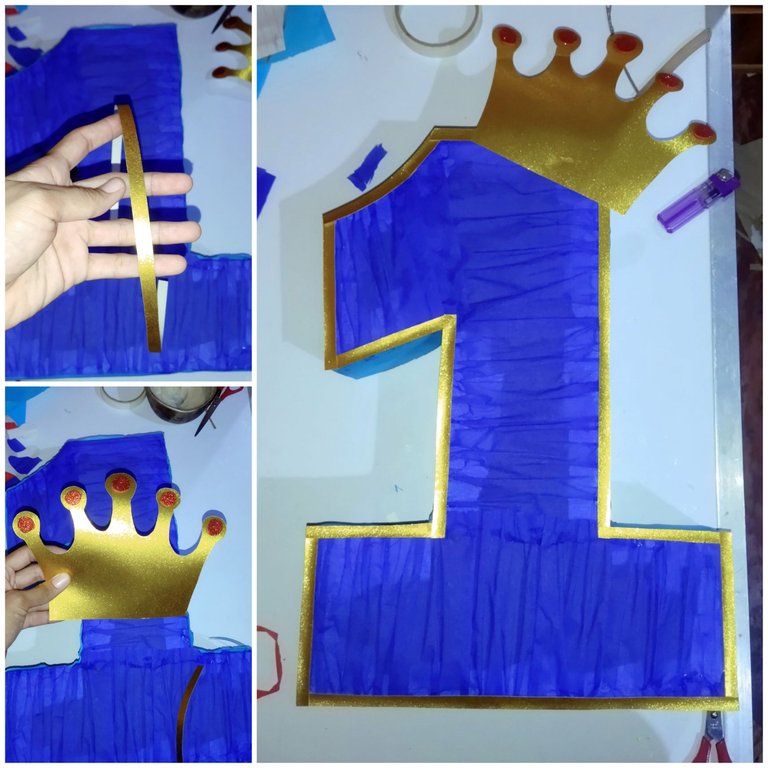
Corté tiras de medio centímetro de cartulina dorada, está la vamos a pegar por todo el borde del número como te muestro en la imagen ☝️☝️☝️
Con la misma cartulina realicé la corona, dibuje en la parte trasera de la cartulina y luego corte, pegué unos pequeños detalles en las puntas, luego la coloqué sobre el número y la pegué.
I cut half centimeter strips of gold cardboard, we are going to glue them all around the edge of the number as shown in the image ☝️☝️☝️☝️
With the same cardstock I made the wreath, I drew on the back of the cardstock and then cut, glued some small details on the ends, then placed it on the number and glued it.
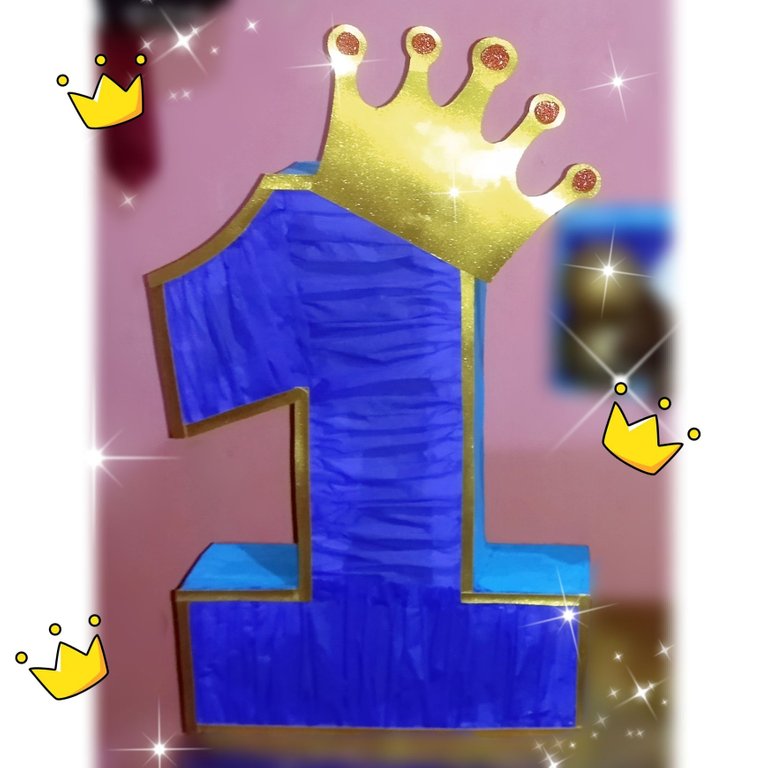
Resultado final.
Final result.
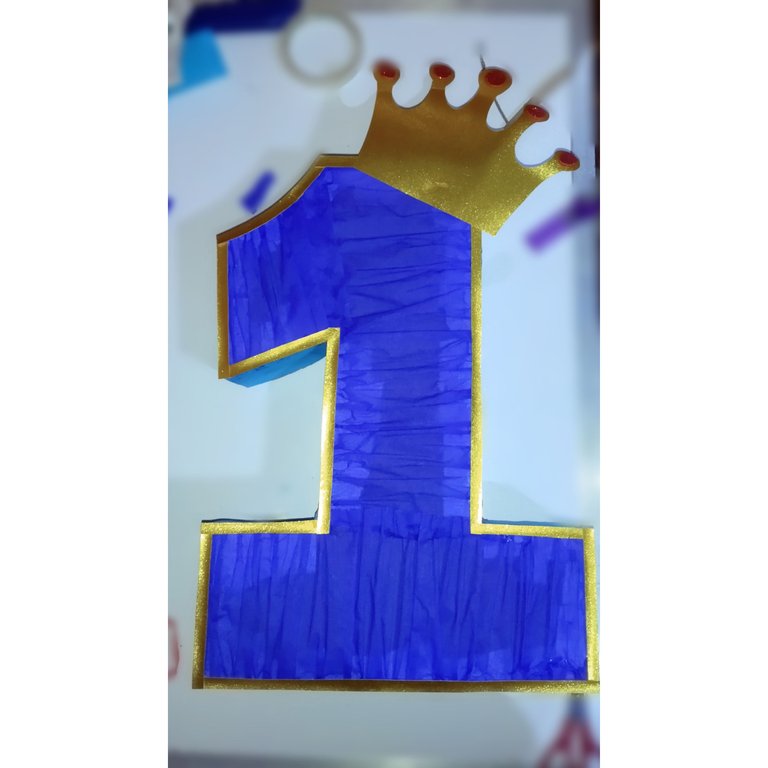
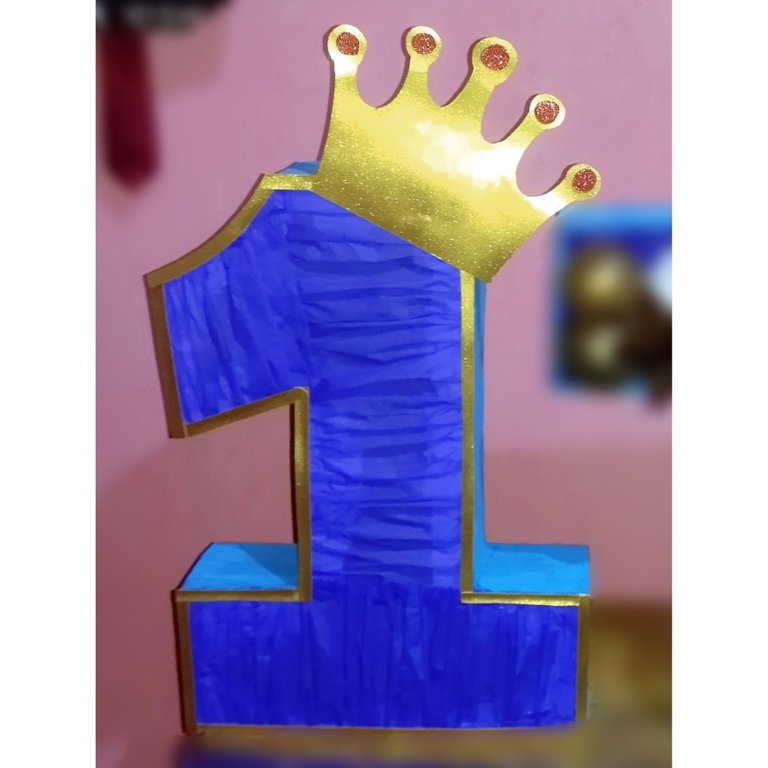

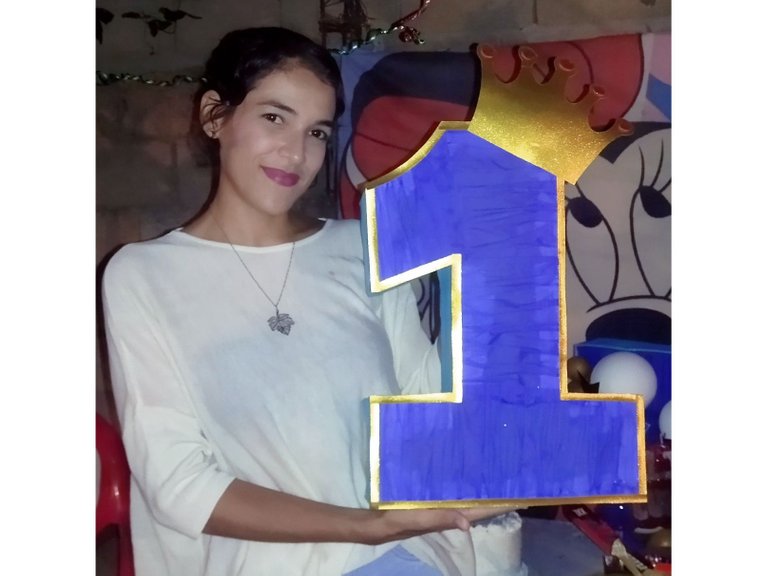
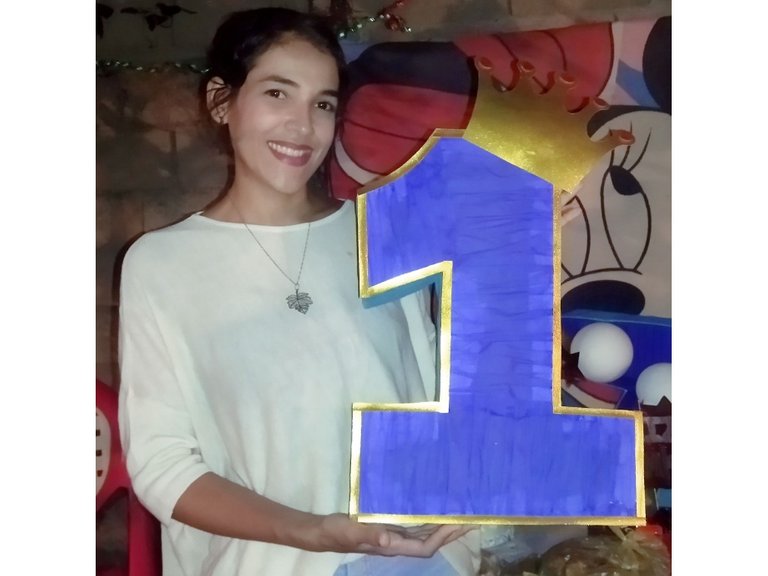
Este fue el resultado final de este lindo número hecho con cartón quedaría perfecto como piñata 😀😃😀😃 espero que les haya gustado este tutorial y les haya sido de utilidad, gracias por leerme, hasta pronto.
This was the final result of this cute number made with cardboard would be perfect as a piñata 😀😃😀😃 I hope you liked this tutorial and you found it useful, thanks for reading me, see you soon.
All images are my property / Todas las imágenes son de mi propiedad
Camera: Xiaomi Redmi 9T.
Translation: Deepl.com