How to Set-Up Your "Attendance/Roll Call" Using Google Classroom!
Go to Google Classroom
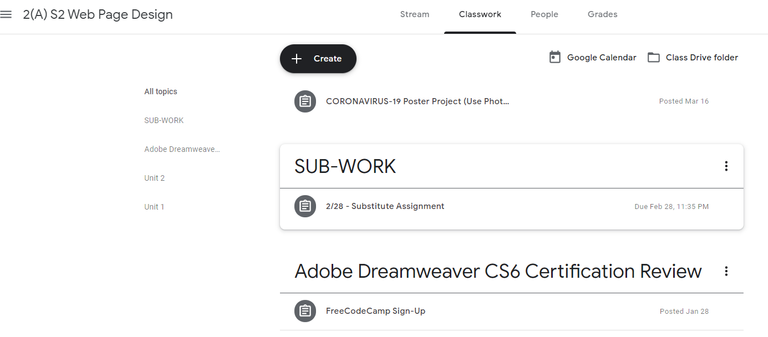
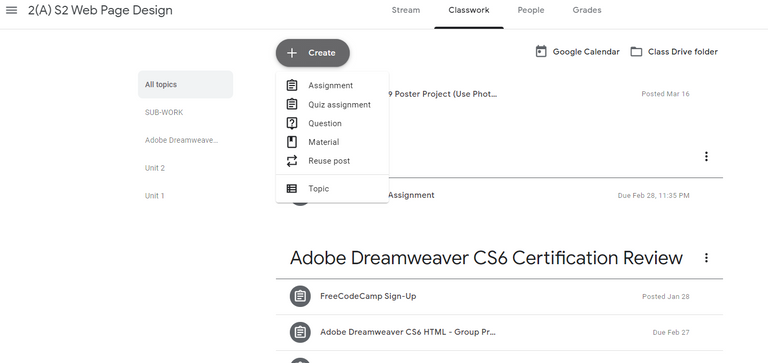
(If you have your classroom setup already; if-not,set you one-up and add your students under the PEOPLE tab of the Classroom).Click on "CREATE":
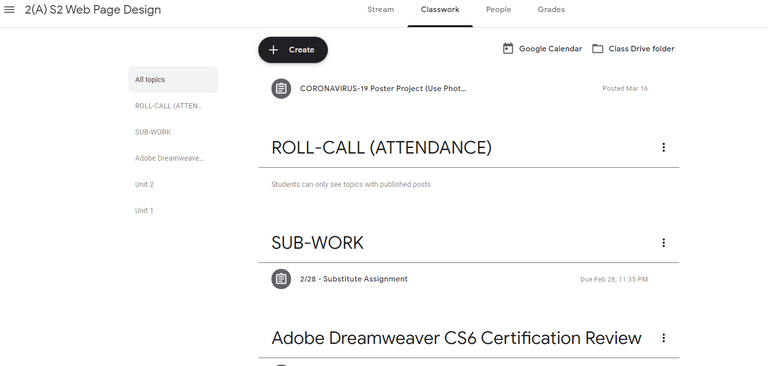
Create a "TOPIC" entitled: "ATTENDANCE OR ROLL-CALL"
You should see a "TOPIC" area for your "Attendance":
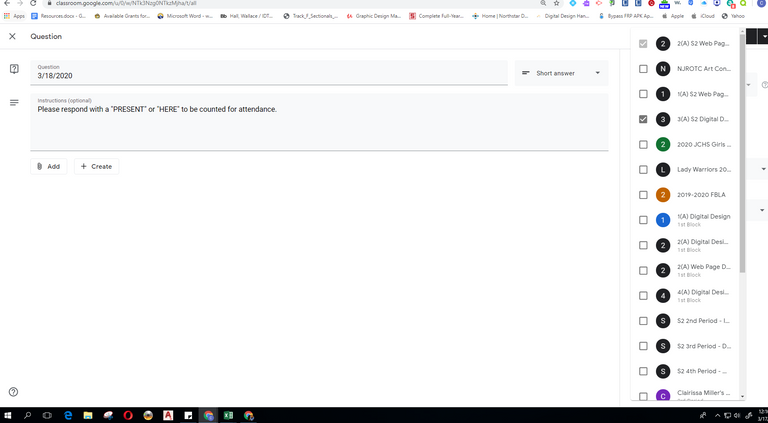
Then you will click on "CREATE" followed clicking "QUESTION" (the following screen should appear after you click on "Question"):
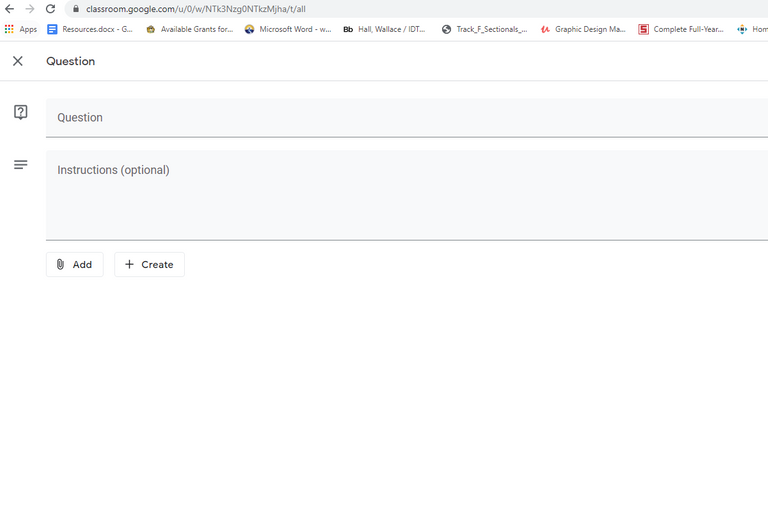
Name your "Question" field the actual "DATES" you would like to record. Be sure to add the instruction of you your students should respond in order to be counted "PRESENT" for that day (Keep in mind that you can also duplicate this to your other classes inside of Google Classroom by clicking-on the "DROP-DOWN" menu where you see your class name located on the right:
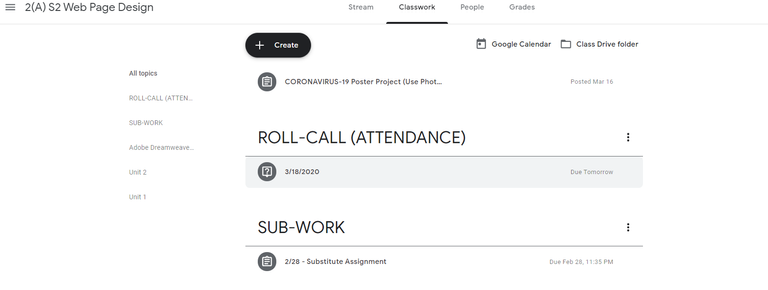
This is what should appear after you have created your first Date for checking-in:
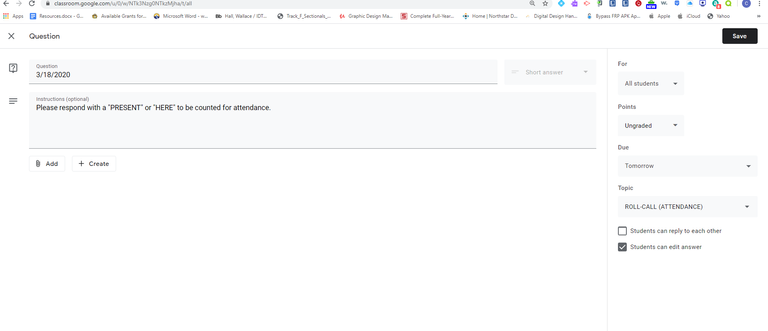
Next you will need to Duplicate this process for the rest of your dates; therefore click on the three "vertical dots" located to the right of the date you just created and then click on Edit (the following screen should appear):
Please Note: THE STEPS ABOVE CAN BE USE TO DUPLICATE IF YOU PLAN TO NOT "SCHEDULE" YOUR DATES TO POST!
The NEXT SECTION WILL SHOW YOU HOW TO "CREATE & SCHEDULE YOUR ATTENDANCES"
- Click-On "CREATE" & then "QUESTION" (SEE STEP-1 ABOVE)
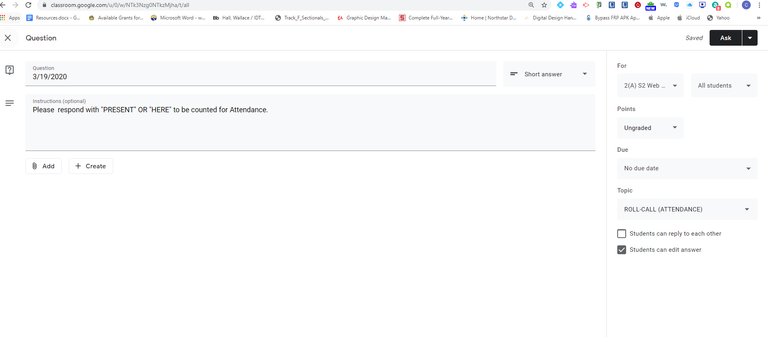
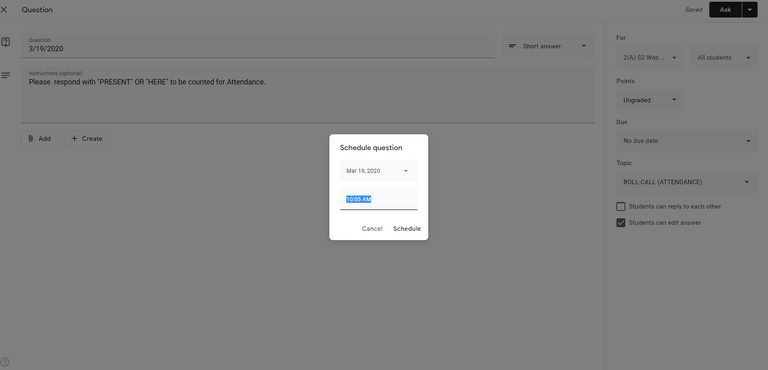
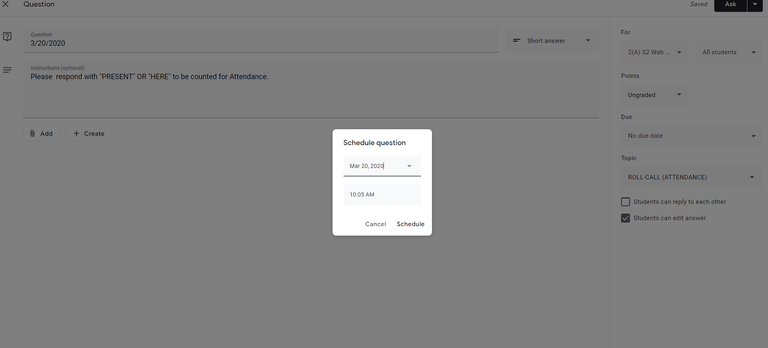
- Create you "DATE" in the "QUESTION" section BUT please DO NOT CHECK-OFF ANY ADDITIONAL CLASSES. Also DO NOT choose a "DUE-DATE" please leave blank:
- Click on the "DROP-DOWN" menu located in the TOP-RIGHT area where it says "ASK" and choose "SCHEDULE" and then SELECT THE DATE AND TIME THAT CORRELATES WITH YOUR CLASS AND SCHEDULE (please see the photo to check settings before clicking-on schedule):
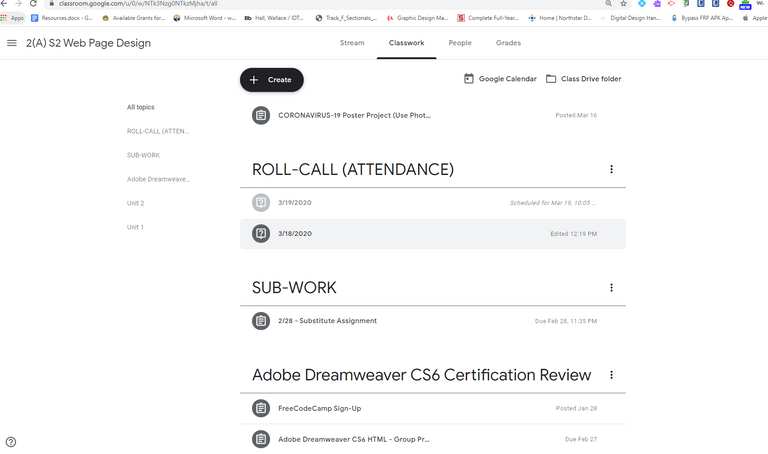
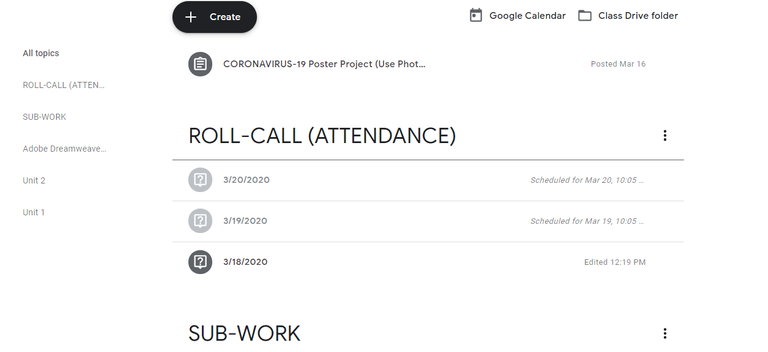
- Once you have created your "SCHEDULED-POST" it should appear UNDER the ROLL-CALL topic area and it should also "GREYED" out (which means it hasn't posted for the students to see but will immediately at the time assigned):
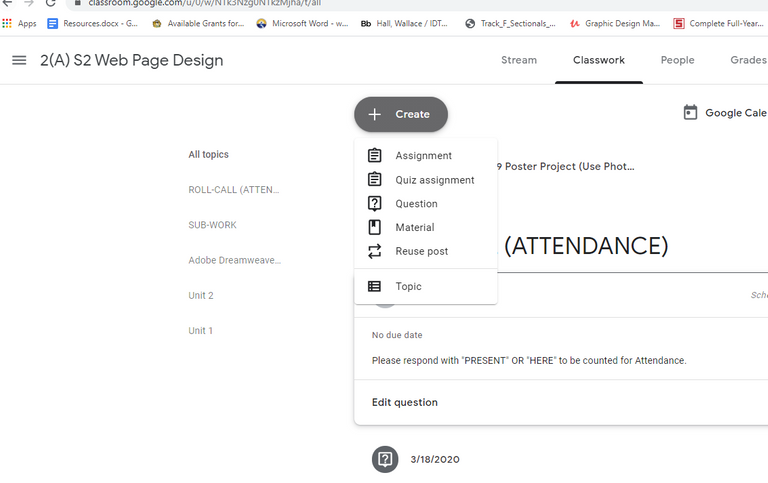
- Next you will need to click on the "CREATE" button again YET choose "REUSE POST":
- The screen that ask you to select your "CLASS" should appear:
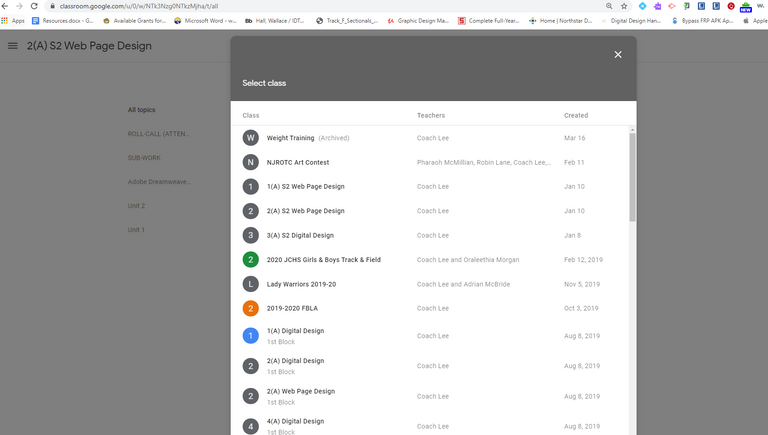
- Choose your class that you made the "Scheduled Post" and then select the POST, followed by clicking-on "REUSE" (which will appear blue after selecting the post):

- State by changing the "DATE" to the next DATE you would like to create in the "Question" section, followed by the following steps:
Clicking-on the "DROP-DOWN" located next to ASK (in the TOP-RIGHT hand corner)
Schedule Your "DATE" & "TIME" associated with the new DATE:
Now you should see where your new date has been scheduled:
THIS CONCLUDES THE STEP-BY-STEP TUTORIAL and NOW YOU SHOULD BE ABLE TO CREATE INDIVIDUAL DATE FOR YOUR ATTENDANCE or SCHEDULE YOUR ATTENDANCE DATES TO POST ACCORDINGLY.