NEEDLEWORK: I made A Teddy Bear (Creative Recycling)
Hey Hivers!
It's been a while I shared my works in the needlework community, not that I forgot all about my beloved community but because I haven't been really chanced to knit.
But today for the purpose of this creative initiative by @jennyzer which I was invited by a fellow hiver to participate in, I decided to do something and share.
¡Hola Hivers!
Ha pasado un tiempo que compartí mis trabajos en la comunidad de la costura, no porque me olvidé por completo de mi querida comunidad, sino porque realmente no he tenido la oportunidad de tejer.
Pero hoy, con el propósito de esta iniciativa creativa de @jennyzer, a la que un compañero de hiver me invitó a participar, decidí hacer algo y compartir.
The main idea of the initiative is to be creative. Recycling is the keyword. Being able to create something out of the least expected thing.
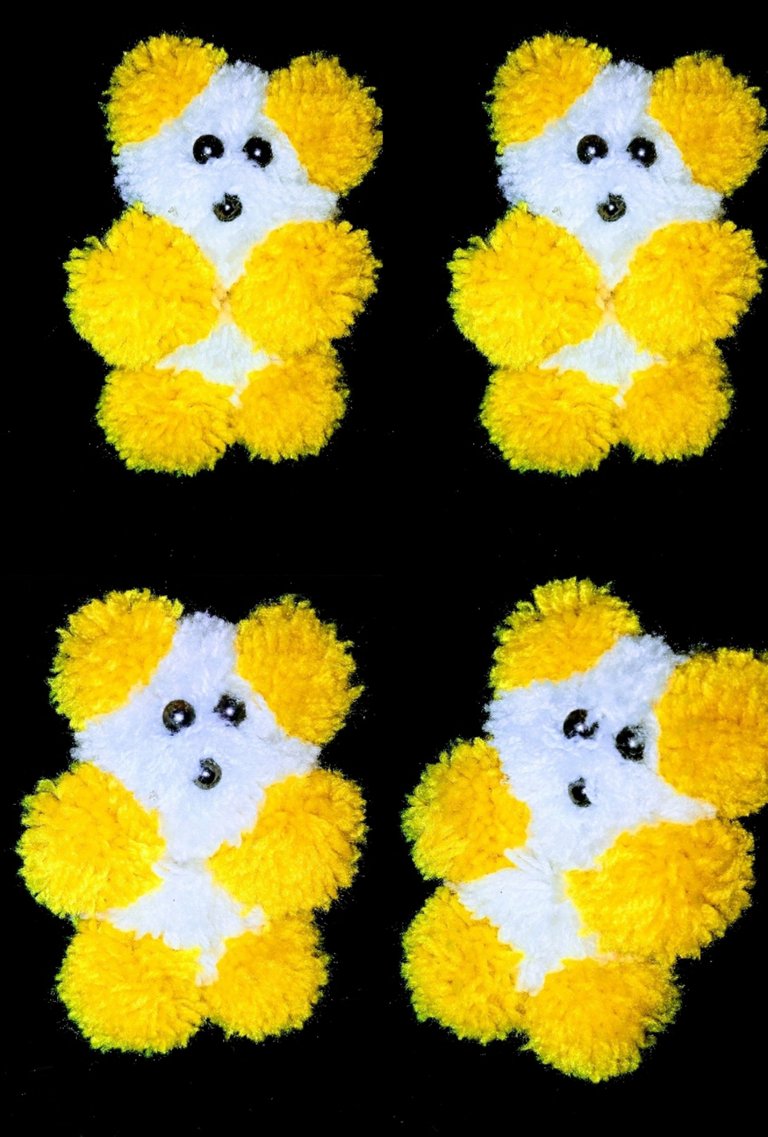
So for my entry, I made a teddy bear using wool.
I will show you all the steps
La idea principal de la iniciativa es ser creativo.
El reciclaje es la palabra clave.
Ser capaz de crear algo a partir de lo menos esperado.
Entonces, para mi entrada, hice un oso de peluche con lana.
Te mostraré todos los pasos
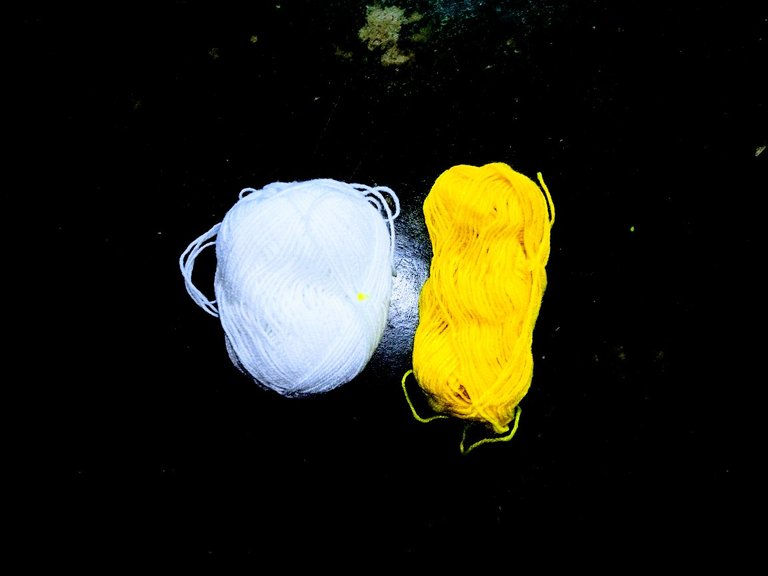
Materials
- Wool (White and Yellow)
- Scissor
- Thread
- Needle
Materiales
- Lana (Blanca y Amarilla)
- Tijera
- Hilo
- Aguja
The Process
First, you get your wool of two different colors.
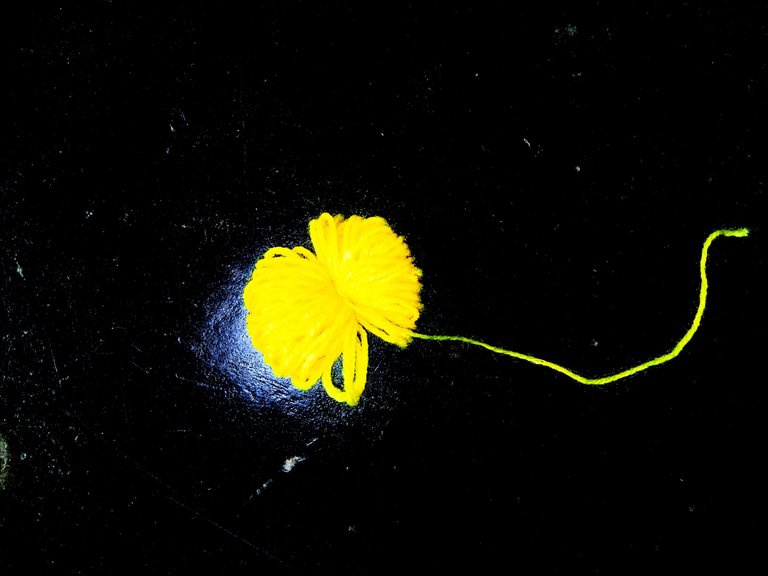
Roll out the wool and roll it on your palm or fingers.
When it reaches the amount you want, you tie it from the middle just like this.
Cut it out and trim it well.
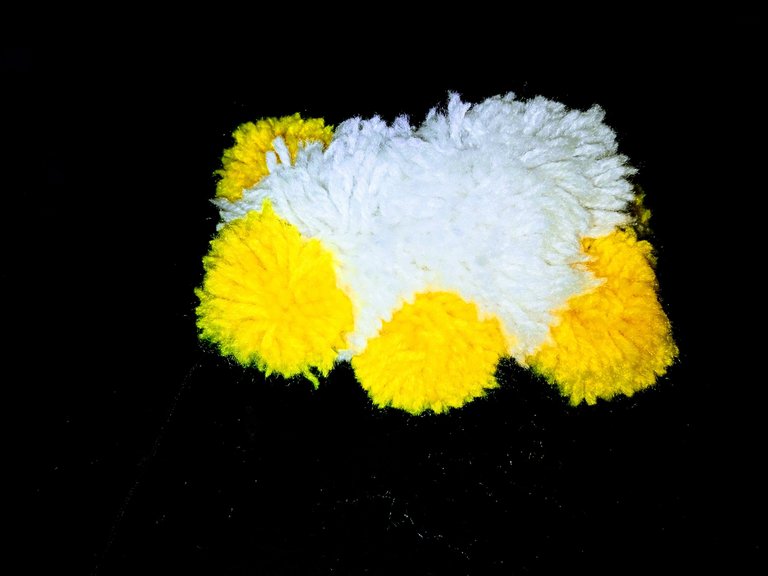
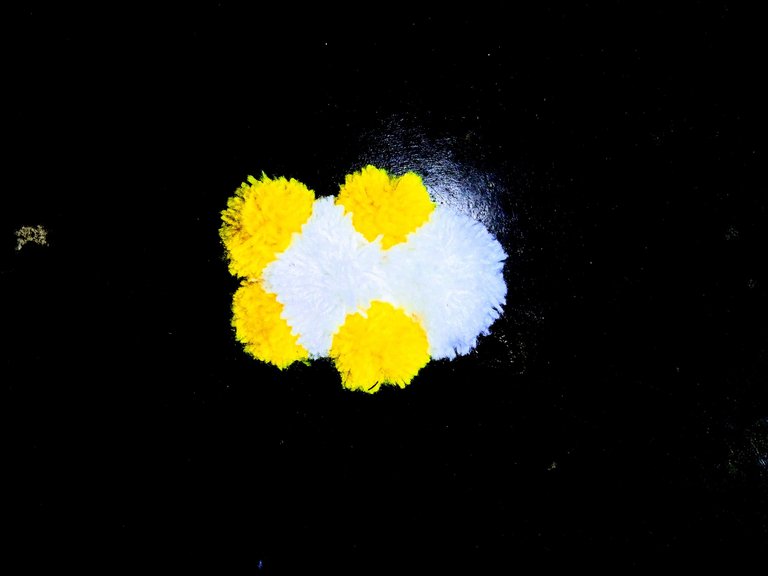
Repeat it for another five sets, making two smaller than the remaining four.
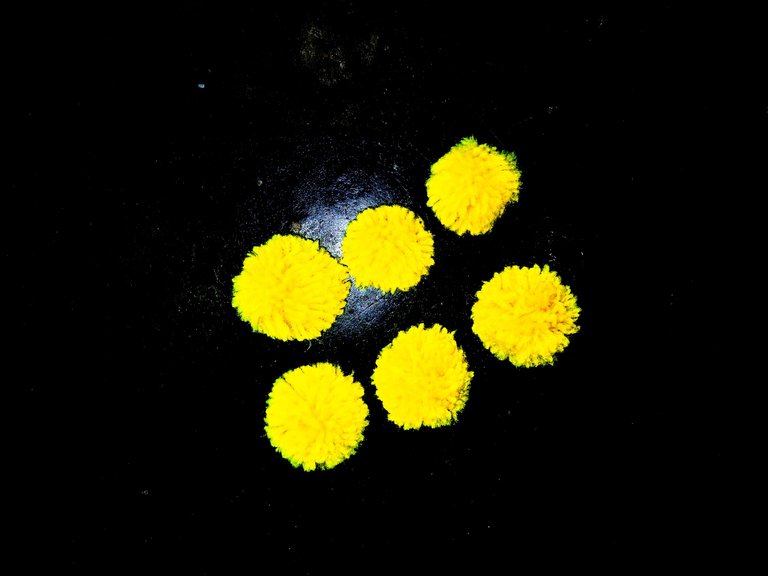
After finishing the legs, hands, and ears, you set them aside.
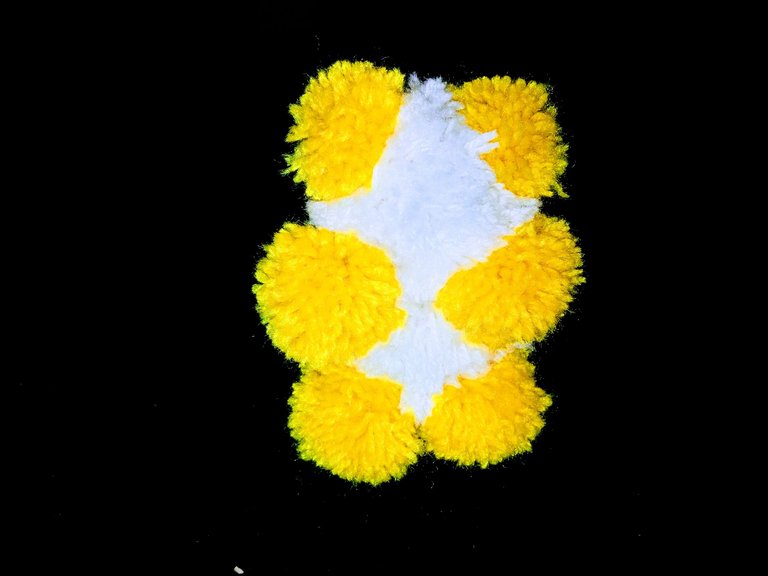
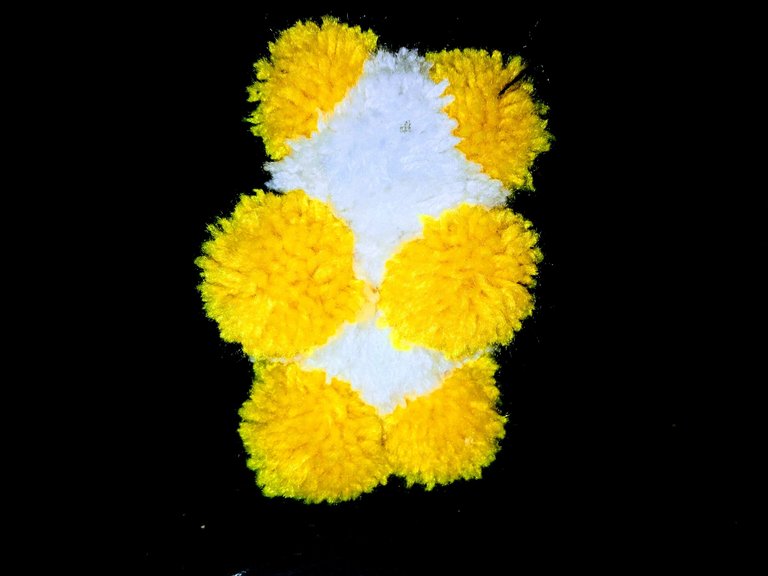
Side shot of the previous process.
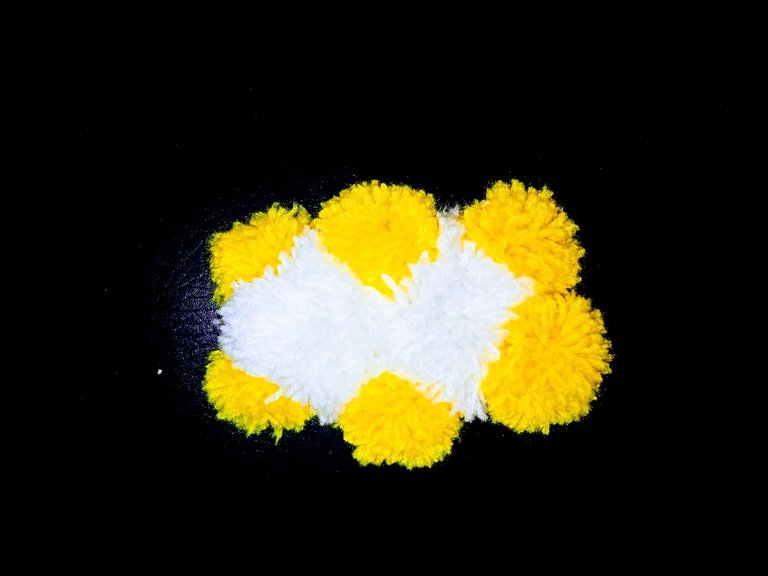
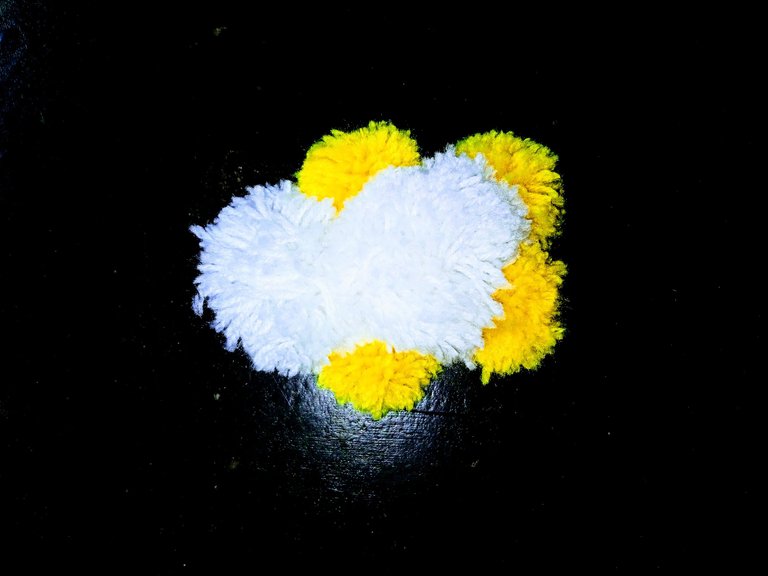
The front shot, the stomach view.
A different shot but the same finished process.
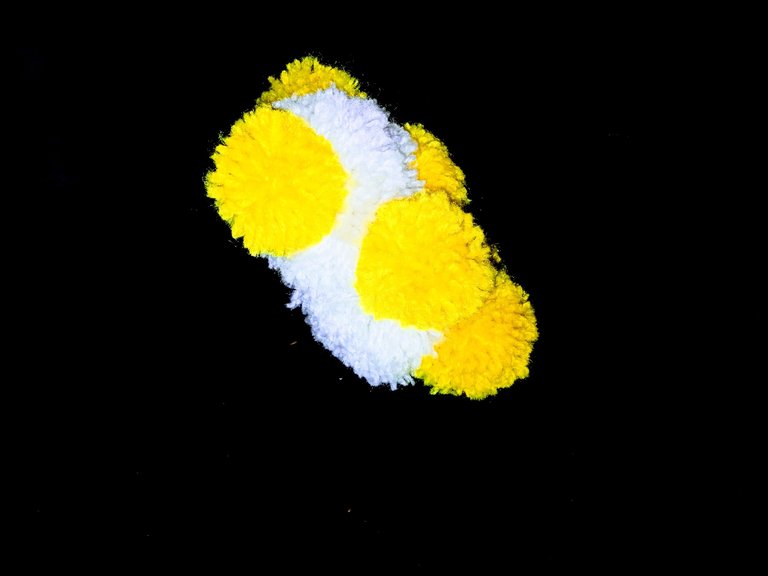
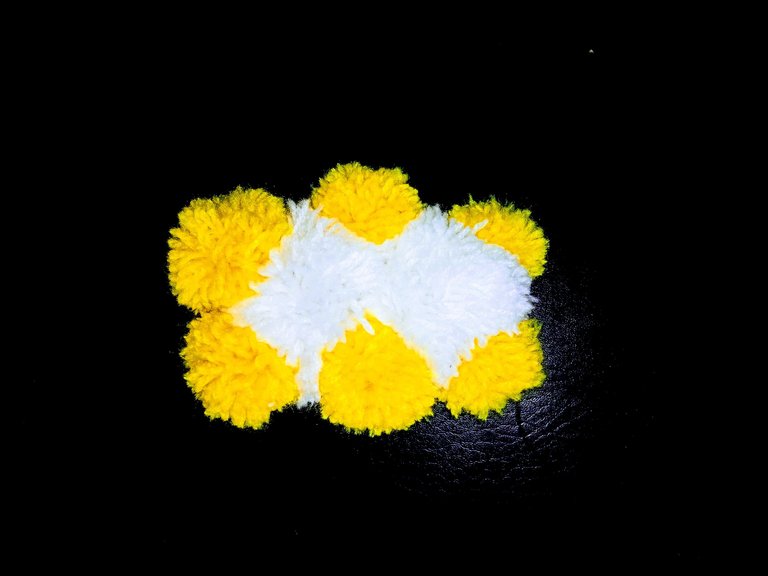
This is the buttock's shot when the tail wasn't sown to it. :)
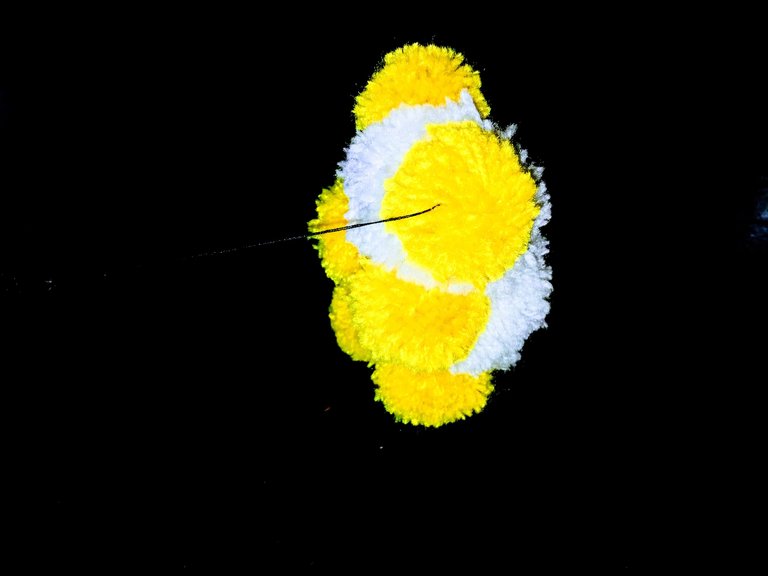
The teddy is all set and ready for the next step.
Another shot was taken of it.
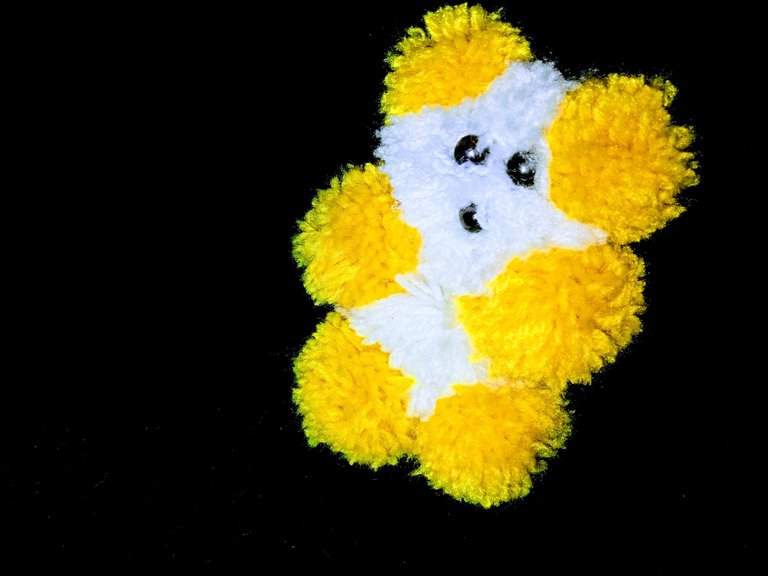
Taadaa! The result.
Repeat the same process with the white wool, cut, roll it and trim it.
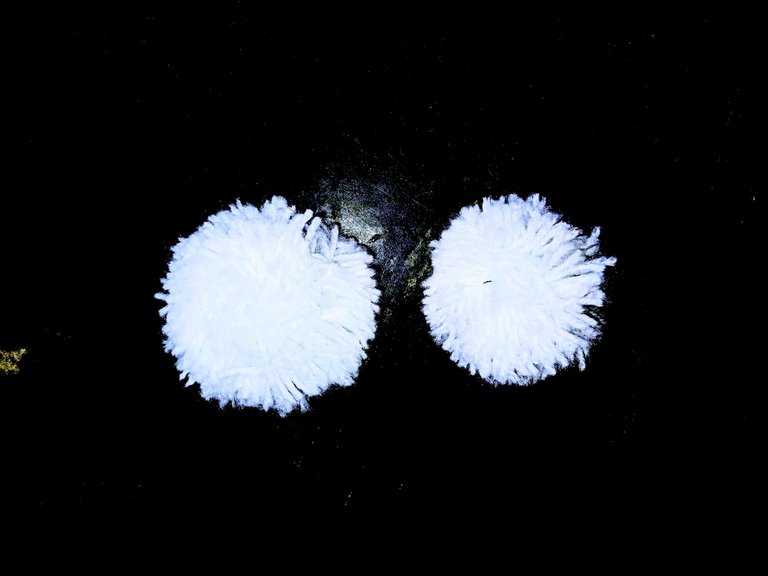
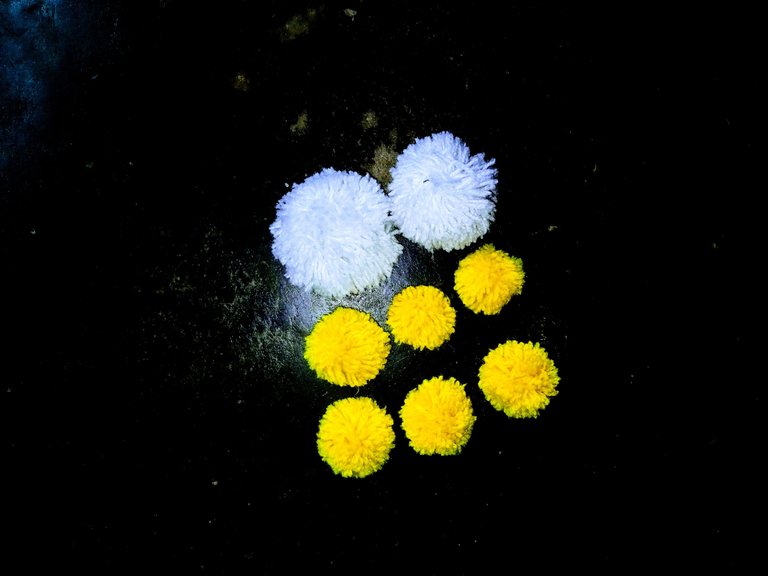
After that, you set aside all the wools you will use, two white balls and six yellow balls.
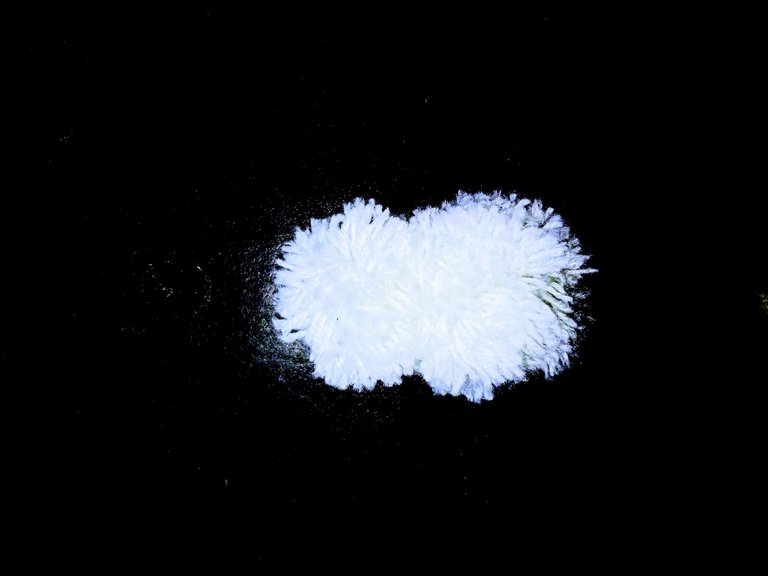
Then you join the two white balls together and sew them up.
Join the two legs and sew them to the white balls.
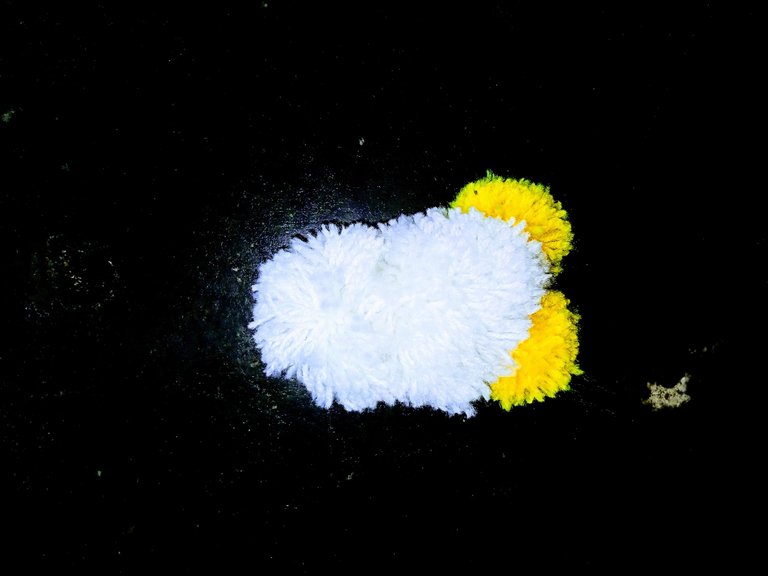
Continue with the hands too.
And finally the ears.
Cut another small wool, trim it into a ball using white wool, you can as well use the color wool but I preferred the white.
Sew it to the backside as the tail.

When you finish with the teddy's body, you use three beads; preferably black, I used silver cause of the shining effect.
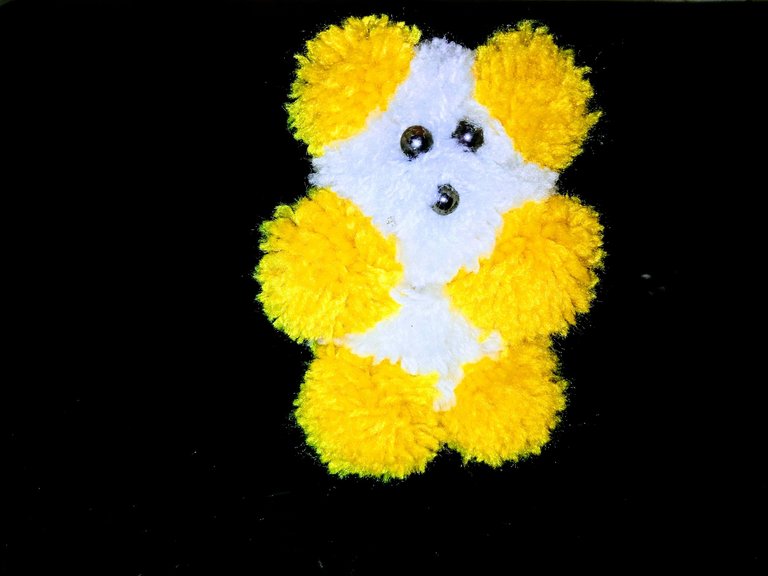
Attach the beads one after another and sew them up
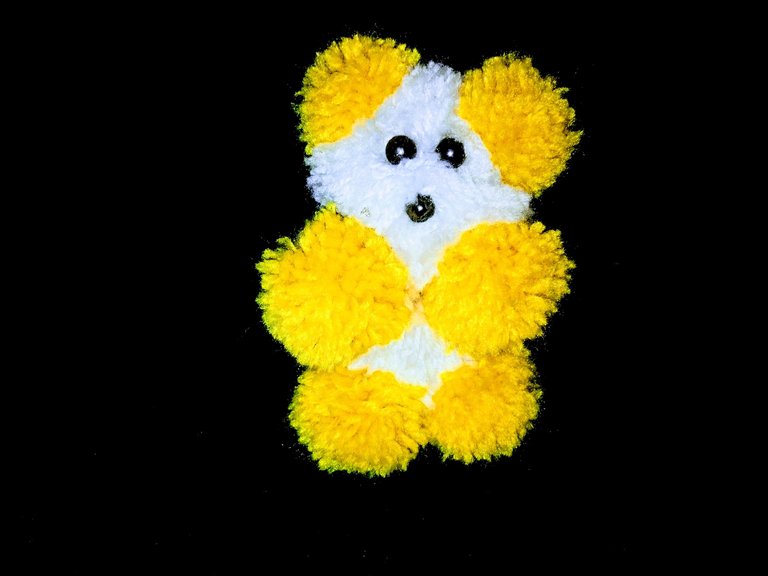
After sewing all the three beads, here you have your cute-looking teddy.
.
And that is all for the teddy bear making. I hope you like it.
I invite @evegrace to participate as well.
https://twitter.com/ShammahUwakmfon/status/1367830944825147394
A very successful participation, you are recycling and above all being creative, I loved it.