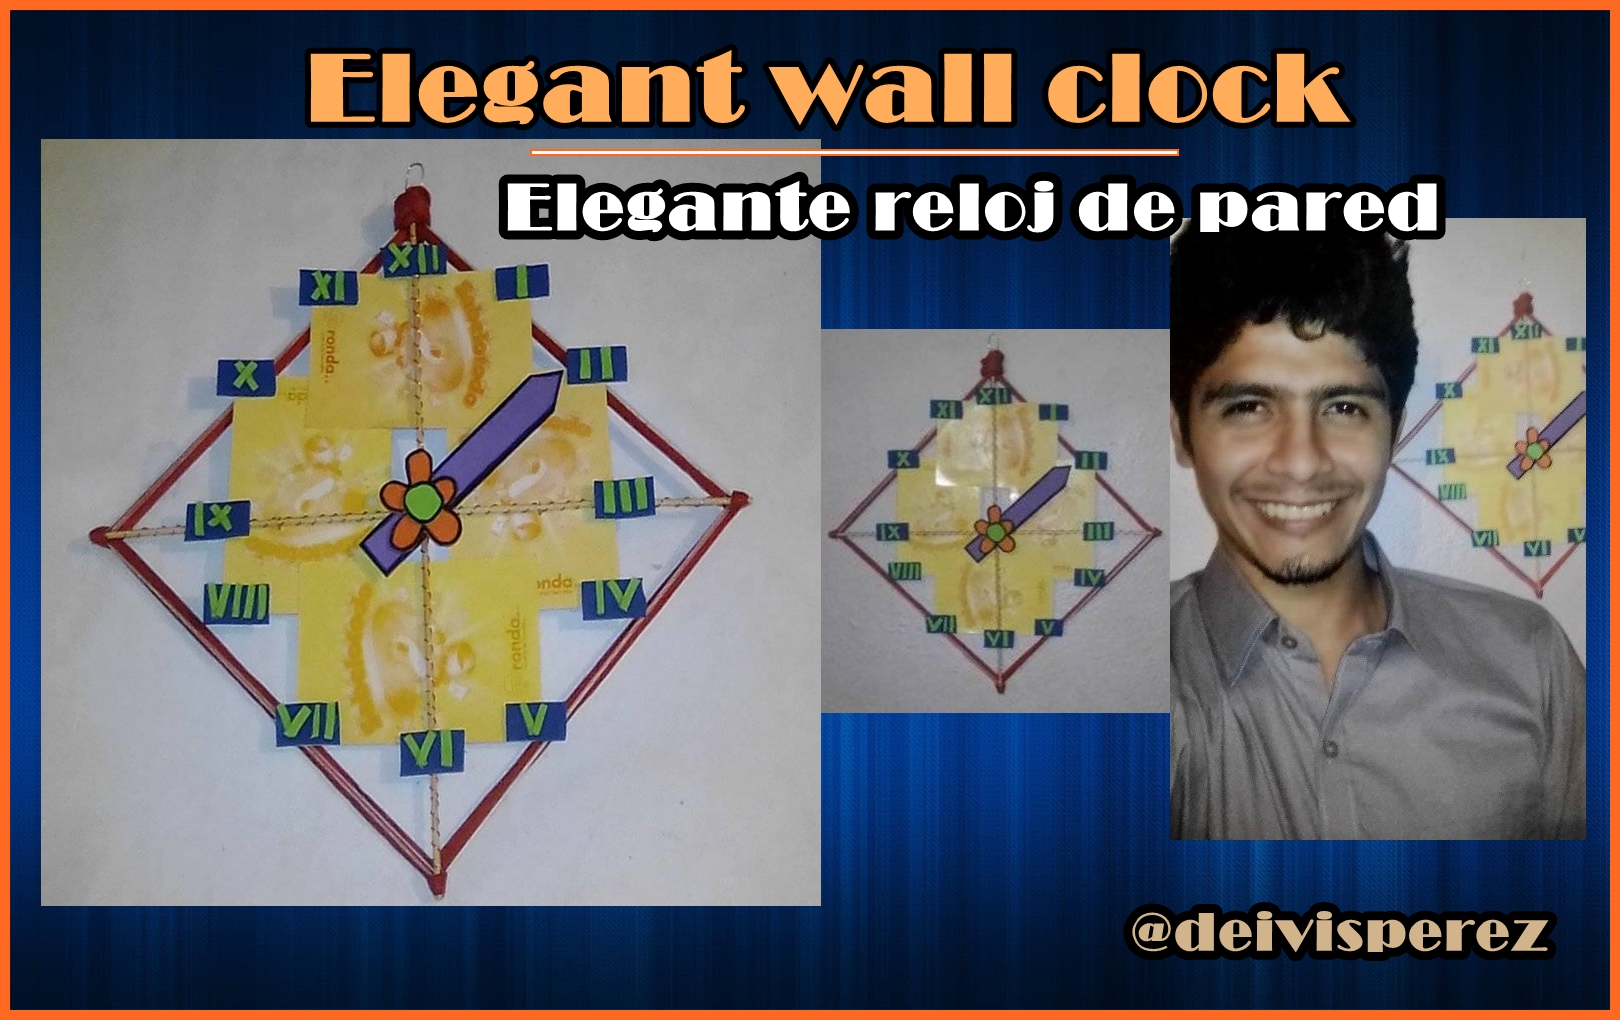
[ENG - ESP] Design your own wall clock to decorate your home | Diseña tu propio reloj de pared para decorar tu casa
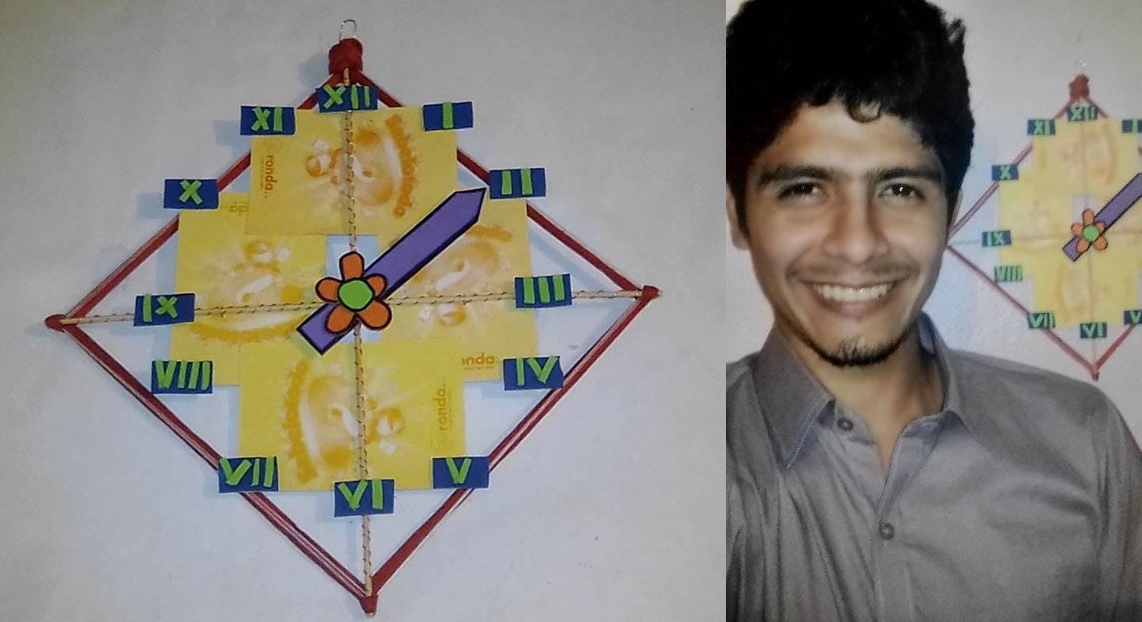
Look at this nice decorative clock that I made using an easy material.
This clock you can use it to hang it or stick it to the wall and decorate in a creative way, and you can also add the colors of your choice, so let's get to work.
Hola feliz día tengan todos, espero que todo marche bien mi gente creadora.
Mira este bonito reloj decorativo que realice usando un material fácil.
Este reloj puedes usarlo para colgarlo o pegarlo a la pared y decorar de una manera creativa, y ademas puedes agregarle los colores de tu preferencia, entonces, manos a la obra.
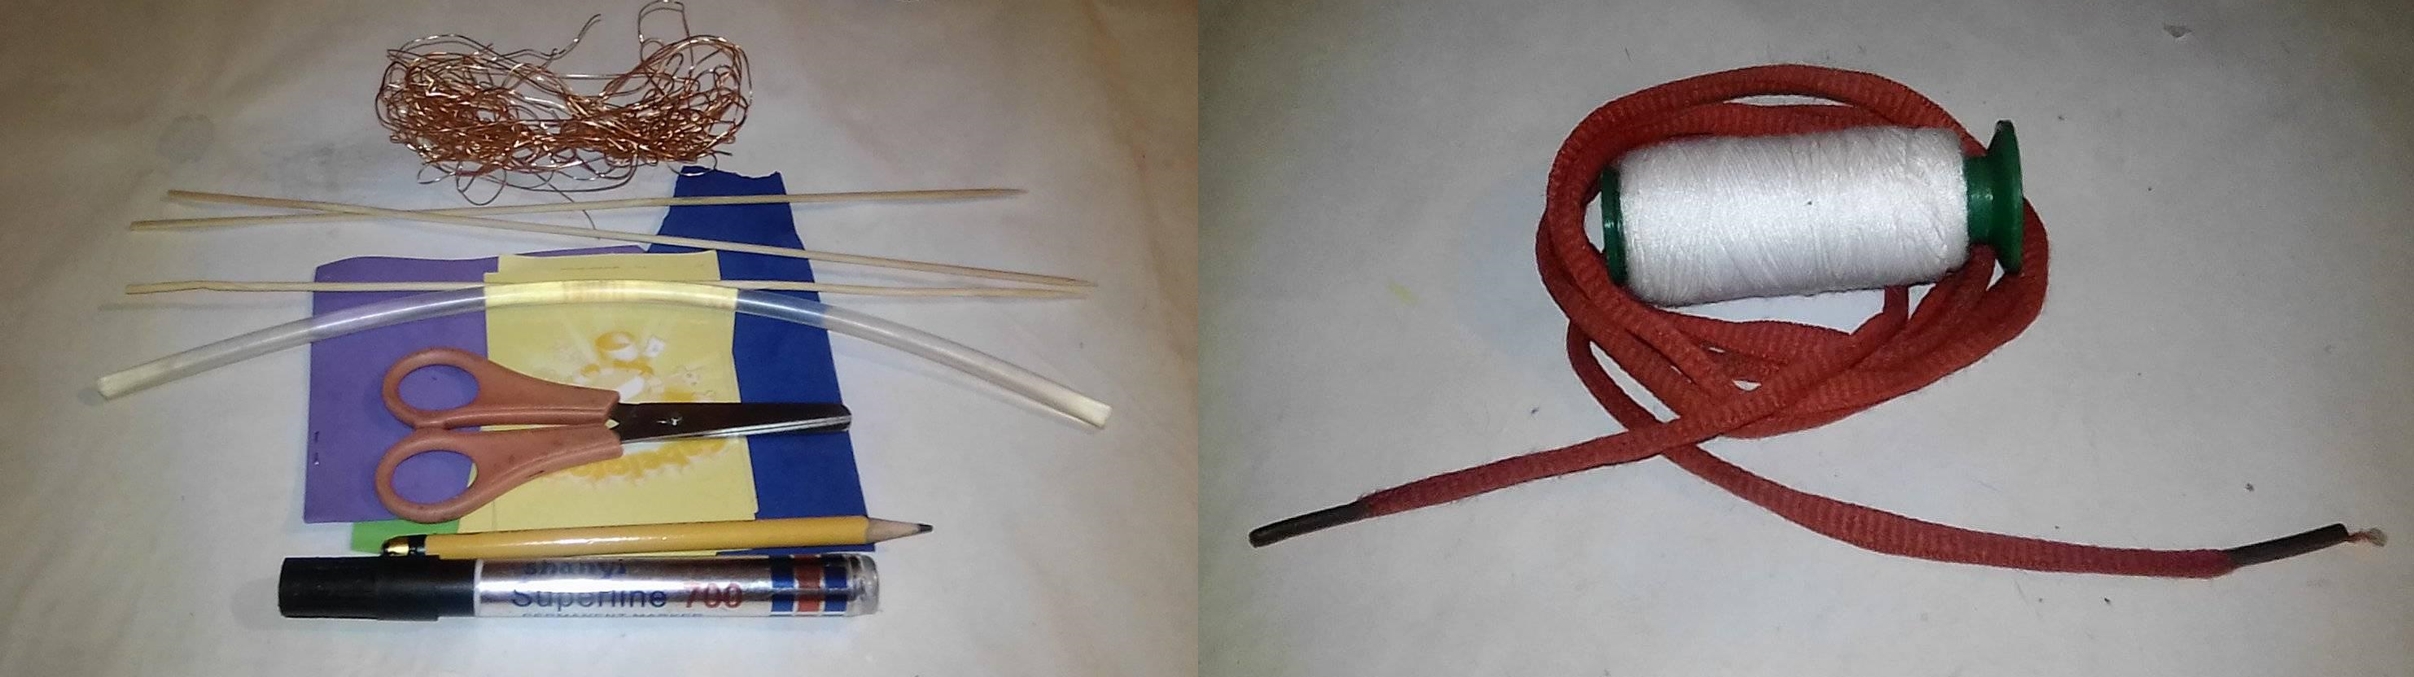
•Cardboard or cardboard of any color.
•2 Chopsticks of height.
•Color Foami: blue, orange, green, purple.
•Scissors.
•Black marker.
•Silicone.
•Crayon pencil (optional).
•Thin wire.
•Red shoelace.
•Sewing thread.
•Cartón o cartulina de cualquier color.
•2 Palillos de altura.
•Foami color: Azul, naranja, verde, morado.
•Tijera.
•Marcador negro.
•Silicón.
•Lápiz crayón (opcional).
•Alambre delgado.
•1 Agujeta de zapato color rojo.
•Hilo de coser.
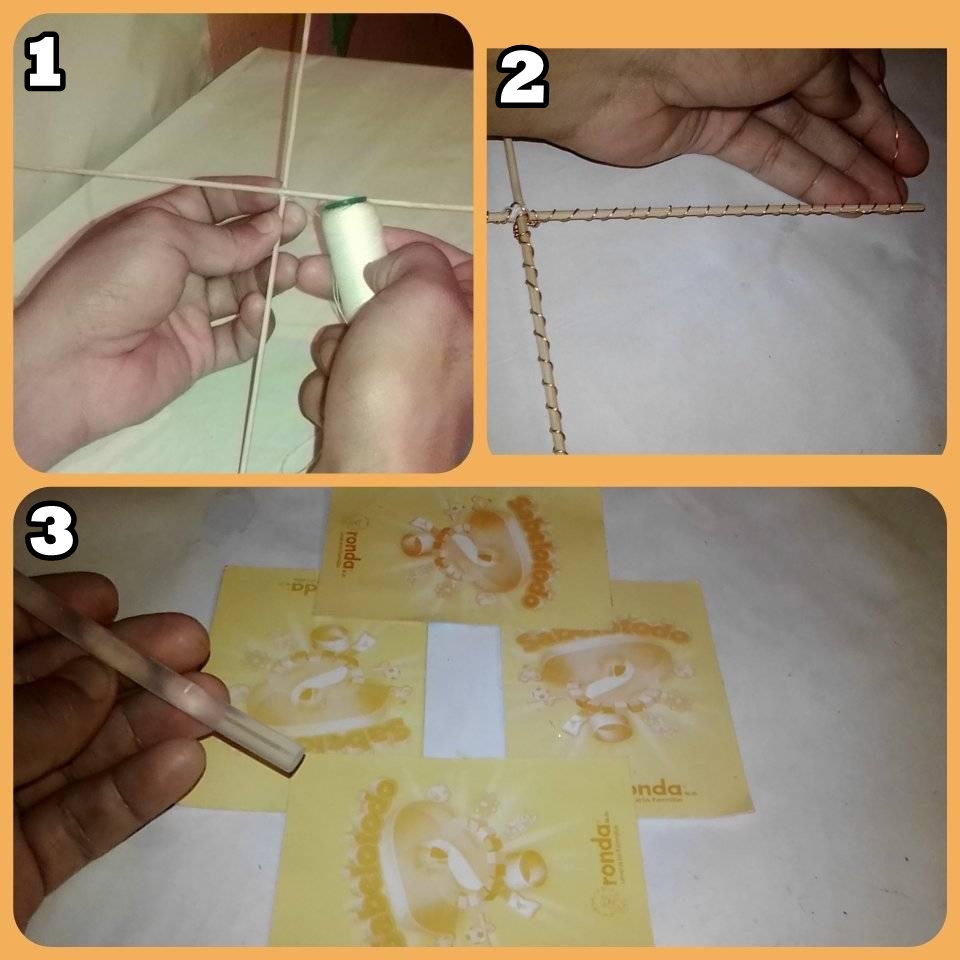
•STEP 1: Join the 2 high sticks with the sewing thread forming a cross.
•STEP 2: Roll the wire in a circular shape until it covers the cross we have just created.
•STEP 3: With the cardboard we cut 4 rectangles in the shape of a letter of 5x10 centimeters each, then we glue one on top of the other forming a cross and leaving an empty rectangle in the middle of 5x2 centimeters.
•PASO 1: Unir los 2 palillos de altura con el hilo de coser formando una cruz.
•PASO 2: Enrollamos el alambre en forma circular hasta cubrir la cruz que acabamos de crear.
•PASO 3: Con la cartulina cortamos 4 rectángulos s en forma de carta de 5x10 centímetros cada uno, seguidamente pegamos uno encima de otro formando una cruz y dejando un rectángulo vacío en medio de 5x2 centímetros.
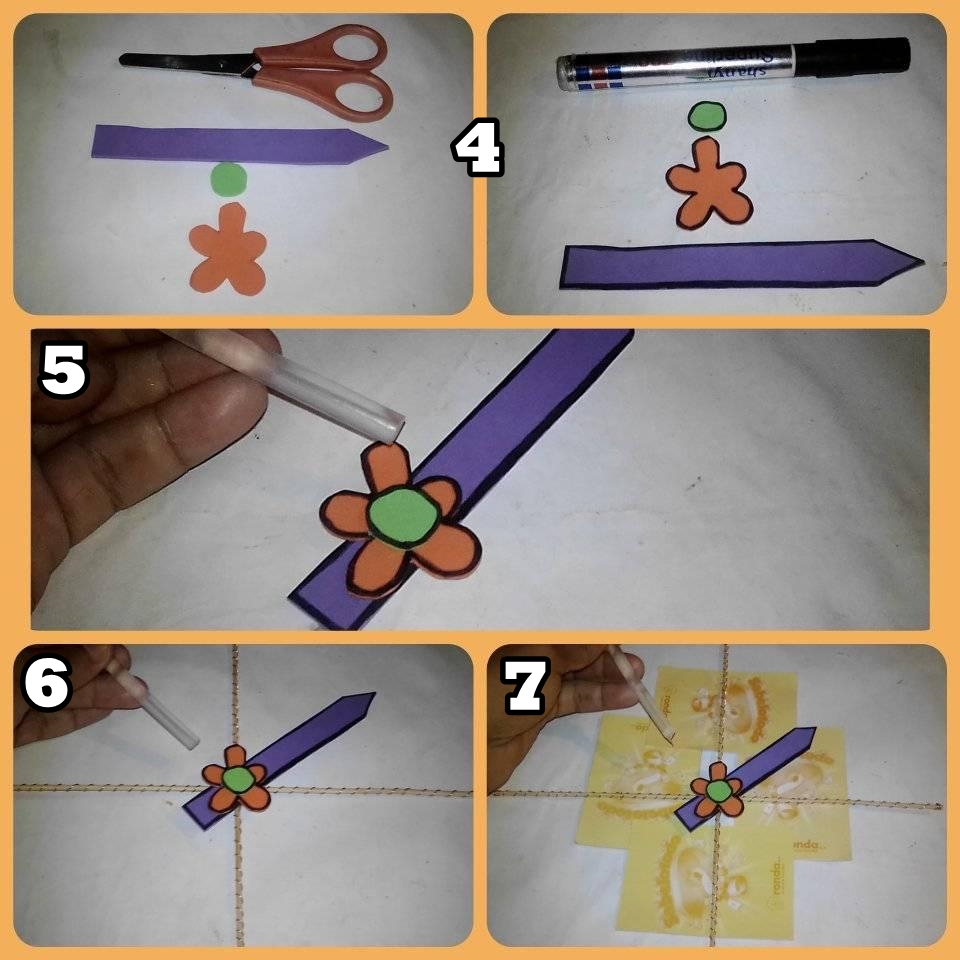
•STEP 4: Cut out a strip of purple foami in the shape of an arrow, then cut out the green foami in the shape of a small circle, cut out the orange foami in the shape of a flower, then mark all the edges with black marker to give depth.
•STEP 5: Glue the flower on top of the arrow and the circle on top of the flower (use silicon).
•STEP 6: Now we glue the arrow in the middle of the cross we made with toothpicks (use silicone).
•STEP 7: Glue the toothpick cross on top of the cardboard cross (use silicone or wire).
•PASO 4: Recortamos una tira del foami color morado en forma de flecha, luego recortamos el foami verde en forma de cirulo pequeño, recortamos el foami naranja en forma de flor, a continuación, marcamos todos los bordes con marcador negro, para dar profundidad.
•PASO 5: Pegamos la flor encima de la flecha y el circulo encima de la flor (usar silicon).
•PASO 6: Ahora pegamos la flecha en medio de la cruz que hicimos con palillos de altura (usar silicón).
•PASO 7: Pegamos la cruz de palillos encima de la cruz de cartón (usar silicón o alambre).
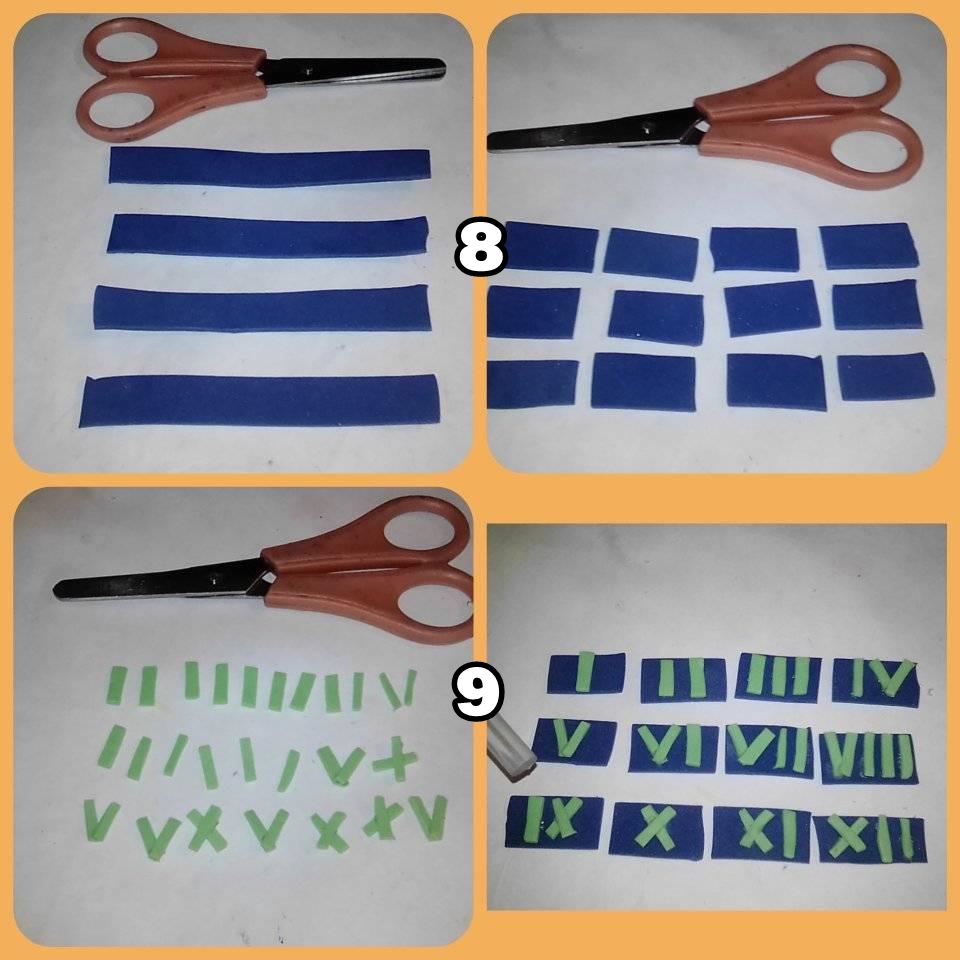
•STEP 8: Cut 3 strips of blue foami of 10x2 centimeters, then separate them into 12 equal squares (use the scissors).
•STEP 9: Cut 17 miniature strips in the shape of "I" of green foami, 5 pieces in the shape of "V", 4 in the shape of "X" (these will be the numbers of our clock), then glue all the pieces to the blue foami squares following the order of the clock time "ROMAN NUMBERS FROM 1 TO 12".
•PASO 8: Recortar 3 tiras de foami azul de 10x2 centímetros, luego la separamos en 12 cuadros iguales (usar la tijera).
•PASO 9: Recortamos 17 tiras miniaturas en forma de “I” de foami verde, 5 piezas en forma de “V”, 4 en forma de “X” (estos serán los números de nuestro reloj), seguidamente pegamos todas las piezas a los cuadros de foami azul siguiendo el orden de la hora del reloj “NÚMEROS ROMANOS DEL 1 AL 12”.
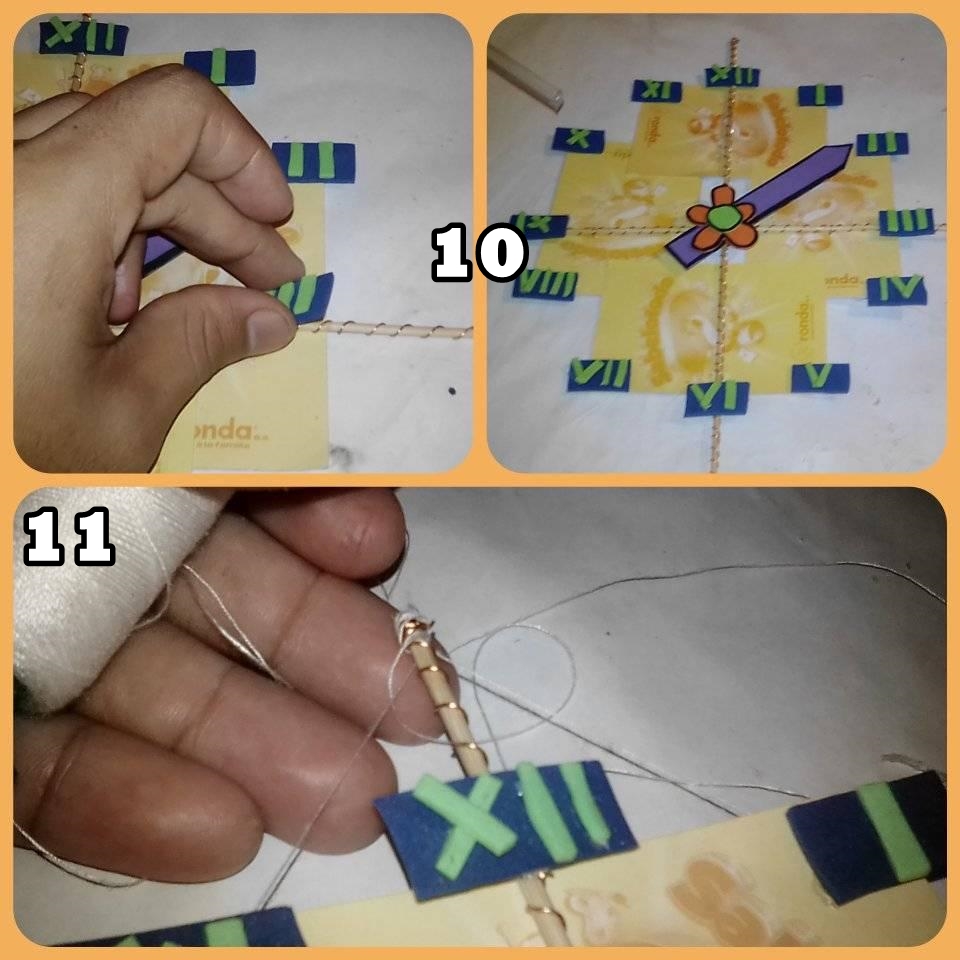
•STEP 10: Now we glue all the pieces of foami in the shape of numbers to our cross (glue with silicone following the order of the numbers on the clock 12,1,2,3,3,4,5...).
•STEP 11: Tie the sewing thread to any of the ends of the cross and pass through each end simulating the shape of a kite (do this process 3 or 4 times).
•PASO 10: Ahora pegamos todas las piezas de foami en forma de numero a nuestra cruz (pegar con silicón siguiendo el orden de los numero en el reloj 12,1,2,3,4,5…).
•PASO 11: Amarramos el hilo de coser a cualquiera de las puntas de la cruz y pasamos por punta simulando la forma de un cometa (hacer este proceso 3 o 4 veces)
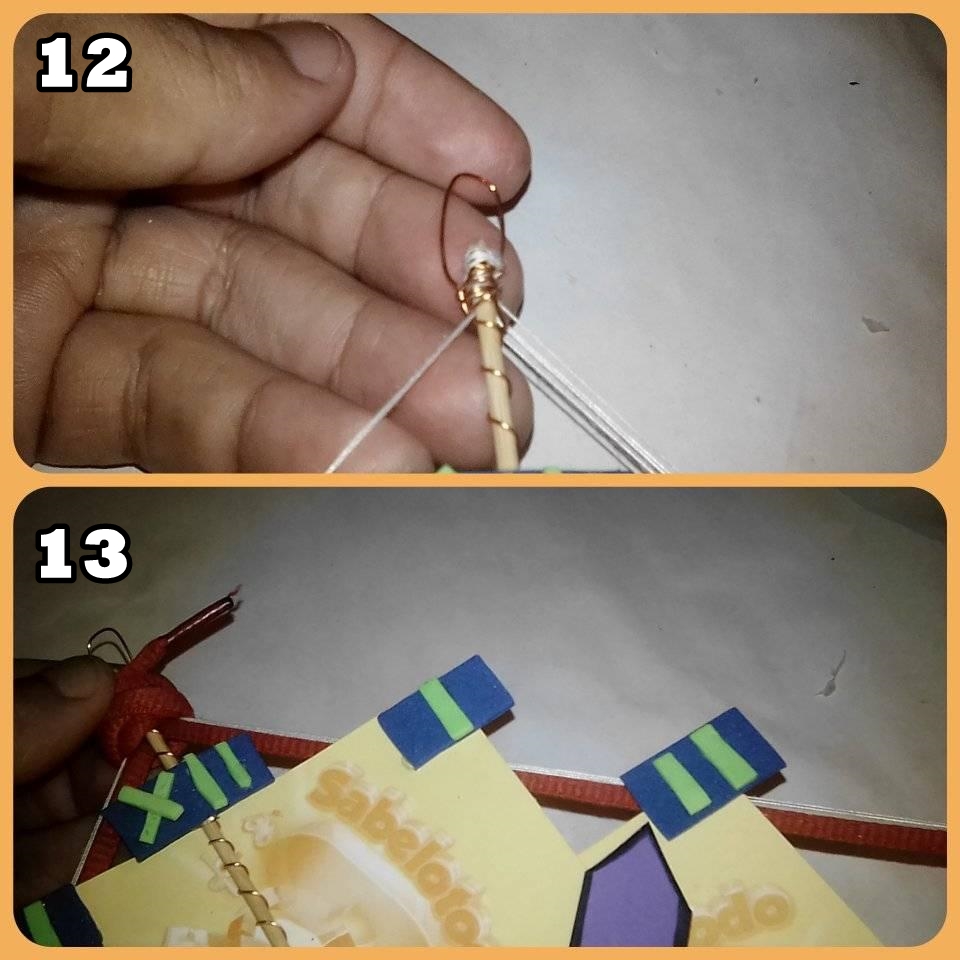
•STEP 12: We take a small piece of wire and bend it to create an ear to hang our watch, then we glue it to the top of the watch.
•STEP 13: This is the last step to finish our watch: We glue the tip of the lanyard to the top of the watch and surround the watch as we did with the sewing thread (this is to give a better finish to our watch).
•PASO 12: Tomamos un trozo pequeño de alambre lo doblamos creando un sujetar u oreja para guindar nuestro reloj, luego lo pegamos a la parte punta superior del reloj.
•PASO 13: Este es el último paso para terminar nuestro reloj: Pegamos la punta de la agujeta a la punta superior del reloj y rodeamos el reloj igual como hicimos con el hilo de coser (esto es para darle un mejor acabado a nuestro reloj).
All photos are my own, edited in PhotoScape, translator used: DeepL.