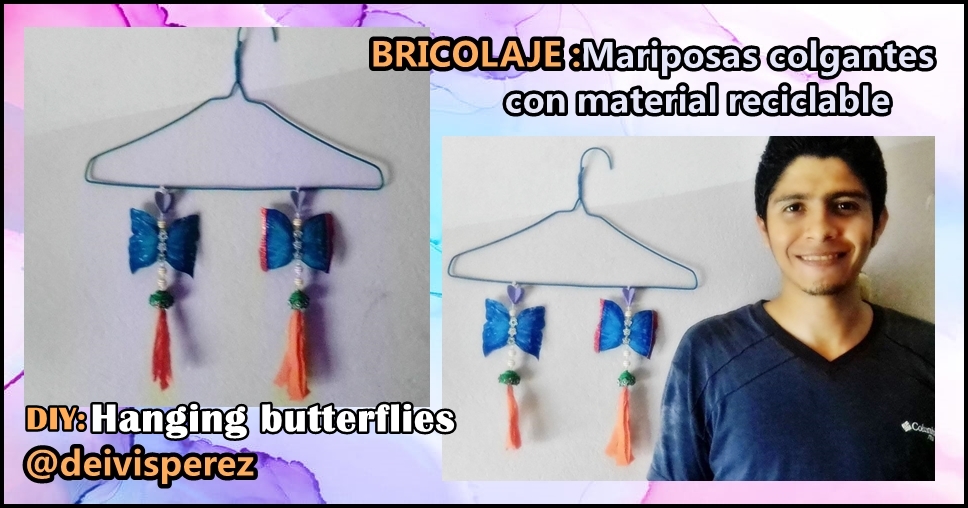
[ENG - ESP] DIY: Hanging butterflies with recyclable material | Bricolaje: Mariposas colgantes con material reciclable
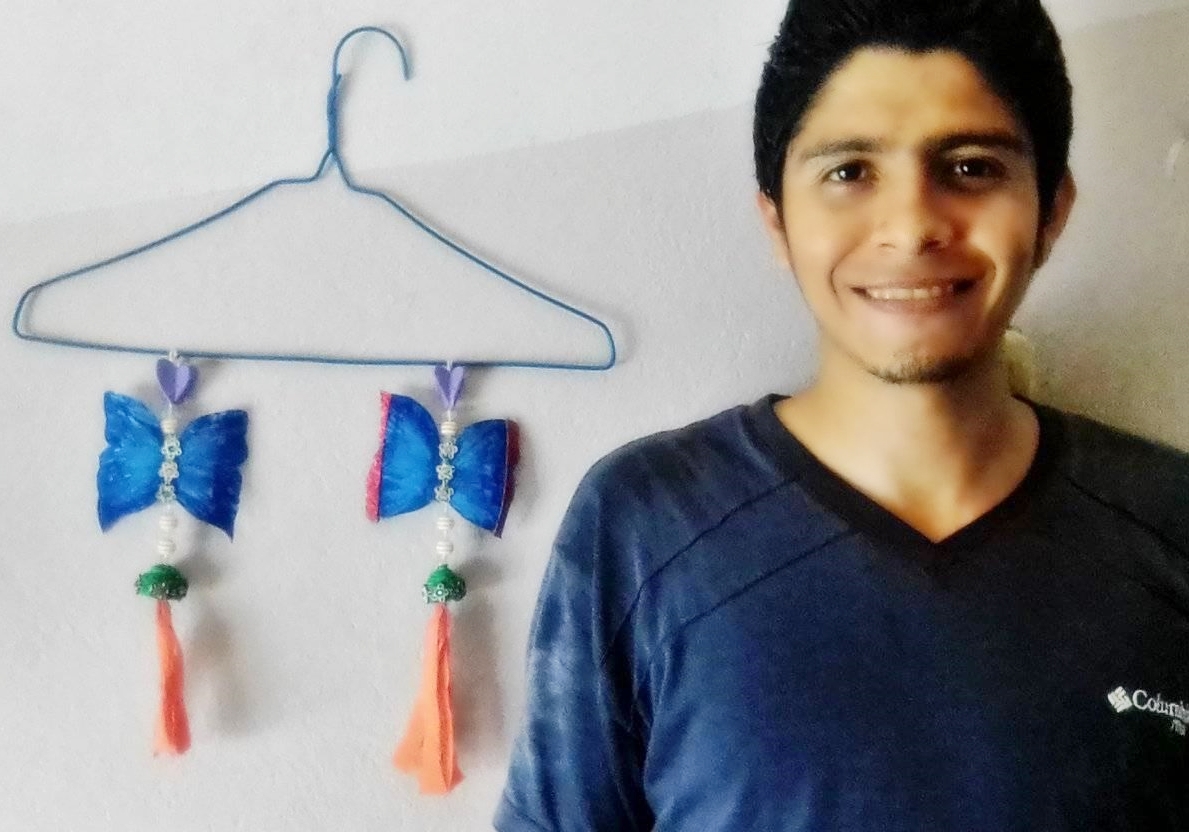
Saludos mi gente creadora y apreciadora del buen contenido, feliz fin de semana. Este día les compartiré un colgante en forma de mariposas usando material reciclable. Este objeto lo puedes colocar en cualquier lugar de tu casa y le dará un aspecto artístico y muy elegante, manos a la obra...
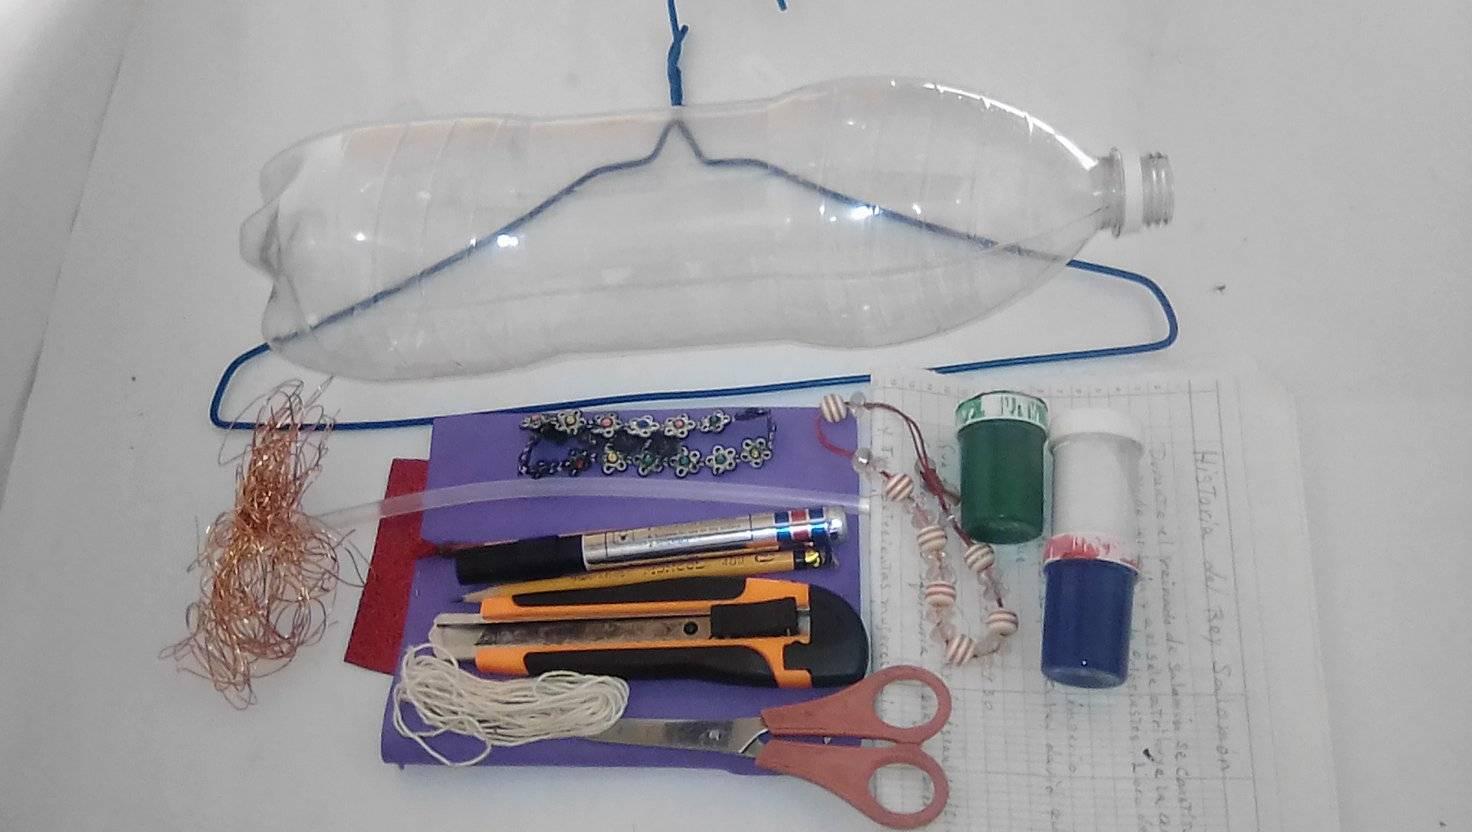
•1 Plastic bottle.
•1 Clothes hook.
•Foami: Purple, Red.
•Cutter.
•Scissors.
•Silicone.
•Cold paint: green, blue, white.
•Bracelet beads.
•Thread (yarn).
•Black marker.
•Crayon pencil.
•Recyclable sheets of paper (you can use magazine or newspaper sheets).
•Plastic craft gems for headbands.
•1 Botella de plástico.
•1 Gancho de ropa.
•Foami: Morado, Rojo.
•Cutter.
•Tijera.
•Silicón.
•Pintura al frio: verde, azul, blanco.
•Bolitas de pulsera.
•Hilo (estambre).
•Marcador negro.
•Lápiz Crayón.
•2 Hojas reciclable (puede usar hojas de revistas o periódicos).
•Gemas plásticas de manualidad para cintillos.
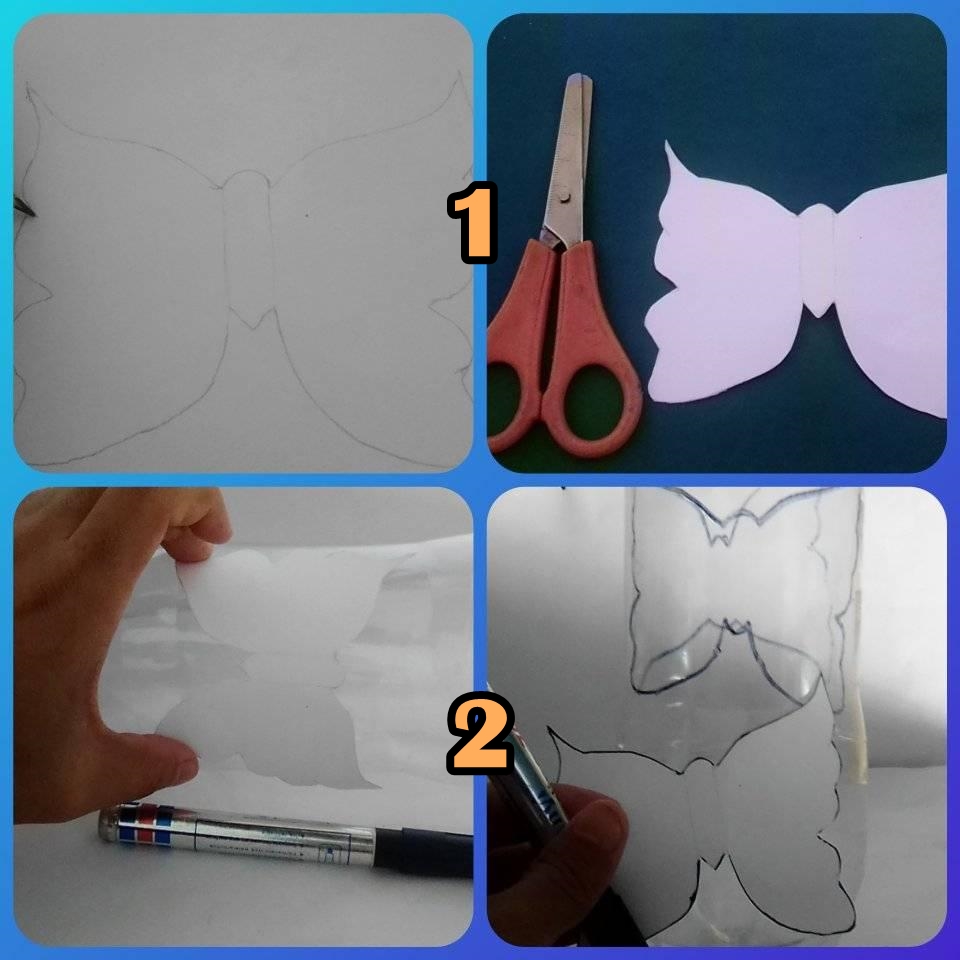
•STEP 1: With the crayon pencil on a blank sheet of paper or cardboard, draw a butterfly (this will be our guide or pattern), then cut it out with the help of the scissors.
•STEP 2: Place the butterfly pattern over the center of the plastic bottle and draw with the black marker, leaving the silhouette of the butterfly on the bottle.
•PASO 1: Con el lápiz creyón en una hoja en blanco o cartulina, dibujamos una mariposa (esto será nuestra guía o patrón), luego recortamos con la ayuda de la tijera.
•PASO 2: Colocamos el patrón en forma de mariposa encima del centro de la botella de plástico y dibujamos con el marcador negro dejando la silueta de la mariposa plasmada en la botella.
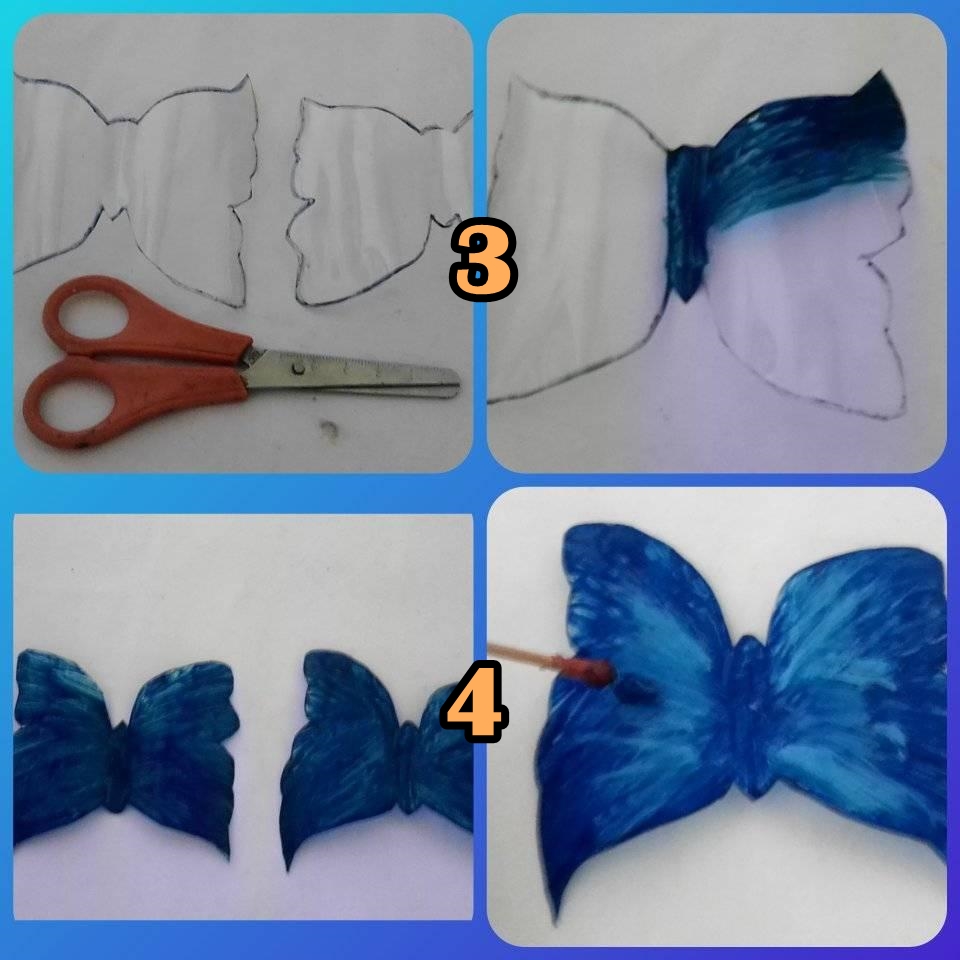
•STEP 3: Now we use the cutter and open a small hole to insert the tip of the scissors, then we cut out the butterfly using the scissors (we repeat this step once more until we have 2 plastic butterflies).
•STEP 4: With the brush and the blue paint, we paint the 2 plastic butterflies until they are completely covered, then with the white paint we make a small blur on the wings of the butterflies.
•PASO 3: Ahora usamos el cutter y abrimos un pequeño agujero para poder insertar la punta de la tijera, seguidamente recortamos la mariposa usando la tijera (repetimos este paso una vez más hasta tener 2 mariposas de plástico).
•PASO 4: Con el pincel y la pintura color azul, pintamos las 2 mariposas de plástico hasta cubrirlas completamente, luego con la pintura blanca hacemos un pequeño difuminado en las alas de las mariposas.
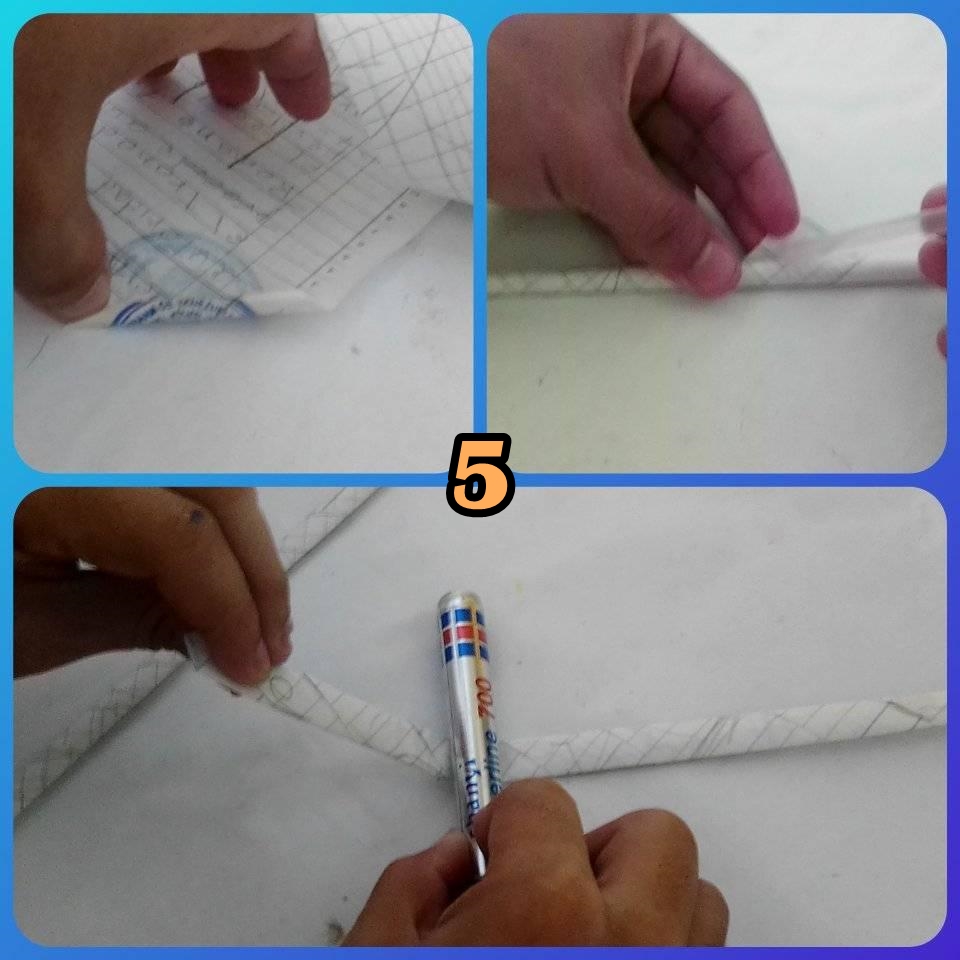
•STEP 5: We take one of the corners of the recyclable paper and turn it over to form a thin paper tube, then seal it using silicone, then use the marker and flatten the paper tube completely.
•PASO 5: Tomamos una de las esquinas del papel reciclable y damos vuelta hasta formar un tubo delgado de papel, luego lo sellamos usando silicón, seguidamente usamos el marcador y aplastamos completamente el tubo de papel.
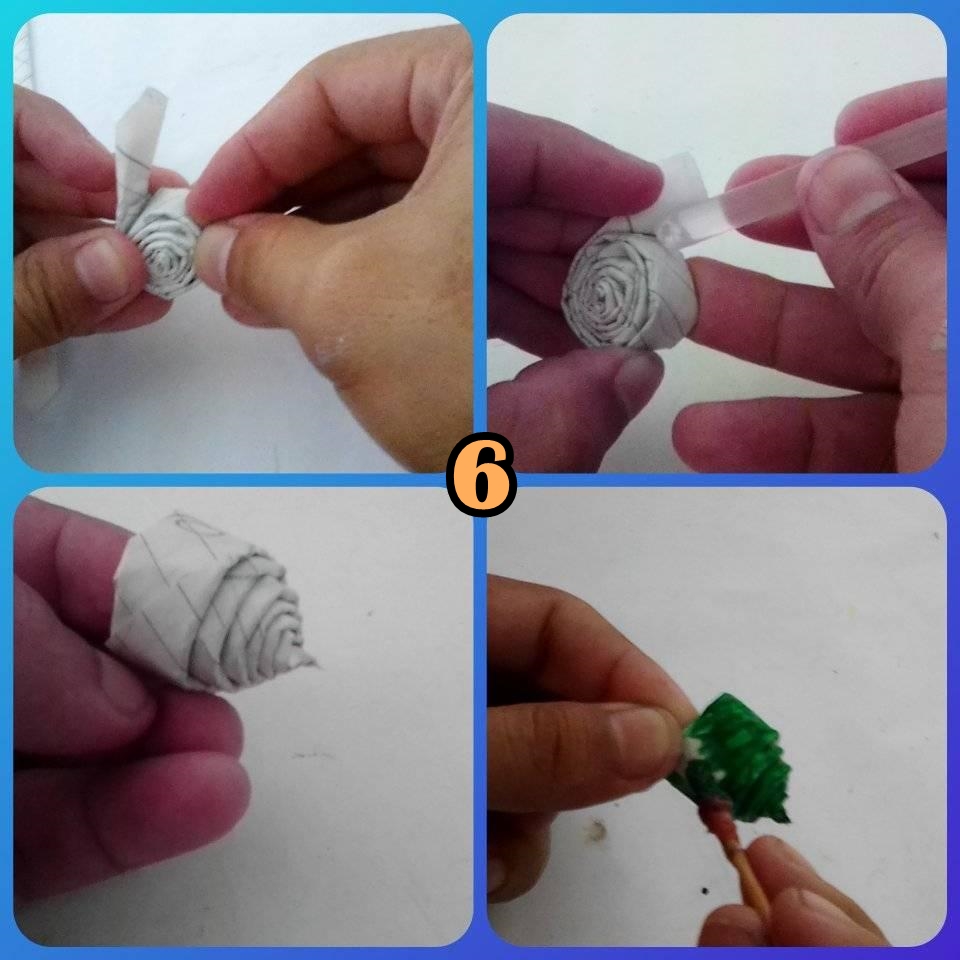
•STEP 6: Now we roll the paper tube completely simulating a spiral circle, then we seal it using the silicone, take the green paint and the brush and cover the paper spiral completely (make 2 paper spirals).
• PASO 6: Ahora enrollamos el tubo de papel completamente simulando un circulo espiral, luego lo sellamos usando el silicón, tomamos la pintura color verde y el pincel y cubrimos completamente el espiral de papel (hacer 2 espirales de papel).

•STEP 7: Glue the plastic gems with silicone in the middle of the butterflies (BODY).
•STEP 8: Cut a strip of red foami and glue it to the ends of the wings of the butterflies, then cut it out (This step is optional).
• PASO 7: Pegamos las gemas de plástico con silicón en medio de las mariposas (CUERPO).
•PASO 8: Cortamos una tira del foami rojo y lo pegamos a los extremos de las alas de las mariposas, seguidamente recortamos (Este paso es opcional).
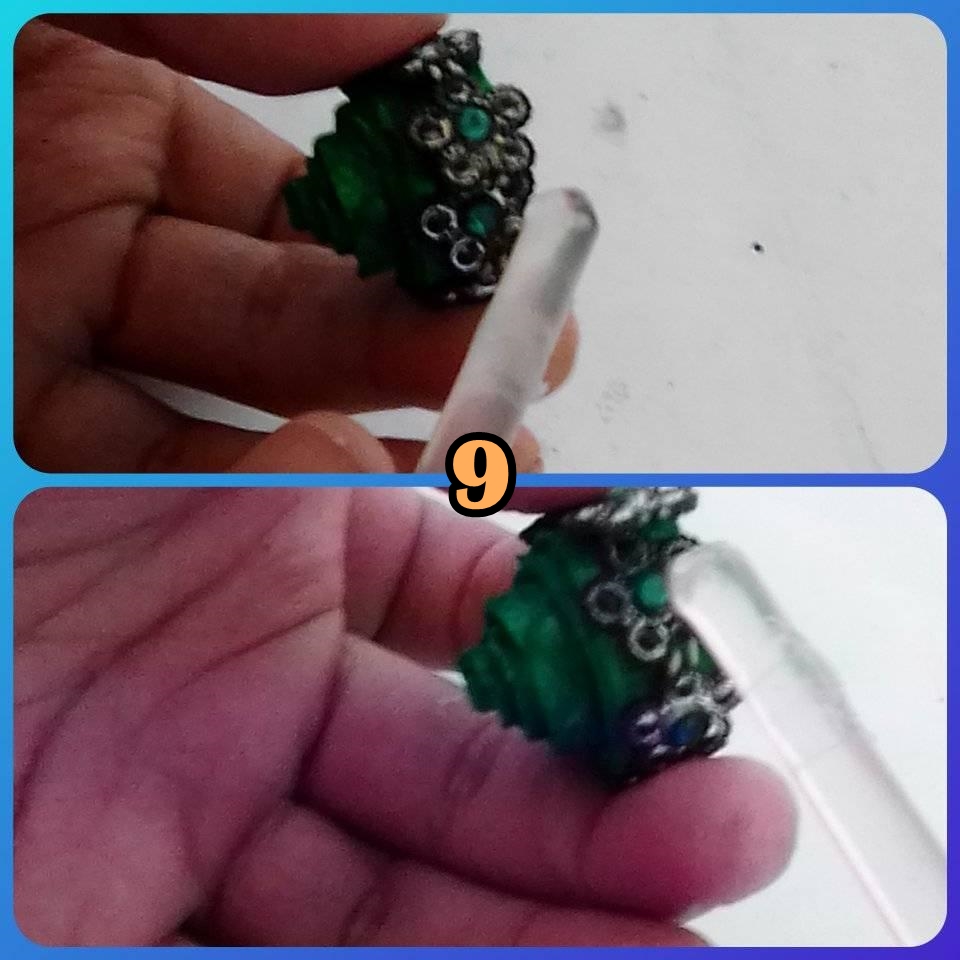
•STEP 9: Cover the wide part of the paper spirals with the plastic gems (use silicone).
• PASO 9: Cubrimos con las gemas de plástico la parte ancha de los espírales de papel (usar silicón).
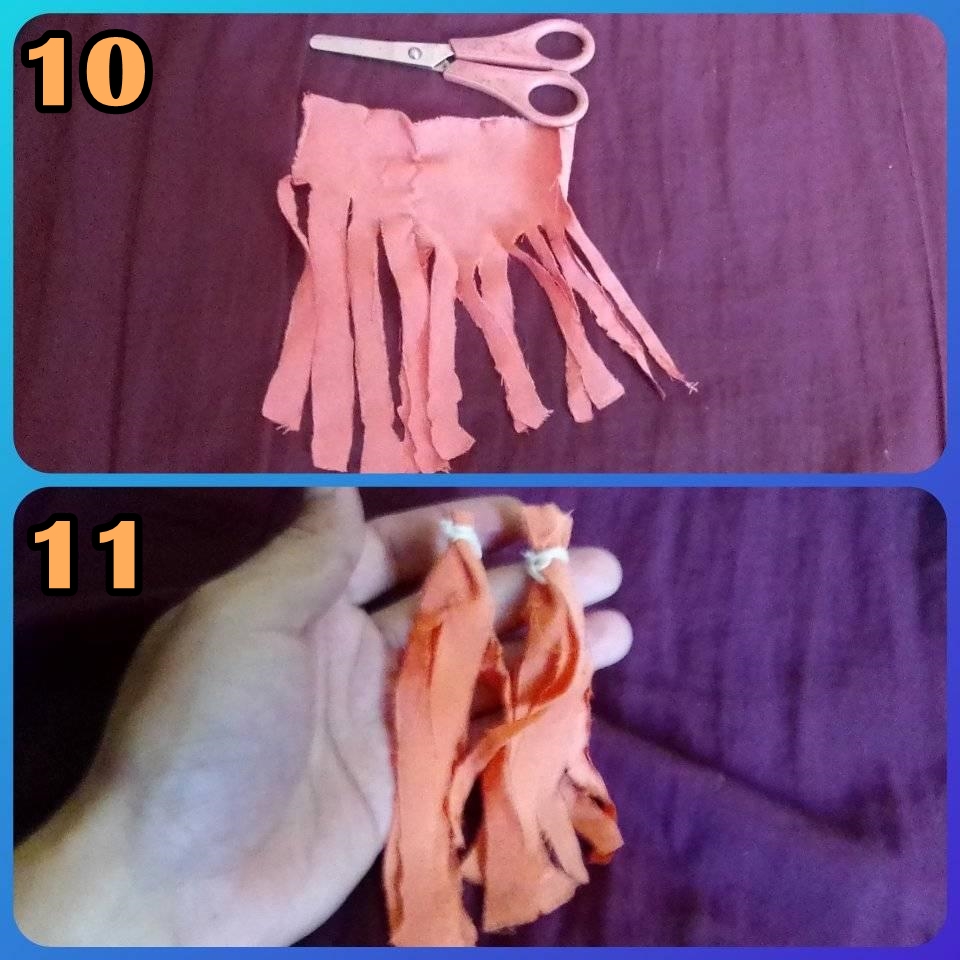
•STEP 10: Cut the fabric into strips.
•STEP 11: With the thread we join one of the ends of the fabric strips.
• PASO 10: Recortar la tela en forma de tiras.
•PASO 11: Con el hilo unimos una de las puntas de las tiras de tela.
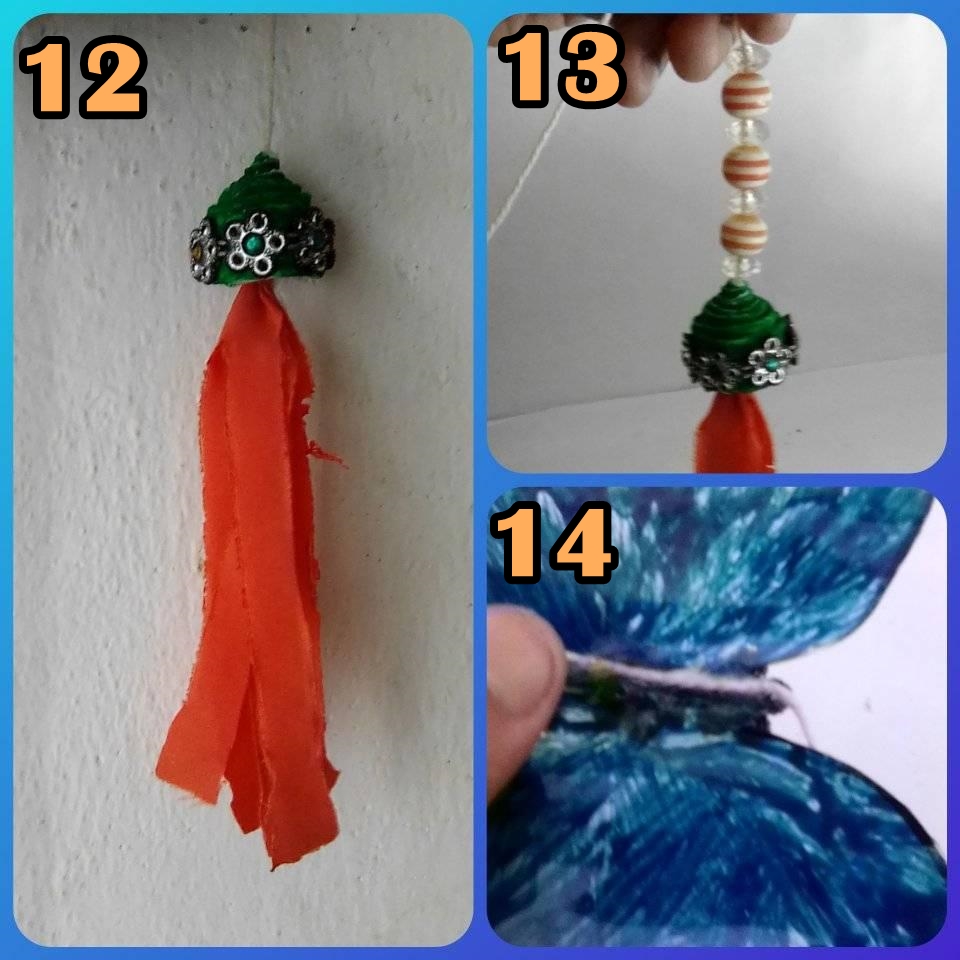
• STEP 12: Tie the end of the fabric strips with the thread, then pass the thread through the middle of the paper spiral.
•STEP 13: Insert the plastic balls through the thread "as you like".
•STEP 14: Glue the thread with silicone on the back of one of the butterflies (do this with the 2 butterflies).
• PASO 12: Amarrar la punta de las tiras de tela con el hilo, luego pasar el hilo por en medio del espiral de papel.
•PASO 13: Introducimos las bolas de plástico por el hilo “a nuestro gusto”.
•PASO 14: Pegamos con silicón el hilo por la parte trasera a una de las mariposas (hacer esto con las 2 mariposas).
• STEP 12: Tie the end of the fabric strips with the thread, then pass the thread through the middle of the paper spiral.
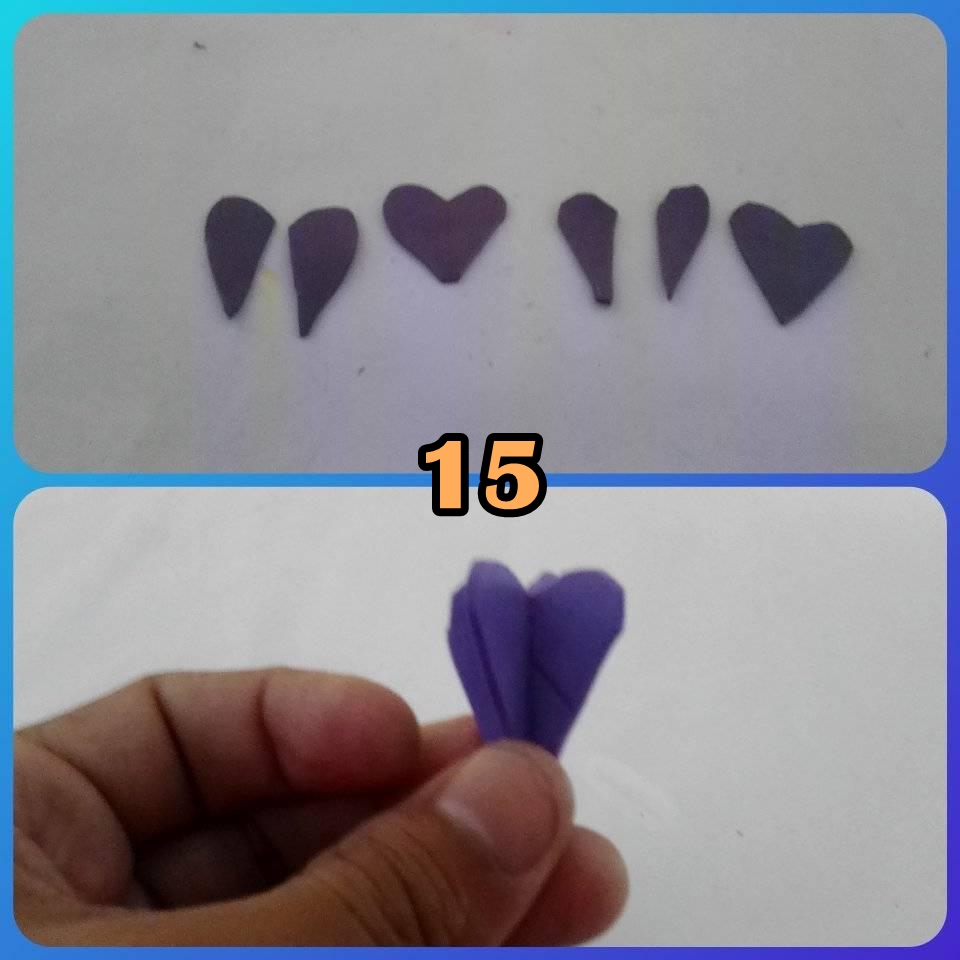
•-STEP 15: On the purple foami, cut out 4 small hearts, then cut 2 in half, then glue 2 halves to one whole heart forming a cross (do this with all the hearts), finally glue it to the thread following the line.
• PASO 15: En el foami morado, recortamos 4 corazones pequeños, luego recortamos 2 a la mitad, seguidamente pegamos 2 mitad a uno completo formando una cruz (hacer esto con todos los corazones), por ultimo lo pegamos al hilo siguiendo la línea.
All photos are my own, edited in PhotoScape, translator used: DeepL.