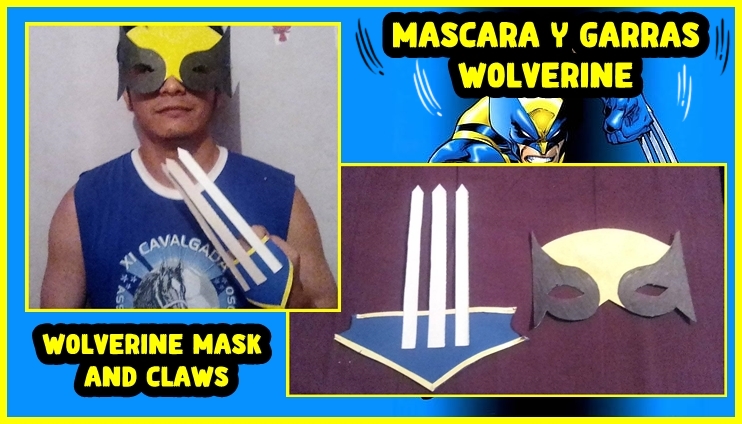
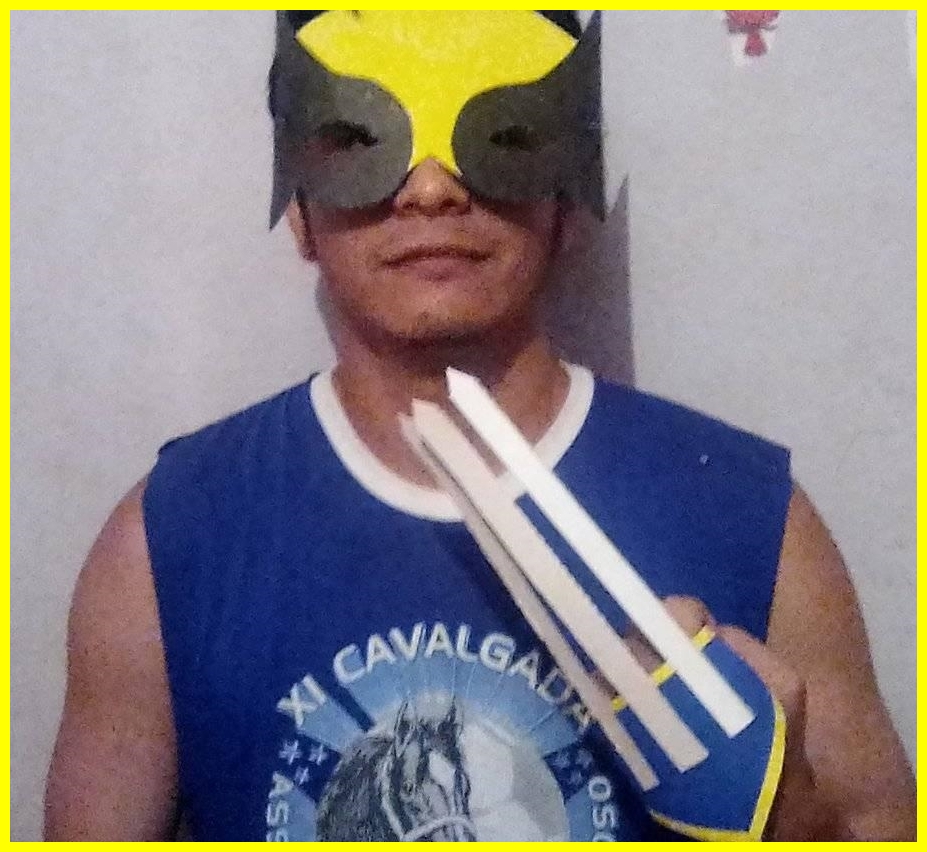
[ENG - ESP] Wolverine mask and claws | Mascara y garras wolverine
Hello fellow creators, I hope everything is going well, I want to share this creative idea to have fun and laugh for a while. What do you think if we make a wolverine mask? Ahhh! but not only the mask, let's also make the claws, let's go ahead and I'll show you how I made it using some useful material, let's get to work:
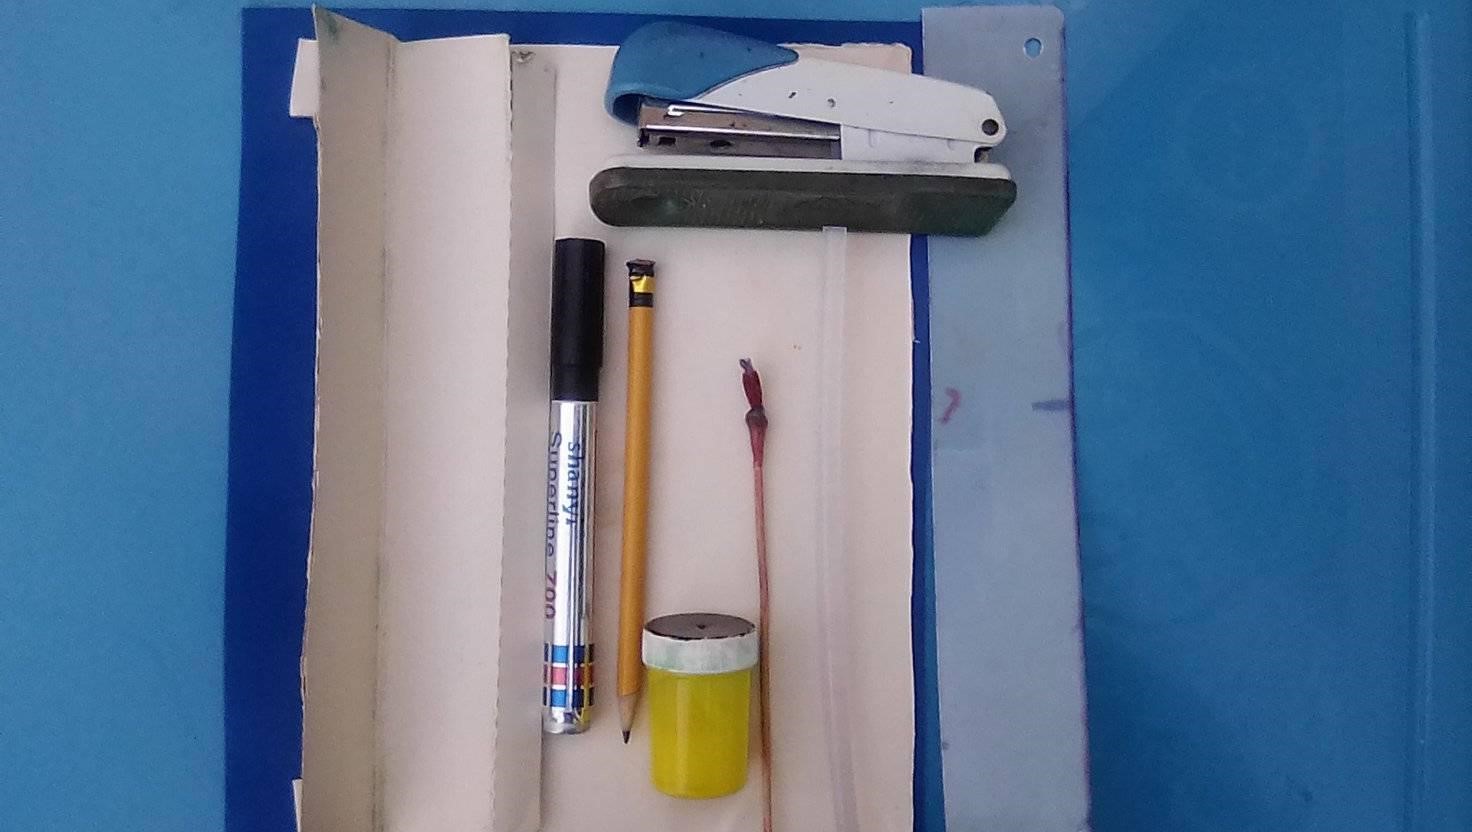
•Cardboard
•Blue Foami
•1 Geometric ruler
•Crayon pencil
•Black marker
•Brush
•Cold paint or yellow tempera (you can replace it with yellow foami).
•Silicone or stapler.
•Cartón
•Foami color azul
•1 Regla geométrica
•Lápiz crayón
•Marcador negro
•Pincel
•Pintura al frio o tempera color amarillo (puede remplazarlo por foami color amarillo).
•Silicón o Grapadora.
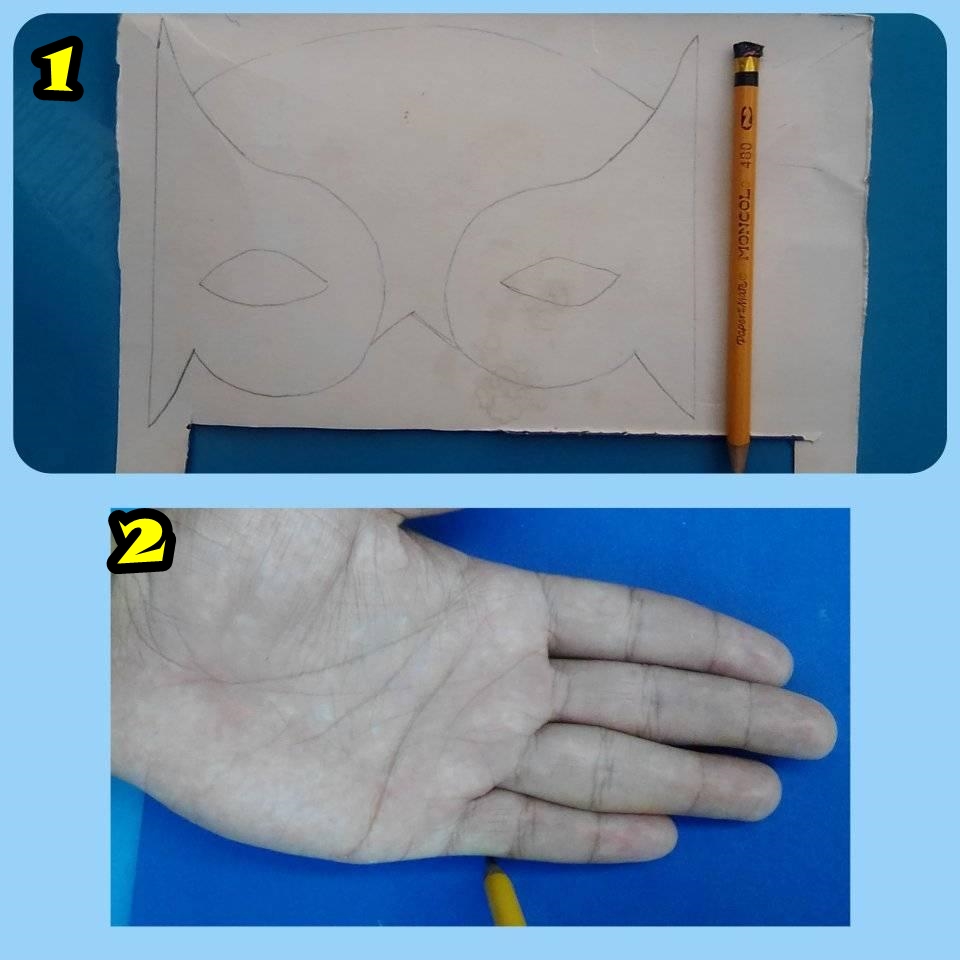
STEP 1: Draw on the cardboard the figure of our mask using the crayon pencil.
STEP 2: Place one of our hands on the foami and draw a horizontal line in the middle of the hand (this is where we will cut the foami).
PASO 1: Dibujar en el cartón la figura de nuestra mascara usando el lápiz crayón.
PASO 2: Colocar una de nuestras manos en el foami y dibujar una línea horizontal en medio de la mano (por aquí cortaremos el foami).
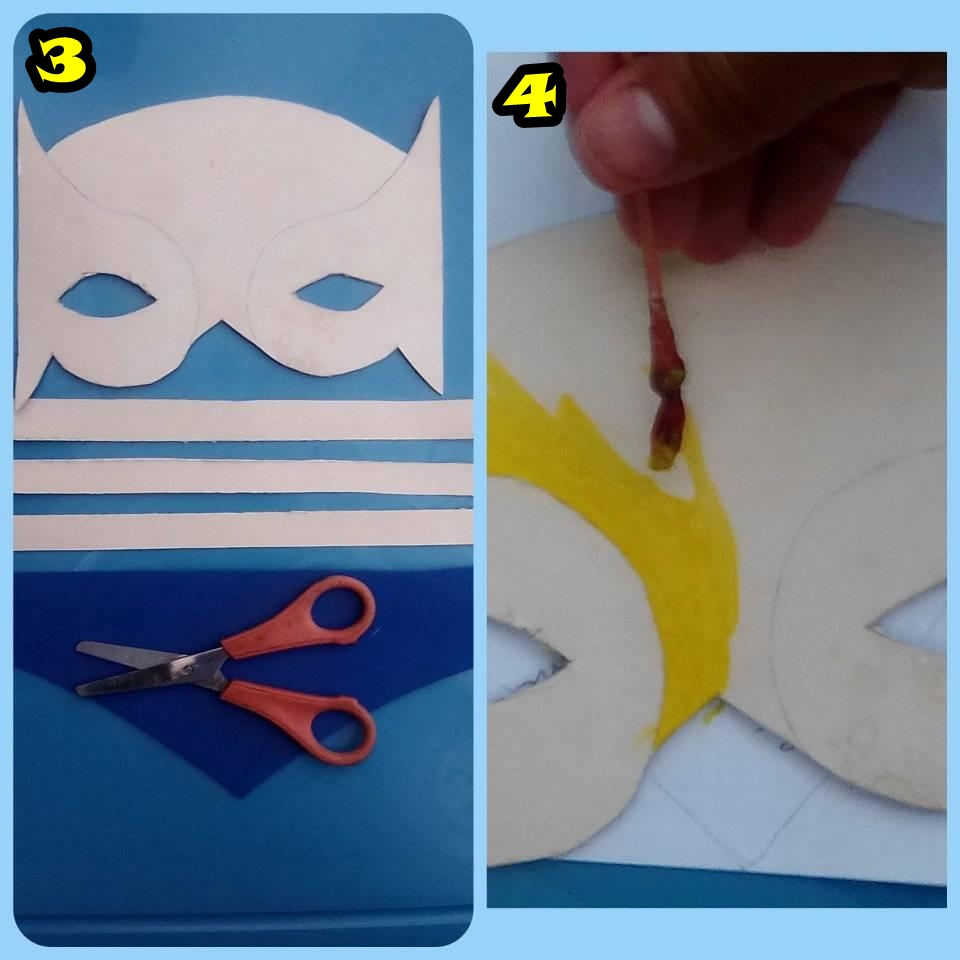
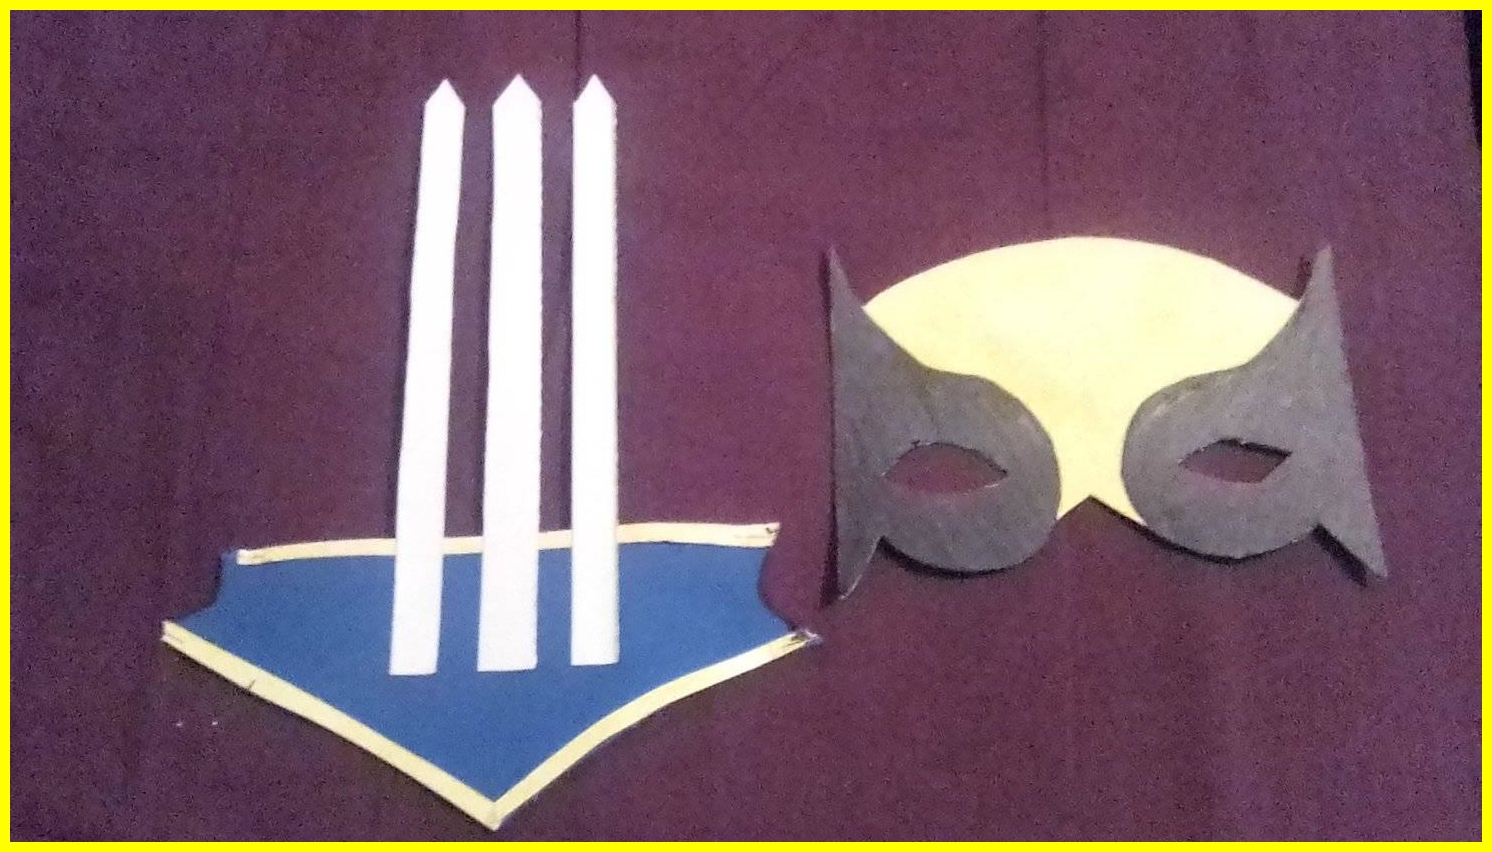
STEP 3: Cut out the mask we have just drawn, then cut out 3 strips of 10 or 20 centimeters from the cardboard (these strips will be the claws), then cut out the foami where we draw the line (cut in the shape of a triangle).
STEP 4: Paint the middle part of the mask (use the yellow cold paint and the brush).
PASO 3: Recortar la máscara que acabamos de dibujar, luego en el cartón recortamos 3 tiras de 10 o 20 centímetros (estas tiras serán las garras), seguidamente recortar el foami donde trazamos la línea (cortar en forma de triángulo).
PASO 4: Pintar la parte de en medio de la máscara (usar la pintura al frio amarilla y el pincel).
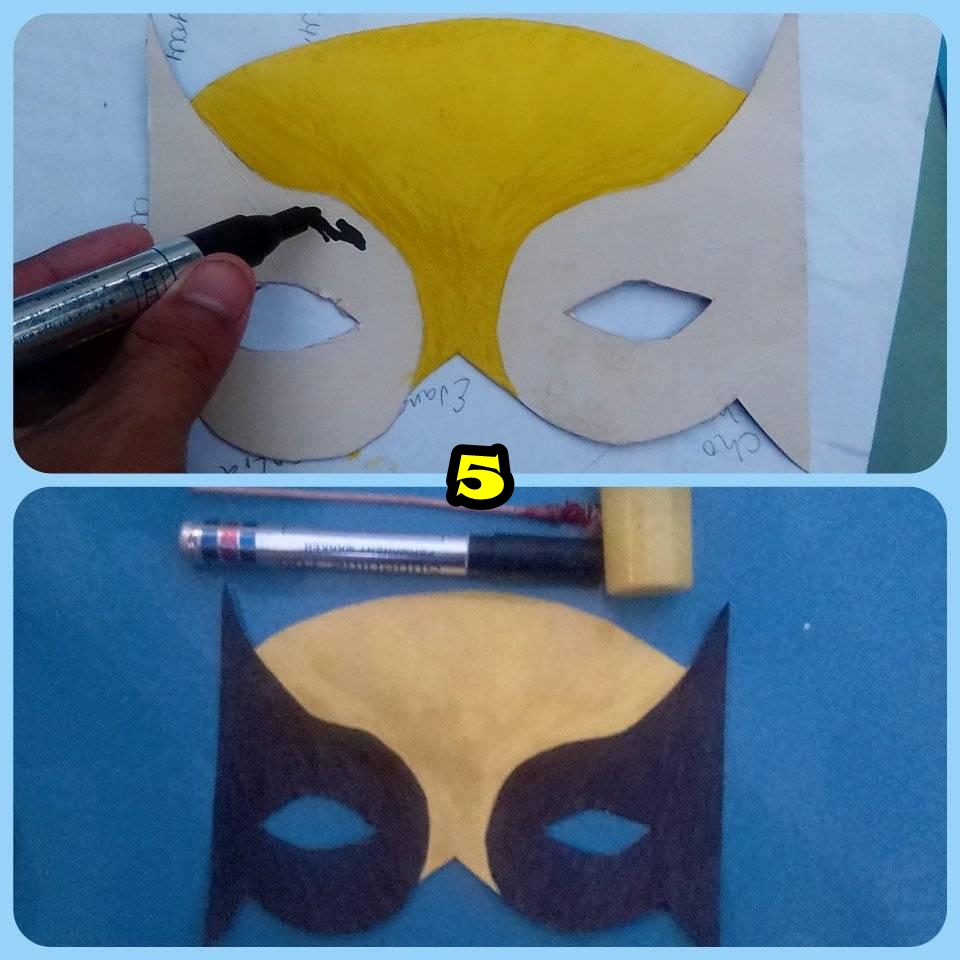
STEP 5: Now paint the 2 sides of the mask black, using the black marker.
PASO 5: Ahora pintar de negro los 2 laterales de la máscara, usar el marcador negro.
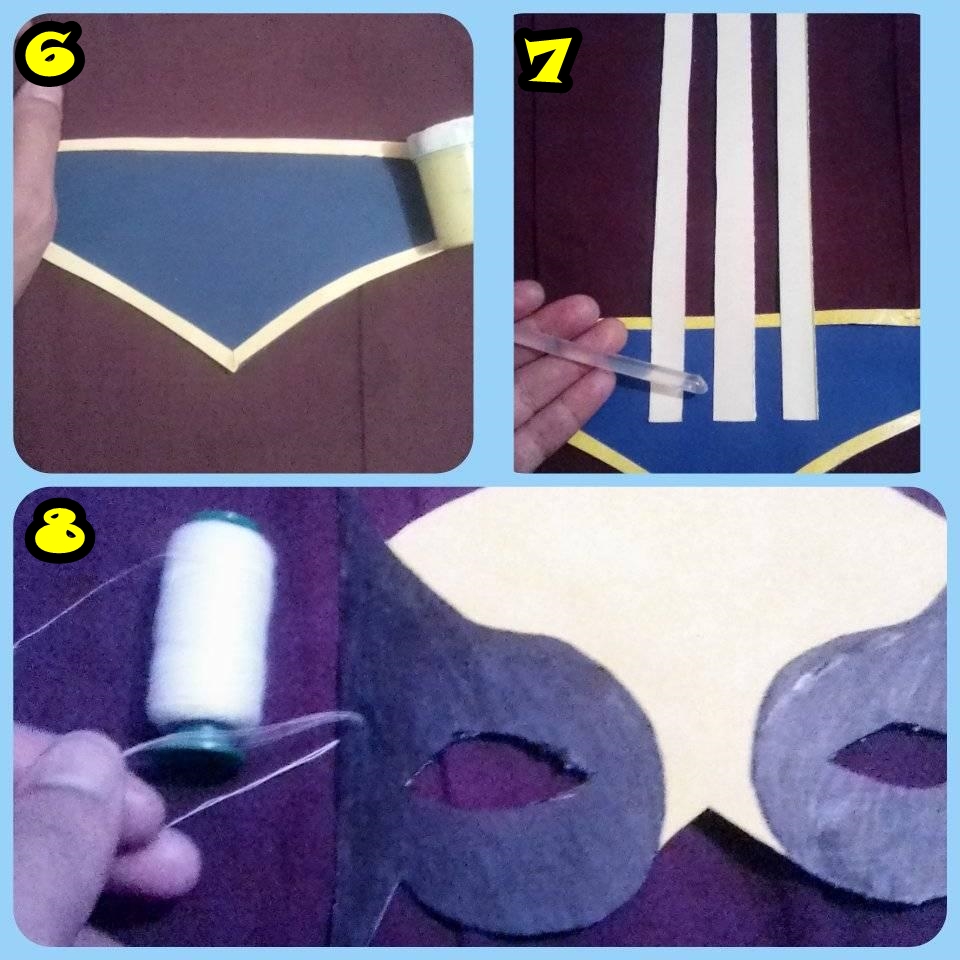
STEP 6: Draw a yellow line with the paint and brush around the foami in the shape of a triangle.
STEP 7: Glue one of the ends of the cardboard strips to the wide part of the blue foami triangle (use silicone or stapler), repeat the process with the 3 cardboard strips leaving a space of 1 or 2 centimeters between each strip.
STEP 8: With the thread and needle we pierce creating a hole on each side of the mask, we secure the thread to the mask with a knot or using silicone (this is to attach the mask to our face).
PASO 6: Dibujar una línea amarilla con la pintura y el pincel alrededor del foami en forma de triángulo.
PASO 7: Pegar uno de los extremos de las tiras de cartón a la parte ancha del triángulo de foami azul (usar silicón o grapadora), repetir el proceso con las 3 tiras de cartón dejando un espacio de 1 o 2 centímetros entre cada tira.
PASO 8: Con el Hilo y la aguja perforamos creando un agujero en cada lado de la máscara, aseguramos el hilo a la máscara con un nudo o usando silicón (esto es para guindar la máscara a nuestra cara).
All photos are my own, edited in PhotoScape, translator used: DeepL.