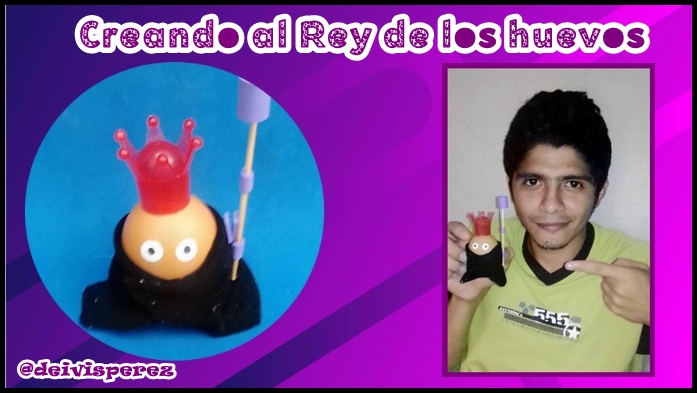
[ESP - ENG] Bricolaje: ♕Creando al rey de los huevos | DIY: ♕Creating the king of eggs
Manos a la obra...
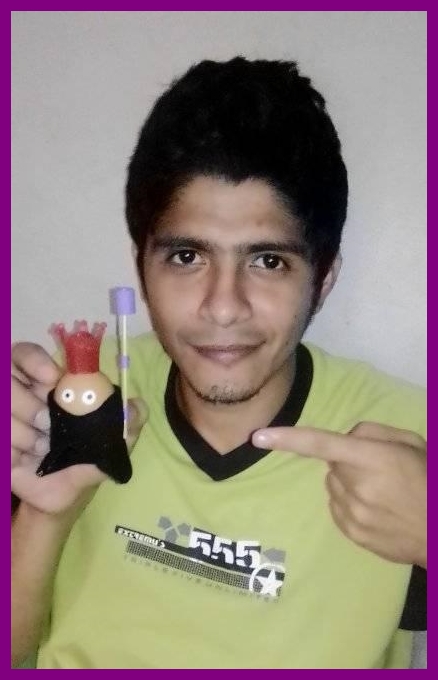
Greetings HIVE family, today I am going to share a creative idea that came to me and I wanted to do it using an easy to obtain material, I turned a simple egg into a very important character, yes, "AN EGG KING". .
Let's get to work...

•1 Huevo.
•Foami morado.
•Palillo de altura.
•Tijera.
•Retazo de tela (color de su preferencia).
•Hoja reciclable.
•1 Tapa de perfume en forma de corona (puede suplantarla por foami).
•Marcador negro.
•Lápiz Crayón.
•Silicon.
•1 Egg.
•Purple Foami.
•High toothpick.
•Scissors.
•Piece of cloth (color of your choice).
•Recyclable sheet.
•Perfume cap in the shape of a crown (you can replace it with foami).
•Black marker.
•Crayon pencil.
•Silicon.
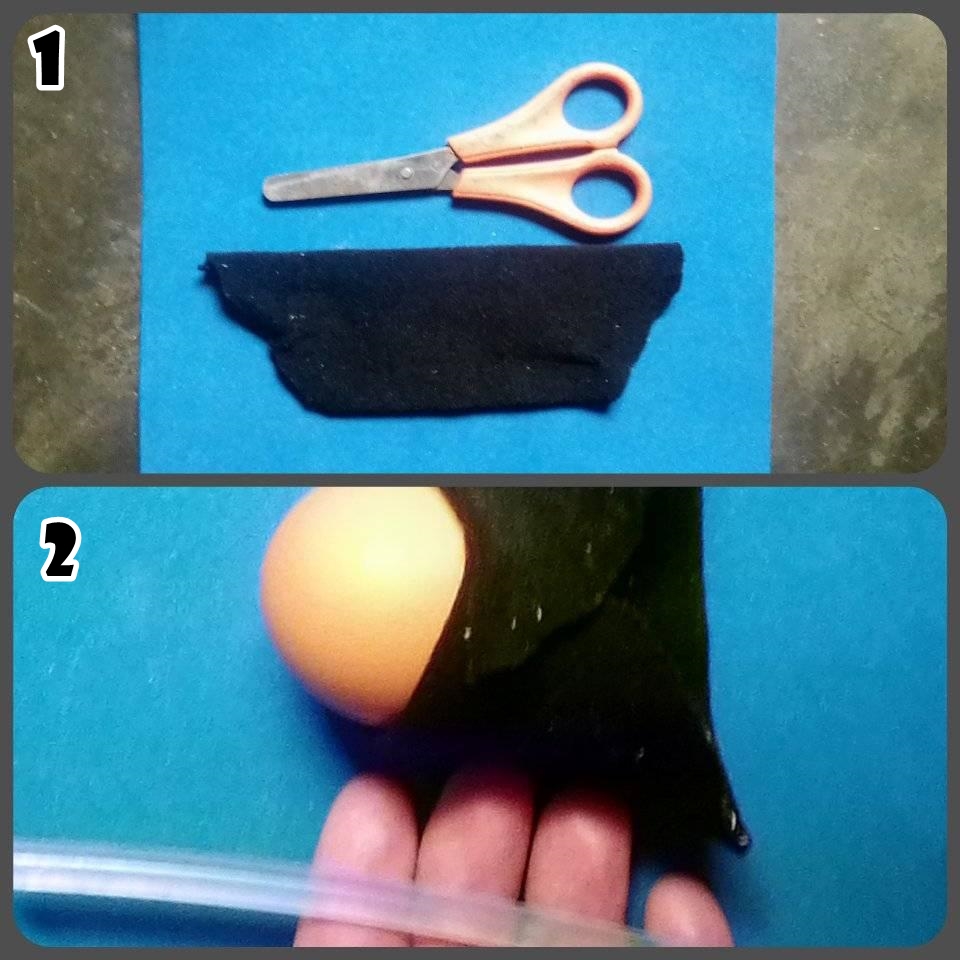
•PASO 1: Con la tijera Recortamos 5x2 centímetros de tela dándole forma de triángulo (este será el abrigo del rey).
•PASO 2: Pegar usando el silicón la tela cubriendo la mitad del huevo, dándole forma de un abrigo.
•STEP 1: With the scissors we cut 5x2 centimeters of fabric giving it the shape of a triangle (this will be the king's coat).
•STEP 2: Using silicone, glue the fabric covering half of the egg, giving it the shape of a coat.
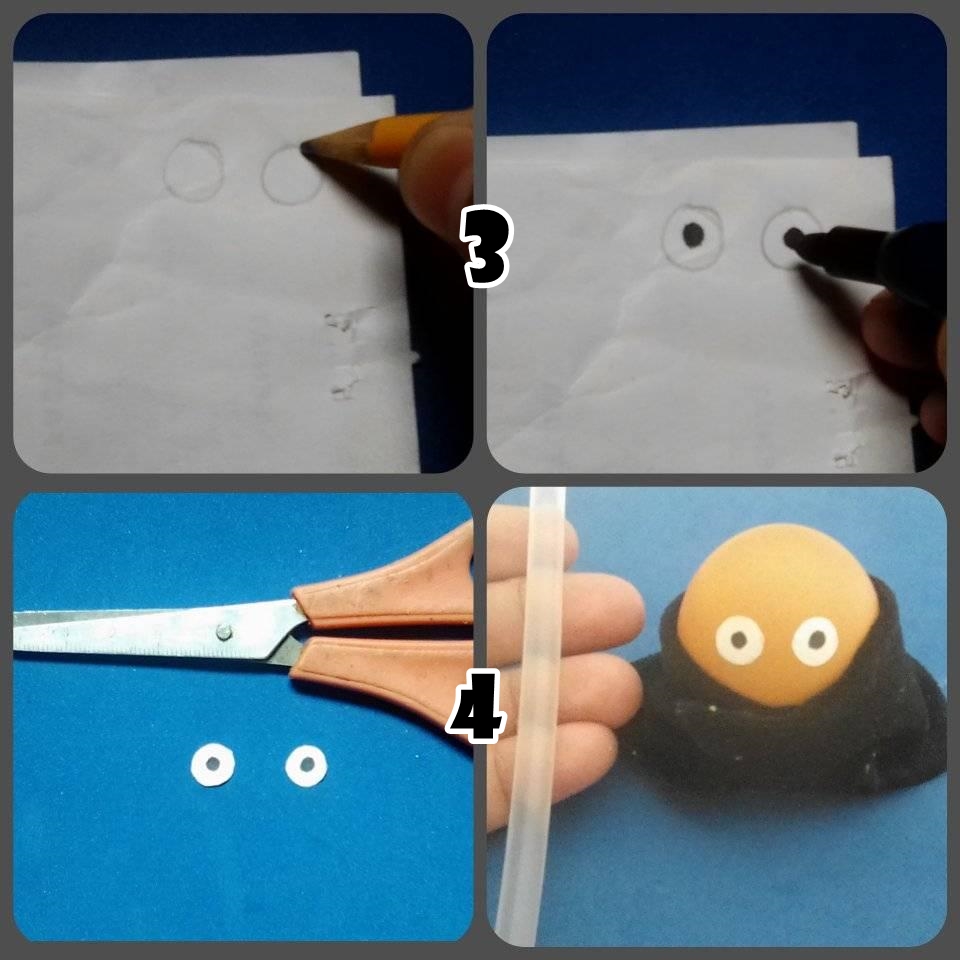
•PASO 3: Con la ayuda del lápiz crayón, dibujamos 2 círculos pequeños (estos serán los ojos del rey), luego con el marcador negro dibujamos un punto negro en el centro de los círculos.
•PASO 4: Recortamos y pegamos a la parte descubierta del huevo (formando los ojos de nuestro personaje).
•STEP 3: With the help of the crayon, draw 2 small circles (these will be the king's eyes), then with the black marker draw a black dot in the center of the circles.
•STEP 4: Cut out and glue to the uncovered part of the egg (forming the eyes of our character).
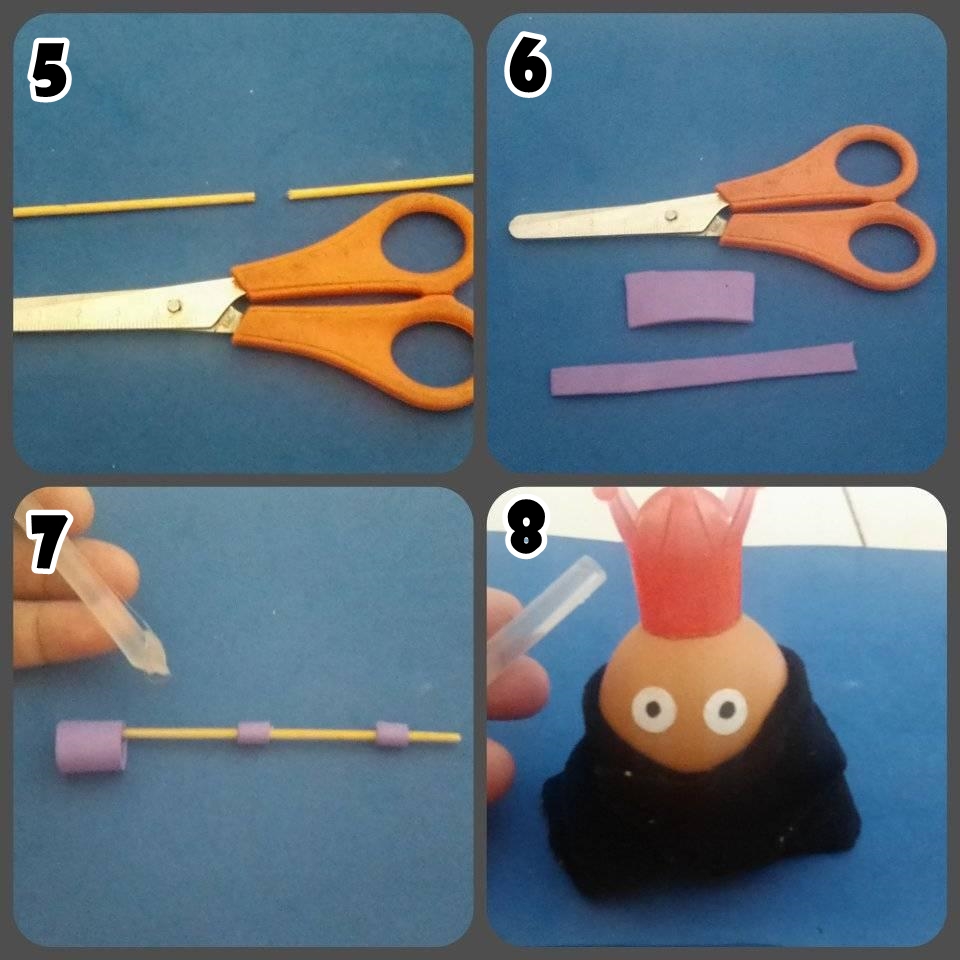
•PASO 5: Recortamos 3 centímetros del palillo de altura (este será el cetro de nuestro personaje).
•PASO 6: Recortar una tira de 2 centímetros de foami morado y 1 tira de 3 centímetros.
•PASO 7: Pegar las tiras en el palillo de altura dejando pequeños espacios (usar silicón).
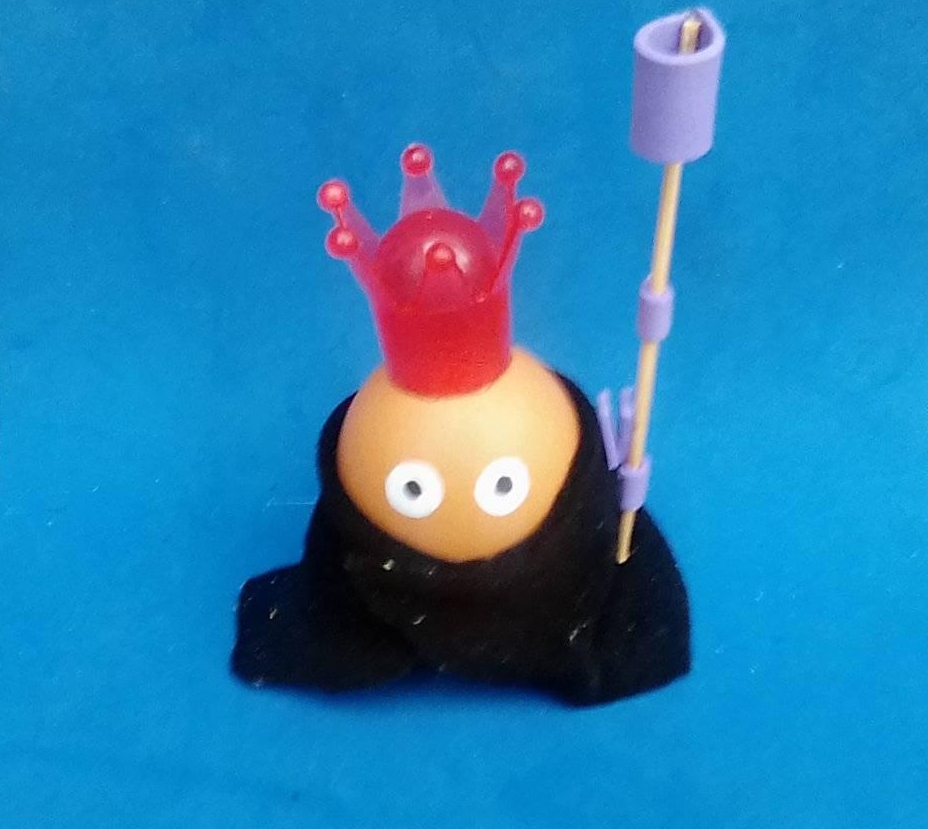
•PASO 8: Con el silicón pegamos la tapa en forma de corona o el foami a la parte superior del huevo, seguidamente pegamos el palillo de altura en forma de cetro a uno de los dos laterales del huevo y así dejamos listo al “Rey de los Huevos”.
•STEP 5: Cut 3 centimeters from the height stick (this will be the scepter of our character).
•STEP 6: Cut a 2-centimeter strip of purple foami and 1 strip of 3 centimeters.
•STEP 7: Glue the strips on the height stick leaving small spaces (use silicone).
•STEP 8: With the silicone we glue the crown-shaped lid or the foami to the top of the egg, then we glue the scepter-shaped high stick to one of the two sides of the egg and we are ready to make the "King of the Eggs".
All photos are my own, edited in PhotoScape, translator used: DeepL.

Congratulations @deivisperez! You have completed the following achievement on the Hive blockchain and have been rewarded with new badge(s) :
Your next target is to reach 30 posts.
You can view your badges on your board and compare yourself to others in the Ranking
If you no longer want to receive notifications, reply to this comment with the word
STOPSupport the HiveBuzz project. Vote for our proposal!