[ESP-ENG] Organizador para mi Encendedor Hive | Organizer for my Hive Lighter
A big greeting to all who are part of this great family, I am very happy because I managed to solve a problem I had for a long time, my lighters were lost many times, I think that daily usually happens to many people, so I came up with the great idea of making my own organizer for my lighters, so let's see the step by step to do it:

.png)
-Materiales:
-Caja de pasta de dientes.
-Tijera.
-Pinturas al frío.
-Paletas de helado.
-Pega.
-Paso 1: Cortamos la caja de la pasta de dientes, del largo de nuestra paletas, dándole la forma de una cajita, cortamos los lados laterales, aproximadamente de 2cm de grosor la parte delantera, y la parte trasera de 6cm.
-Materials:
-Toothpaste box.
-Scissors.
-Cold paints.
-Popsicle sticks.
-Glue.
-Step 1: Cut the toothpaste box, the length of our popsicles, giving it the shape of a box, cut the sides, approximately 2cm thick in the front, and the back of 6cm.
.png)
-Paso 2: Agregamos pegamento a la parte trasera de nuestra caja, para pegar las paletas, luego agregamos pegamento a la parte delantera, y cortamos las paletas a la mitad y procedemos a pegarlas.
-Step 2: We add glue to the back of our box, to glue the popsicles, then we add glue to the front, and we cut the popsicles in half and proceed to glue them.
.png)
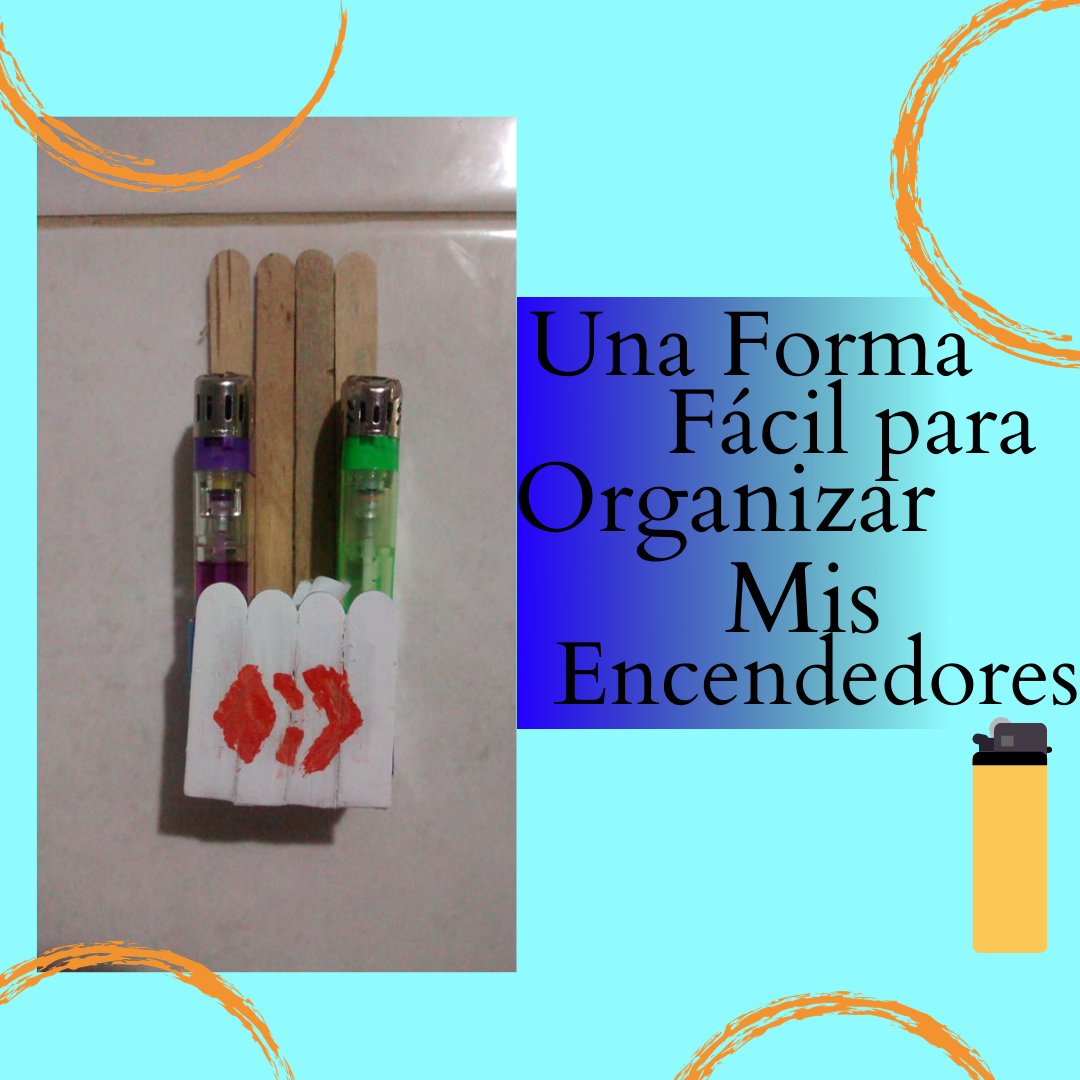
-Paso 3: Procedemos a pintar de blanco la parte delantera de nuestra cajita, dejamos secar por unos minutos y luego pintamos el logo Hive. Aplicamos Silicón en la parte trasera de nuestro organizador y la pegamos en nuestra cocina, para que así no se pierdan nuestros encendedores.
-Step 3: We proceed to paint the front of our box white, let it dry for a few minutes and then paint the Hive logo. We apply Silicone on the back of our organizer and stick it in our kitchen, so that our lighters do not get lost.
.png)
This is my final result, I hope you liked it, thanks for reading my post, greetings to all.
All photos are my own.
Congratulations @enrrique30! You have completed the following achievement on the Hive blockchain and have been rewarded with new badge(s) :
Your next target is to reach 30 posts.
Your next payout target is 250 HP.
The unit is Hive Power equivalent because your rewards can be split into HP and HBD
You can view your badges on your board and compare yourself to others in the Ranking
If you no longer want to receive notifications, reply to this comment with the word
STOPSupport the HiveBuzz project. Vote for our proposal!