[ESP-ENG] Cajitas de Regalo Hive | Hive Gift Boxes
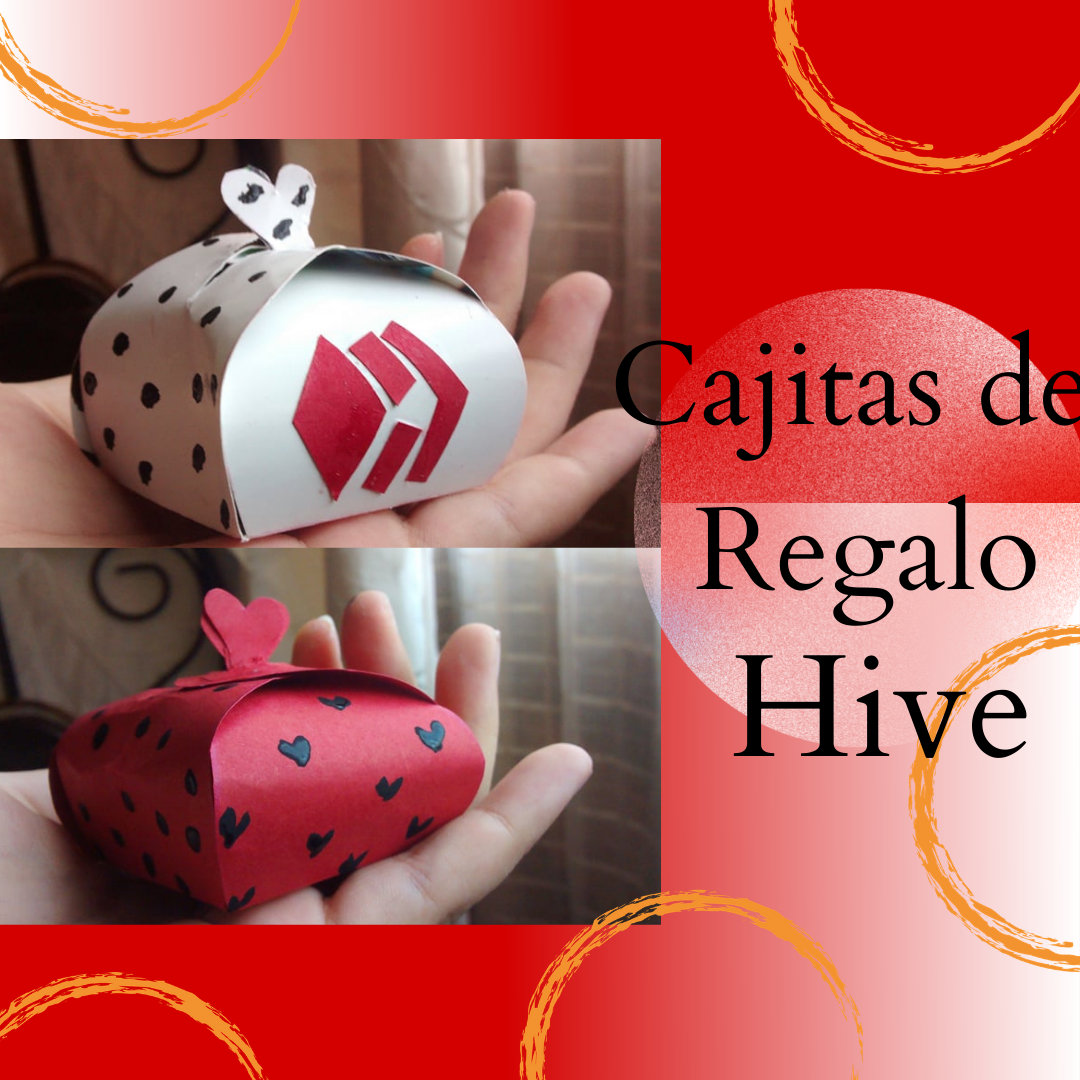
Hello my beautiful family of Hive, I am very pleased to be able to share through this wonderful community my talent, to make different ideas that are very helpful for all of us. I like to learn from each of you, and see the beautiful work you can do, today I will show you these cute little boxes that makes, to give small details, I really loved a lot to make them, so let's see the step by step:
.png)
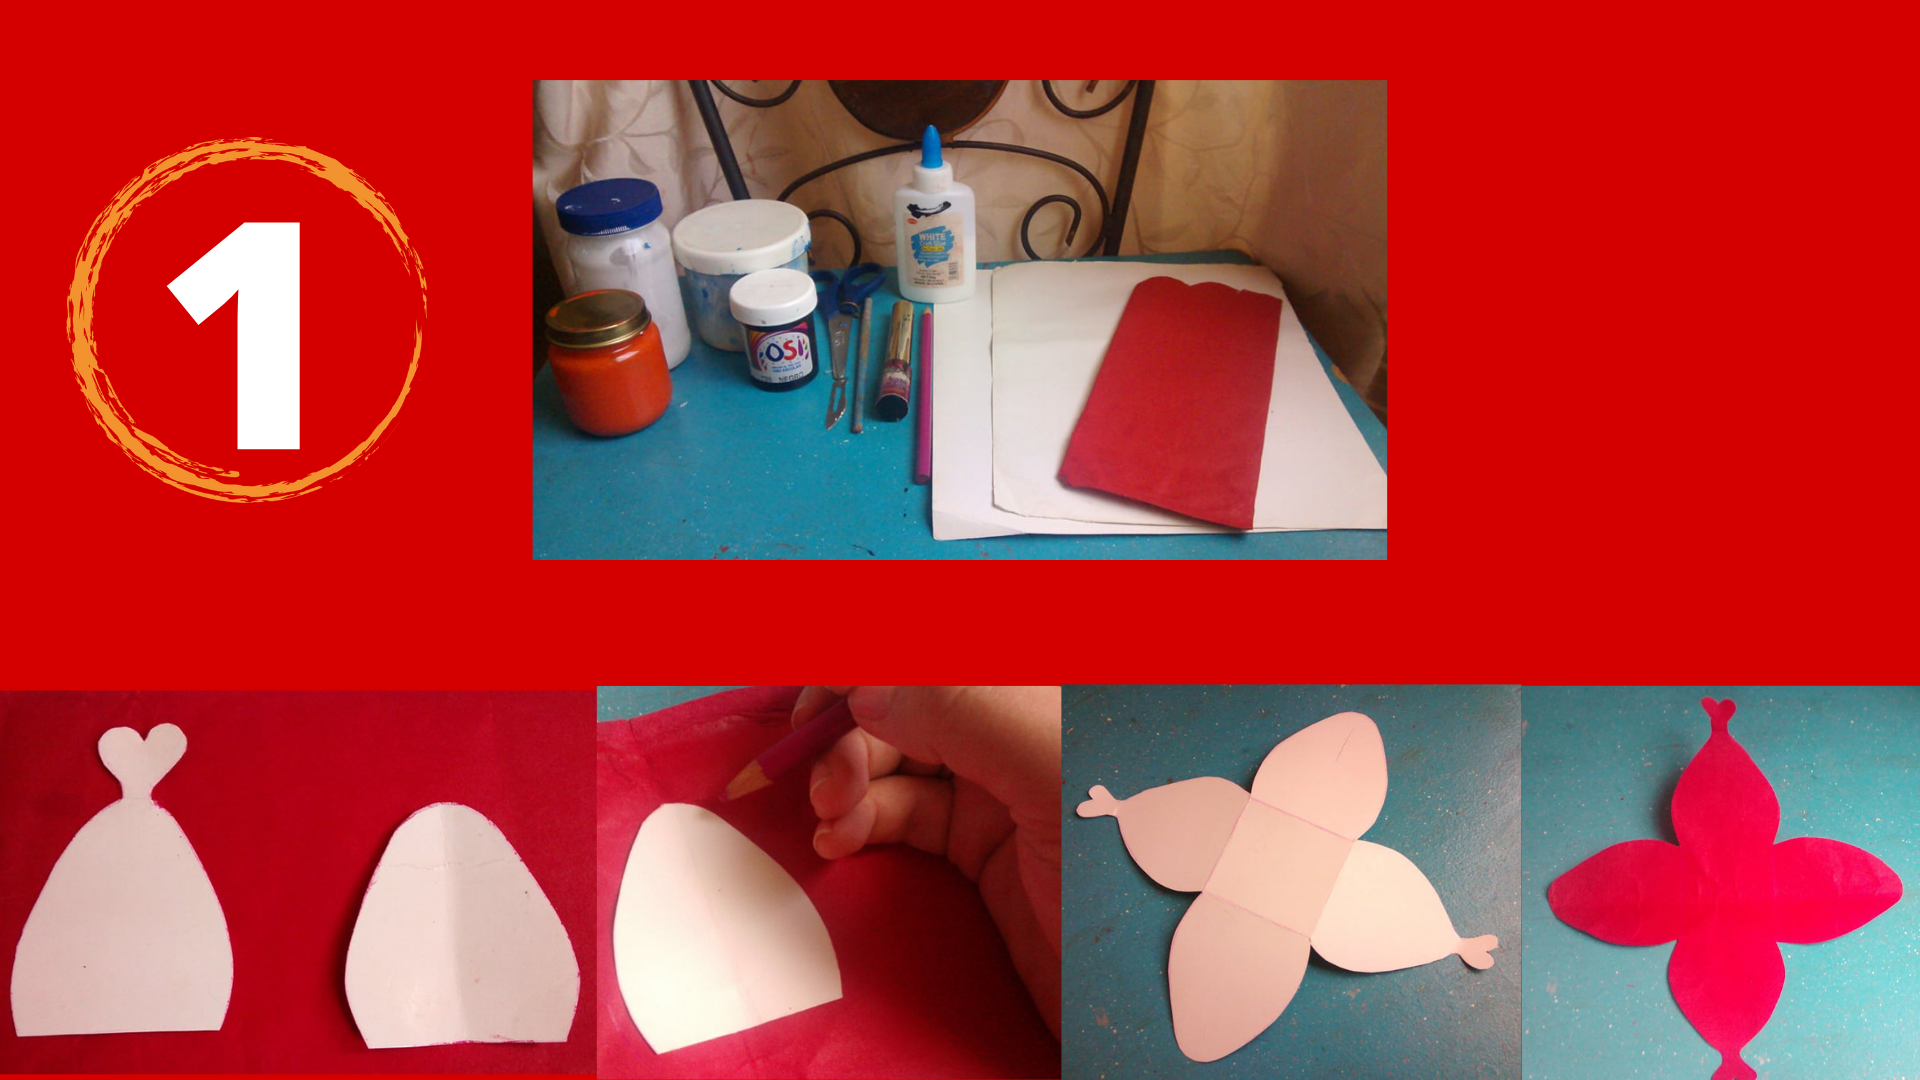
-Materiales:
-Cartulinas.
-Tijera.
-Lápiz.
-Pinturas al frio.
-Pincel.
-Pega.
-Hojilla.
-Paso 1: Sacamos el molde de lo que será las paredes de nuestra cajita, son 2 moldes, uno con el corazón y otro sin el corazón, ya que el corazón será como el broche para que la cajita pueda cerrar. Luego unimos los patrones, los dibujamos en las cartulinas y recortamos cuidadosamente.
-Materials:
-Cardboard.
-Scissors.
-Pencil.
-Paints.
-Brush.
-Glue.
-Hojilla.
-Step 1: We draw the mold of what will be the walls of our box, there are 2 molds, one with the heart and one without the heart, as the heart will be like the clasp so that the box can close. Then we join the patterns, draw them on the cardboard and cut them out carefully.
.png)
-Paso 2: Procedemos con la hojilla a cortar una pequeña abertura en la parte superior de los lados de nuestra caja, las partes donde no tienen los corazones. Luego doblamos nuestra caja, para darle la forma de la cajita. Luego unimos las partes que tienen los corazones, las inclinamos un poco hacia abajo y las pasamos en medio de la abertura de las otras partes de la cajita.
-Step 2: We proceed with the blade to cut a small opening in the upper part of the sides of our box, the parts that do not have the hearts. Then we fold our box, to give it the shape of the box. Then we join the parts that have the hearts, we tilt them down a little and we pass them in the middle of the opening of the other parts of the box.
.png)
-Paso 3: Luego de tener nuestras cajitas listas, procedemos a cortar el logo Hive, y lo pegamos a nuestra caja, y realizamos con pintura negra una serie de puntos en toda nuestra cajita, para darle un toque hermoso.
-Step 3: After having our boxes ready, we proceed to cut the Hive logo, and we glue it to our box, and we make with black paint a series of dots all over our box, to give it a beautiful touch.
This is my final result, I hope you liked it as much as I did, thank you for taking a little of your time and reading my post, I love you very much, blessings to all.
.png)
All photos are my Authored, and edited from canva.