[ESP-ENG] Bello cuadro decorativo, realizado con material de provecho | Beautiful decorative painting, made with useful materials.
Veamos el paso a paso.
Hello my beautiful Hive community, happy to share with you again, with my beautiful creativity to make a decorative picture, made with useful materials. I thought it was a fantastic idea to design a picture of flowers with some buttons that I had saved, for when I needed them but I came up with the idea of making a decorative picture to decorate any place in the home.
Let's see the step by step.
Español
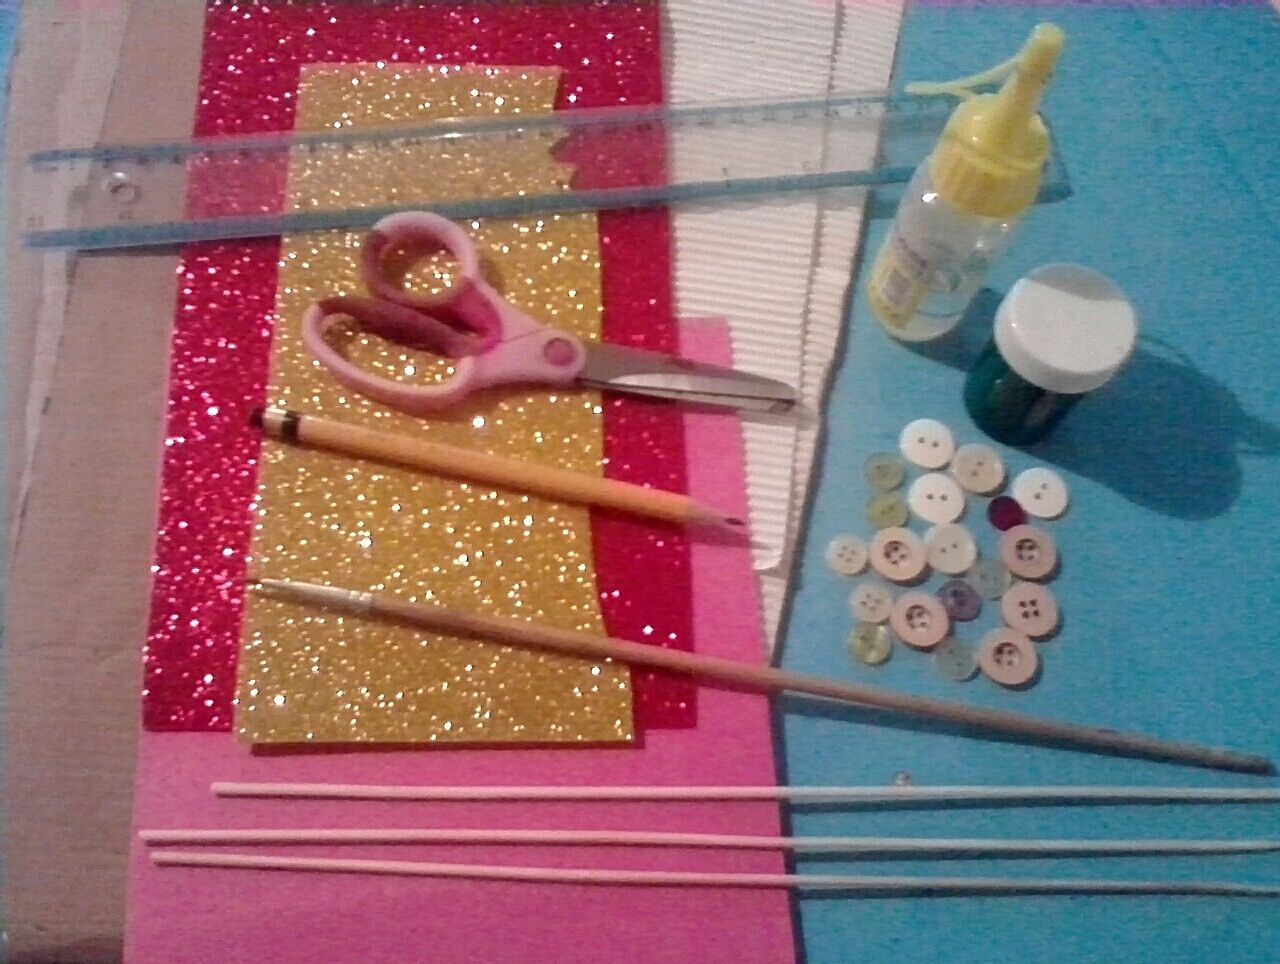
Materiales:
- Cartón.
- Foami (rojo y amarillo escarchado).
- Cartulina rosada.
- Cartulina blanca corrugada.
- Botones.
- Pintura verde.
- Pincel.
- Tijera.
- Lápiz.
- Regla.
- Silicon liquido.
- Palillos de altura.
English
Materials:
- Cardboard.
- Foami (red and yellow frosted).
- Pink cardboard.
- Corrugated white cardboard.
- Buttons.
- Green paint.
- Paintbrush.
- Scissors.
- Pencil.
- Ruler.
- Liquid silicon.
- Sticks of height.

Español
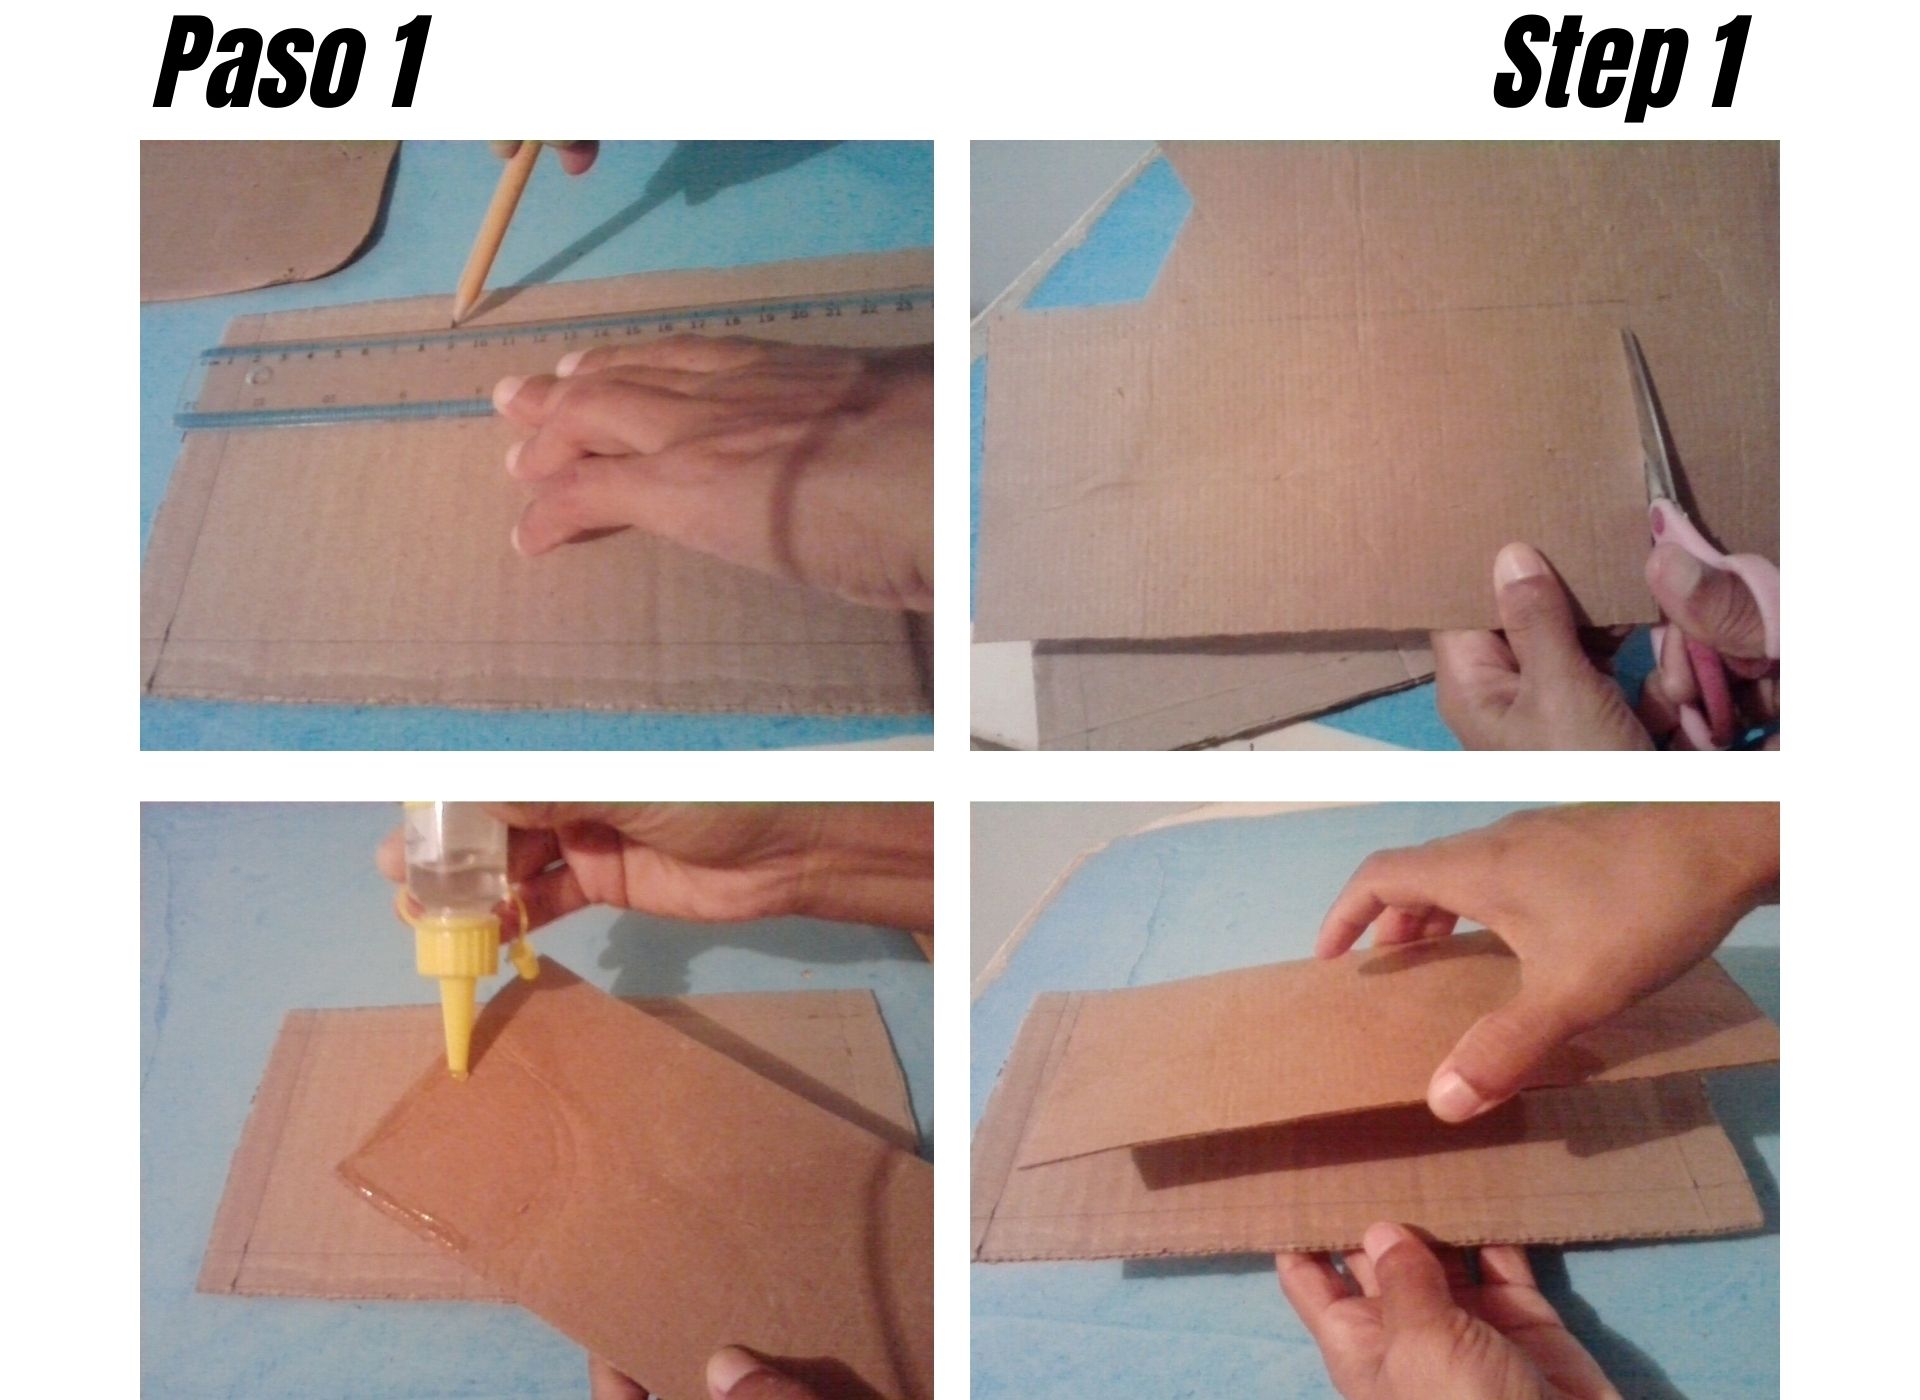
Paso 1:
- En el cartón marcamos y recortamos 2 rectángulos uno de 26 cm, de largo x 14 cm, de ancho y el otro más pequeño de 23 cm, de largo x 11 cm, de ancho. Luego con silicon pegamos el rectángulo pequeño encima del otro dejando 1 cm y medio en ambos lados del cartón de abajo.
English
Step 1:
- On the cardboard we mark and cut out 2 rectangles one of 26 cm, long x 14 cm, wide and the other smaller one of 23 cm, long x 11 cm, wide. Then with silicon we glue the small rectangle on top of the other leaving 1 cm and a half on both sides of the cardboard below.
.jpg)
Español
Paso 2:
- Ahora con la cartulina rosada marcamos y recortamos la misma medida del cartón pequeño, que ya esta pegado encima del otro y lo pegamos allí mismo.
English
Step 2:
- Now with the pink cardboard we mark and cut out the same size of the small cardboard, which is already glued on top of the other one and glue it right there.
.jpg)
Español
Paso 3:
- Cortamos y pegamos unas tiras de foami rojo escarchado de 1/2 cm de ancho, por todo el borde de la cartulina rosada.
English
Step 3:
- Cut and glue some 1/2 cm wide strips of frosted red foami all around the edge of the pink cardstock.
.jpg)
Español
Paso 4:
- Después cortamos la cartulina blanca corrugada de 1 cm y medio y la pegamos por todo el borde del cartón que esta debajo.
English
Step 4:
- Then we cut the 1 and a half cm white corrugated cardboard and glue it all around the edge of the cardboard underneath.
.jpg)
Español
Paso 5:
- Ahora hacemos el diseño al cuadro, unas flores con botones, comenzamos pegando con silicon liquido los botones hasta formar 2 flores, pintamos el palillo de altura con el color verde, esperamos que seque y luego lo pegamos.
English
Step 5:
- Now we make the design to the picture, some flowers with buttons, we start by gluing with liquid silicone the buttons until we form 2 flowers, we paint the height stick with the green color, we wait for it to dry and then we glue it.
.jpg)
Español
Paso 6:
- Por último dibujamos y recortamos un círculo pequeño de foami amarillo escarchado, y unas tiras delgadas, para formar el sol, y lo pegamos en una esquina del cuadro. Luego cortamos una tira pequeña, pegamos las puntas detrás del cuadro, en la parte superior, para así tener para colgar.
English
Step 6:
- Finally we draw and cut out a small circle of frosted yellow foami, and some thin strips, to form the sun, and glue it to one corner of the frame. Then we cut a small strip, glue the ends behind the picture, at the top, so we have it to hang.
Así quedo mi resultado final.
This is my final result.
.jpg)
.jpg)
.jpg)

0
0
0.000
Your content has been voted as a part of Encouragement program. Keep up the good work!
Use Ecency daily to boost your growth on platform!
Support Ecency
Vote for Proposal
Delegate HP and earn more
Congratulations @meurys80! You have completed the following achievement on the Hive blockchain and have been rewarded with new badge(s) :
Your next target is to reach 5000 upvotes.
You can view your badges on your board and compare yourself to others in the Ranking
If you no longer want to receive notifications, reply to this comment with the word
STOP@meurys80 Te quedó muy lindo 😊🤍
Gracias por publicar en la comunidad build-it.
Agradecemos sus esfuerzos. Una publicación muy buena, ver cómo los reunió demuestra lo talentoso que es y de eso se trata la comunidad build-it.
Comentario personal:
Me gusta mucho el cuadro. Sus colores son llamativos y entre sí, combinan muy bien.! 😊
¿Has oído hablar del nuevo BUIDL TOKEN?
El nuevo token nativo para construirlo desde el aire a los antiguos poseedores de tokens (apostado). Saliendo el jueves 22 de julio a las 3:30 GMT.
Aquí esta todo lo que necesitas saber. Le aconsejaré que se tome su tiempo para revisarlo.
Mientras tanto, te invito a que eches un vistazo a build-it discord server abierto las 24 horas, los 7 días de la semana.
Donde puede interactuar felizmente con otros aficionados al bricolaje, comentar y hacer preguntas sobre el discord y la comunidad, además de muchas otras características que no querrá perderse.