[ESP-ENG] Un cofre de amor junto a mi esposo ❤ A chest of love with my husband
Greetings dear family of Hive, in this sweet afternoon I bring you a great decoration, that we can give, give away, with a detail inside, if you wish, a chest of love, which you can design it easily.
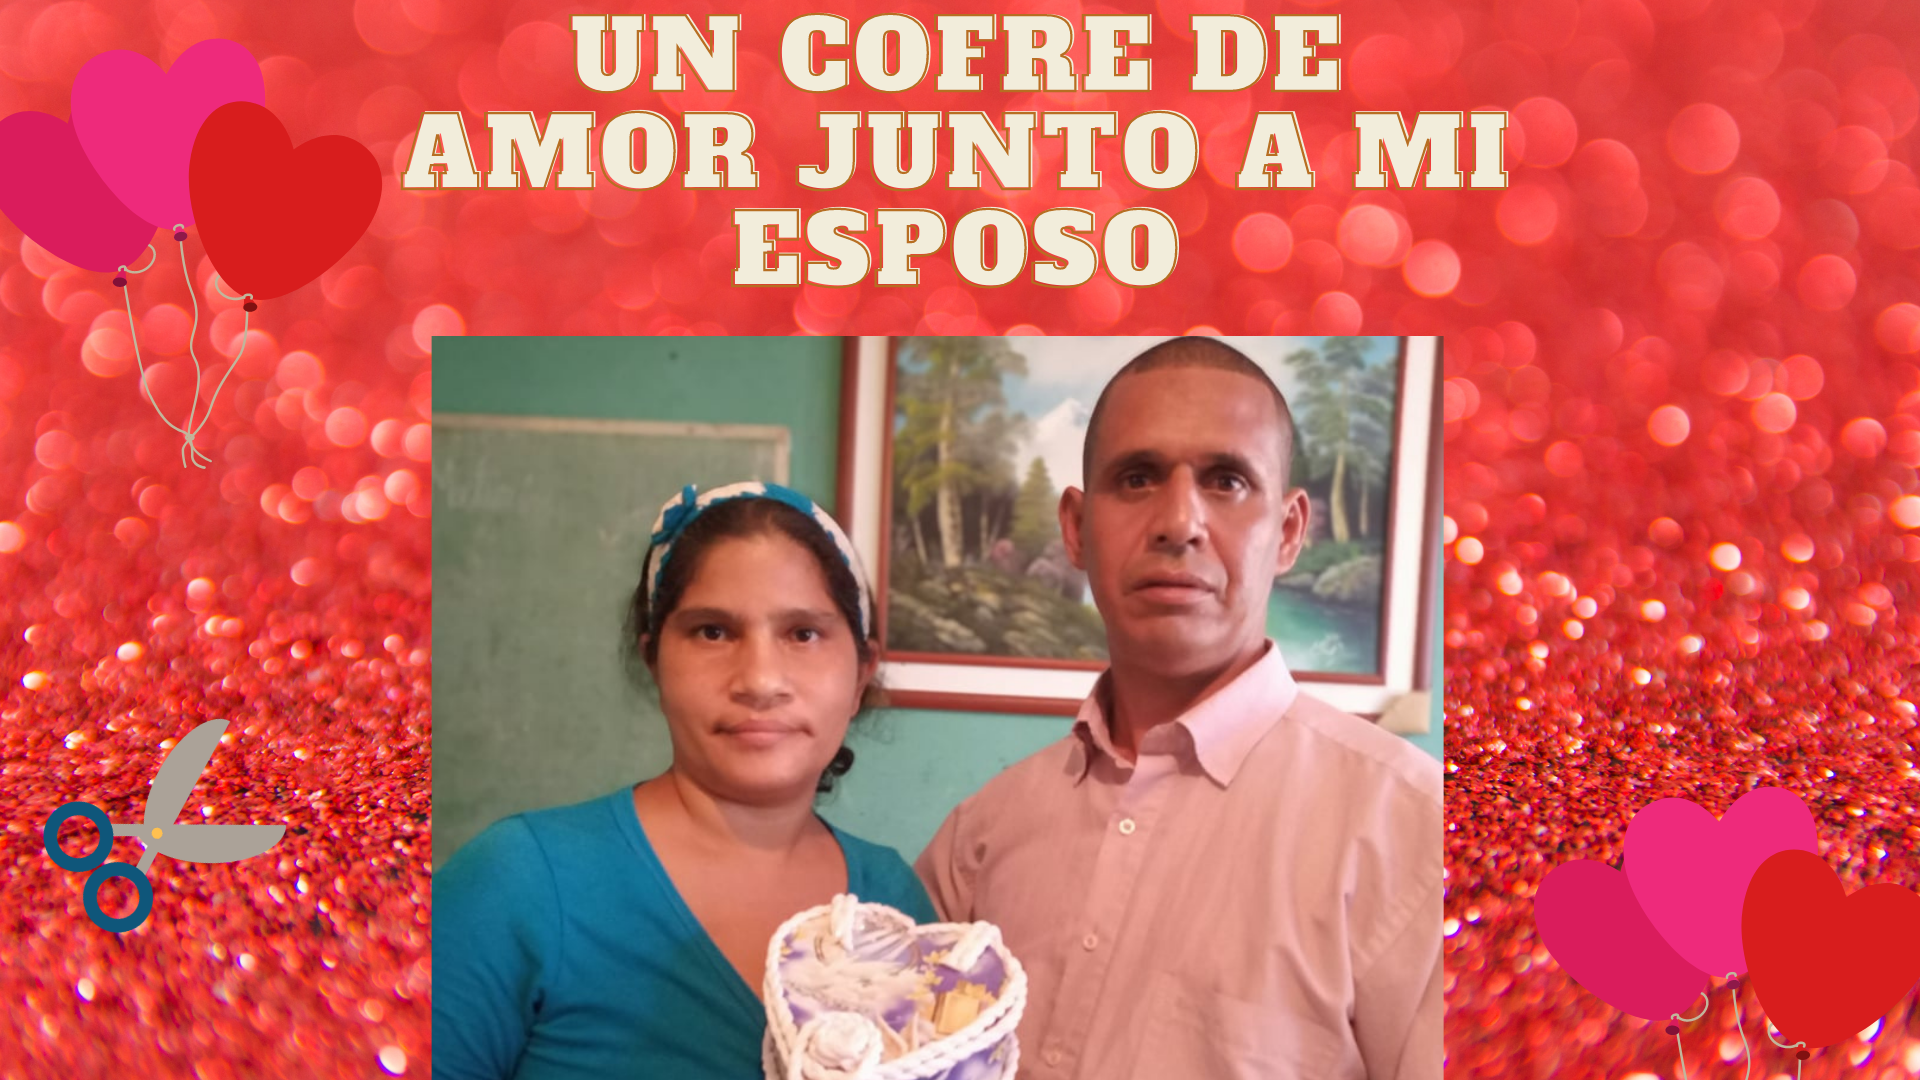
Foto tomada con el teléfono inteligente de mi hijo y edición desde canva
Los detalles nos emocionan, sentimos el amor reflejado por la persona que lo obsequia, con una linda sonrisa. En esta oportunidad junto a mi esposo les traemos la elaboración de un lindo cofre, con materiales de fácil acceso.
The details touch us, we feel the love reflected by the person who gives it, with a nice smile. In this opportunity together with my husband we bring you the elaboration of a nice chest, with easy access materials.

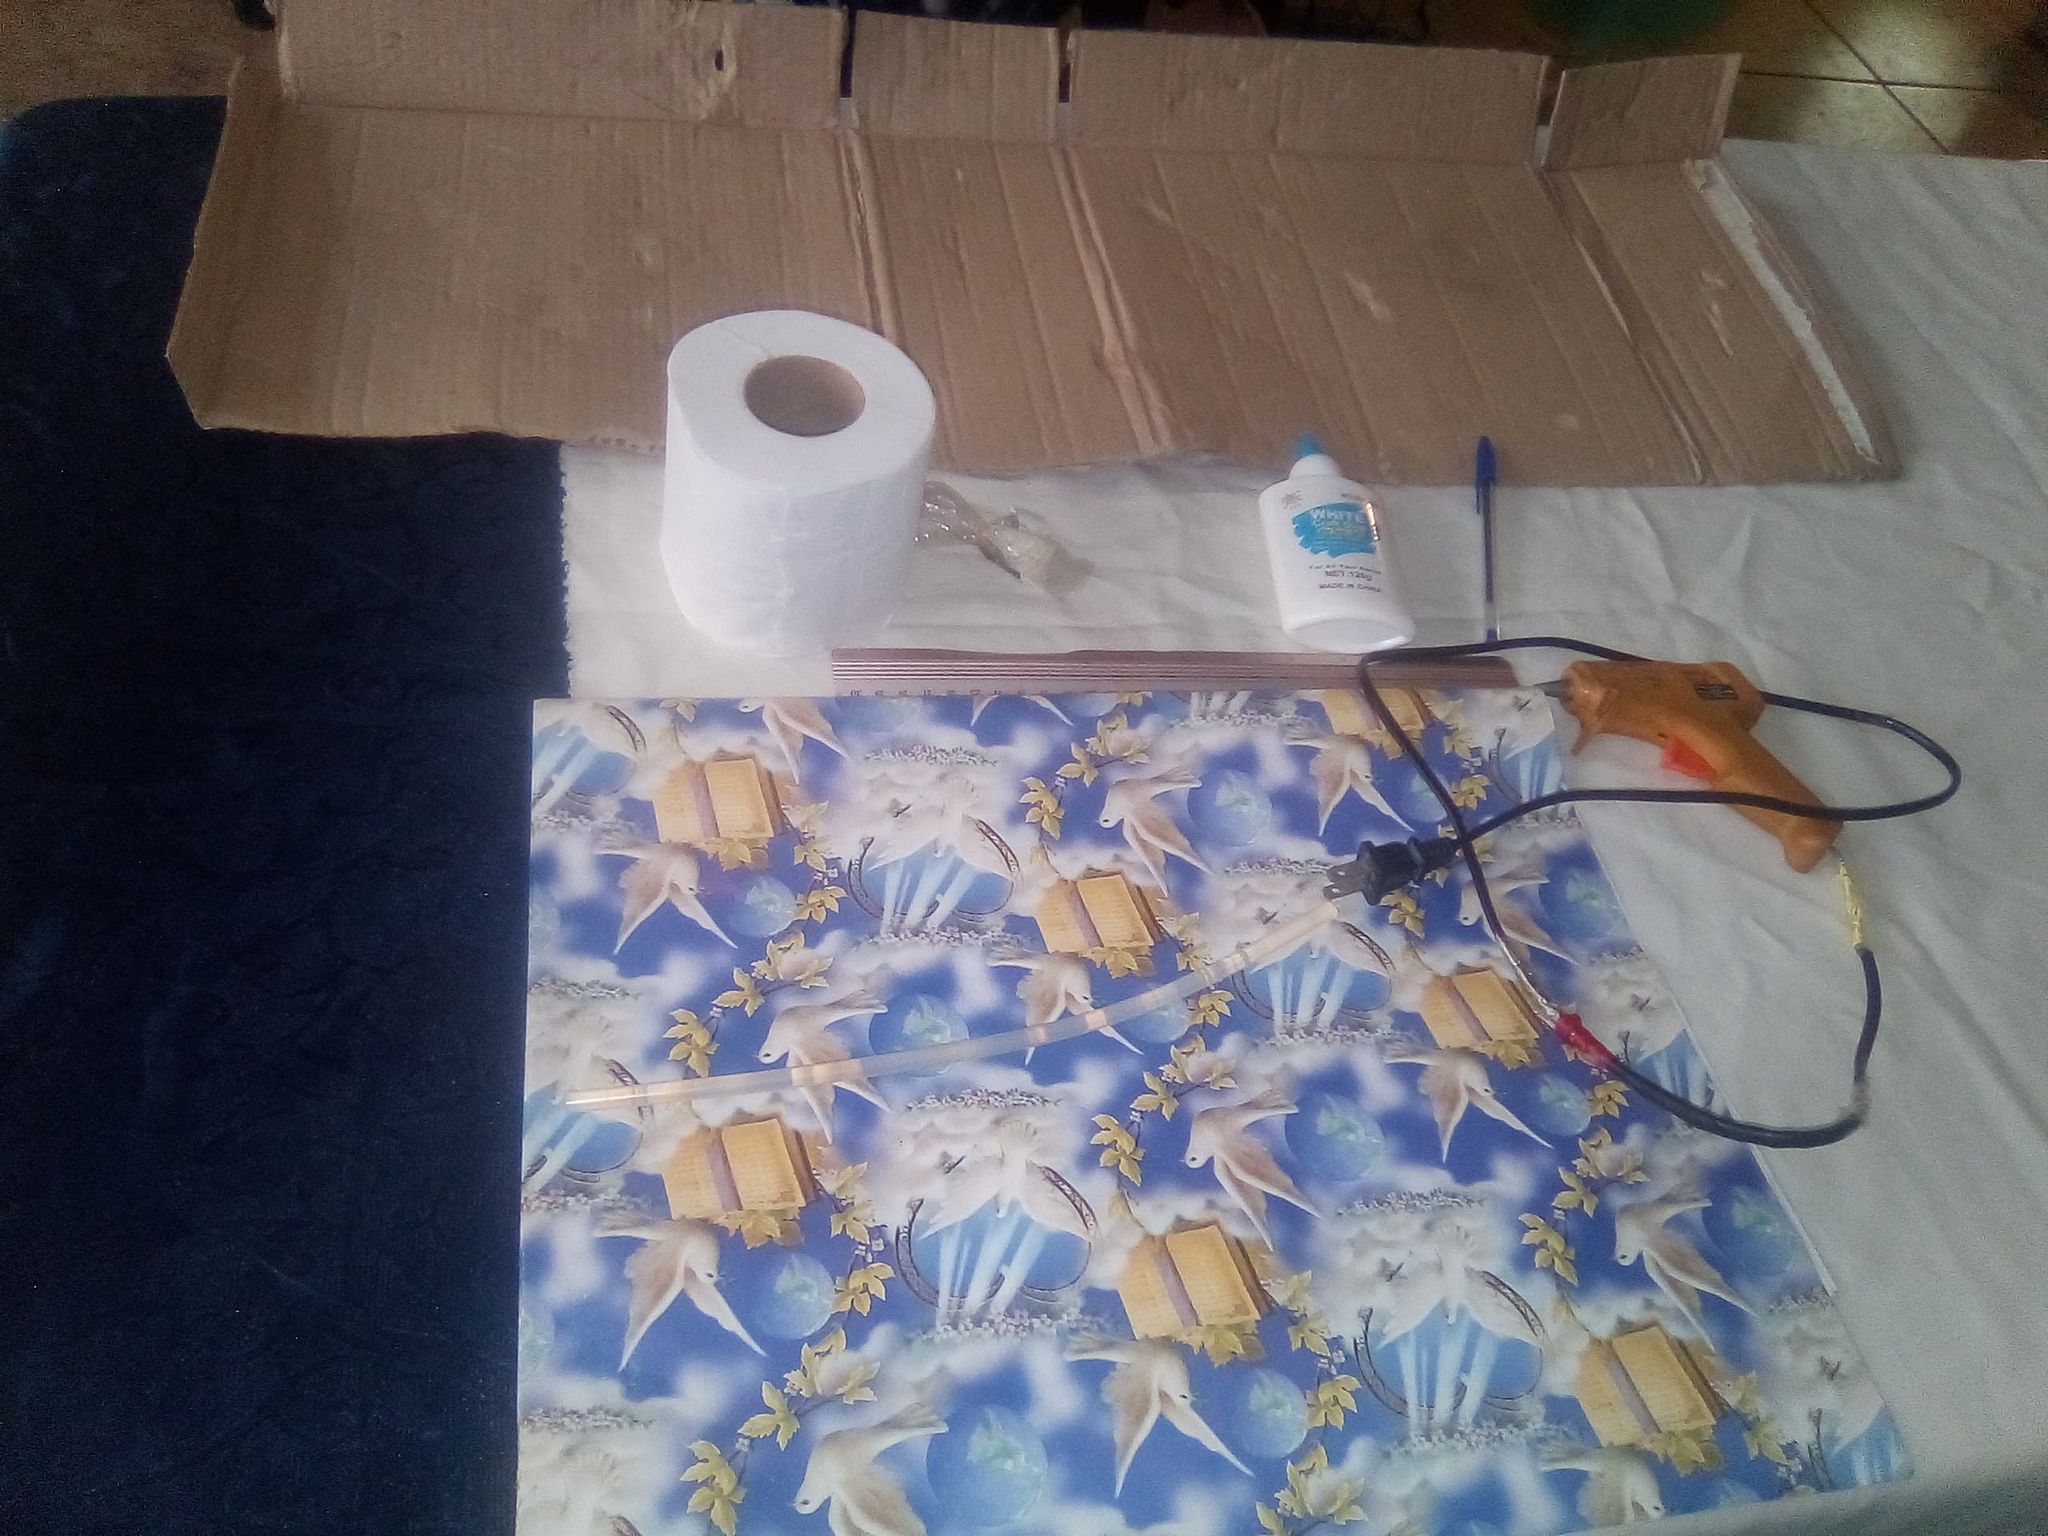
Foto tomada con el teléfono inteligente de mi hijo
Para la elaboración de este lindo cofre de amor necesitaremos los siguientes materiales
- Cartón reciclado.
- Un rollo de papel higiénico.
- Tijera.
- Lápiz.
- Regla.
- Papel de regalo (uno).
- Escarcha.
- Pistola de silicón.
- Silicón delgado.
For the elaboration of this cute love chest we will need the following materials .
- Recycled cardboard.
- A roll of toilet paper.
- Scissors.
- Pencil.
- Ruler.
- Wrapping paper (one).
- Frosting.
- Silicone gun.
- Thin silicone.
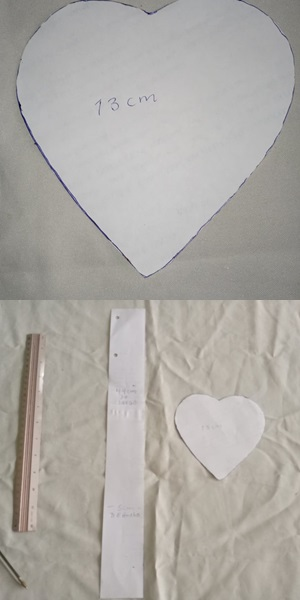
Foto tomada con el teléfono inteligentede mi hijo
Paso 1
En la hoja blanca, elaboramos los patrones del cofre, que son 2 corazones y una tira larga de 4 centímetros de ancho y 44 centímetros de largo.
Step 1
On the white sheet, we made the patterns for the chest, which are 2 hearts and a long strip 4 centimeters wide and 44 centimeters long.
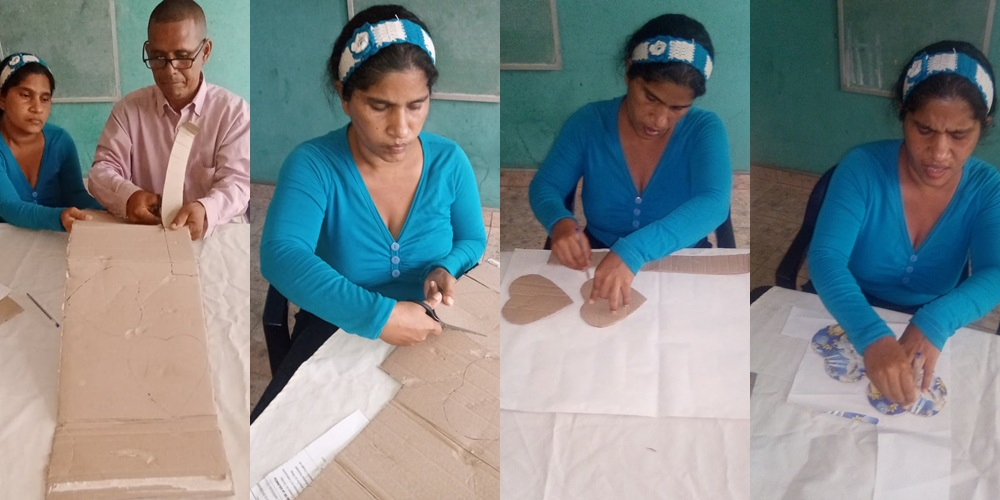
Foto tomada con el teléfono inteligente alcatel de mi hijo
Paso 2 y 3
Luego con lápiz y regla copiamos los patrones al cartón reciclado, los cuales son 2 corazones, una tira larga. Después lo copiamos al papel del regalo, paso a paso, con mucho cuidado.
Step 2 and 3
Then with pencil and ruler we copy the patterns to the recycled cardboard, which are 2 hearts, one long strip. Then we copy it to the gift paper, step by step, very carefully.
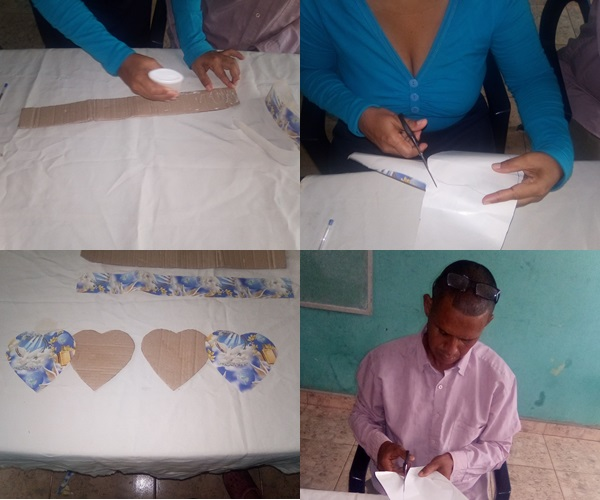
Foto tomada con el teléfono inteligente de mi hijo
Paso 4 y 5
Una vez ya copiado los patrones al papel de regalo, procedemos con la tijera a recortar poco a poco. Luego colocamos pega a los corazones, a la tira larga de cartón reciclado, para así pegar los corazones de papel de regalo al cartón reciclado, por ambos lados se forran, aplicamos el mismo procedimiento a la tira larga, se forra por ambos lados.
Step 4 and 5
Once the patterns have been copied to the wrapping paper, we proceed with the scissors to cut them out little by little. Then we glue the hearts to the long strip of recycled cardboard, in order to glue the wrapping paper hearts to the recycled cardboard, both sides are lined, we apply the same procedure to the long strip, it is lined on both sides.
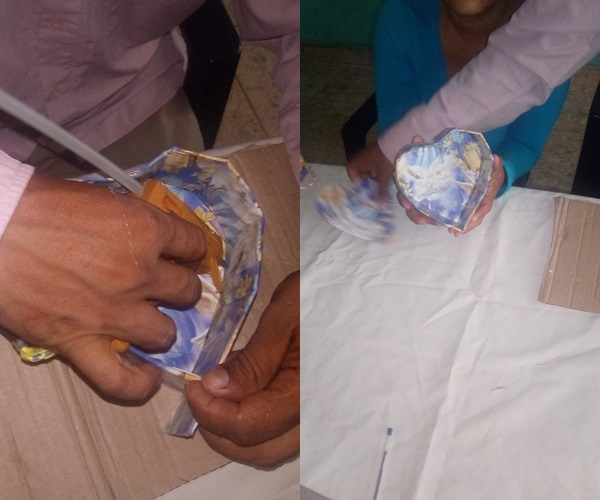
Foto tomada con el teléfono inteligente de mi hijo
Paso 6 y 7
Seguidamente con mucha delicadeza empezamos a unir el corazón con la tira larga, colocando silicón a todo el borde del corazón para fijar la tira, alrededor.
Step 6 and 7
Next, very delicately begin to join the heart with the long strip, placing silicone around the edge of the heart to fix the strip all around.
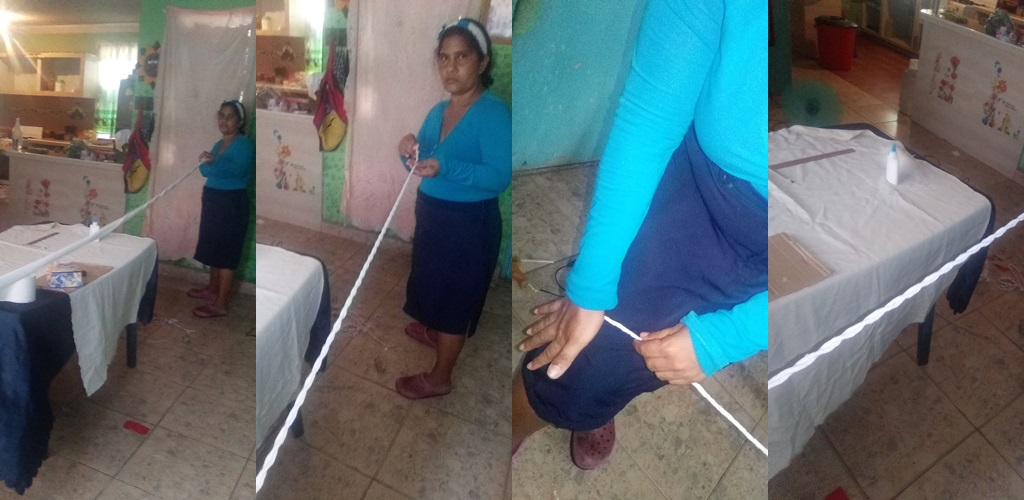
Foto tomada con el teléfono inteligente de mi hijo
Paso 8 y 9
Una vez, ya completado el cofre en la parte de la base, tomamos tres metros de papel higiénico, luego con una distancia de 3 metros, para empezar a entorchar el papel higiénico, entre dos personas, se empieza a entorchar hacia el lado derecho y después se pone doble, para entorchar hacia el lado izquierdo.
Step 8 and 9
Once the box is completed at the base, we take three meters of toilet paper, then with a distance of 3 meters, to start twisting the toilet paper, between two people, we start twisting it to the right side and then we put it double, to twist it to the left side.
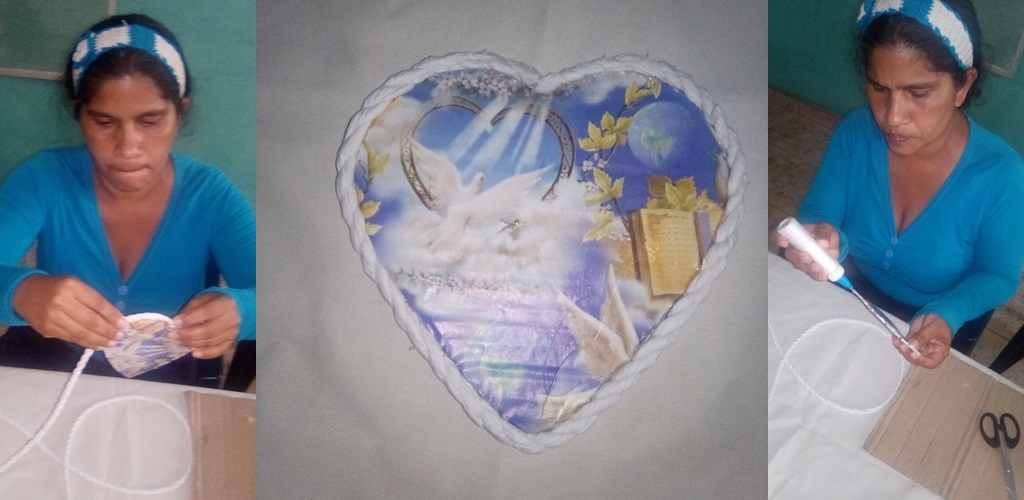
Foto tomada con el teléfono inteligente de mi hijo
Paso 10 y 11
Colocamos pega en el borde del corazón, la cual sera nuestra tapa del cofre, tomamos parte del papel higiénico enrollado y lo colocamos en el borde del corazón partiendo del centro, paso a paso.
Step 10 and 11
We put glue on the edge of the heart, which will be our chest lid, we take part of the rolled toilet paper and place it on the edge of the heart starting from the center, step by step.
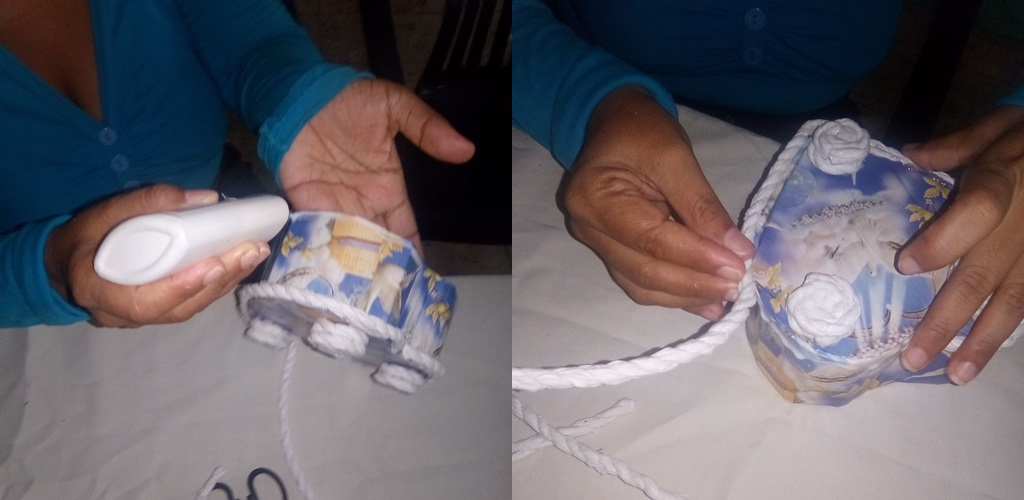
Foto tomada con el teléfono inteligente de mi hijo
Paso 12 y 13
En la parte de la base del cofre, colocamos pega alrededor del borde y empezamos a colocar el papel higiénico entorchado alrededor del cofre. Ese mismo trabajo lo realizamos en la parte superior.
Step 12 and 13
At the base of the box, we put glue around the edge and start placing the toilet paper twisted around the box. The same work is done on the upper part.
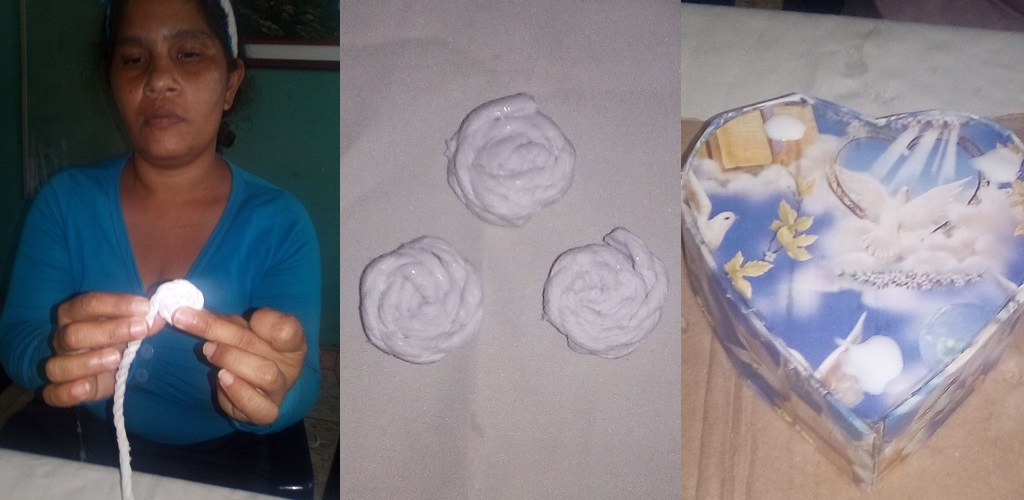
Foto tonada con el teléfono inteligente de mi hijo
Paso 14 y 15
Se diseñan 6 círculos con el papel higiénico entorchado, que sera el pie de la base, uniéndolos de 2 círculos cada pie, con pega. Luego procedemos a pegar en la parte de la base del cofre.
Step 14 and 15
We design 6 circles with the toilet paper twisted, which will be the foot of the base, joining them with 2 circles each foot, with glue. Then we proceed to glue on the base part of the box.
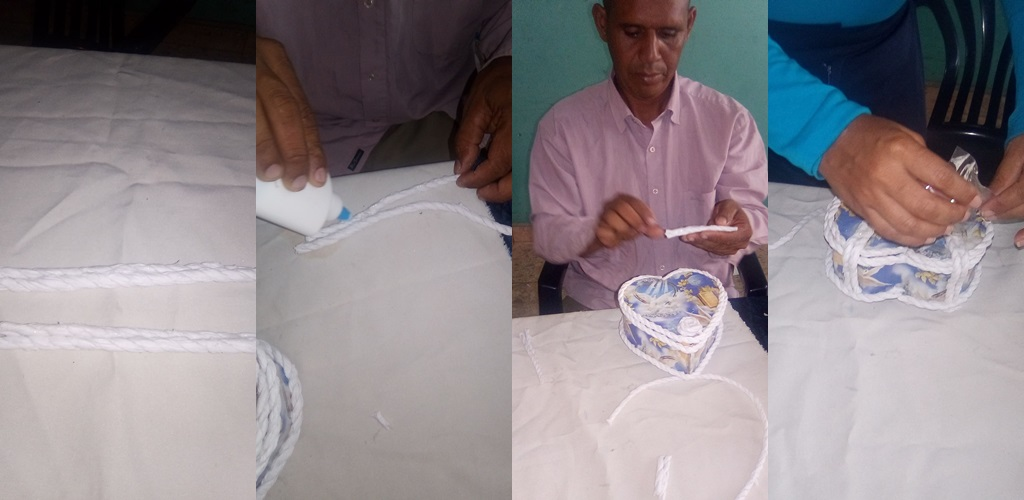
Foto tomada con el teléfono inteligente de mi hijo
Paso 16 y 17
Para unir la tapa del cofre, en forma de corazón, se toma primero 2 tiras de papel higiénico entorchado de 8 centímetros de largo, para así sujetar la tapa del cofre, se coloca pega, procedemos a pegar el papel higiénico.
Step 16 and 17
To attach the lid of the chest, in the shape of a heart, first take 2 strips of twisted toilet paper 8 centimeters long, in order to hold the lid of the chest, place glue, proceed to glue the toilet paper.
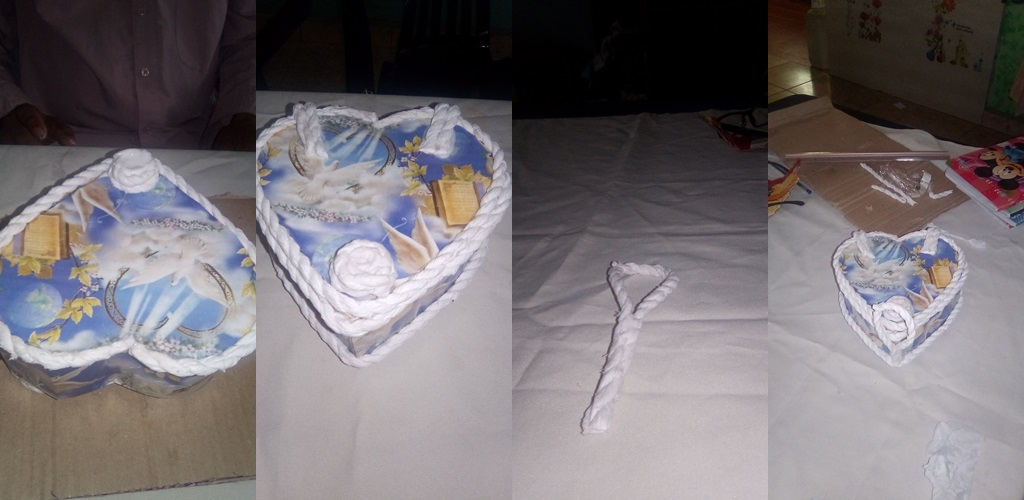
Foto tomada con el teléfono inteligente de mi hijo
Paso 18 y 19
Una vez colocado la tapa del cofre, colocamos un círculos de papel higiénico entorchado en la parte delantera ara usarlo como agarre del seguro del cofre. Luego con 1 tiritas de papel higiénico entorchado de 15 centímetros, la doblamos, le colocamos pega hasta la mitad y procedemos a pegarla a la punta del cofre, la cual sera parte del seguro del cofre.
Step 18 and 19
Once the lid of the chest has been placed, we place a circle of twisted toilet paper in the front part to use it as a grip for the chest lock. Then, with 1 6 inch strips of toilet paper, we fold it, glue it to the middle and proceed to glue it to the tip of the chest, which will be part of the lock of the chest.
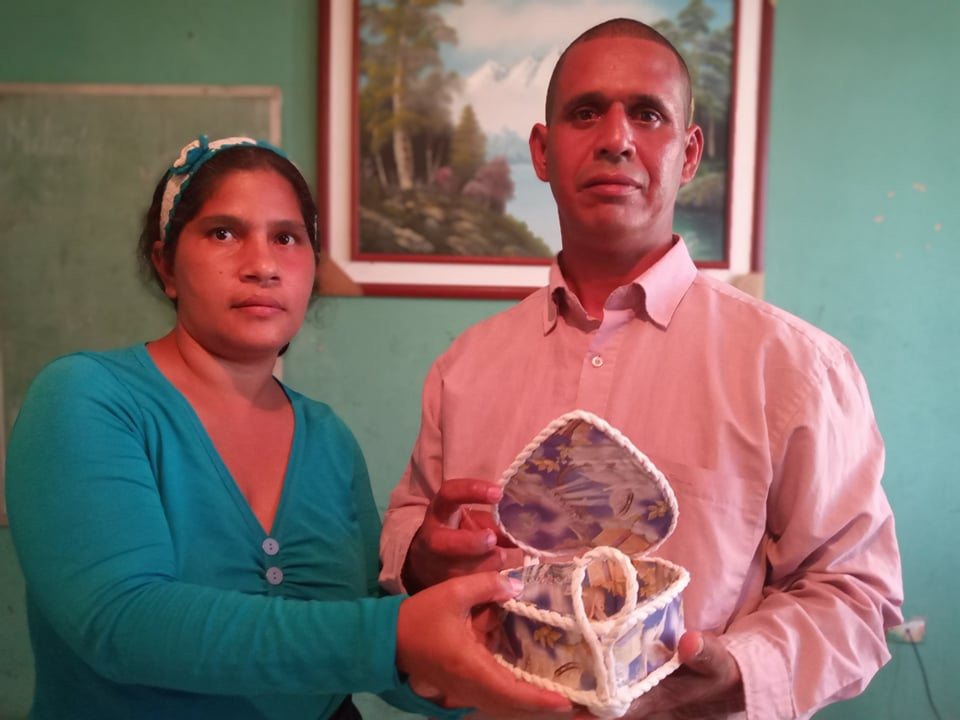
Foto tomada por mi hijo con su teléfono inteligente
Paso 20
Luego colocamos pega en las tiras y el círculos que van pegadas a la tapa del corazón, para así colocar escarcha y resaltar la belleza del cofre de amor, ya terminado.
Step 20
Then we put glue on the strips and circles that are glued to the lid of the heart, in order to place frosting and highlight the beauty of the finished love chest.