DIY CRAFT: Making Flowers For Room Decor ( Steps and Processes)
Hey Bees!
Are you out of decor for your room? Or your kiddies' room? I know you might be too matured to go leaving your room with such decor but then your kids might love something of this nature don't you think?
Okay, children have a great attachment with flowers and catchy things.
So today I will share a little flower craft you can do with ease and decorate your kids room or even let them play with.
The materials used are simple and the most accessible ones. I will tell you all the things you need for this decoration and craft making.
Materials
- Papers (of any color)
- Top Gum
- Scissor
You see it's just three materials you need for this work and it won't really cost you much. You can even recycle your old papers or books to do this.
Now we head over to the process. We will look at it step by step.
Steps And Processes
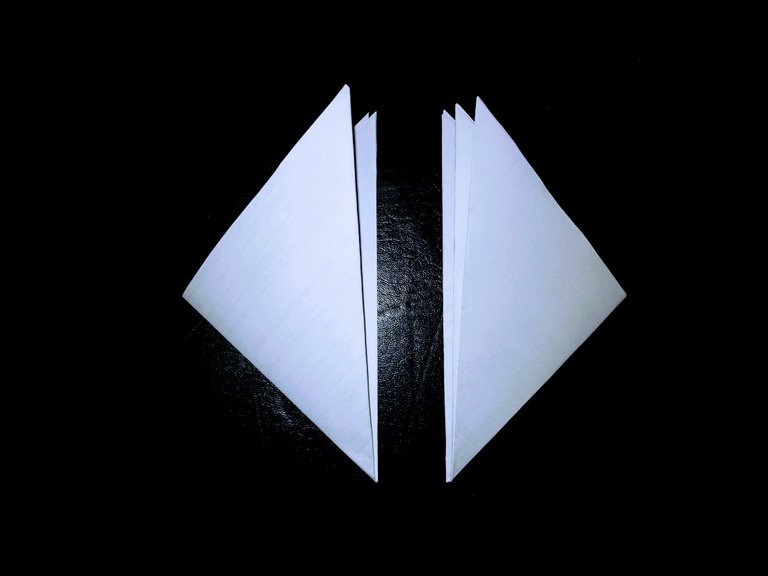
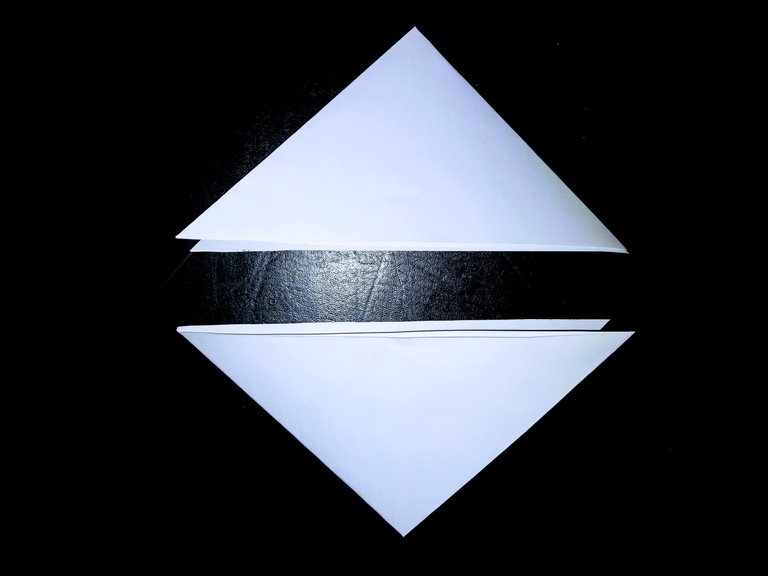
Get a paper of four equal sides. Fold it into a triangle.

Continue to fold the third time also in a triangular form
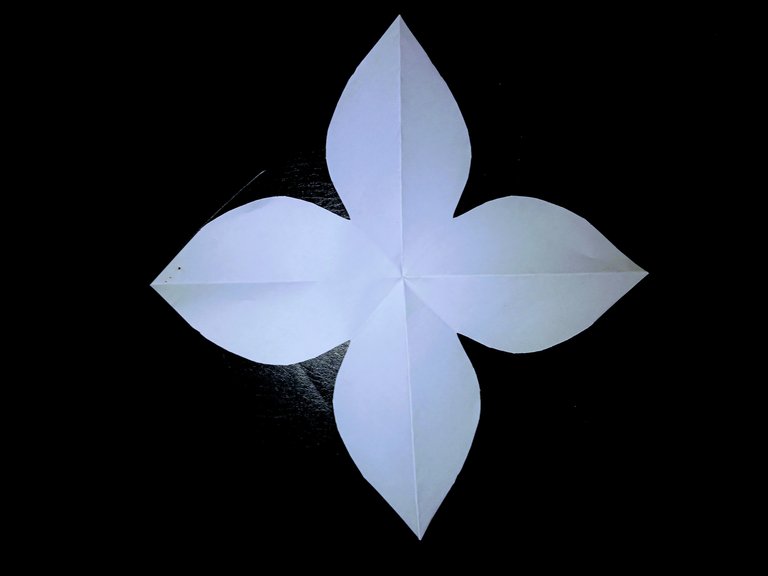
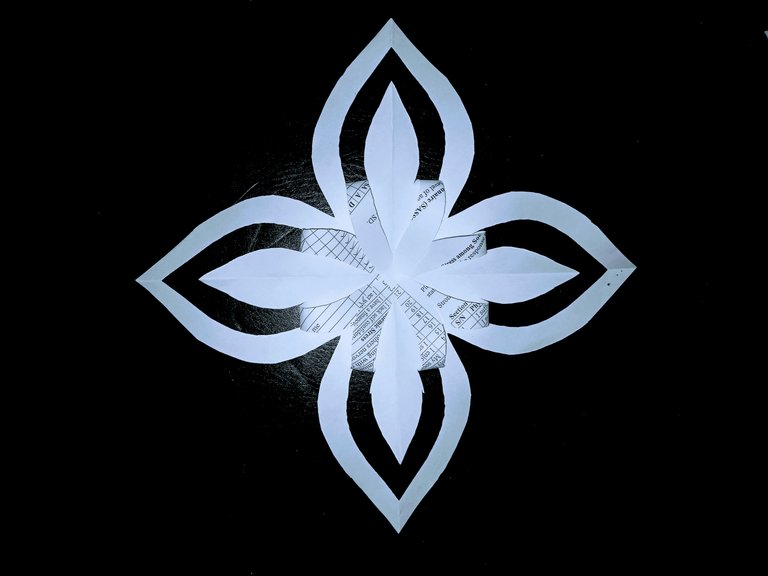
Then open up the folded paper to make sure you get this design or pattern, if you don't have this pattern then something is wrong, you will have to redo it, if you do then you are good to go.

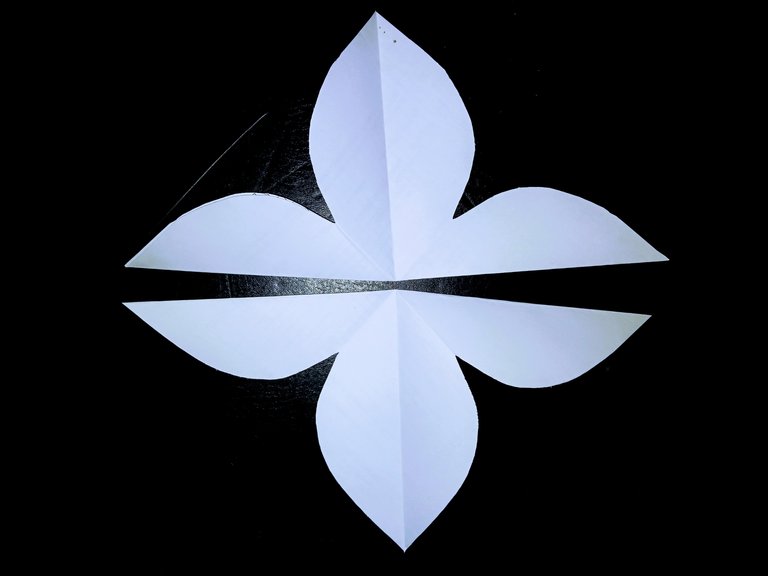
Then you unfold again to check and be sure you have complete four flower petals.
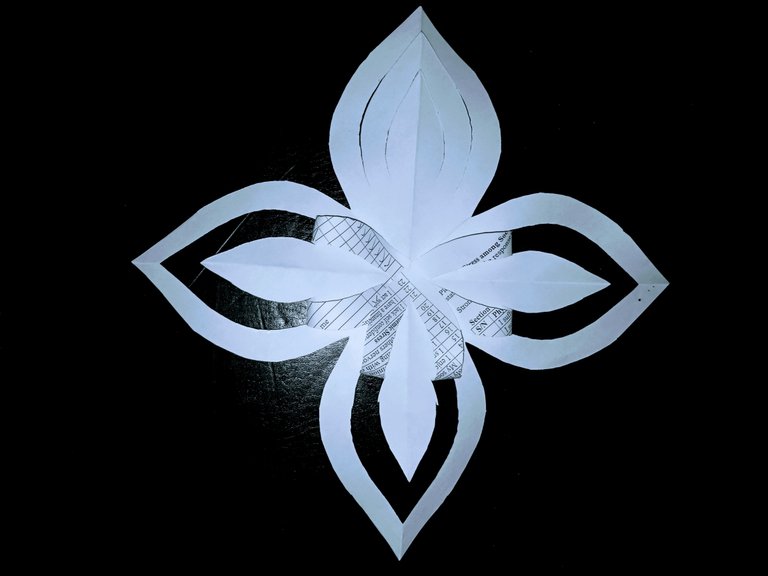
From the cut parts pick two from each petal and gum together as you see below
Then gum all four petals. Note you are gumming the second cut part of the flower petals
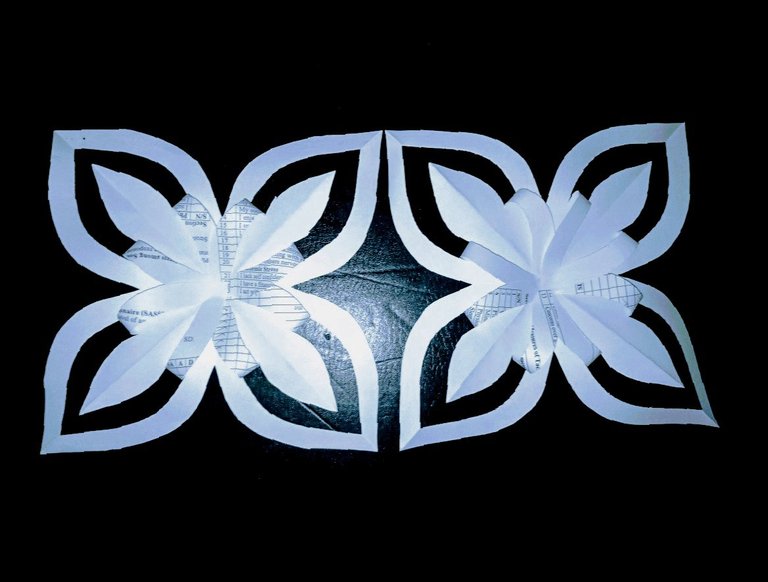
And this is a bigger side of the flower, still the backside view.
I took a shot for a different arrangement of the two flowers.

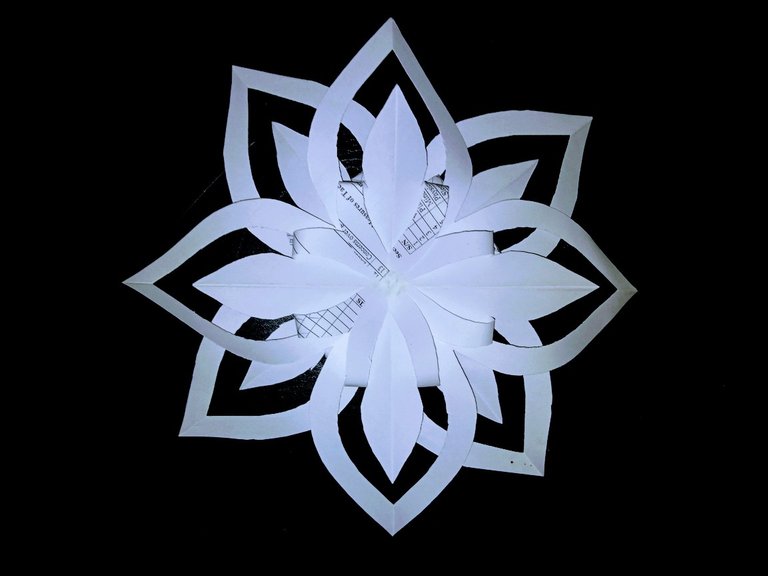
After that, you pick the next flower (the smallest of all three flowers) apply gum to the second flower you stocked earlier and then stick the next smaller flower together with the other two.
I captured this one differently but it's still the same process as the previous step.
Fold the already folded paper again into another triangle.
After folding the third time, cut or trim the edges in a circular form.

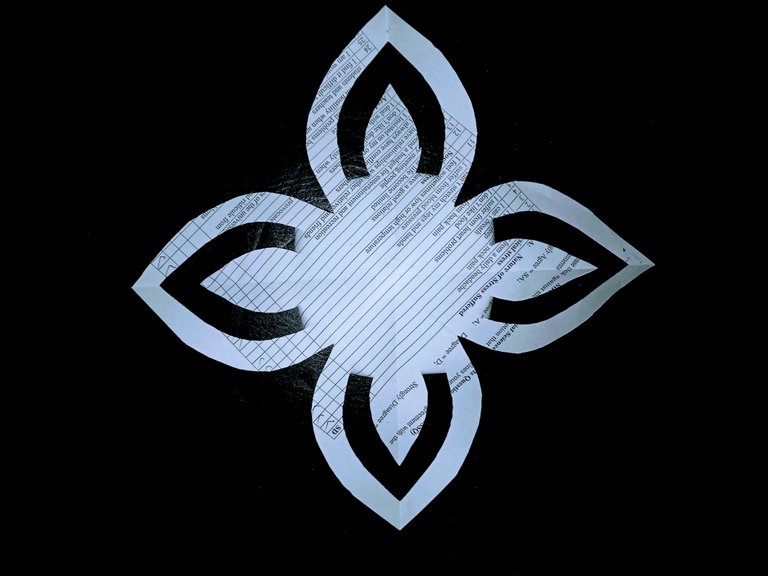
After the first opening, open it again to see if you have two petals of the flower just like in the image below. If you have this then you fold it back again to the initial state it was before the opening.
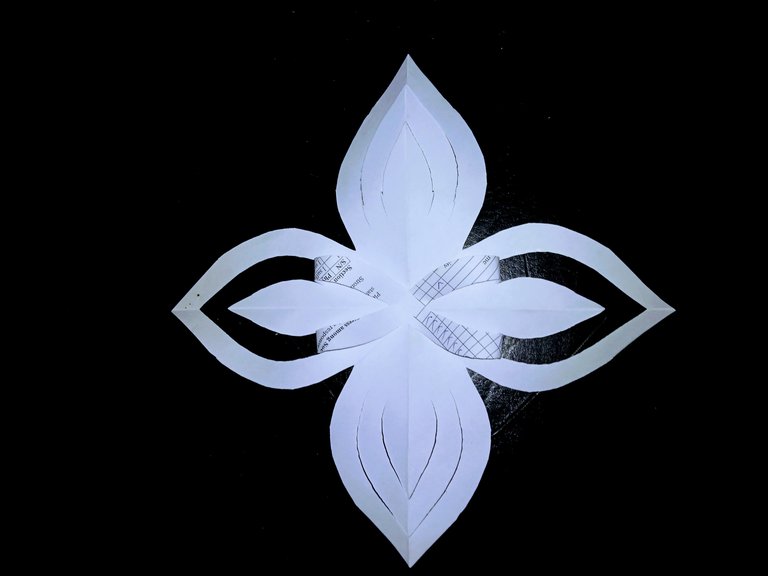
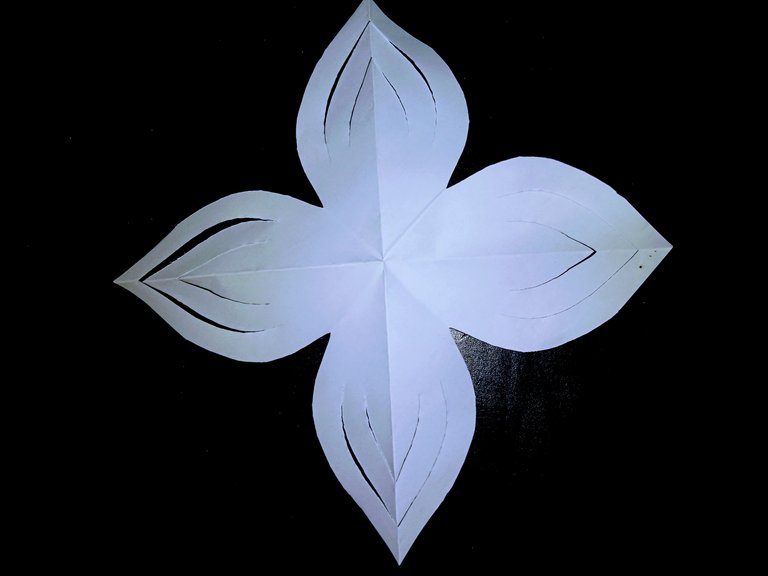
When you get back to the initial step, cut the paper in two places from one end to the middle. This is what will help you get the open designs on the paper you are seeing below.
Gum the third petal as well.
This is what the backside of the flower looks like after gumming together all four parts.

Repeat the same process for two more flowers.
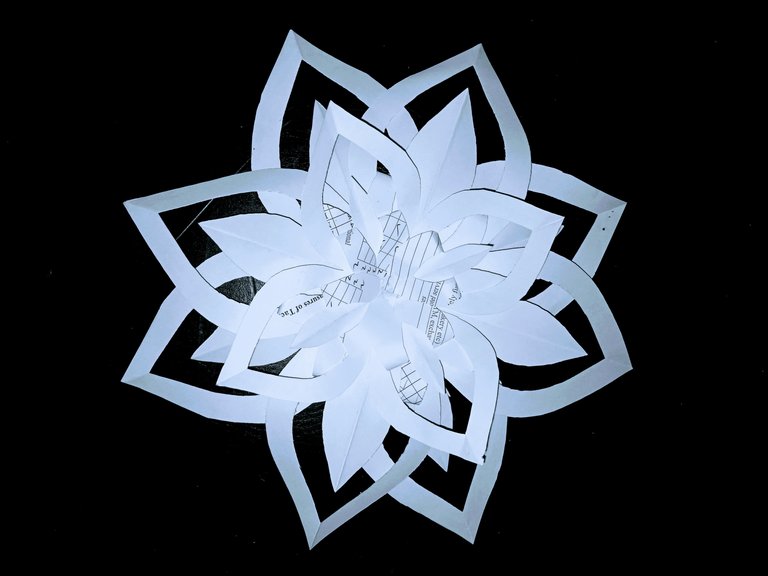
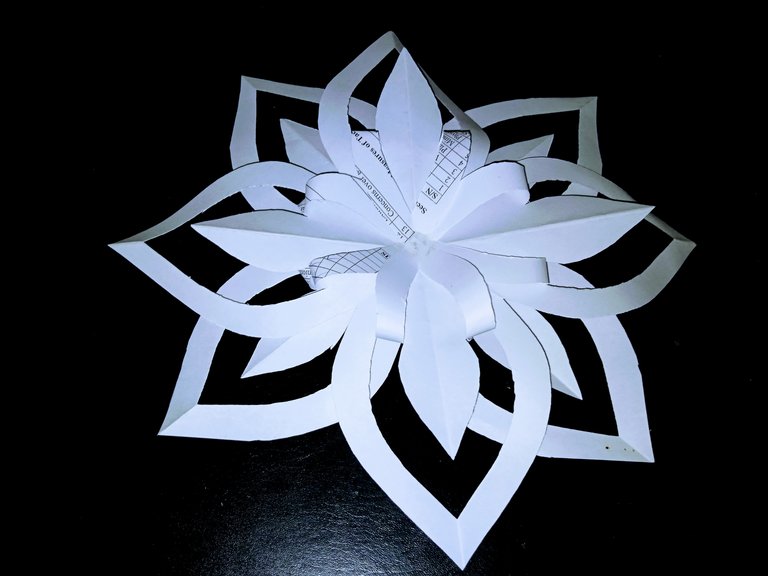
After getting all three flowers set and ready, you pick one of the finished flowers, apply gum to the center of another flower (the bigger one) and then stick the one you picked earlier to the one you applied gum to.
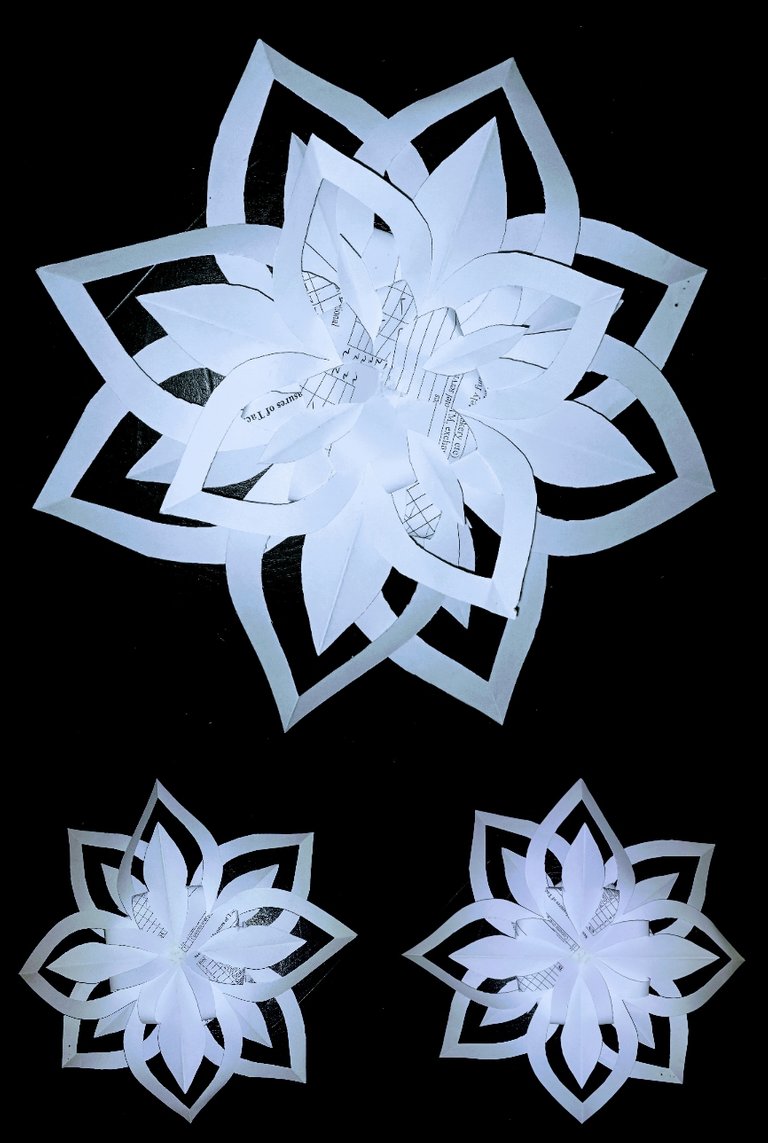
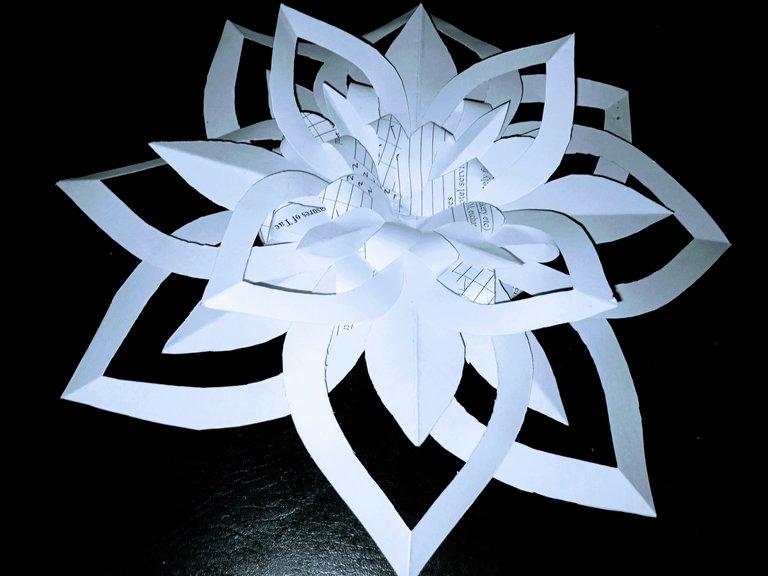
All three flower parts are gummed together to give you this.
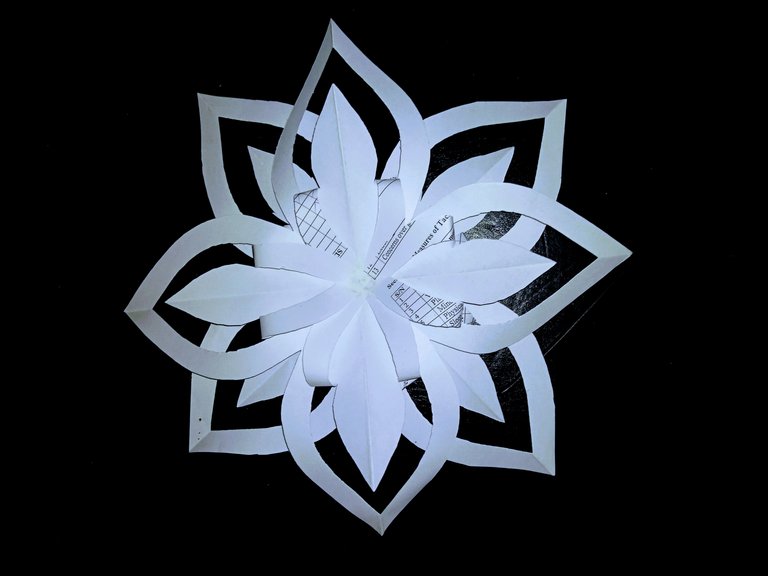
Viola the flower is all ready and looking lovely right?
Isn't that easy enough to follow? I bet it is lol :)
And I am sure you can get it right at first trial if ever you want to.
I will bring more ideas for room decor for you, stay tuned!

Hi @zanoz,
Thank you for participating in the #teamuk curated tag. We have upvoted your quality content.
For more information visit our discord https://discord.gg/8CVx2Am
https://twitter.com/zanoza_15/status/1358175501114867713
It is beautiful what you do, it will perform similar ones. At any moment I will share them.
WOW...That looks so cool and looks like a job that needs lots of care and patience well done 👍
Yeah thanks.
Though it's really very easy.