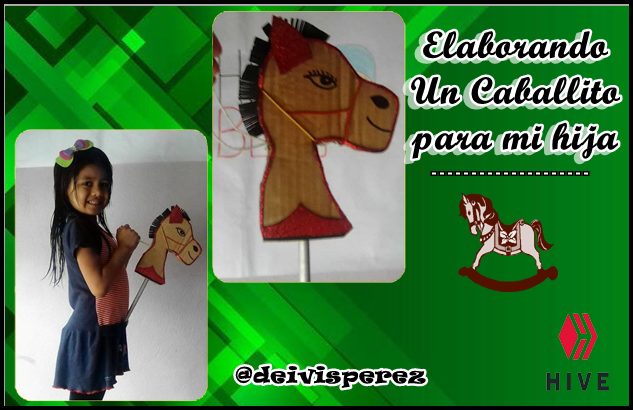
[ESP - ENG] Elaborando un caballito para mi hija | Making a horse for my daughter
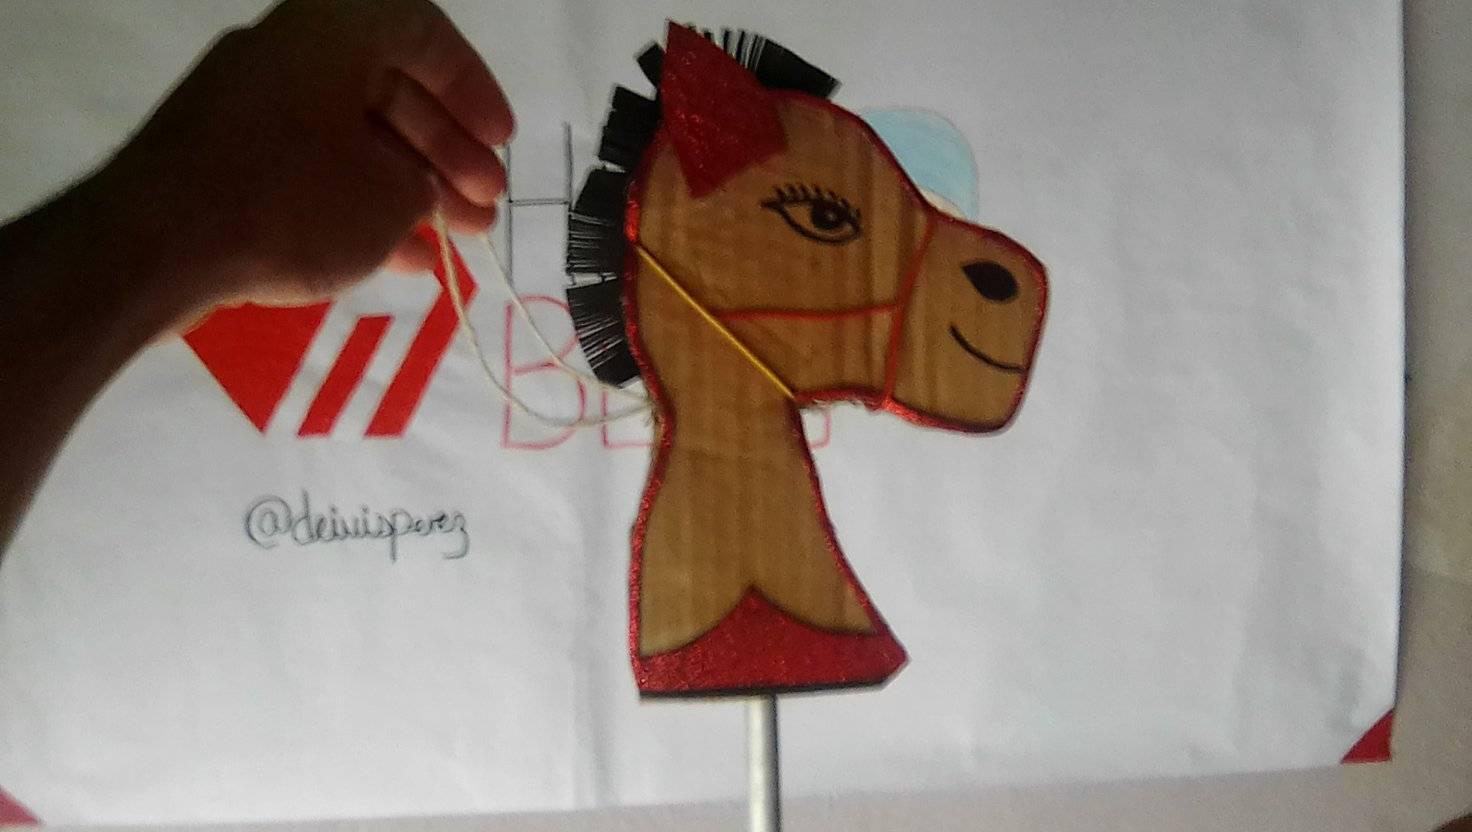
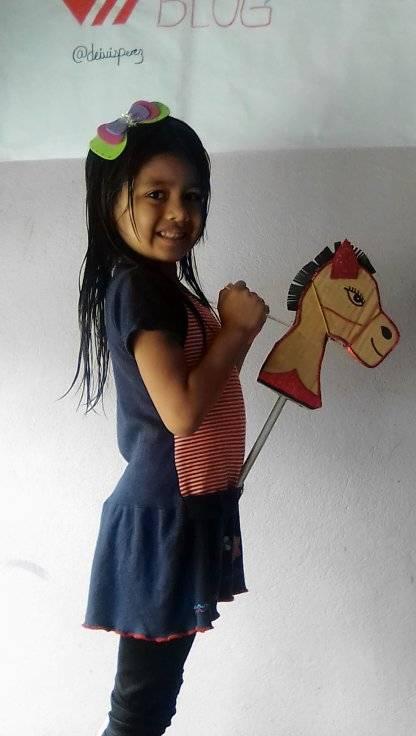
Hello dear Artistic Thinkers, Blessings to you on this day beloved HIVE community. My 6 year old daughter wanted a little horse to play with and I decided to make her one using a little imagination and some materials I had at home, it was satisfying to see her happy face when I finished making the horse. I want to show you what materials and steps I used, Let's get to work....
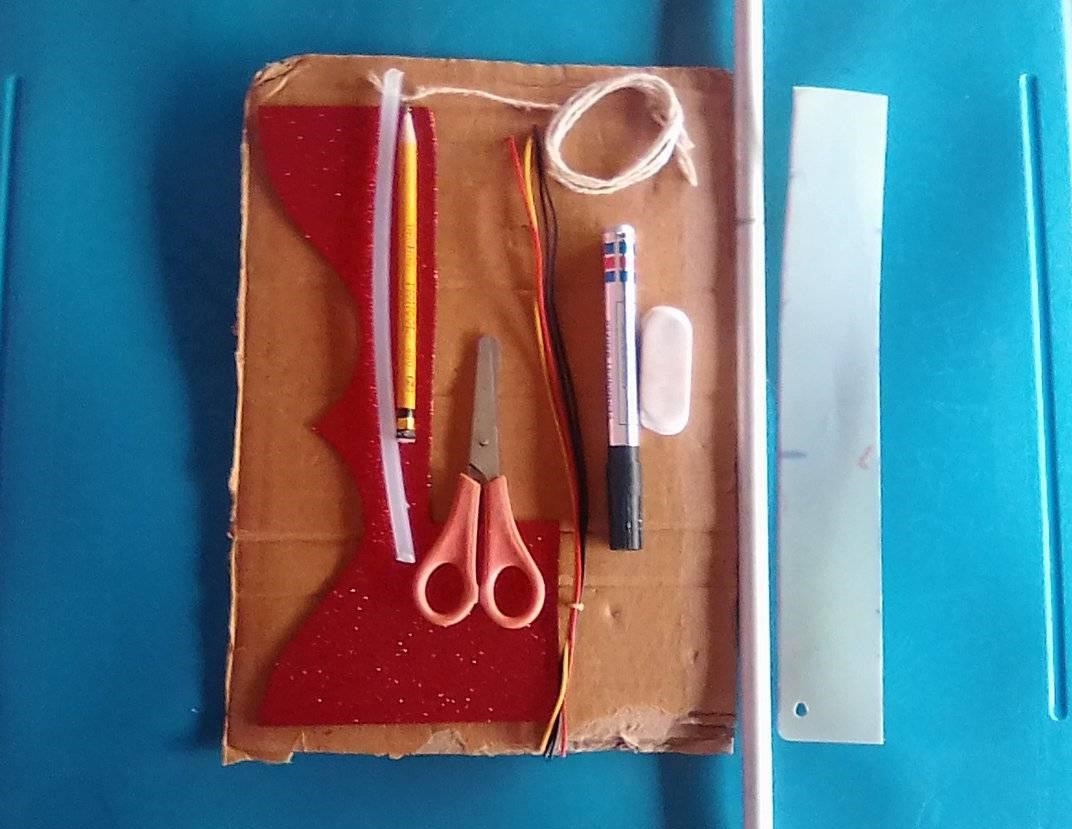
•1 Cartón pequeño (Tamaño de su preferencia).
•1 Hoja de foami color rojo con escarchas.
•1 Tijera
•1 Trozo de cable amarillo, 1 trozo de cable rojo.
•1 Lápiz crayón
•1 Barra de silicón
•1 tubo de 1 metro (puede sustituirlo por un palo de una escoba).
•20 centímetros de hilo (cuerda)
•1 Marcado negro.
•1 Goma para borrar.
•1 Small cardboard (size of your choice).
•1 Sheet of red foami with frosting
•1 Scissors
•1 Piece of yellow wire, 1 piece of red wire.
•1 Crayon pencil
•1 Silicone stick
•1 1 meter tube (you can substitute it for a broomstick).
•20 centimeters of thread (string).
•1 black marker.
•1 eraser.
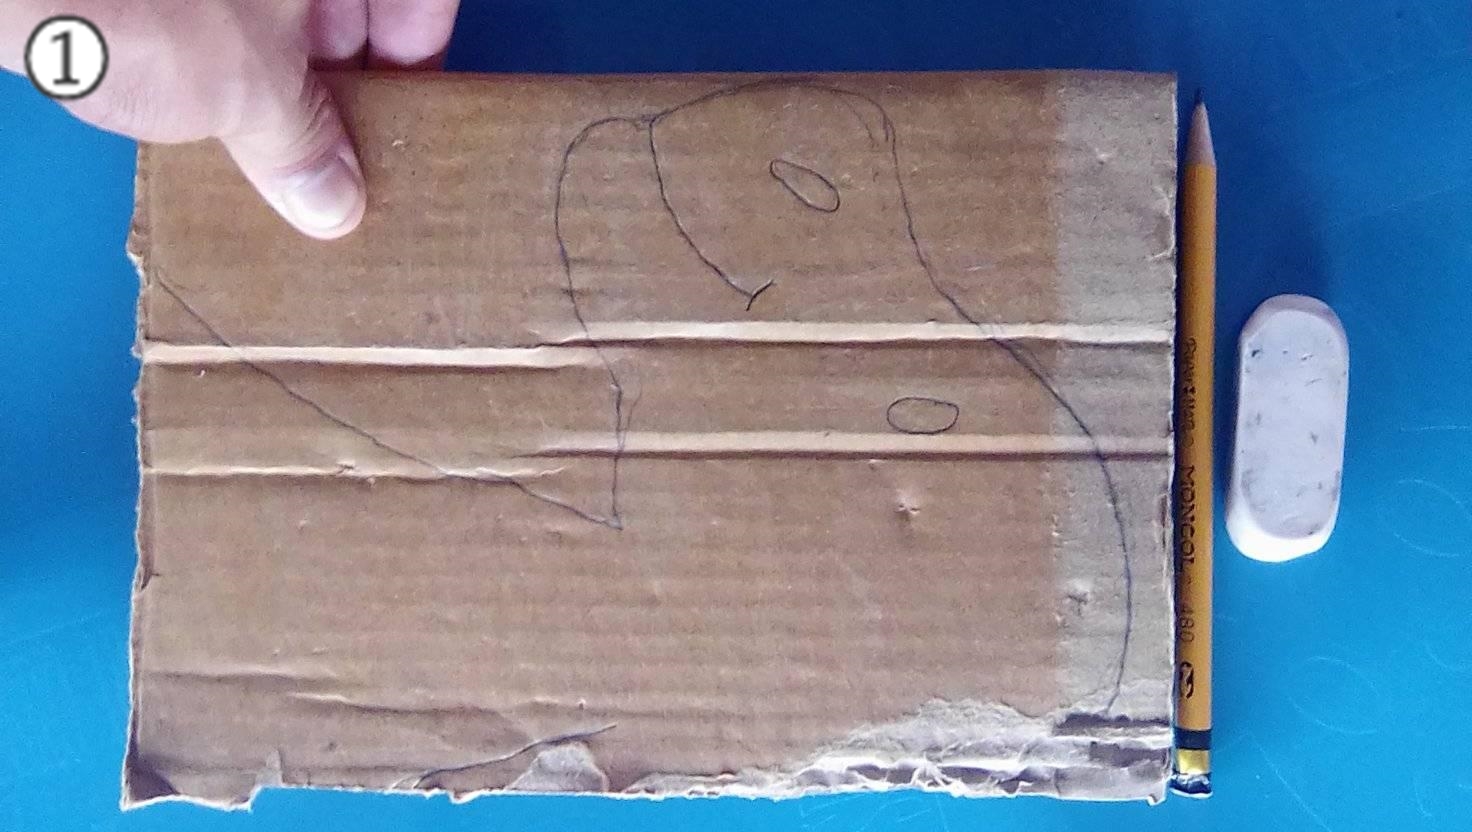
PASO 1: Dibujar la cabeza de nuestro caballo, usando el lápiz crayón (Borrar alguna imperfección si lo necesita).
STEP 1: Draw our horse's head, using the crayon pencil (erase any imperfections if needed).
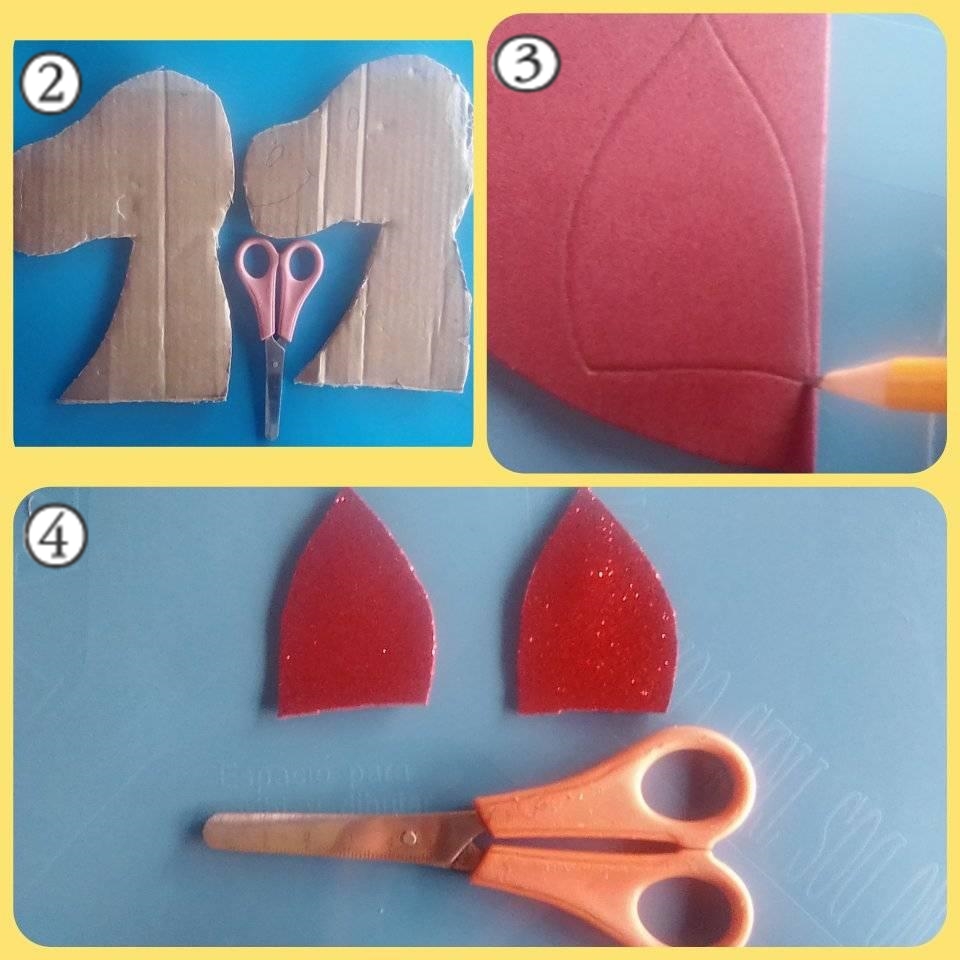
PASO 2: Cortar 2 unidades iguales de la cabeza del caballo que acabamos de hacer (usando la tijera).
PASO 3: Dibujar la forma de las orejas en el foami usando el lápiz crayón (dibujar 2 unidades).
PASO 4: Recortar las orejas (usando la tijera).
STEP 2: Cut 2 equal units of the horse's head we just made (using the scissors).
STEP 3: Draw the shape of the ears on the foami using the crayon pencil (draw 2 units).
STEP 4: Cut out the ears (using the scissors).
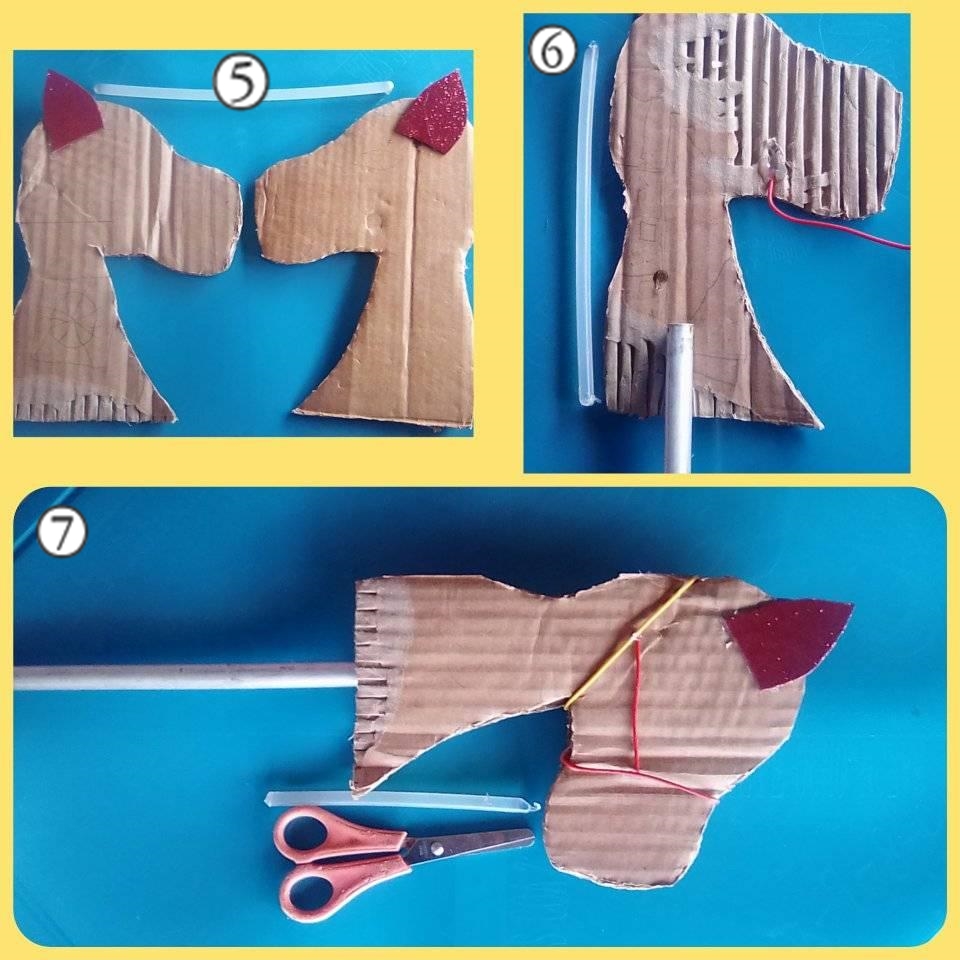
PASO 5: Pegar 1 oreja en cada cartón, en la parte superior de la cabeza del caballo (usando el silicón en barra)
PASO 6: Pegar el tubo a la parte inferior de la cabeza (usar el silicón en barra).
PASO 7: Pegar los cables creando la rienda de nuestro caballo (usar el silicón en barra), Unir los 2 cartones.
STEP 5: Glue 1 ear on each cardboard, on the top of the horse's head (using the silicone stick).
STEP 6: Glue the tube to the bottom of the head (using the silicone stick).
STEP 7: Glue the wires creating the rein of our horse (using the silicone stick), join the 2 cartons together.
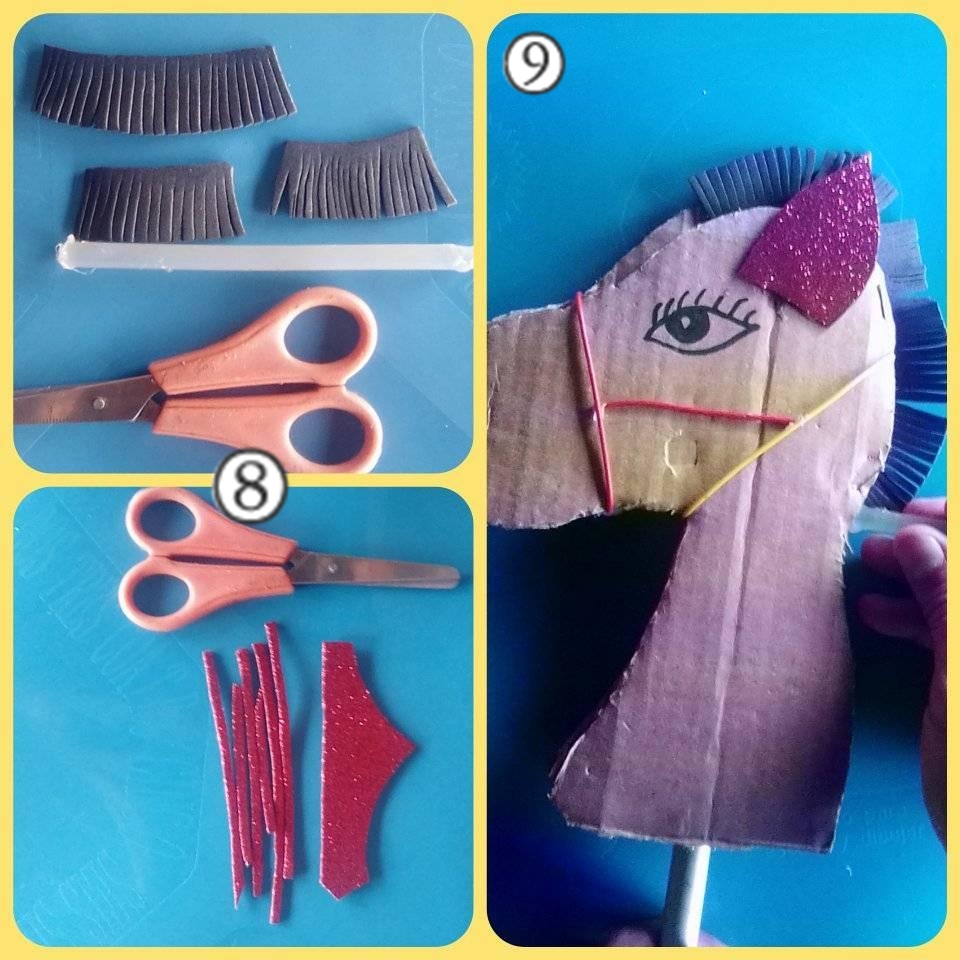
PASO 8: Con el cable negro (puede sustituir por foami color negro) cortarlo en trozos pequeños “estos los usaremos para la cabellera del caballo, seguidamente cortar pequeñas tiras del foami rojo con escarchas “esto es para los bordes del caballo”.
PASO 9: Pegar la cabellera en la parte trasera de la cabeza del caballo creando la cabellera (usar el silicón en barra), Pintar los ojos del caballo, usando el marcador negro.
STEP 8: With the black wire (you can substitute with black foami) cut it into small pieces "these will be used for the horse's scalp, then cut small strips of the red foami with frosting "this is for the horse's edges".
STEP 9: Glue the scalp to the back of the horse's head creating the scalp (use the silicone stick), Paint the horse's eyes, using the black marker.
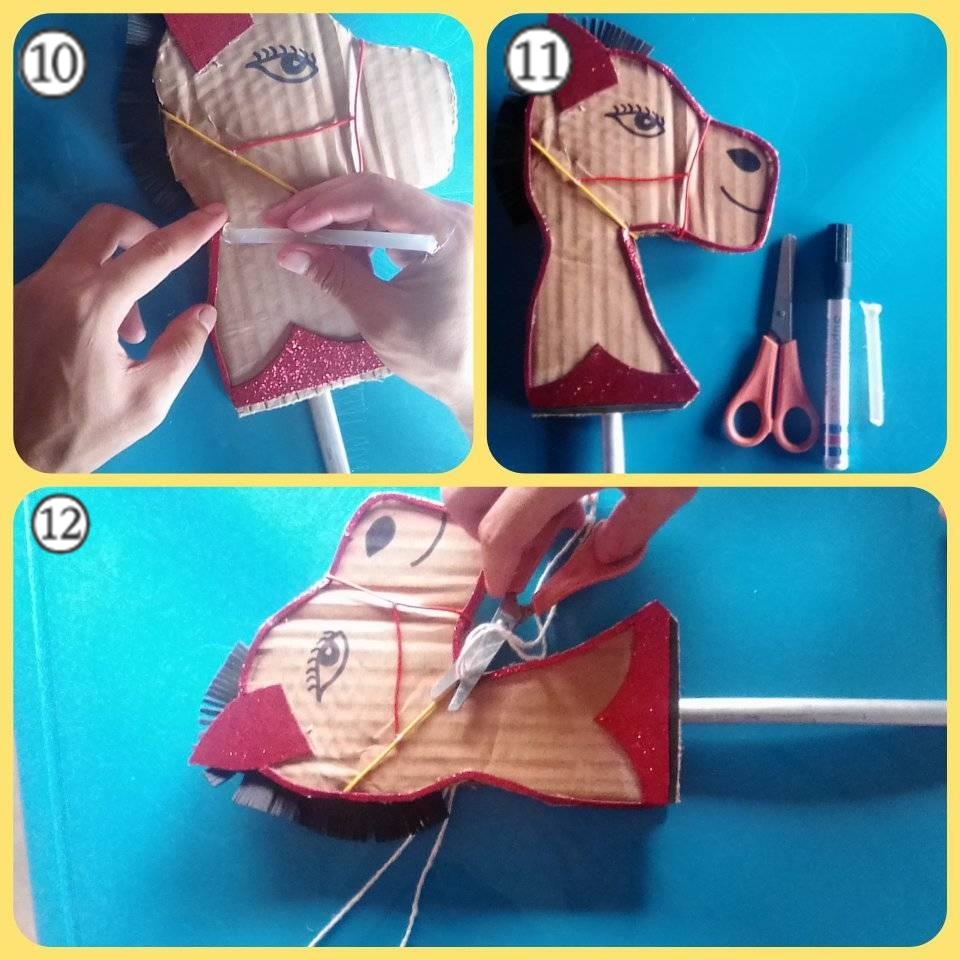
PASO 10: Pegar los trozos de foami rojo con escarchas en todo el borde de la cabeza del caballo (usar el silicón en barra).
PASO 11: Dibujar la nariz y la boca, usando el marcador negro.
PASO 12: Amarrar el hilo a las riendas de nuestro caballo.
STEP 10: Glue the pieces of red foami with frosting all around the edge of the horse's head (use the silicon stick).
STEP 11: Draw the nose and mouth, using the black marker.
STEP 12: Tie the thread to the reins of our horse.
All photos are my own, edited in PhotoScape, translator used: DeepL.