[ESP-ENG] Forro Hive para mi Teléfono | Hive Cover for my Phone
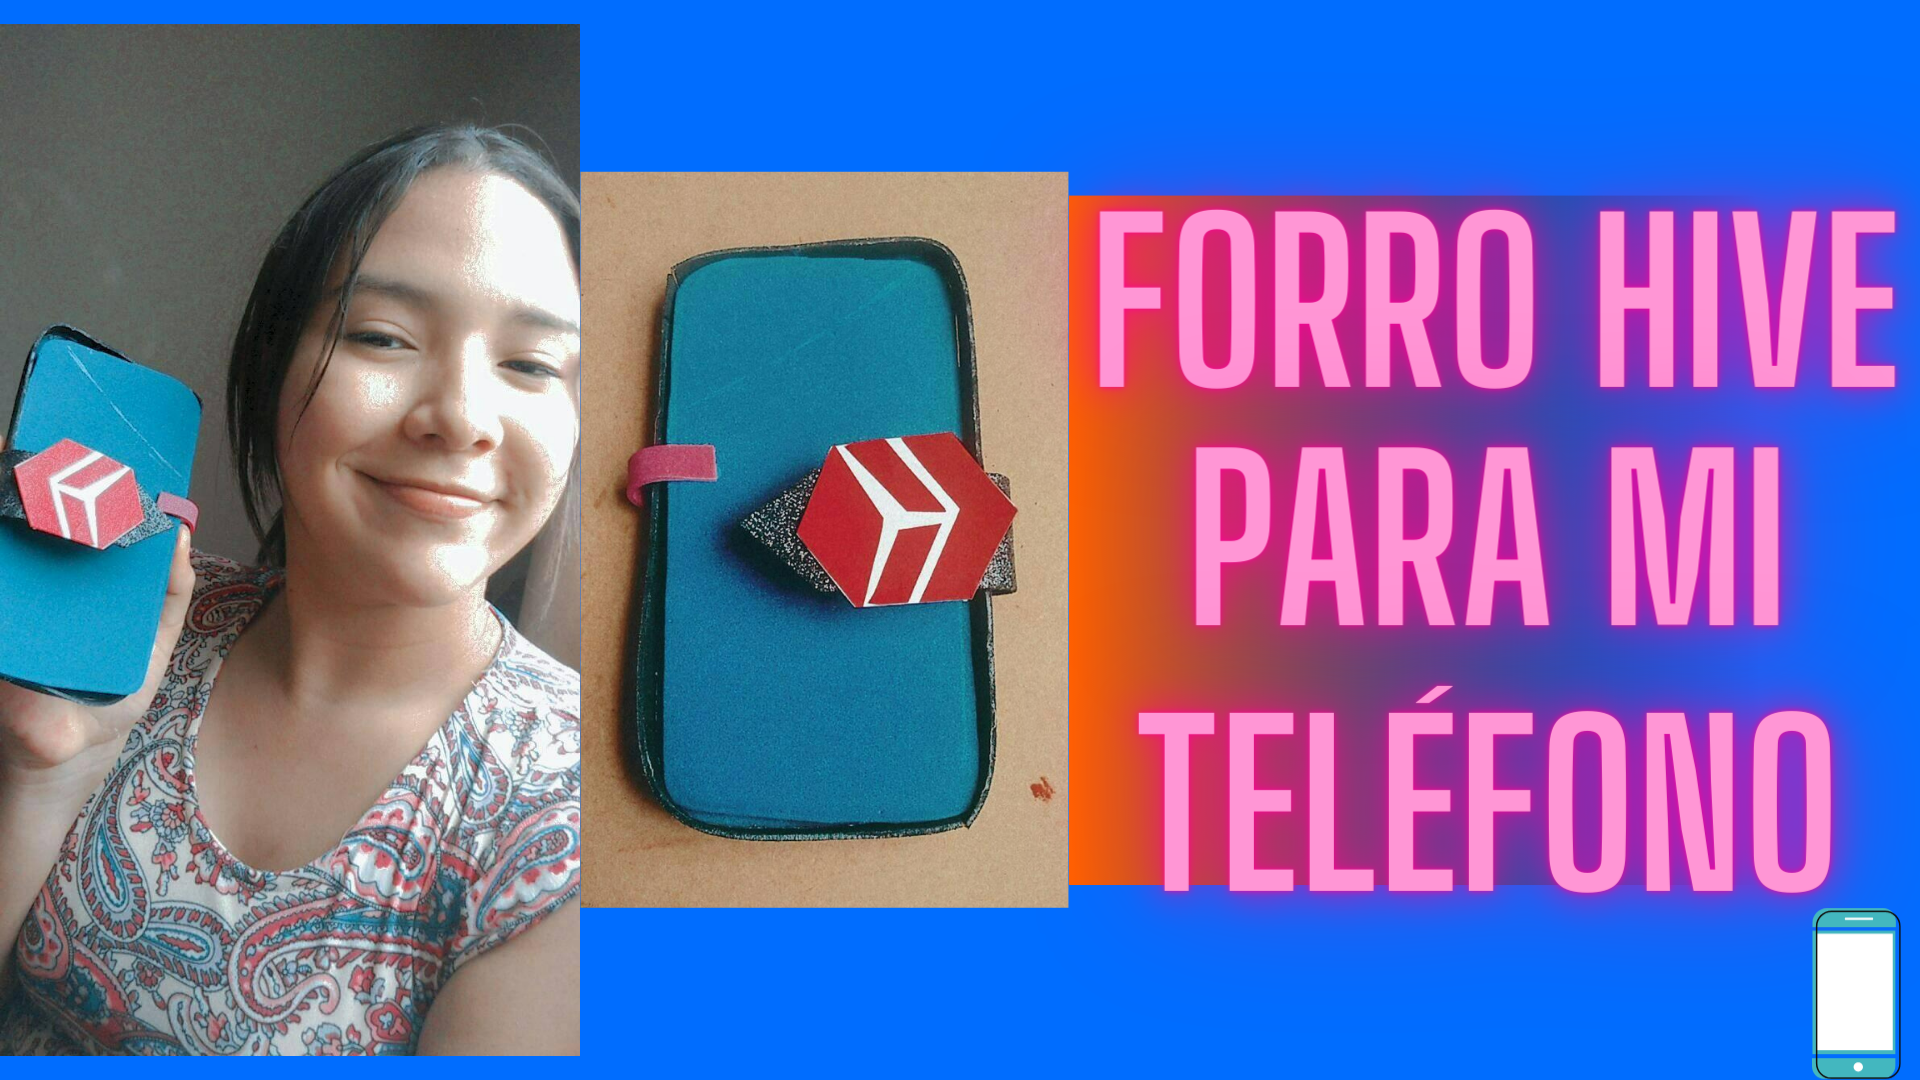
A big greeting my beautiful Hive family, I am really very happy, and the reason is because I made A Hive liner for My Phone, I really loved my result, I am really excited and very happy, I added the logo of my dear Hive To highlight much more to this beautiful platform that makes develop my skills and talents every day more, let's start with the step by step:.
.png)
.png)
Materiales:
-Foami de distintos Colores.
-Tijera.
-Silicón.
-Cartulina blanca y roja para nuestro logo Hive.
-Paso 1: Marcamos en el foami del color que deseamos para nuestro forro, el tamaño de nuestro teléfono para obtener su medida, al recortar, recortamos un poco más grande, solo un poco, para que al momento de introducir nuestro teléfono, quedé exactamente como deseamos.
Materials:
-Foami of different colors.
-Scissors.
-Silicone.
-White and red cardboard for our Hive logo.
-Step 1: We mark on the foami of the color we want for our lining, the size of our phone to get its size, when cutting, we cut a little bigger, just a little, so that when we introduce our phone, it will be exactly as we want.
.png)
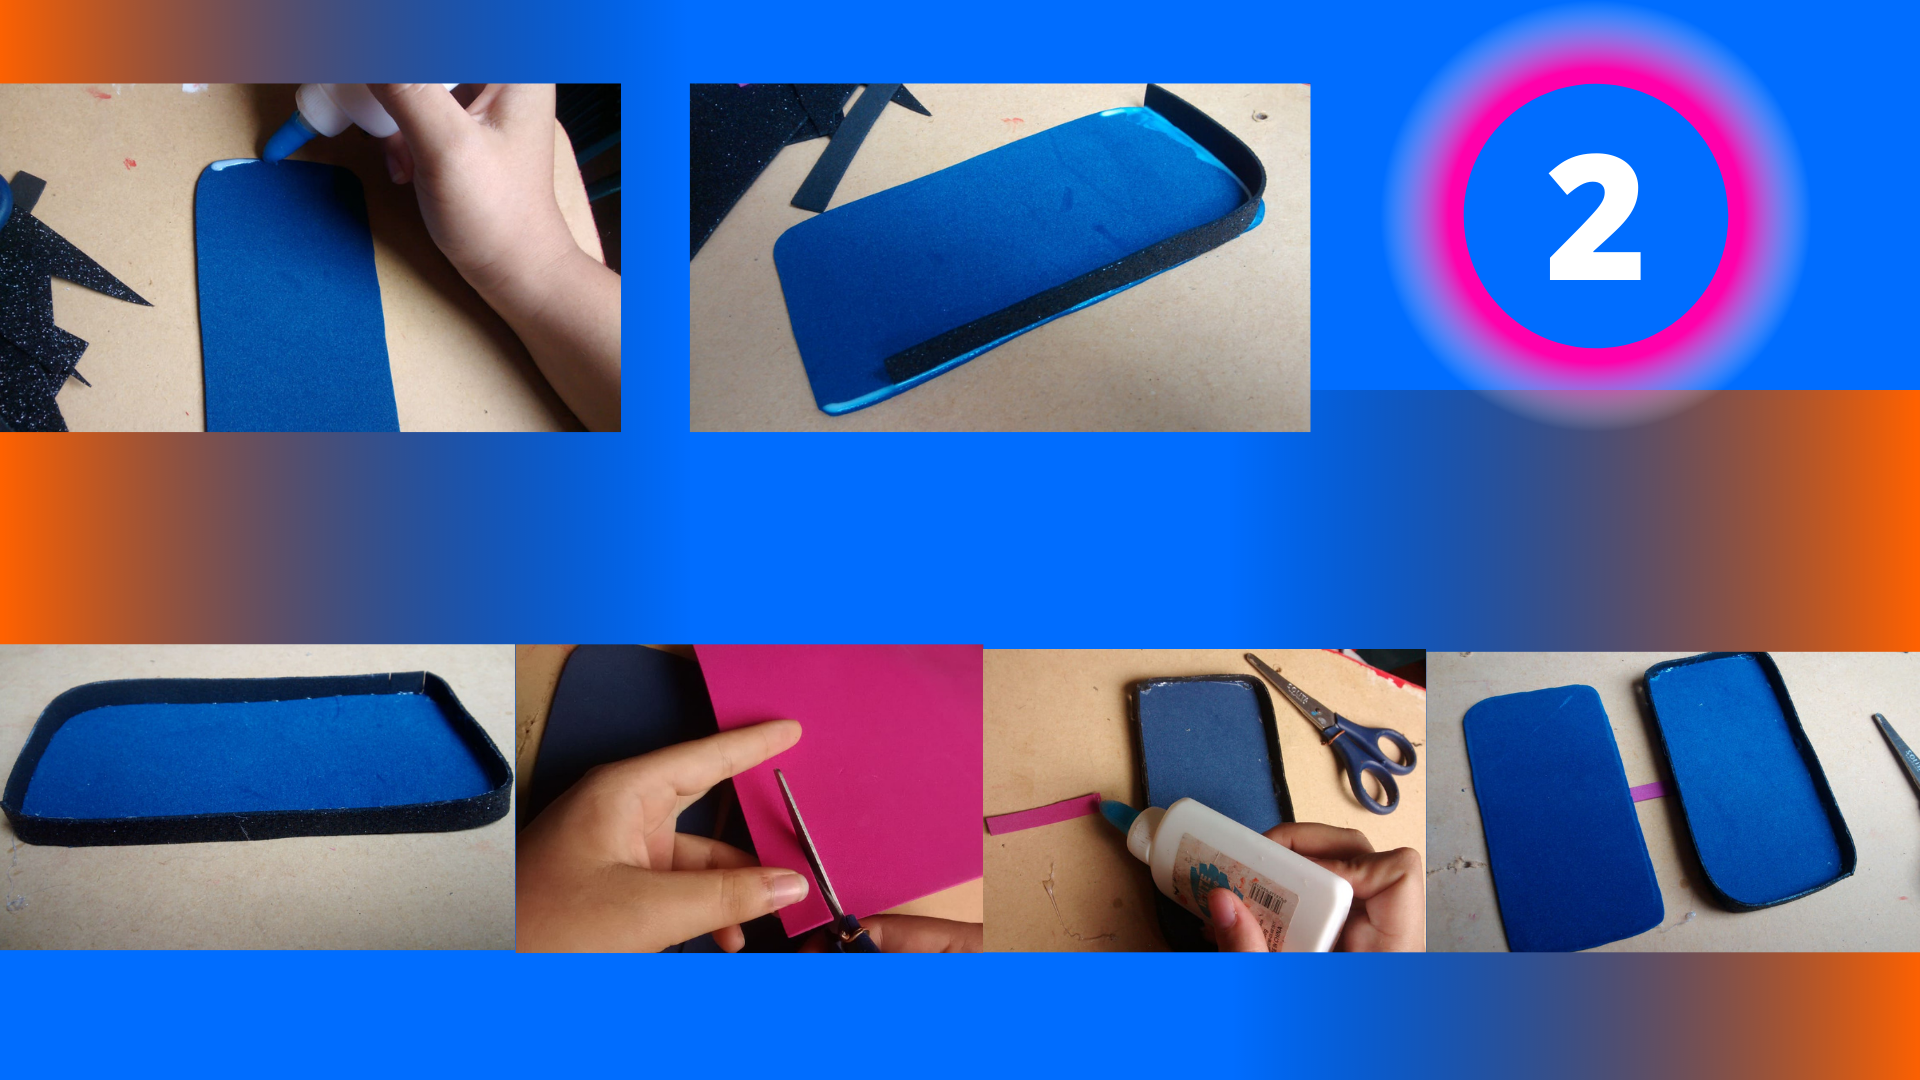
-Paso 2: Luego de haber recortado nuestras 2 piezas para nuestro forro, una para arriba y otra para abajo, procedemos a recortar una tira de foami, la cual irá en el borde de la parte de nuestro forro, la parte de abajo, pegamos esta tira alrededor, luego recortamos otra tira de foami más pequeña, la cual será la que unirá amabas piezas de nuestro forro, y procedemos a pegarla por la parte trasera de ambas piezas de nuestro forro.
-Step 2: After having cut out our 2 pieces for our lining, one for the top and one for the bottom, we proceed to cut a strip of foami, which will go on the edge of the part of our lining, the bottom part, we glue this strip around, then we cut another smaller strip of foami, which will be the one that will join both pieces of our lining, and we proceed to glue it on the back of both pieces of our lining.
.png)
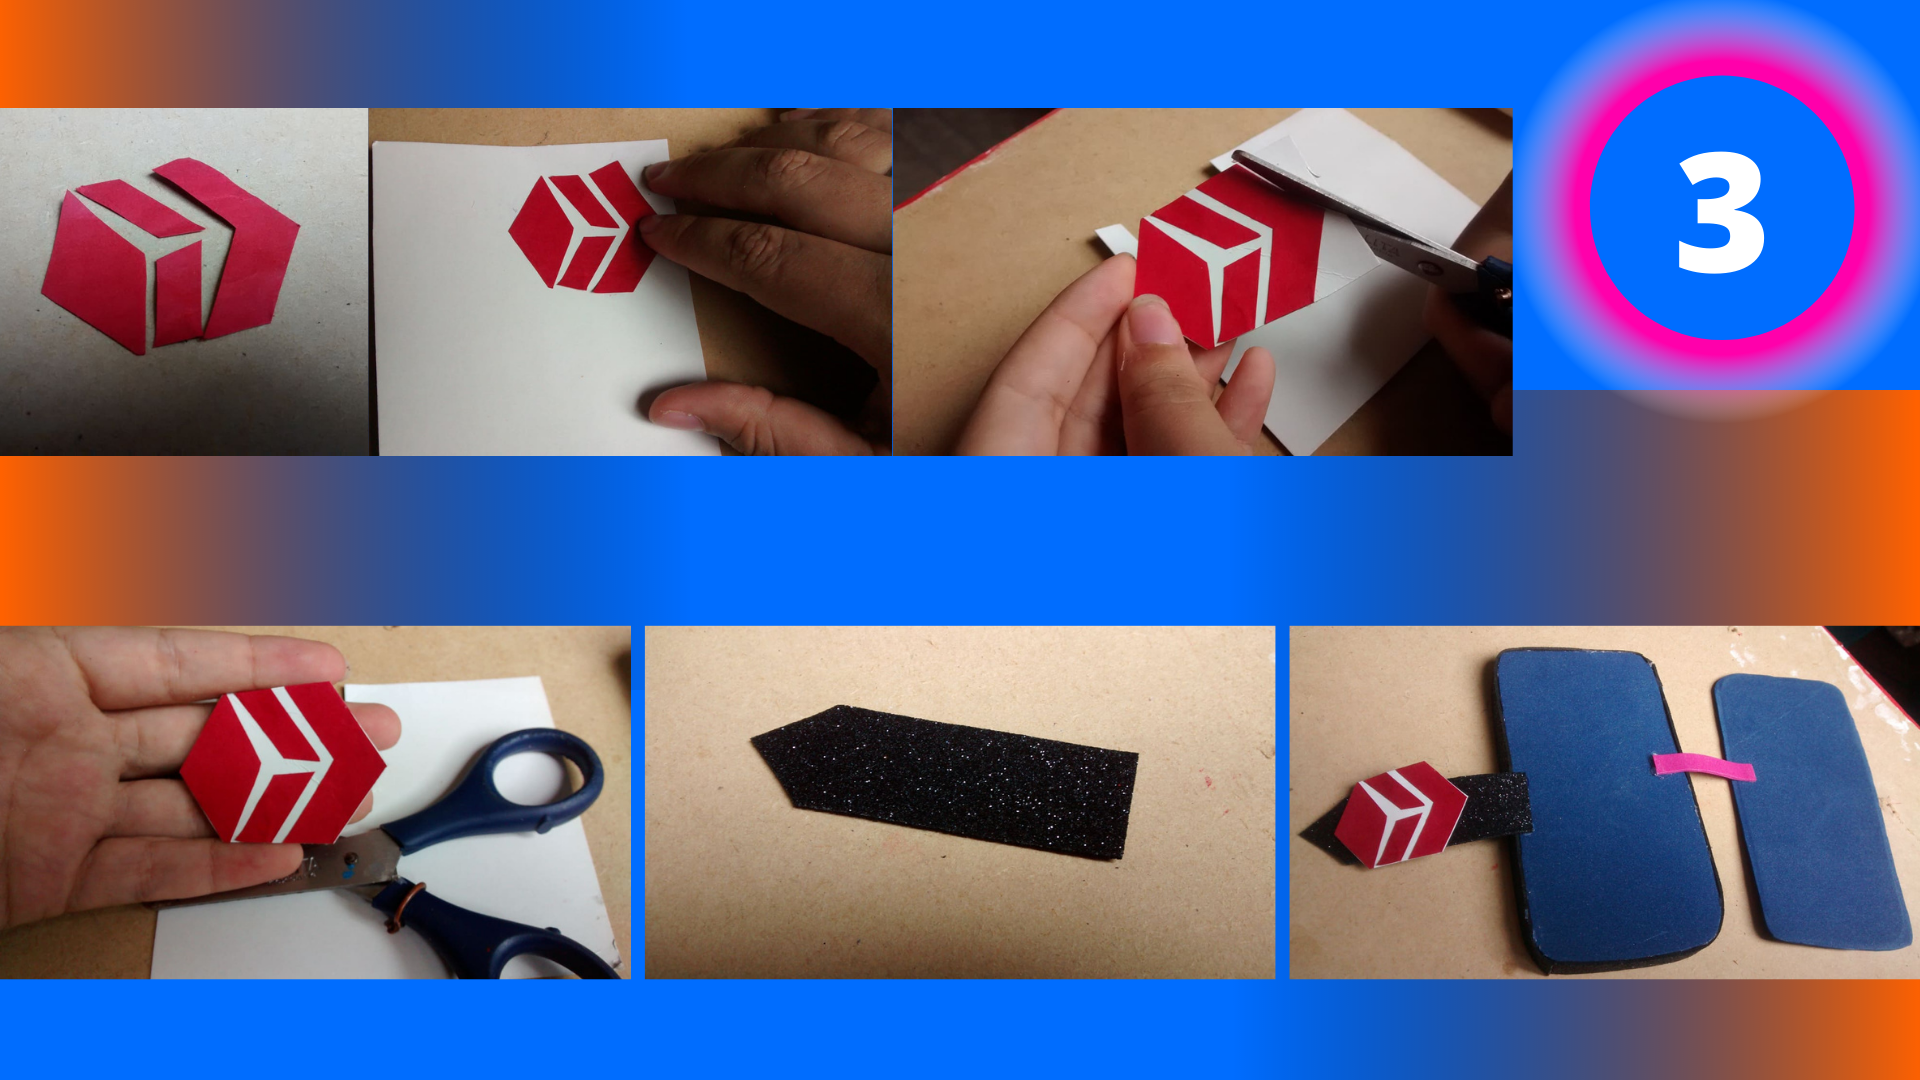
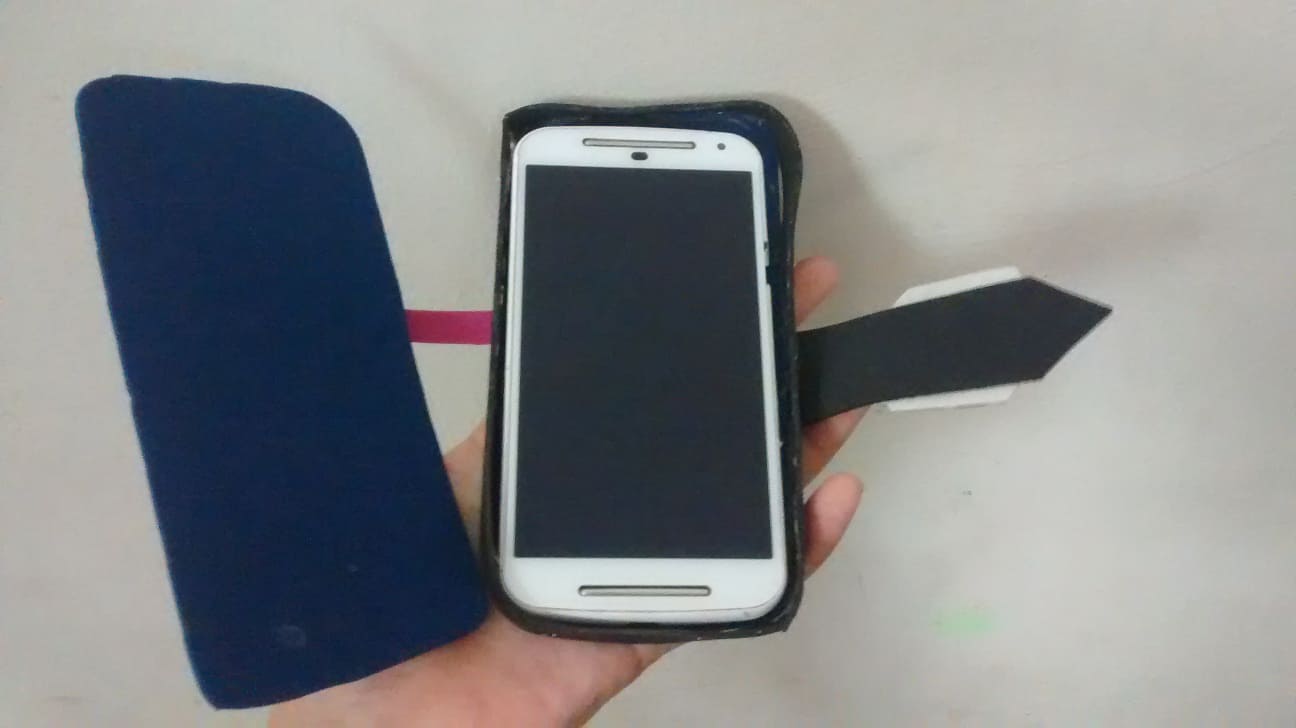
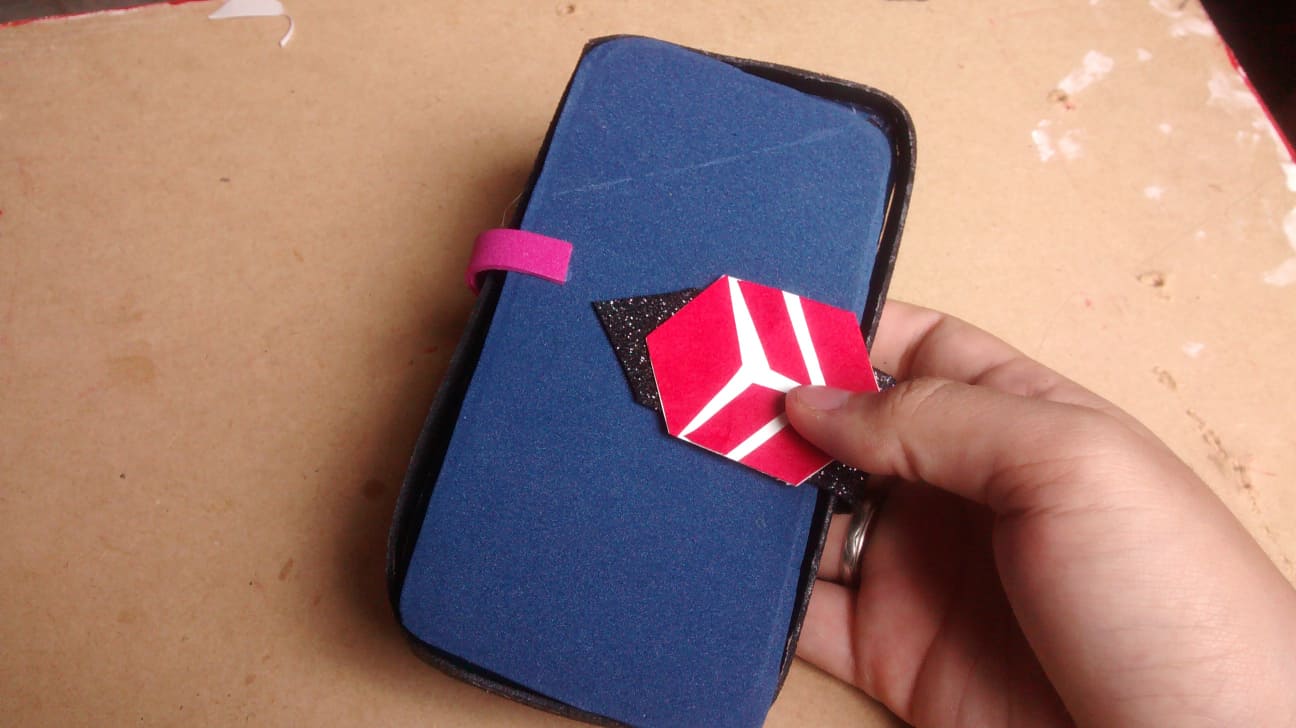
-Paso 3: Dibujamos y recortamos nuestro logo Hive, lo pegamos luego en la cartulina Blanca, y recortamos el excedente blanco, luego recortamos una tira de foami con forma triangular al final, y pegamos nuestro Logo Hive en la punta, esto será para cerrar nuestro forro al momento de colocar nuestro teléfono, luego eso lo pegamos en la parte trasera de nuestro forro, para que al momento de abrirlo se pueda ver.
-Step 3: Draw and cut out our Hive logo, then paste it on the white cardboard, and cut out the white excess, then cut out a strip of foami with a triangular shape at the end, and paste our Hive Logo on the tip, this will be to close our lining when placing our phone, then paste it on the back of our lining, so that when we open it, it can be seen.
This is my final result, I hope you liked it as much as I did, I sincerely loved my final result, thank you for visiting my blog, I love you very much, greetings and blessings to all.
All photos are my Authored, and edited from canva.

¡Felicitaciones!
1. Invierte en el PROYECTO ENTROPÍA y recibe ganancias semanalmente. Entra aquí para más información.
3. Suscríbete a nuestra COMUNIDAD, apoya al trail de @Entropia y así podrás ganar recompensas de curación de forma automática. Entra aquí para más información sobre nuestro trail.
4. Creación de cuentas nuevas de Hive aquí.
5. Visita nuestro canal de Youtube.
Atentamente
El equipo de curación del PROYECTO ENTROPÍA