[ESP-ENG] Un gusano hecho con material reciclable | A worm made from recyclable material
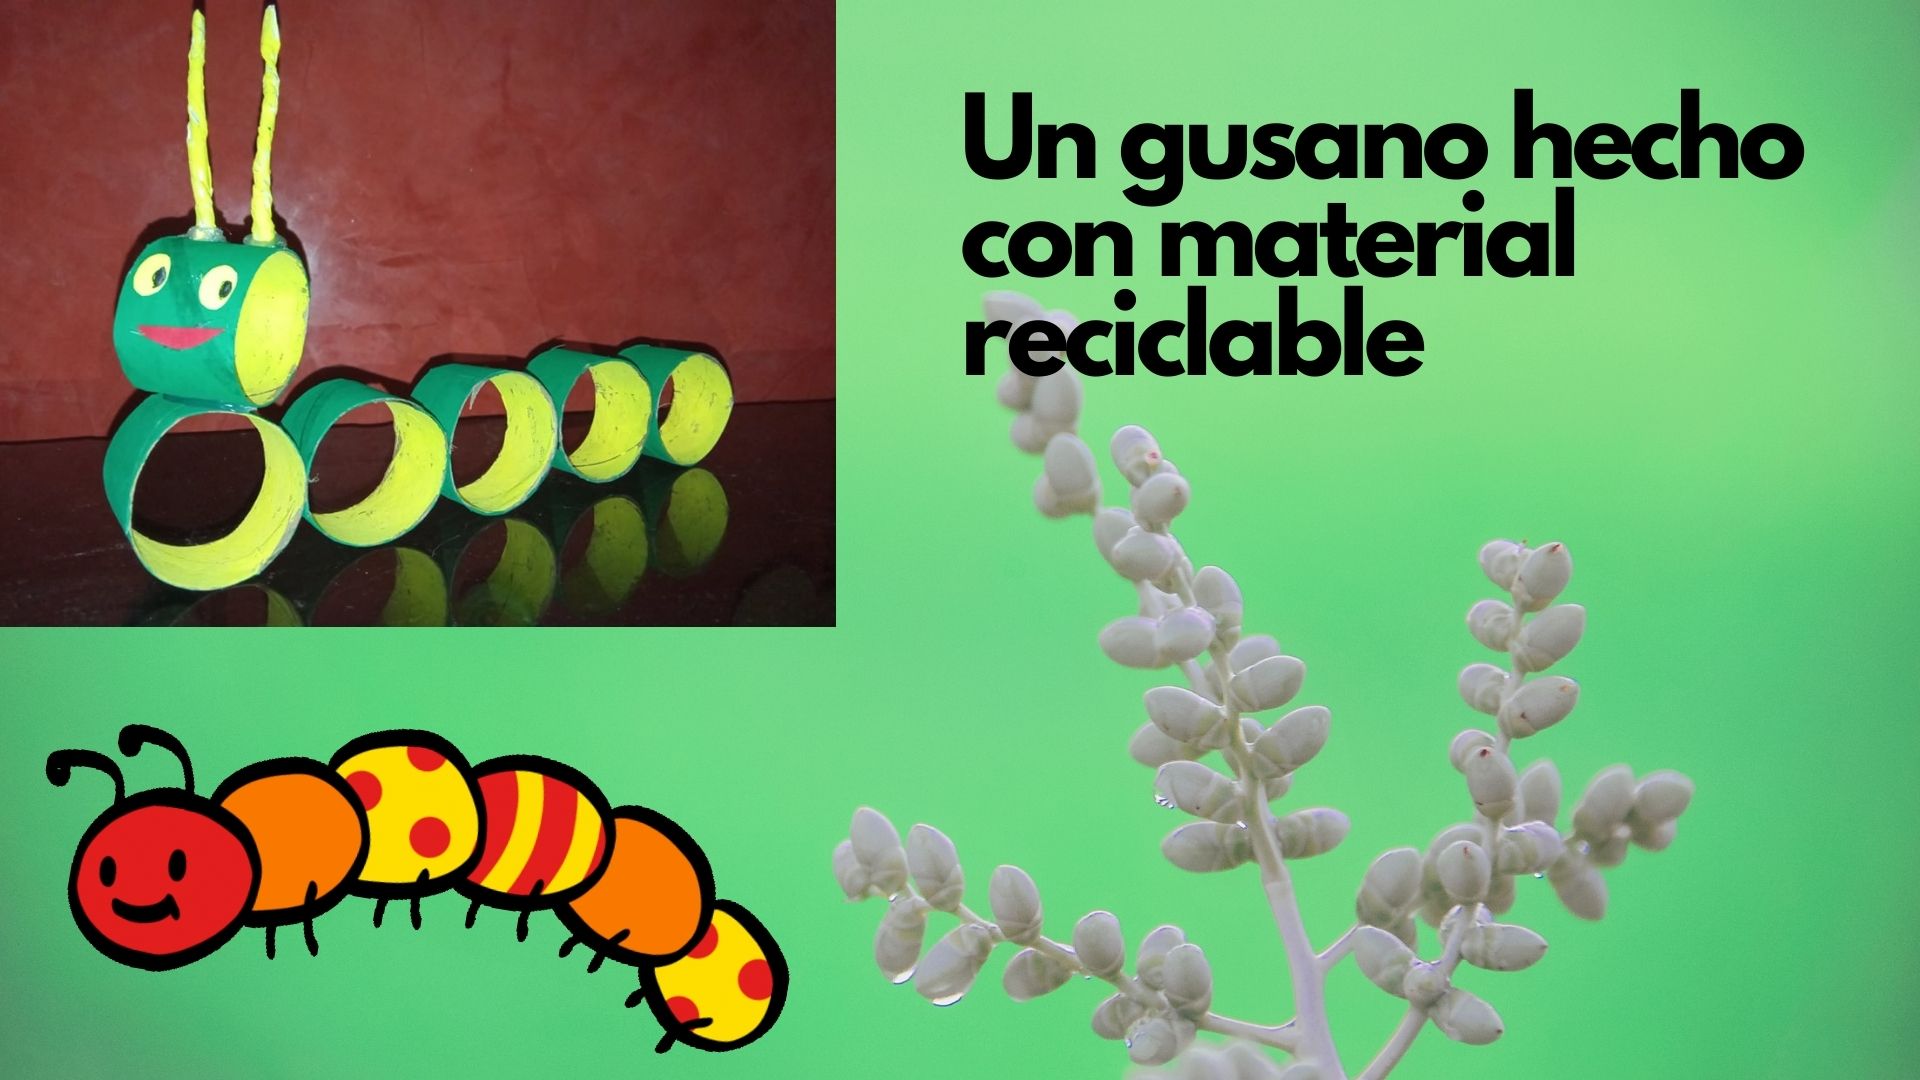
A special greeting to all the Hive community, today I come to show you a worm made from recyclable material, the worm is an animal that is usually small, soft-bodied, and often found in our garden or in the yard of our homes, are beneficial to the earth, so I invite you to read the steps to follow.

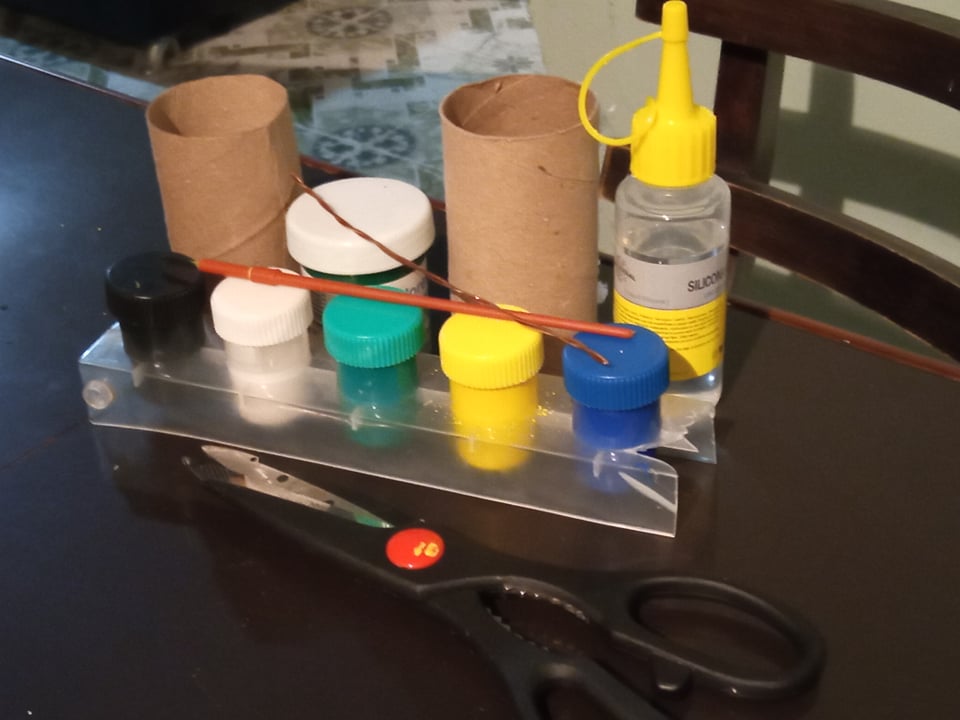
- Los materiales a utilizar son:
- Pintura al frío o tempera.
- Pincel.
- 2 Tubitos de papel higiénico.
- Tijera.
- Silicón líquido.
- Alambre de cobre.
- The materials to be used are:
- Cold paint or tempera.
- Brush.
- 2 Tubes of toilet paper.
- Scissors.
- Liquid silicone.
- Copper wire.
.jpg)
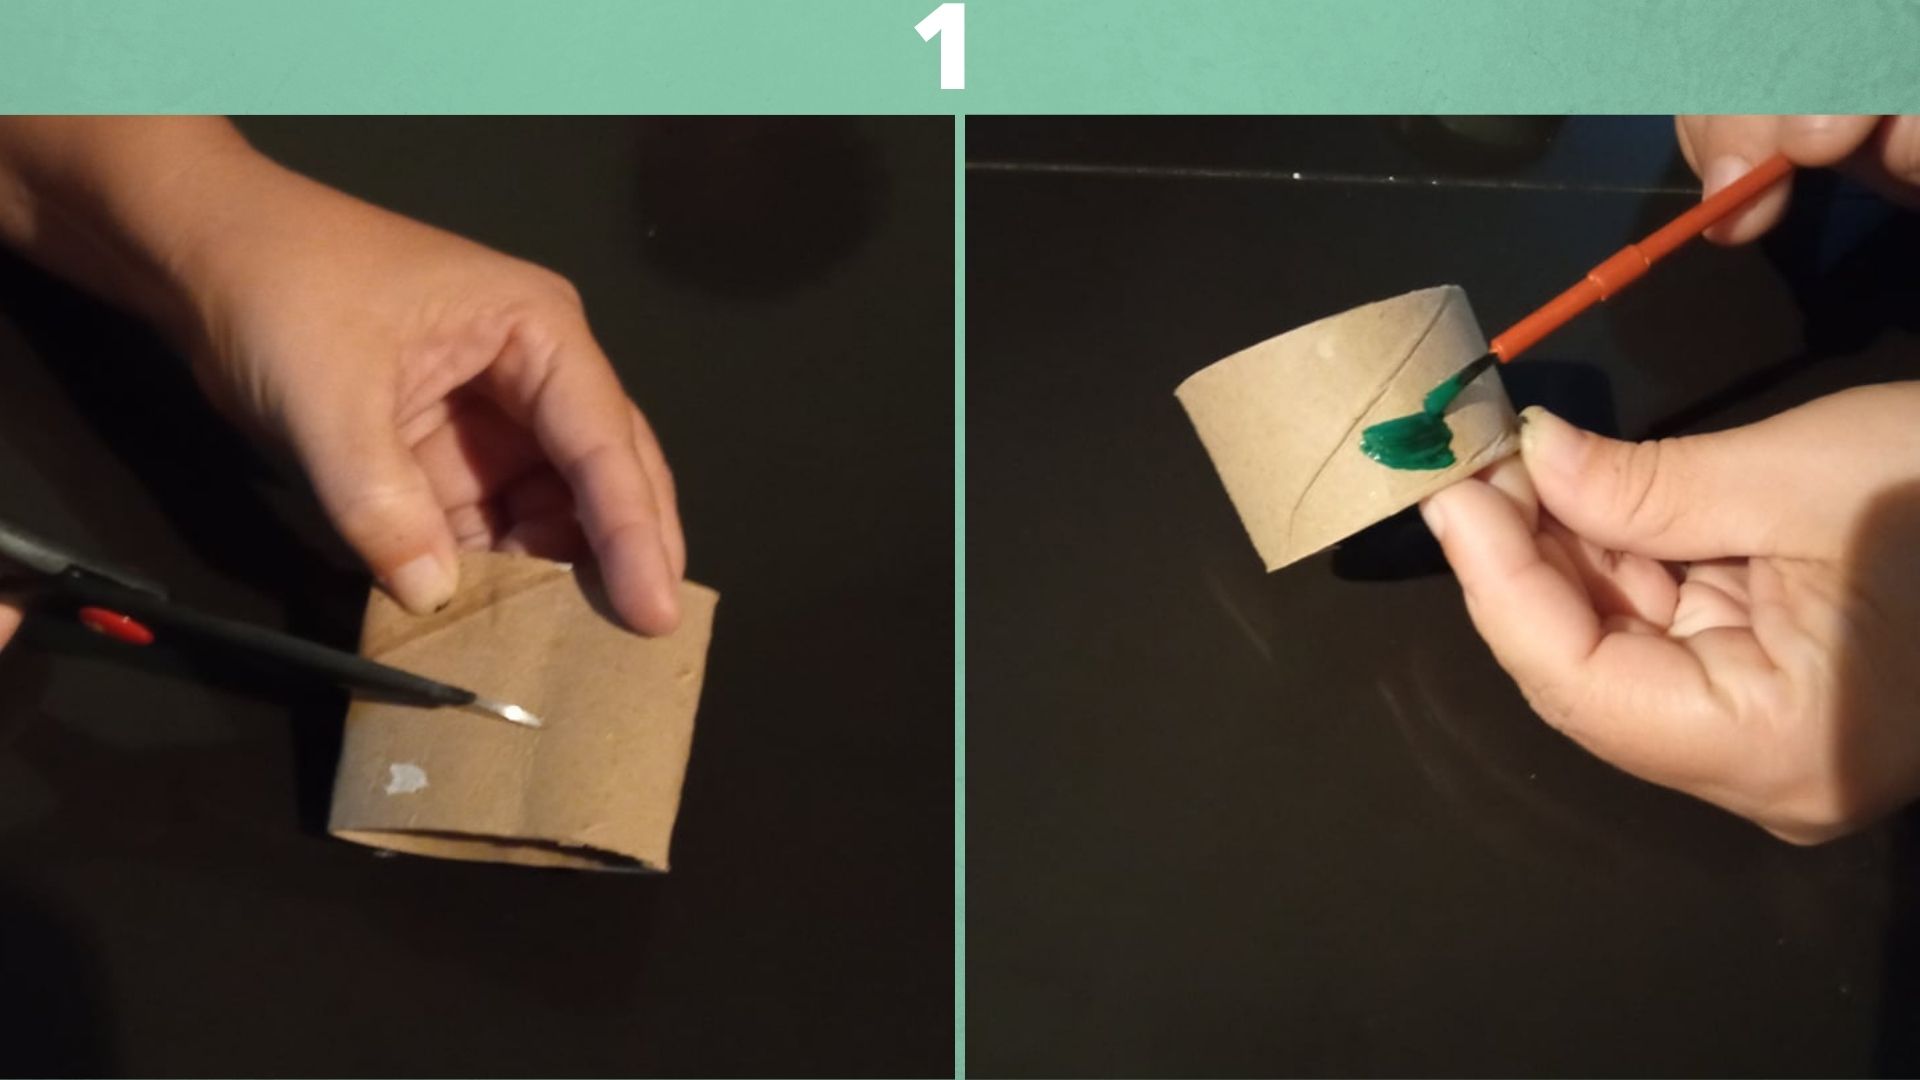
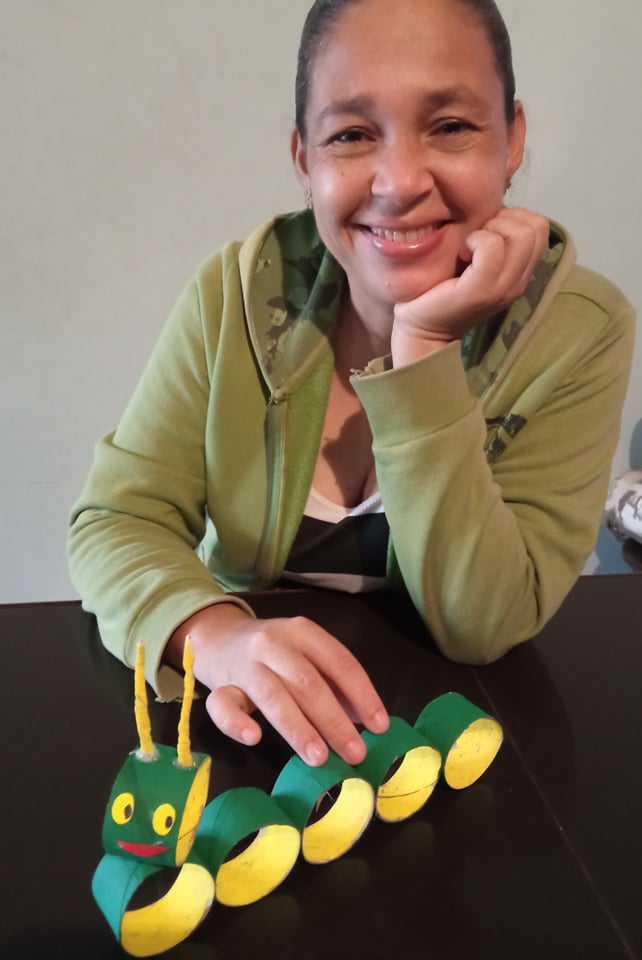
- Paso 1: Cortamos los tubitos de papel higiénicos, cada uno en partes iguales, procedemos a pintarlos por fuera, esperamos que sequen, y luego los pintamos por dentro.
- Step 1: Cut the toilet paper tubes, each one in equal parts, proceed to paint them on the outside, wait for them to dry, and then paint them on the inside.
.jpg)
- Paso 2: Luego que ya la pintura esta seca por completo, procedemos a pegar cada una de las partes del gusano.
- Step 2: After the paint is completely dry, we proceed to glue each part of the worm.
.jpg)
- Paso 3: Envolvemos el alambre de cobre en hoja de papel, le damos vuelta para ajustarlo al mismo y procedemos a pintar, luego de estar completamente seco, pegamos las antenas a una de las partes del gusano la cual servirá de cabeza.
- Step 3: Wrap the copper wire in a sheet of paper, turn it around to adjust it and proceed to paint, after being completely dry, we glue the antennae to one of the parts of the worm which will serve as head.
.jpg)
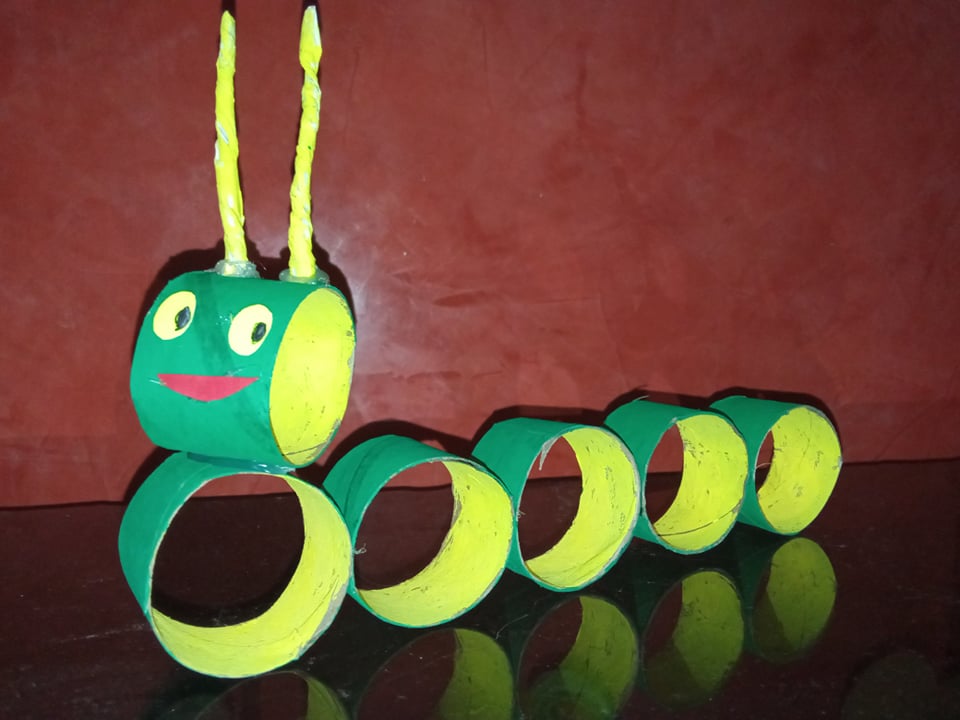
- Paso 4: Pegamos la cabeza al cuerpo del gusano, luego los ojos y posteriormente la boca, esto con la finalidad de darle la apariencia deseada.
- Step 4: Glue the head to the worm's body, then the eyes and then the mouth, in order to give it the desired appearance.

0
0
0.000
0 comments